How to Stain Concrete to Look Like Wood (Overlay + Stain Guide)
Note: this guide covers a decorative concrete technique, not wood itself — we cover it because it’s a common alternative homeowners weigh against real wood flooring, decking, and countertops, and several readers of our wood-finishing guides have asked about it directly.
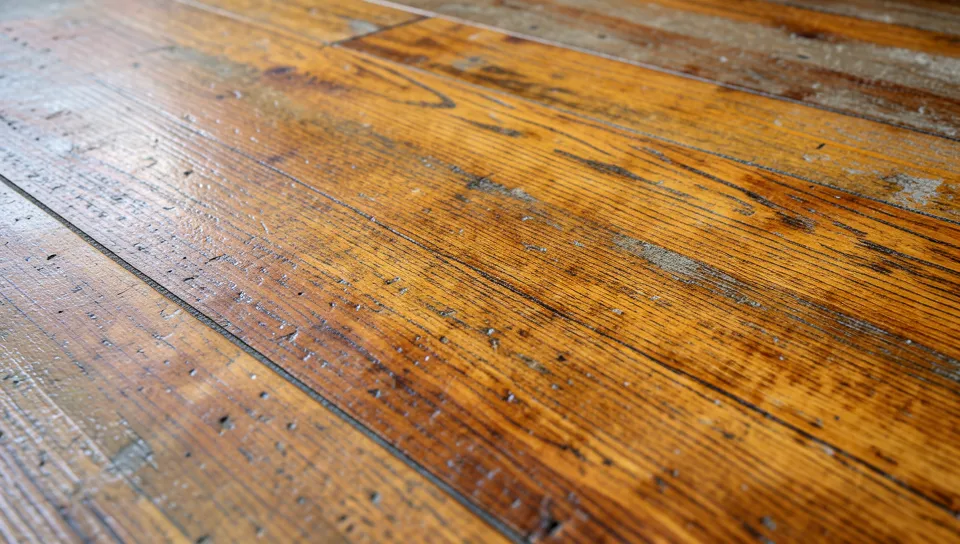
Getting concrete to convincingly look like wood takes two separate things working together: a texture that physically mimics wood grain, and a stain applied the way a real wood finish would sit on that grain. Skip either one and it reads as “brown concrete,” not wood. Which method you need depends entirely on whether you’re pouring new concrete or working with a slab that’s already cured.
New Pour vs. Existing Slab: A Distinction Most Guides Skip
Best Tool For Texturing An Overlay By Hand
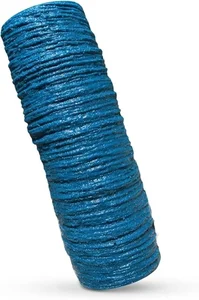 |
SBC Medium Wood Grain 8″ Concrete Texture Roller – $42.95 This is the tool that does the part staining alone can’t: it presses an actual plank-and-grain pattern into a wet overlay or fresh pour, giving the stain something real to sit into afterward.
|
Stamping tools only work on concrete that’s still plastic (wet, unset) — which matters because most people asking this question already have a cured patio, driveway, or garage floor, not a fresh pour. That changes the whole project:
Two Different Projects, Not One
New pour: Stamp wood-plank texture mats directly into the wet concrete within the working window (roughly 1-4 hours after placement, depending on weather), then stain once fully cured.
Existing cured slab: You can’t stamp cured concrete. Instead, apply a thin cement-based “overlay” or “microtopping” (typically 1/8″-1/4″ thick), texture it with a roller or hand tool while it’s still workable, let it cure, then stain. Skipping the overlay and just staining a flat existing slab will only ever produce a mottled color — no grain, no plank lines.
Preparing the Surface
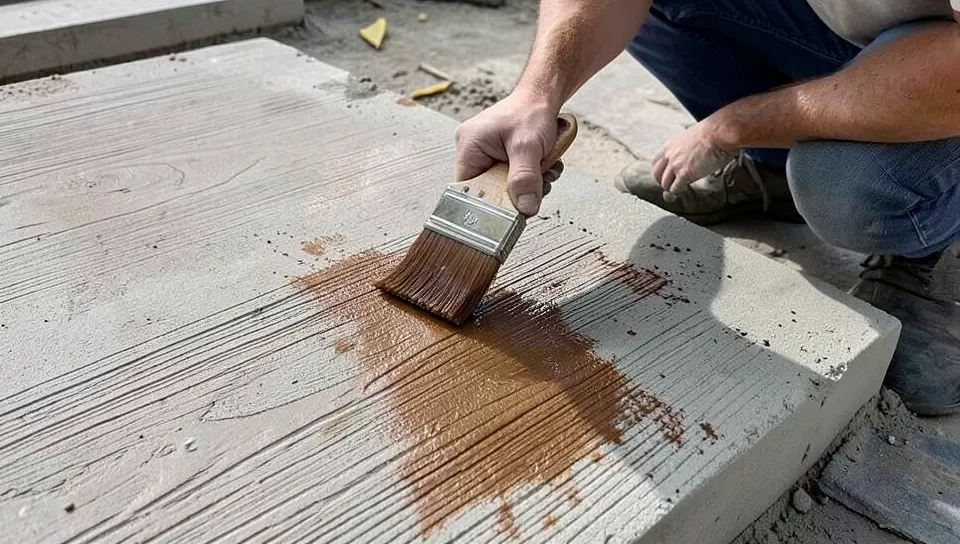
Pressure-wash the slab and let it dry fully, then clear it of furniture, planters, and anything else in the work area. Confirm the surface is level; any low spot will pool overlay material or stain and show as a visibly darker patch once finished. If you’re overlaying, check for cracks or spalling first and patch them — an overlay follows the shape of what’s underneath it, cracks included.
Applying and Texturing an Overlay (Existing Slab)
Mix the overlay product per the manufacturer’s instructions and spread it in a thin, even layer with a trowel or squeegee. While it’s still workable — usually a narrow window of 10-20 minutes depending on temperature and the specific product — roll or press the wood-grain texture tool into the surface in straight, consistent passes, working in “plank” sections so the lines read as individual boards rather than one continuous pattern. Score straight lines between sections with a straightedge and a jointing tool to fake the look of separate boards; this single detail does more for realism than the grain texture itself.
Let the overlay cure per the product’s timeline — commonly 24-48 hours minimum — before staining. Curing too early is the most common reason a stain job comes out blotchy, since the overlay is still absorbing moisture unevenly.
Choosing a Stain: Acid vs. Water-Based
This is where most tutorials gloss over a real trade-off. Acid-based stains react chemically with the minerals in the concrete, producing a mottled, variegated color that looks fantastic for a stone-like finish but is genuinely hard to control into clean directional grain lines. Water-based stains and dyes sit on the surface rather than reacting with it, which gives far more control over direction and layering — closer to how a real wood stain builds color along the grain — but they sit more like a coating and can wear faster in high-traffic areas without a good sealer on top.
For a convincing wood look specifically, most decorative concrete pros lean on water-based stains or dyes applied in at least two tones: a lighter base tone across the whole surface, then a darker second color worked into the grain lines and plank edges with a brush or rag to mimic the color variation real wood shows between the grain and the surrounding wood.
Two-Tone Staining Process
1. Base coat: Apply the lighter stain color evenly across the whole surface with a sprayer or roller. Let it dry fully.
2. Grain/accent coat: Work a darker stain into the grain lines and “plank” seams with a brush, rag, or feather applicator, dragging in the direction the wood grain should run. This is what actually reads as “wood” rather than “stained concrete.”
3. Blend: While the accent coat is still workable, soften harsh lines by lightly wiping with a clean rag so the transition between tones looks organic rather than painted-on.
4. Seal: Once fully dry, apply a concrete sealer rated for the amount of foot traffic the surface will get.
Sealing
The sealer is what actually protects the color — an unsealed stain will wear off in traffic patterns within a season outdoors. Wait until the stain is fully dry (at least 24 hours, longer in humid conditions), clean the surface of dust, then apply a thin, even coat with a roller or sprayer. Most sealers need 24-48 hours to cure before foot traffic and longer before furniture or vehicles. Plan on reapplying a maintenance coat every 2-3 years for an outdoor surface, sooner in a high-traffic entry or driveway.
Realistic Cost Ranges
Cost depends heavily on which project you’re actually doing, and lumping them together is why quoted prices for this vary so widely online.
2026 Cost Estimate Per Square Foot
Stain only (existing slab, no texture/overlay): $2 – $4. Produces color variation, not a real wood-plank look.
Overlay + wood-grain texture + two-tone stain + seal (existing slab): $8 – $15+, mostly driven by labor since overlay work takes real skill to do evenly.
New stamped pour with wood-plank forms + stain: $10 – $18+, comparable to a mid-range paver or stamped-stone job.
For comparison, real hardwood flooring installed: roughly $8 – $22 per square foot, so the concrete route isn’t automatically cheaper once you add the overlay step — its advantage is durability and moisture tolerance outdoors, not guaranteed cost savings.
Maintaining a Wood-Look Concrete Surface
Sweep or rinse regularly to keep grit from scratching the sealer, and clean spills with a mild soap-and-water solution rather than harsh acidic or bleach-based cleaners, which can dull the stain color over time. Reapply sealer on the schedule above, and touch up bare or worn patches before they widen — a small worn spot is a quick spot-reseal, while a large one usually needs the whole surface reseated to avoid a visible patch.
Frequently Asked Questions
Can you stain concrete to make it look like wood?
Yes, but stain alone only adds color variation. A convincing wood look also needs physical grain texture — either stamped into a fresh pour or textured into a cement overlay applied to an existing slab — before the stain is applied.
How much does it cost to stain concrete to look like wood?
A simple stain with no texture runs about $2-$4 per square foot but won’t show real wood grain. Adding an overlay, wood-grain texturing, and a two-tone stain on an existing slab runs $8-$15+ per square foot, comparable to a new stamped pour at $10-$18+.
What’s the difference between acid stain and water-based stain for a wood look?
Acid stain reacts chemically with the concrete for a mottled, marble-like variegated color that’s hard to control into clean grain lines. Water-based stains and dyes sit on the surface and give more control for directional grain and two-tone layering, which is why most wood-look projects lean on them over acid stain.
Can I get a wood-grain look on a patio I already poured?
Yes, but you can’t stamp cured concrete directly. You need to apply a thin cement overlay, texture it with a roller or hand tool while it’s still workable, let it cure, and then stain and seal it.
Bottom Line
A convincing wood-look concrete floor needs both real texture and layered stain — either one alone reads as “stained concrete,” not wood. If you’re working with an existing slab, budget for the overlay step, not just the stain, and expect $8-$15+ per square foot once texturing and sealing are included.
Sponsored / affiliate links. As an Amazon Associate I earn from qualifying purchases. I may earn additional commission from eligible campaigns.
 DWIL Water Based Wood Stain - Multiple Finishes, Fast Drying, Indoor and Outdoor Furniture, Wood Paneling, Cabinets and More, Low Odor & Non-Toxic (8.5oz Teak)
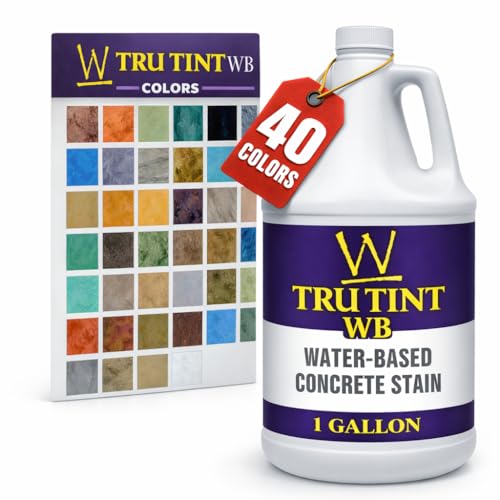 Water-Based Concrete Stain – Decorative Color for Concrete, Cement & Masonry – Low VOC, Indoor/Outdoor Use – Professional & DIY Concrete Coloring - Tobacco 1 Gallon