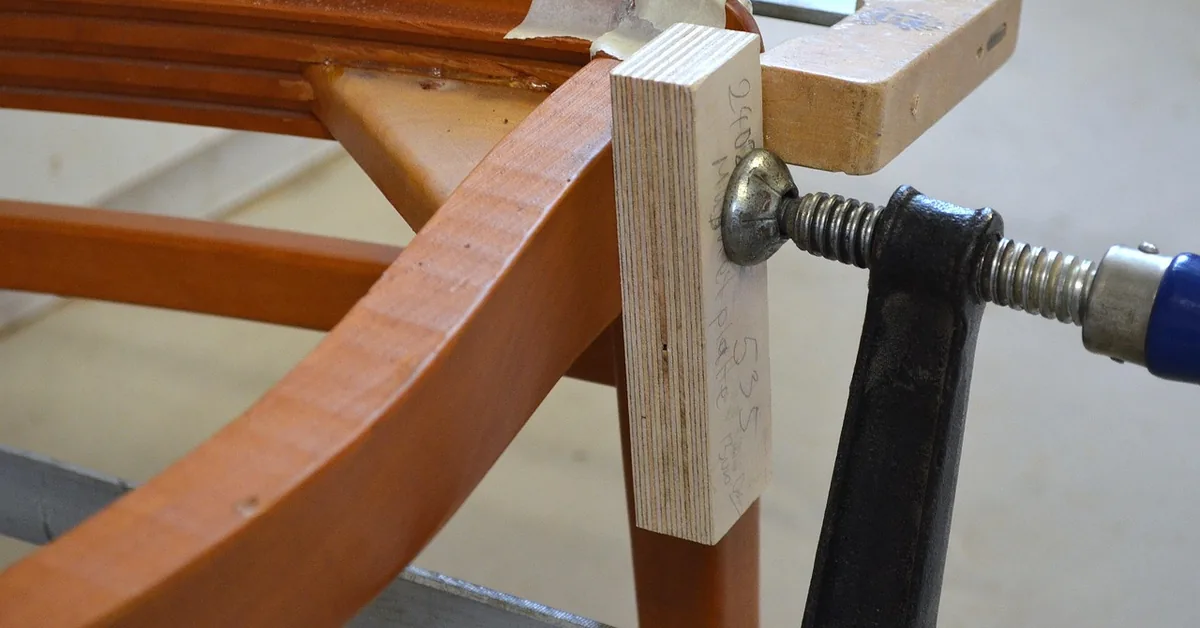
How to Attach Legs to a Table Without an Apron: 4 Methods
Table legs attach without an apron using 5/16-inch (M8) hanger bolts driven into mounting plates or threaded inserts on the tabletop’s underside — but the top needs to be at least 3/4 inch thick to hold screws securely. Skip that reinforcement and legs work loose within months. This guide covers all four hardware methods, the exact bolt and plate sizes each needs, and which option holds up on tables over 36 inches wide.
[Insert Affiliate Disclosure reusable block here]
Quick Answer
Screw a metal mounting plate to the underside of the top and thread a 5/16-inch (M8) hanger bolt from the leg into it — the fastest, cheapest fix for most flat-leg tables. For legs over 2 inches thick or tables longer than 44 inches, switch to 3/8-inch mounting blocks or angled cleats instead; the small plates alone can work loose under that much leverage.
Tools and Materials You’ll Need
Best Table Leg Mounting Plate Pick
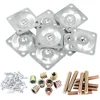
Glarks 8 Sets Furniture Leg Mounting Plates with 5/16″ Hanger Bolts
Complete kit — plates, insert nuts, hanger bolts, and screws all included, enough for two full four-leg tables.
- Best for: Flat-bottom wood or metal legs on tables, benches, and end tables
- Why we picked it: Everything needed is in one bag — no matching a plate to the wrong bolt size
- Main drawback: Standard 5/16″ plates aren’t rated for legs thicker than about 2 inches
Compare more table leg mounting options
 Option 1 cSeao 10-Pack M8 Mounting Plate Kit
|
 Option 2 14-Degree Angled Mounting Plates
|
 Option 3 JEUIHAU 20-Piece Bulk Kit
|
As an Amazon Associate we earn from qualifying purchases.
- Power drill/driver with bits sized to your hardware
- Tape measure, pencil, and a combination square
- Mounting plates, mounting blocks, threaded inserts, or angled cleats (see comparison table below)
- 5/16-inch (M8) or 3/8-inch hanger bolts, matched to your leg’s pre-drilled thread
- Wood screws (usually included with plate/cleat hardware kits)
- Wood glue or threadlocker (optional, for joints that see a lot of movement)
Before You Start: The Two Rules That Prevent Wobble
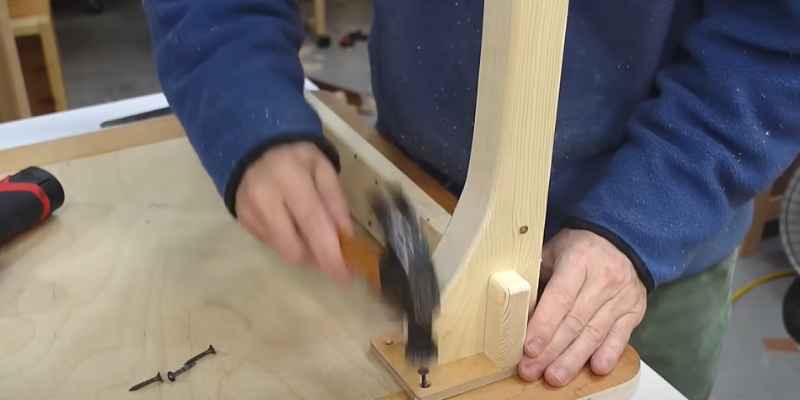
Tabletop thickness is the first rule. A top thinner than 3/4 inch doesn’t give plate screws enough material to bite into — add a mounting block underneath (glued and screwed) to build up thickness at each leg position before you drill anything.
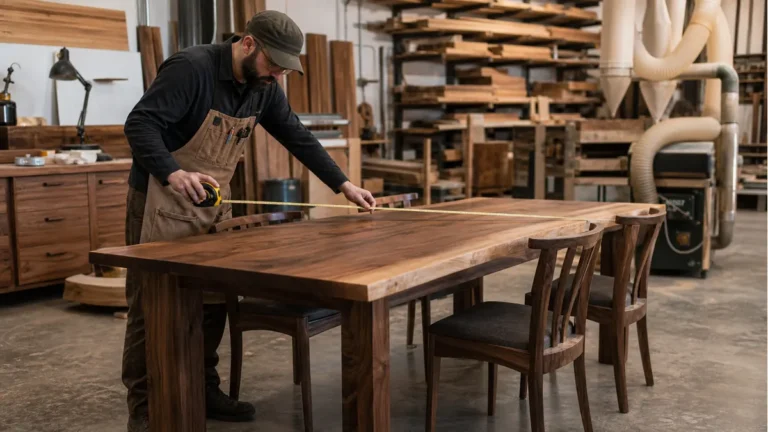
Leg placement is the second. An apron normally keeps all four legs square to each other; without one, that job falls entirely on your layout. Set each leg about 2 inches in from both edges, then measure both diagonals corner-to-corner before drilling — if they match, the legs are square. Skip this check and the table will rock even with perfect hardware.
Method 1: Mounting Plates with Hanger Bolts (Best for Most Tables)
Metal mounting plates are the quickest, cheapest way to attach DIY table legs without an apron — most kits already include the plate, hanger bolt, and screws in one pack.
- Mark leg positions: Flip the tabletop upside down and mark each corner about 2 inches in from both edges with a pencil and square.
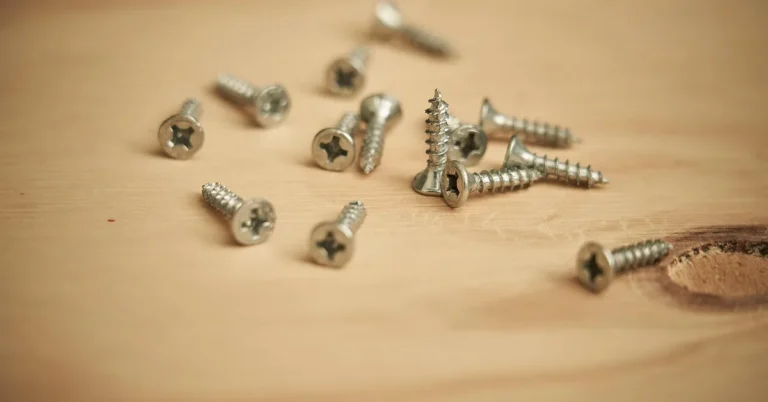
- Attach the mounting plate: Center a plate over each mark and screw it down with the four included wood screws.
- Thread the hanger bolt into the leg: Drive the wood-threaded end of the 5/16-inch hanger bolt into the top of the leg, leaving the machine-threaded end exposed.
- Thread the leg into the plate: Screw the leg’s exposed hanger bolt into the plate’s threaded hole until snug, then check that the leg sits flush and square before moving to the next one.
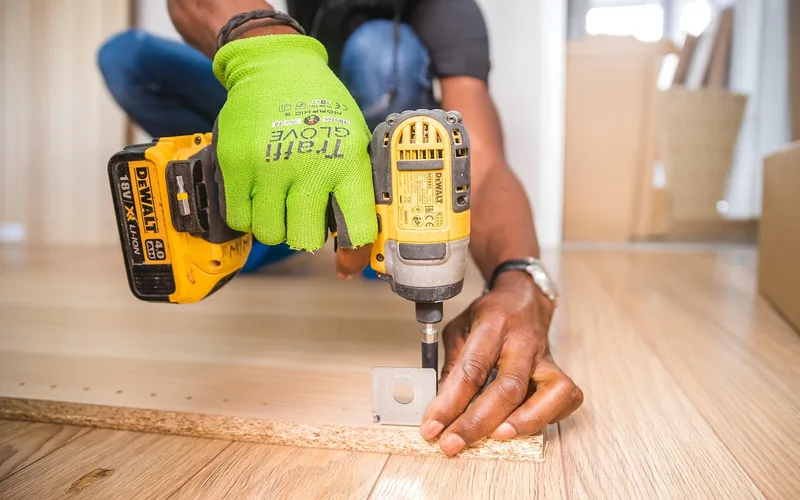
In the shop, this is the method I reach for on a first apronless build — a 5/16-inch hanger bolt seated in hardwood holds fine on its own, but I still run a dab of wood glue into the pilot hole for the plate screws on softer tops. It stops the screw threads from stripping out the first time someone leans on the table.
Method 2: Threaded Inserts (Best for Removable Legs)
Threaded inserts let you unscrew the legs entirely for storage or transport, since the insert stays permanently seated in the wood and the leg simply bolts in and out.
- Drill the pilot hole: Bore a hole 1-2mm narrower than the insert’s outer diameter, about half the insert’s length deep, at each marked leg position.
- Install the insert: Thread it in with a hex key or insert driver until it sits flush with the surface — a drop of epoxy on the threads keeps it from backing out under load.
- Bolt on the leg: Thread a matching machine bolt through the leg and into the insert, tightening until the leg is snug and doesn’t rock.
📊 Most consumer leg-mounting hardware kits standardize on a 5/16-inch (M8) hanger bolt and a 48x48mm plate — Source: current manufacturer spec sheets for leg mounting plate kits (checked August 2026)
Method 3: Mounting Blocks (Best for Thick, Solid Tops)
A mounting block is a small wood or metal block, bolted flat to the underside of the top with a 3/8-inch x 2 1/2-inch bolt, that gives the leg far more surface contact than a slim plate alone — worth the extra step on thick (1 inch or more) solid-wood tops.
- Position and mark: Set the block at each corner, 2 inches in from both edges, and trace the screw holes.
- Screw the block to the underside: Drive four screws through the block into the tabletop.
- Bolt the leg into the block: Thread the leg’s bolt into the block’s center hole and tighten fully, checking the leg sits flush against the block face.
Method 4: Angled Corner Cleats (Best for Hairpin and Splayed Legs)
Cleats — straight or angled wood strips screwed across the underside near each corner — are the go-to for hairpin legs and any leg style that’s splayed rather than perfectly vertical. Hardware suppliers typically size them from 12 to 36 inches long, fitting legs up to about 2 3/8 inches in diameter. They’re not the right choice for tables wider than about 44 inches or longer than 70 inches without extra center support, since a cleat alone can’t carry that much unsupported span.
Cut the cleat to length, hold it against the underside at the correct angle for your leg style, and screw it down through pre-drilled pilot holes so the wood doesn’t split. The leg then bolts or screws directly into the cleat rather than into the thin tabletop itself.
Which Table Leg Attachment Method Should You Use?
| Method | Hardware Needed | Best For | Skill Level |
|---|---|---|---|
| Mounting Plates | 5/16″ (M8) hanger bolt + plate | Most flat-bottom legs, fastest build | Beginner |
| Threaded Inserts | Insert + matching machine bolt | Legs you want removable for storage | Beginner-Intermediate |
| Mounting Blocks | 3/8″ x 2 1/2″ bolt + block | Thick (1″+), heavier solid-wood tops | Beginner |
| Angled Cleats | Wood screws, cleat stock | Hairpin or splayed legs, tables under 44″ wide | Intermediate |
Common Mistakes That Cause a Wobbly Apronless Table
- Skipping the diagonal check. Without an apron holding the legs square, an off layout shows up as a rock the moment weight hits one corner.
- Screwing straight into a top thinner than 3/4 inch. There isn’t enough material for the screws to hold — add a mounting block first.
- Mismatching hanger bolt size to the plate. A 5/16-inch bolt in a plate drilled for 3/8-inch strips out almost immediately.
- Overtightening a machine bolt into a threaded insert. Past snug, you strip the insert’s threads instead of tightening the joint.
- Placing legs too far from the edge. An overhang with no support underneath flexes and loosens hardware over time — keep to roughly 2 inches in from each edge.
Is a Table Apron Necessary?
No — an apron isn’t required as long as the tabletop is thick enough (3/4 inch or more) and the legs are attached with hardware sized to carry the load, such as mounting plates, threaded inserts, or mounting blocks. An apron mainly earns its keep on very long or thin tabletops, where it resists the top flexing under weight.
How Thick Does a Tabletop Need to Be Without an Apron?
At least 3/4 inch for mounting plates screwed directly into the underside. Thinner tops need a mounting block glued and screwed on first to give the plate screws enough material to grip.
Will a Table Wobble Without an Apron?
Only if the layout or hardware is off. A table with legs set square (matching diagonal measurements) and hardware matched to the tabletop thickness holds just as steady as an apron-framed table for normal use.
What Size Hanger Bolts Do Table Legs Need?
5/16-inch (M8) is the standard size for most metal mounting plate kits. Heavier mounting blocks typically use a larger 3/8-inch bolt. Check your leg’s pre-drilled insert before buying hardware — they aren’t interchangeable.
Can You Use L-Brackets Instead of Mounting Plates?
Yes, for square-cut legs — an L-bracket screwed into the leg’s inside corner and up into the tabletop works, but the hardware stays visible from the side. It’s a fine fix for a utility or shop table, less so where looks matter.
Attaching legs without an apron comes down to matching the hardware to the tabletop: mounting plates for most builds, threaded inserts if you want the legs removable, mounting blocks on thick solid tops, and angled cleats for hairpin or splayed legs. Get the leg layout square and the hardware sized correctly, and the table holds steady without the extra lumber and joinery an apron requires. For more on building the legs themselves, see our guides on simple DIY table legs and adjusting table leg length, or browse our full woodworking projects and tips guide for more step-by-step builds.
Sponsored / affiliate links. As an Amazon Associate I earn from qualifying purchases. I may earn additional commission from eligible campaigns.