How to Build a Shed Foundation (4 Types + Frost-Line Depth)
A shed foundation needs a level, well-drained site and a compacted gravel base 4 to 6 inches deep. Concrete piers or a slab must reach below your local frost line unless the shed qualifies for the model-code exemption (freestanding, light-frame, 600 sq ft or less, eave height 10 ft or less). This guide covers gravel, skid, pier and slab foundations, frost depth, permit limits, and step-by-step framing and pouring.
A shed foundation is the base layer, gravel, skids, piers, or a concrete slab, that transfers the shed’s weight to stable soil and keeps the floor level and dry. Permit size limits and frost-depth rules are two separate questions with different square-foot thresholds (see the code table below), so check both with your local building department before you dig.
Assessing Location And Size
| Best Shed Pier Block Pick | |
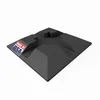 |
Handi Block USA-Made Foundation Pier Block, $16.97 A recycled-plastic block that holds a 4×4 post or 2x joists off the ground, a simple way to carry a small shed floor frame on the compacted gravel base described below.
|
| As an Amazon Associate we earn from qualifying purchases. | |
Assessing the location and size is the first real decision in building a shed foundation. It involves checking local building regulations, picking a well-drained spot, and sizing the foundation to what the shed will actually be used for.
Consider Local Building Regulations For Sheds
Before digging, check your local zoning code and building department for setback, size, and permit rules. Many areas also specify how deep a footing has to go relative to the frost line, this is a structural requirement, not a suggestion, for anything meant to be permanent.
Choose A Flat, Well-drained Area
Pick a site that is nearly level (within about 6 inches of grade) and slopes away from the shed rather than toward it. Standing water under or beside a foundation is the single most common cause of shed floor rot and gravel-base settling.
Determine The Shed’s Purpose To Decide On The Size
A tool shed needs less foundation than a workshop shed loaded with a table saw and lumber racks. Size the foundation to the heaviest realistic load, not just the shed’s footprint.
Selecting Foundation Type
There are four common shed foundation types: gravel pad, pressure-treated skids, concrete block piers, and a poured concrete slab. Matching the type to your shed’s size, your soil, and your climate is what actually determines how long the foundation lasts.
Building the whole structure? See our full step-by-step storage shed guide for framing, walls, and roofing once the foundation below is done.
Pros And Cons Of Different Foundation Types
| Foundation Type | Typical Cost | DIY Difficulty | Durability |
|---|---|---|---|
| Gravel Pad | $1 to 3 / sq ft | Easy | Good drainage; may need periodic top-up |
| Pressure-Treated Skids | $150 to 400 total (small shed) | Easiest, a weekend job | Least stable of the four; fine for small/light sheds |
| Concrete Block Piers | $350 to 2,000 (6 to 9 piers, 10×12 shed) | Moderate | Very durable if set below frost line; good on sloped or uneven ground |
| Concrete Slab | $3+ / sq ft | Hardest, usually needs help | Most permanent and stable; best load-bearing capacity |
Do You Need To Dig Below The Frost Line?
Frost depth is set locally, and it varies enormously: typical ranges run from roughly 12 inches in the Deep South and warm coastal climates, to 30 to 36 inches through the mid-Atlantic and central states, to 48 to 60 inches across much of the Upper Midwest and Northeast. It can even vary 20 to 30 inches within a single state. Where frost protection applies, the model code (IRC R403.1.4.1) requires the footing to extend below that depth, because freeze-thaw cycles can heave a pier or slab out of level within a winter or two. Look up your exact depth with your building department rather than a map.
📊 The model code lets freestanding, light-frame accessory structures of 600 sq ft or less with an eave height of 10 ft or less skip frost protection. Source: 2018 International Residential Code, R403.1.4.1, ICC
What The Building Code Says About Shed Foundations
Two model-code rules decide what your shed needs, and people often blur them together. The permit rule is IRC R105.2, which exempts one-story detached accessory structures of 200 sq ft or less from a building permit. The frost rule is R403.1.4.1, which exempts freestanding light-frame accessory structures of 600 sq ft or less. Those limits are different, so a shed can need a permit and still be allowed to sit on gravel.
| Question | Model-code rule | What it means for your shed |
|---|---|---|
| Do I need a building permit? | IRC R105.2: one-story detached accessory structure, 200 sq ft or less | A 12×16 shed (192 sq ft) is under the line; a 14×20 (280 sq ft) is over it |
| Must footings go below the frost line? | IRC R403.1.4.1 exception: freestanding, light-frame, 600 sq ft or less, eave height 10 ft or less | Gravel, skids or surface piers are code-acceptable for most backyard sheds, though they can shift slightly in frost |
| When does frost protection apply? | Outside those limits, such as larger, attached or heavier masonry structures | Footings must extend below your local frost line |
The myth worth dropping is that a permanent shed always needs footings below the frost line. Under the model code, most backyard sheds are exempt, but that exemption is not a permit exemption, and local rules override both. Some places use a smaller permit threshold (California’s version uses 120 sq ft), and your jurisdiction may adopt a different code edition. A permit exemption never excuses work that violates the code or local zoning setbacks. Ask your building department two questions before buying materials: what size needs a permit, and what frost depth applies.
Matching Foundation To Shed Size And Soil Type
- Shed size: Larger sheds generally need a slab or pier foundation to carry the weight; smaller sheds are often fine on gravel or skids.
- Soil type: High water table or unstable soil favors a slab or piers set below frost line; well-drained sandy loam works fine with a gravel pad.
Building a lean-to instead of a gable shed? Our DIY lean-to shed guide covers the framing and costs, and the foundation advice here applies the same way under its floor.
Gathering Materials And Tools
Once you’ve picked a foundation type, gather materials before you start digging; stopping mid-project to make a hardware run is how corners get cut.
Comprehensive List Of Necessary Supplies
- Concrete blocks, pressure-treated lumber, or ready-mix concrete (depending on type)
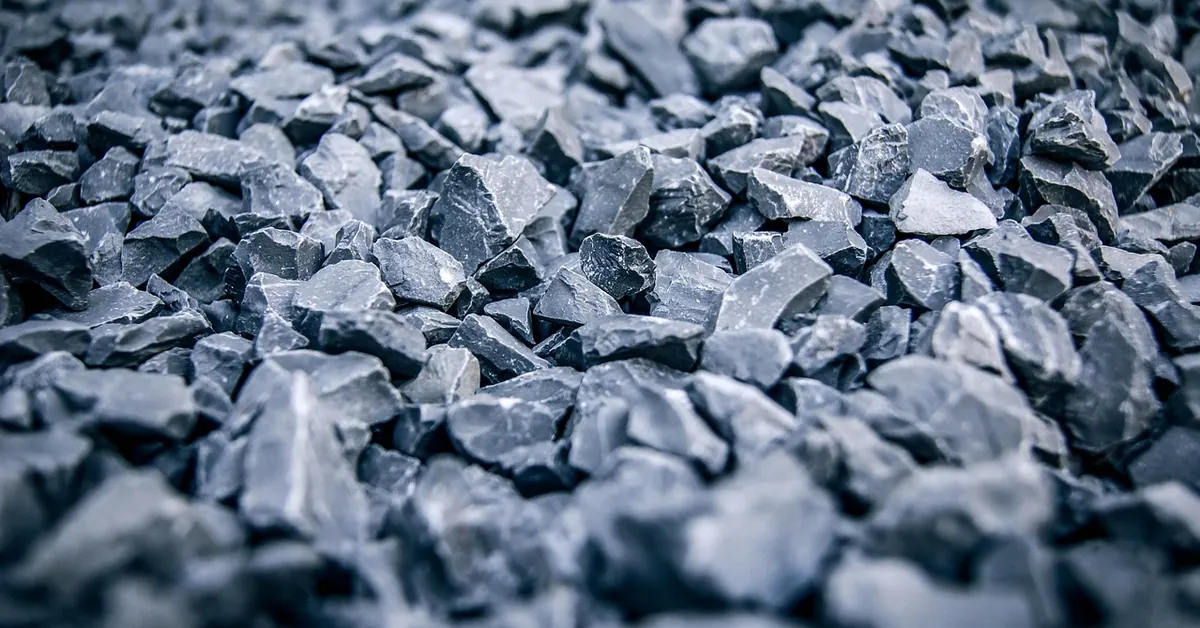
- Gravel (crushed stone, compacted 4 to 6 inches for a gravel pad or under piers)
- Landscape fabric
- Stakes and mason line
- Tape measure and a 4-foot level
- Shovel and post hole digger (for piers)
- Wheelbarrow
- Plate compactor (rentable by the day)
- Hammer and drill with masonry bit
Durable And Weather-resistant Material Suggestions
| Materials | Advantages |
|---|---|
| Pressure-treated lumber | Resistant to decay and insect damage |
| Concrete blocks | Excellent load-bearing capacity and durability |
| Gravel | Provides drainage and stability |
| Landscape fabric | Controls weeds and prevents soil erosion |
Lay Out And Level The Site
Laying out and leveling the site sets up everything that follows: get it wrong here and every later step compounds the error.
Ground Marking Techniques For Foundation Layout
Use stakes and mason line to outline the perimeter, then check the layout for square, not just level. Measure both diagonals corner to corner; if they match within about ¼ inch, the layout is square. If they don’t, adjust one corner and re-measure before digging.
Instructions For Soil Excavation And Leveling
Excavate the marked area to the required depth for your foundation type, removing debris and rocks. Compact the soil in stages rather than all at once, a plate compactor run over loose fill in one pass leaves voids that settle later.
Setting Foundation Framework
With the site excavated and leveled, assemble the foundation frame according to your plans, then anchor it securely before moving on to concrete or piers.
Assemble The Foundation Frame According To Plans
Follow your plans exactly for measurements and material grade. A frame that’s off by even half an inch at this stage throws off every wall and door alignment later.
Secure The Frame In Place With Appropriate Anchoring
Anchor the frame with galvanized straps or anchor bolts rated for outdoor use. Proper anchoring is what keeps the structure from shifting under wind load or frost movement.
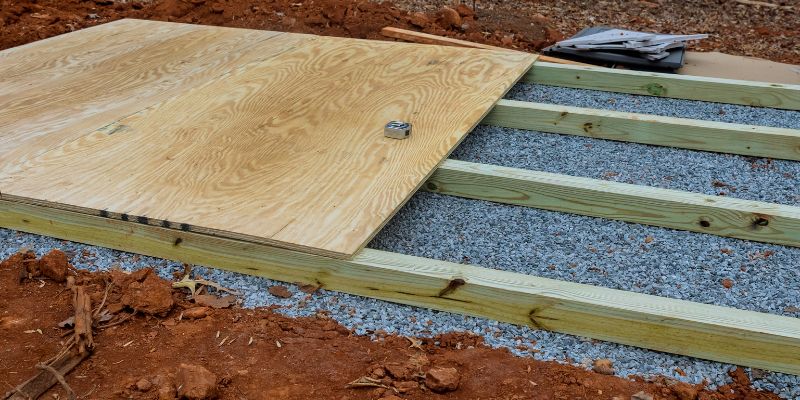
Framing a shed floor from scratch? Our wood shed building guide picks up right where this foundation leaves off.
Pouring Concrete Or Installing Piers
Whether you pour a slab or set piers, both methods depend on the same prep work underneath: a compacted, level, properly drained base.
Step-by-step Guide On Mixing And Pouring Concrete
- Prepare the area: Clear debris and vegetation, then level and compact the ground to provide a sturdy base.
- Build the formwork: Construct forms from boards to contain the concrete and set the foundation’s shape and size.
- Mix the concrete: Mix according to the manufacturer’s instructions, keeping cement, aggregate, and water proportions exact.
- Pour the concrete: Pour into the formwork so it reaches every corner and levels out evenly.
- Finish the surface: Smooth the surface with a trowel for a professional, even finish.
Anchoring Shed Piers For Non-concrete Foundations
- Prepare the site: Clear vegetation and level the ground to create a firm base for the piers.
- Choose the right piers: Select piers sized for your soil type and the shed’s weight, with spacing set by your joist or beam span and the block’s rated load, not a fixed rule of thumb.
- Install the piers: If your shed needs frost protection, dig holes below your local frost line, then anchor each pier with compacted gravel or concrete; frost-exempt sheds can sit blocks on a compacted gravel pad instead.
- Set the frame: Place the shed frame onto the secured piers, checking that all piers are evenly spaced and level with each other.
A quick capacity check: if a loaded shed weighs 4,000 lb (an illustrative figure, weigh your own) and each block is rated for 1,750 lb, you need at least three blocks by rating alone. Real layouts use more, because shorter joist spans and soft soil, not the block rating, usually set the pier count.
Inspecting And Finishing Touches
A post-build inspection catches problems while they’re still easy to fix, before the shed itself is sitting on top of them.
Checklist For Post-build Inspection
- Check for uneven settling or shifting of the foundation
- Inspect the drainage system to ensure it redirects water away from the foundation
- Examine anchoring and support elements for damage or instability
- Re-check that the foundation is level and square, not just level
- Assess the concrete or blockwork for cracks or deterioration
Recommendations For Longevity And Maintenance
- Proper drainage: Grade the surrounding area to direct water away from the foundation.
- Regular inspections: Check yearly, especially after a hard winter or heavy rain.
- Surface sealing: Apply a concrete sealer to reduce moisture penetration and cracking.
- Vegetation management: Keep roots and vegetation away from the foundation edge.
Common Shed Foundation Mistakes To Avoid
- Ignoring the frost line when your shed is not exempt: a slab or pier footing set above the frost line on a shed over 600 sq ft, or one attached to another building, can heave within a single winter.
- Grading toward the shed instead of away from it: even a level foundation fails if water pools against it.
- Checking level but not square: a foundation can be perfectly level and still be out of square, which throws off framing later.
- Skipping compaction: loose fill under a gravel pad or pier settles unevenly within the first year.
Frequently Asked Questions For How To Build Shed Foundation
What Is The Best Foundation For A Shed?
The best foundation for a shed is usually a concrete slab or concrete piers on well-prepared, level ground, since both resist shifting and support the most weight. Gravel or crushed stone is a solid, more affordable option for smaller sheds. Whatever type you choose, grade the site so water drains away from it.
What Is The Cheapest Way To Build A Shed Foundation?
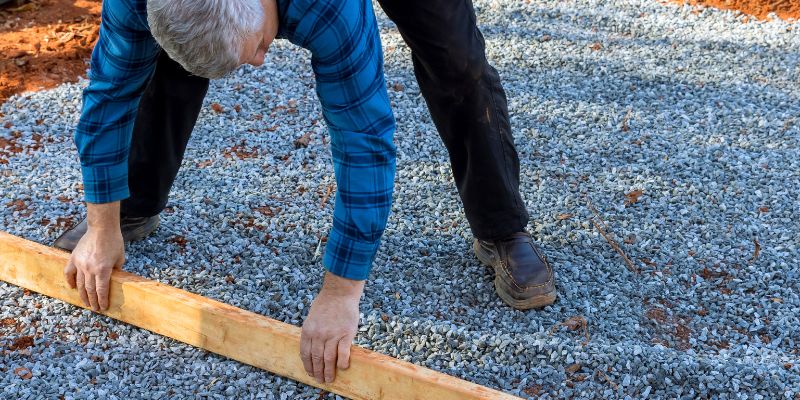
The cheapest way to build a shed foundation is a gravel or crushed-stone pad. Level the ground, lay landscape fabric, add 4 to 6 inches of gravel, and compact it. This works well for smaller sheds on well-drained soil but isn’t a substitute for footings below the frost line on a permanent structure.
How Do You Build A Strong Foundation For A Shed?
To build a strong shed foundation, level the ground, compact a gravel base, then build a pressure-treated frame or set concrete piers below your local frost line and anchor it securely. For maximum strength, fill the frame with concrete for a full slab foundation.
Do You Need A Slab Foundation For A Shed?
No. A slab is not required for every shed. It’s the most stable and durable choice for larger or permanent sheds, but smaller sheds are often adequately supported by gravel pads, skids, or concrete piers, which cost less and are easier to DIY.
Does A Shed Foundation Need To Go Below The Frost Line?
Not always. Under the model IRC, a freestanding light-frame shed of 600 sq ft or less with an eave height of 10 ft or less is exempt from frost protection (R403.1.4.1). Larger or attached structures must have footings below your local frost line, which ranges from about 12 inches in warm climates to 48 to 60 inches in cold northern regions. Always confirm with your local building department.
Conclusion
A solid shed foundation comes down to three things: a level and square site, a properly compacted base, and footings that reach below your local frost line whenever your shed is not frost-exempt. Get those right and the foundation will outlast the shed sitting on top of it.
Sponsored / affiliate links. As an Amazon Associate I earn from qualifying purchases. I may earn additional commission from eligible campaigns.