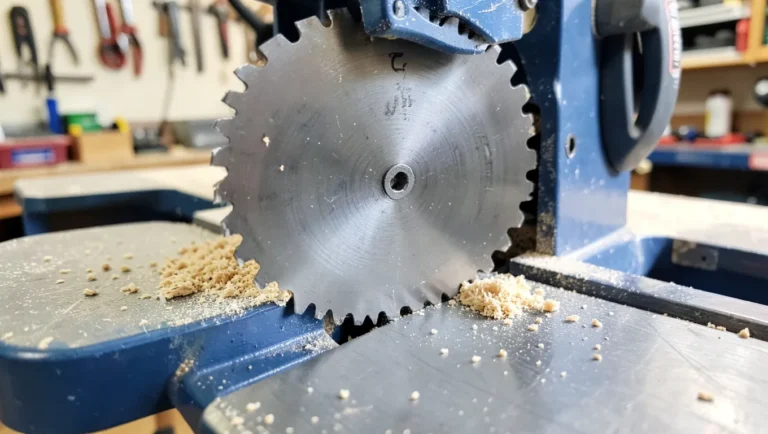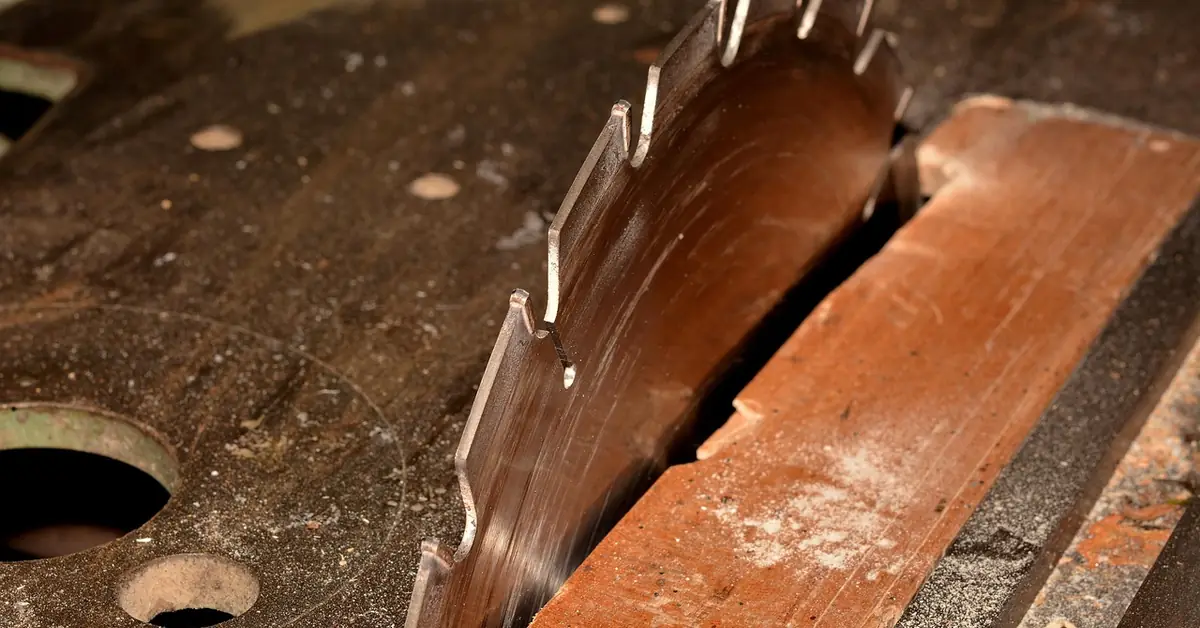
Change a Table Saw Blade Without an Arbor Wrench (No Tools Lost)
A table saw blade comes off without its factory wrench by wedging a scrap wood block against the front teeth to stop rotation, then turning the arbor nut toward the front of the saw with an adjustable wrench or socket, never pliers alone. Skip the wood block and the blade spins free, risking a slipped wrench. This guide covers the wood-block method, which way the nut actually turns, and the blade sizes worth knowing before buying a replacement.
What You Need Before You Start
Best Arbor Wrench Replacement Pick
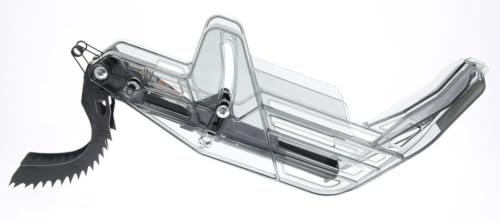
Heavy Duty Thin Wrench for Behind The Arbor Flange
A slim profile slides in behind the arbor flange where a standard wrench or socket often will not fit, so you can grip the nut’s flats directly instead of relying on pliers.
- Best for: Saws with a tight-clearance arbor nut behind the flange
- Why we picked it: Purpose-built thin profile beats improvising with pliers
- Main drawback: Sized for common arbor nuts — measure yours first
Compare more arbor wrench options
 Option 1 Table Saw Arbor Wrench Set (2-Piece Iron)
|
 Option 2 CRAFTSMAN 3-Piece Adjustable Wrench Set
|
 Option 3 WORKPRO 4-Piece Adjustable Wrench Set
|
As an Amazon Associate we earn from qualifying purchases.
- An adjustable wrench, thin box-end wrench, or a socket sized to your arbor nut
- A scrap block of wood (about 4-6 inches long) to lock the blade
- Safety glasses and work gloves
- A small container or magnetic tray to hold the nut and outer flange
- Your saw’s owner’s manual, if you have it, to confirm thread direction and blade size
Step-by-Step: Changing a Table Saw Blade Without an Arbor Wrench
The wood-block method replaces the second wrench that normally holds the blade still — the block does that job instead, so any single wrench, socket, or set of pliers can loosen the nut. Follow these steps in order.
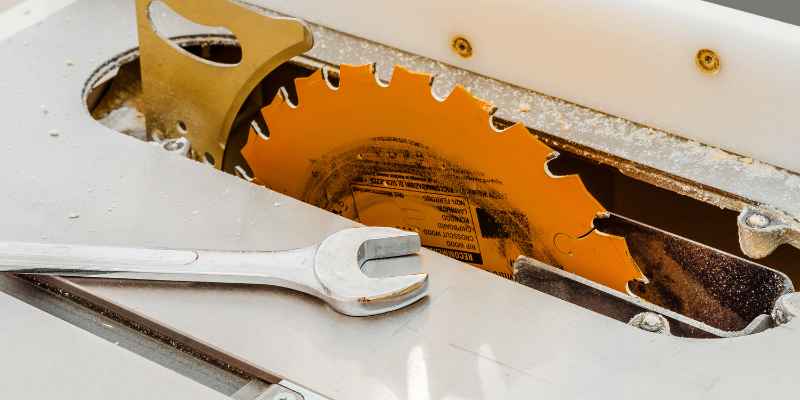
- Unplug the saw: Disconnect the table saw from power before touching the blade guard, throat plate, or arbor nut. Never work on a blade that can be switched on.
- Raise the blade and remove the throat plate: Crank the blade to its highest position, then lift out the metal or plastic throat plate insert so you have full access to the arbor nut and flange.
- Lock the blade so it cannot spin: Press the arbor-lock button if your saw has one. If it doesn’t, wedge a scrap wood block firmly against the front teeth of the blade so the block jams against the table when you turn the nut.
- Loosen the arbor nut: Fit an adjustable wrench, thin box-end wrench, or matching socket on the nut and turn it toward the front of the saw. If it will not budge that way, try turning it toward the back instead — some saws use a reverse-thread nut on purpose.
- Remove the old blade: Once the nut and outer flange are off, lift the blade straight off the arbor. Note which way the teeth and any printed rotation arrow were facing before you set it aside.
- Mount the new blade: Slide the new blade onto the arbor with the teeth and rotation arrow facing the same direction as the old blade, then reinstall the outer flange and washer in their original order.
- Hand-tighten, then snug the nut: Thread the nut on by hand first so it cannot cross-thread. Lock the blade again the same way you did in step 3, then use the wrench to snug the nut firmly — tight enough to hold the blade, not gorilla-tight.
- Reinstall the throat plate and guard: Replace the throat plate and blade guard, plug the saw back in, and spin the blade by hand (with it unplugged first, then re-check with power on and the guard down) to confirm it’s centered and clears the throat plate before making a cut.
This same block-and-wrench approach works whether you’re changing a dull blade for a sharp one or swapping in a different blade type for a specific cut, and it’s the same basic technique manufacturers describe for emergency blade changes when the factory wrench set is missing.
What Table Saw Blade Size and Type Do You Need?
Table saw blades come in three common diameters — 8-inch and 10-inch for most benchtop and contractor saws, and 12-inch on larger cabinet saws — and the arbor hole size (typically 5/8 inch on 10-inch blades) has to match your saw exactly. Check your old blade’s stamped diameter and arbor bore before ordering a replacement.
Blade type matters as much as size. A rip blade has fewer, larger teeth built for fast cuts along the wood grain. A crosscut blade uses more teeth for a cleaner cut across the grain. A combination blade compromises between the two for general shop work, and a dado blade set cuts grooves and isn’t a single blade at all. For a full breakdown of tooth counts and when to use each, see our saw blade and TPI guide.
Whichever blade you install, double-check the rotation arrow printed on the blade body matches the direction stamped near your saw’s arbor — a blade mounted backward will still spin, but it cuts poorly and dulls almost immediately.
Why Won’t the Arbor Nut Turn the Way You Expect?
Standard nuts loosen counterclockwise, but plenty of table saw owners find the arbor nut does the opposite. That’s by design, not a defect. Right-tilt saws typically thread the arbor nut so it tightens as the blade spins during a cut, and left-tilt saws — with the motor and arbor turning the opposite way — are threaded in reverse for the same reason: the cutting torque should snug the nut, never back it off.
Reverse-thread arbor nut is the term for a nut that tightens counterclockwise instead of clockwise. It exists because a standard-thread nut on some saw configurations would slowly loosen every time the blade cuts, which is a real safety hazard — the reverse thread is a deliberate fix, not an inconsistency to work around.
The practical rule that holds across both configurations: loosen by turning the nut toward the front of the saw, tighten by turning it toward the back. If the nut won’t move turning toward the front after a firm, controlled effort, stop and try the opposite direction rather than forcing it — and if your saw’s manual specifies a thread direction, that always wins over a general rule of thumb.
“In the shop, the wood-block method binds fastest when the block is wedged against the front tooth gullets, not flat against the blade’s face — that’s what actually stops rotation instead of letting the blade skate against the wood.”
Common Mistakes When Changing a Blade Without a Wrench
- Forcing the nut in one direction only: if it won’t loosen toward the front after a firm try, it may be a reverse-thread nut — stop and try the other way instead of stripping the flats.
- Skipping the blade lock: without an arbor lock or wood block holding the blade still, the blade just spins with the wrench and the nut never breaks free.
- Using pliers as the primary tool: smooth-jaw pliers round the nut’s corners fast, and a rounded nut is much harder to remove next time.
- Mounting the new blade backward: always match the rotation arrow on the blade to the direction marked on the saw before tightening anything.
- Over-tightening the arbor nut: snug is enough — the blade doesn’t need maximum torque to stay secure, and over-tightening can make the next change harder.
Frequently Asked Questions
Which way do you turn a table saw arbor nut to loosen it?
Turn it toward the front of the saw to loosen and toward the back to tighten — that holds true whether your saw has a standard or reverse-thread arbor nut. Don’t assume counterclockwise always loosens it; check the direction against your manual if the nut won’t move.
Do table saws have reverse-thread arbor nuts?
Yes, on many models. Reverse (left-hand) thread arbor nuts let the blade’s own cutting rotation snug the nut tighter instead of loosening it during use. Right-tilt and left-tilt saws typically thread the nut in opposite directions for this same safety reason, so the exact clockwise or counterclockwise direction depends on your specific saw.
Can I use pliers instead of an arbor wrench?
Only as a last resort. Pliers and adjustable wrenches can round off the nut’s flat sides, and the jaws can slip toward the blade. If you do use pliers, grip the full flat faces of the nut, lock the blade with a wood block first, and be ready to replace the nut if the corners round off.
What can I use instead of a table saw arbor wrench?
An adjustable wrench, a thin box-end wrench, or a socket sized to the nut all work, as long as you first lock the blade so it can’t spin — either with the saw’s built-in arbor-lock button or a scrap wood block wedged against the front teeth.
How do you remove a stuck or stripped arbor nut?
Soak the nut in penetrating oil for 10 to 15 minutes, then use a longer wrench for extra leverage while a wood block holds the blade still. Tapping the wrench handle firmly with a mallet (never striking the blade itself) can also help break a stuck nut free.
Conclusion
Changing a table saw blade without an arbor wrench comes down to two things: locking the blade so it can’t spin, and knowing that the nut might tighten in the direction you’d expect it to loosen. A scrap wood block and any wrench that fits the nut handle the rest. If you’re due for a new blade anyway, see our circular saw vs. table saw comparison or check how to change a circular saw blade if you work with both tools.
For the full range of blade profiles and tooth counts by project type, browse our table saw guides hub.
Sponsored / affiliate links. As an Amazon Associate I earn from qualifying purchases. I may earn additional commission from eligible campaigns.