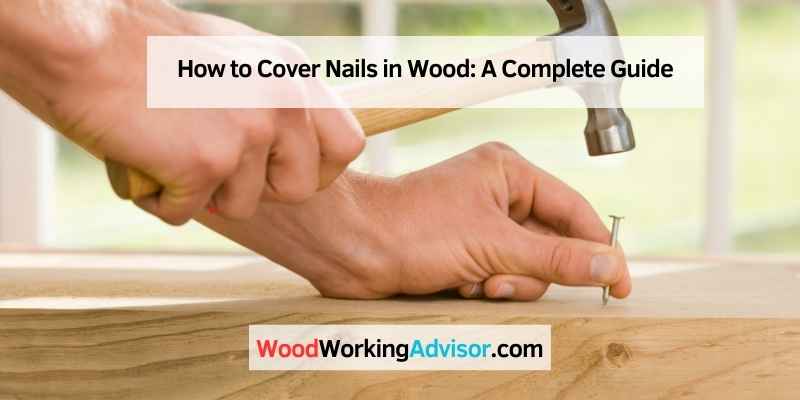
How to Cover Nails in Wood
To cover nails in wood, first, countersink the nails and then cover them with wood filler. Wipe away sawdust and apply the filler, scraping off excess for a smooth surface.
Ensuring the area is clean and free of debris is essential before filling the nail holes. Utilizing wood filler and a putty knife, carefully work the filler into the hole and scrape off any excess. This process allows the filler to harden completely, resulting in a seamless finish.
Whether concealing finishing nails or filling brad nail holes, choosing the right wood filler and technique is crucial for achieving a professional look. Properly covering nails in wood enhances the overall appearance and durability of the woodwork.
Methods For Covering Nails
Learn effective methods for covering nails in wood, including using wood filler, lightweight putty, or countersinking the nails and covering them with wood filler. These techniques will help you achieve a smooth and seamless finish, ensuring your project looks professional and polished.
Using Wood Filler
When dealing with exposed nails in wood, using wood filler is an effective method for concealing them. Wood filler comes in various colors to match different wood finishes, allowing for seamless covering of nail holes. To apply, simply press the filler into the holes, ensuring they are completely filled, and then sand the area to achieve a smooth and even surface.
Using Putty And Caulk
Putty and caulk are also commonly used to cover nails in wood. They can be applied to the nail holes and then smoothed out for a seamless look. This method is particularly useful when working with finished wood surfaces, as it allows for a professional, polished finish.
Using Wood Grain/fiber Manipulation
Another innovative method for concealing nail heads in wood involves wood grain/fiber manipulation. This technique can be employed by strategically manipulating the wood grain pattern around the nail to diminish its visibility. By utilizing specialized tools and techniques, such as wood burning or staining, the appearance of the nail can be seamlessly integrated into the wood’s natural grain and texture.
Materials And Tools
When it comes to covering nails in wood, having the right materials and tools is essential for a professional finish. Here are the key items you’ll need:
Wood Filler
Wood filler is ideal for covering and concealing nail holes in wood surfaces.
Putty And Caulk
Putty and caulk are versatile options for filling in nail holes and ensuring a smooth surface.
Sandpaper
Sandpaper is crucial for smoothing out filled nail holes and achieving a seamless look.
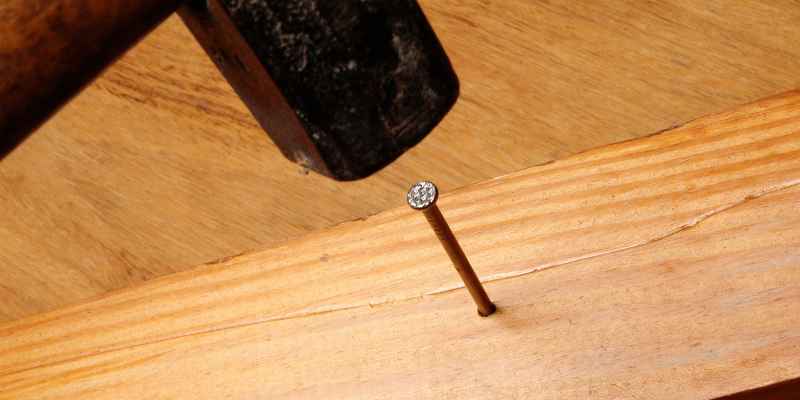
Nail Punch
Use a nail punch to sink protruding nails below the wood surface before covering them.
Step-by-step Guide For Different Surfaces
When it comes to covering nails in wood, there are different techniques you can use depending on the surface you are working with. Whether you are dealing with finished wood, stained wood, or unfinished wood, this step-by-step guide will help you achieve a seamless finish. Below, we have outlined the process for each type of surface, so you can confidently tackle any wood project.
H2how To Cover Nails In Finished Wood/h2
If you are working with finished wood, you need to be careful not to damage the existing finish while covering the nails. Here’s how you can cover nails in finished wood:
- Start by countersinking the nails using a nail punch. This will ensure that the nail heads are slightly below the surface of the wood.
- Once the nails are countersunk, fill the holes with wood filler that matches the color of the finished wood. Use a putty knife to apply the filler and smooth it out.
- Scrape off any excess filler using the side of the putty knife to create a smooth surface.
- Allow the filler to dry and harden completely before sanding it down. This will blend the filled nail holes with the surrounding finished wood.
- After sanding, wipe away any sawdust and apply a finish or touch-up paint, if necessary, to ensure a seamless look.
how To Cover Nails In Stained Wood
When dealing with stained wood, it’s important to preserve the natural color and beauty of the wood while covering the nails. Follow these steps to cover nails in stained wood:
- Using a nail punch, gently tap the nails slightly deeper into the wood without damaging the surrounding stain.
- Once the nails are countersunk, apply wood putty to the nail holes using a putty knife. Make sure to choose a putty that matches the color of the stained wood.
- Scrape off any excess putty and blend it seamlessly with the surrounding stained wood.
- Allow the putty to dry completely before sanding it down. This will help achieve a smooth and cohesive finish.
- After sanding, wipe away any sawdust and apply a clear finish or stain, if necessary, to maintain the consistent look of the stained wood.
how To Cover Nails In Unfinished Wood
Covering nails in unfinished wood requires extra attention to ensure a natural and professional finish. Here are the steps to cover nails in unfinished wood:
- Start by countersinking the nails using a nail punch. This will ensure that the nail heads are slightly below the surface of the wood.
- Apply wood filler that matches the type of wood you are working with. Use a putty knife to fill the nail holes and create a smooth surface.
- Scrape off excess filler and make sure it is flush with the surface of the unfinished wood.
- Allow the filler to dry completely before sanding it down. This will help achieve a seamless finish that blends with the rest of the wood.
- After sanding, wipe away any sawdust and apply a finish or stain to match the surrounding unfinished wood.
By following these step-by-step instructions for different surfaces, you can cover nails in wood effectively and achieve a flawless finish. Remember to choose the appropriate materials that blend seamlessly with your wood project, ensuring it looks professionally done from every angle.
Troubleshooting
Learn how to cover nails in wood with these effective troubleshooting techniques. Discover the best methods and tools to fill nail holes in finished wood and trim, ensuring a smooth and flawless finish. Say goodbye to unsightly nail marks on your wood surfaces.
Dealing With Mushrooming
If you notice mushrooming around the nail holes in wood, you need to take immediate action to fix it. Mushrooming occurs when the wood fibers around the nails protrude, creating an unsightly appearance. Here’s how to deal with mushrooming effectively:
- Use lightweight putty in nail holes. The lightweight putty will mushroom less compared to heavier options like pink putty.
- Apply the lightweight putty carefully, ensuring it is evenly distributed around the nail holes.
- Smooth out the excess putty using a putty knife, creating a seamless surface.
- Allow the putty to dry completely before sanding it down gently to achieve a smooth finish.
Ensuring Proper Adhesion Of Fillers
Adhesion is crucial when filling nail holes in wood to ensure the longevity and durability of the repair. Follow these steps to ensure proper adhesion of fillers:
- Countersink the nails to create a small indentation around the holes.
- Apply wood filler or putty into the holes, making sure to fill them completely.
- Use a putty knife to scrape off the excess filler, leveling it with the surface of the wood.
- Allow the filler to dry completely according to the manufacturer’s instructions.
- Sand the filled holes gently to achieve a smooth and seamless finish.
By following these troubleshooting steps, you can effectively cover nails in wood and achieve a professional-looking result. Whether you are dealing with mushrooming or ensuring proper adhesion of fillers, these techniques will help you achieve a seamless and polished finish on your woodwork.
Tips And Tricks
Covering nails in wood can be achieved by using wood fillers, either water-based or solvent-based, for a seamless finish. After countersinking nails, apply the filler and smooth the surface for a professional look. Avoid mushrooming with lightweight putty and ensure complete hardening before sanding.
Cleaning The Area
Remove any debris or dust from the nail holes using a small brush or compressed air.
Choosing The Right Color Of Filler And Putty
Select filler that matches the wood finish color to ensure a seamless blend with the surface.
Related Questions And Answers
Looking for ways to cover nails in wood? There are a few options like using wood filler or putty to hide nail holes. You can cover the nails by countersinking them and filling the holes with wood filler, then sanding down the surface for a seamless finish.
Can You Reuse Old Nail Holes In Wood If They’re Filled?
Old nail holes in wood can be reused if filled adequately with an appropriate filler or compound. Ensure the filler is compatible with the wood type.
Can Premixed Joint Compound Be Used To Fill Nail Holes?
Premixed joint compound is suitable for filling nail holes in wood. It provides a smooth finish and dries quickly for ease of use.
Frequently Asked Questions On How To Cover Nails In Wood
What Can I Use To Cover Nail Holes In Wood?
You can use wood filler or putty to cover nail holes in wood. Apply and smooth for a seamless finish.
How Do You Cover Nail Marks On Wood?
To cover nail marks on wood, use wood filler or putty. Press filler into holes, then smooth surface and let it dry completely.
How Do You Cover Up Trim Nails?
To cover up trim nails, fill the holes with wood filler. There are two types: water-based and solvent-based. Use water-based fillers for most interior applications. For a seamless finish, countersink the nails and cover them with wood filler, then scrape off the excess to create a smooth surface.
How Do You Hide Finishing Nail Holes?
To hide finishing nail holes, use lightweight putty. Apply the putty carefully, avoiding mushrooming. It is recommended to use a small container of putty as it dries out fast. Avoid using heavier pink putty. Another option is to countersink the nails and cover them with wood filler, smoothing the surface with a putty knife.
Conclusion
Achieve flawless wood surfaces by effectively covering nail holes with the right techniques and materials. From wood fillers to putties, there are various options to ensure a seamless finish. Remember to choose the right product for the job and follow the proper steps for a professional outcome.