How to Quickly Fill Large Gaps in Wood Trim: Expert Tips
To fill large gaps in wood trim, apply wood filler into the gaps using a putty knife, then sand the surface once the filler has dried. If you have wood trim with noticeable gaps, it can detract from the overall appearance of the room.
However, with the help of a few simple steps, you can easily fill those large gaps in your wood trim. We will guide you on how to fill these gaps effectively, leaving your trim looking smooth and perfectly finished. By following these straightforward instructions, you can achieve a professional-looking result without the need to hire a professional.
So let’s get started and transform your wood trim into a seamless and elegant feature of your home.
Recognizing Wood Trim Gaps
Recognizing wood trim gaps is crucial for filling large gaps in wood trim. Learn effective techniques to seamlessly fill these gaps and restore the beauty of your woodwork.
Importance Of Addressing Gap Issues Timely
Recognizing wood trim gaps is crucial to maintaining the integrity and aesthetics of your woodwork. These gaps can occur for various reasons, such as changes in temperature and humidity, settling of the building, or improper installation. Ignoring these gaps may lead to more significant problems, including further damage to your wood trim and potential intrusion of pests and drafts.
Addressing gap issues in a timely manner is important for several reasons. Firstly, it helps to prevent further damage to the wood trim. Gaps in the trim can allow moisture and air to penetrate, which can lead to swelling, warping, and deterioration of the wood over time. By filling these gaps promptly, you can prevent the need for costly repairs or replacements in the future.
Furthermore, addressing gap issues promptly helps to maintain the overall aesthetic appeal of your wood trim. Large gaps can be unsightly and can detract from the beauty of your interior design. By filling these gaps, you can restore a seamless and polished look to your woodwork, enhancing the overall appearance of your space.
Estimating The Size Of The Gaps For Appropriate Treatment
Estimating the size of the gaps in your wood trim is essential to determine the appropriate treatment method. Different sizes of gaps require different approaches to ensure a secure and effective fill. Here are some methods to help you estimate the size of the gaps:
- Using a ruler or tape measure, measure the width and depth of the gap. Recording these measurements will help you determine the amount of filler material needed.
- Inspect the gap closely to determine if it is a constant size throughout or if it varies along the length. This will help you decide if you need to use different filler techniques in different areas.
- Consider the location of the gaps. Gaps in highly visible areas may require more precision and attention to detail in the filling process.
- Take note of any irregularities or obstacles near the gaps, such as nails or screws. These may affect how the filler material is applied.
By accurately estimating the size of the gaps, you can ensure that you choose the appropriate filler material and technique for effectively filling large wood trim gaps. This will result in a seamless and professional-looking finish that will enhance the overall appeal of your woodwork.
Preparing The Area
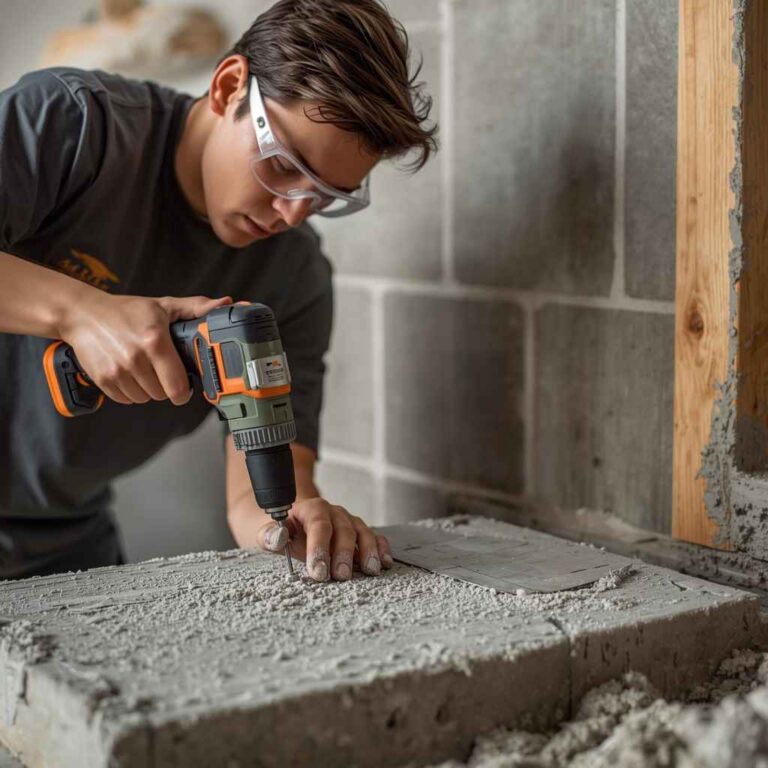
Filling large gaps in wood trim is an essential step in achieving a seamless and professional finish. Before you begin the actual filling process, it is important to prepare the area properly. This involves cleaning and sanding the wood trim, clearing out loose debris from the gaps, and ensuring the area is dry.
Cleaning And Sanding The Wood Trim
In order to ensure a strong bond between the filler material and the wood trim, it is crucial to clean the surface thoroughly. Use a mild detergent or wood cleaner and a soft cloth to remove any dirt, dust, or grime from the trim. Pay close attention to the gaps, making sure they are free from any debris.
After cleaning, sanding the wood trim is essential for promoting adhesion and a smooth finish. Use medium-grit sandpaper to remove any imperfections or rough areas on the surface. Be sure to sand the gaps as well, as this will help the filler material adhere more effectively.
Clearing Out Loose Debris From Gaps
Prior to filling the gaps, it is important to ensure they are clear of any loose debris. Use a sharp chisel or putty knife to carefully remove any loose or deteriorated wood, old filler, or other foreign objects that may be present in the gaps. Take your time to ensure that the gaps are clean and free from any loose material, as this will help ensure a strong and long-lasting fill.
Ensuring The Area Is Dry
Before you proceed with filling the gaps, it is essential to ensure that the wood trim and the surrounding area are completely dry. Moisture can compromise the adhesion and longevity of the filler material. If necessary, use a dry cloth or paper towel to remove any residual moisture from the surface before filling the gaps.
By following these steps to prepare the area, you are setting yourself up for a successful and durable fill. Cleaning and sanding the wood trim, clearing out loose debris from the gaps, and ensuring the area is dry are all crucial to achieving a seamless and professional finish when filling large gaps in wood trim.
Choosing The Right Filler
If you have large gaps in your wood trim, choosing the right filler is crucial for seamless repair. Find a filler specifically designed for wood, ensure it matches the color and grain pattern, and follow the application instructions carefully for best results.
When it comes to filling large gaps in wood trim, choosing the right filler is crucial. The type of filler you select will depend on various factors, including the size of the gap, the location of the trim, and the desired finish. To help you make an informed decision, let’s explore the types of fillers suitable for large gaps and the factors to consider when selecting the right filler.
Types Of Fillers Suitable For Large Gaps
When dealing with large gaps in wood trim, you’ll want to use a filler specifically designed for such applications. Here are a few types of fillers that work well for filling large gaps:
- Epoxy Fillers: Epoxy fillers are known for their exceptional durability and adhesive properties. They are perfect for filling large gaps in wood trim, as they can withstand heavy use and provide a smooth and seamless finish.
- Wood Putty: Wood putty is a popular choice for filling small to medium-sized gaps, but it can also be used for larger gaps. It is easy to work with and can be sanded and stained to match the surrounding wood trim.
- Polyurethane Sealants: Polyurethane sealants are flexible and can accommodate slight movement in the wood trim. They are ideal for filling large gaps that may experience expansion and contraction due to changes in humidity or temperature.
Factors To Consider For The Right Filler Selection
When selecting the right filler for filling large gaps in wood trim, consider the following factors:
- Size of the Gap: The size of the gap will determine the type of filler you need. Epoxy fillers and wood putty are suitable for larger gaps, while smaller gaps can be filled with regular wood putty.
- Location of the Trim: Consider where the trim is located. If it is in a high-traffic area or exposed to moisture, you’ll want to choose a filler that is durable and resistant to water damage.
- Desired Finish: Think about the finish you want to achieve. Some fillers can be sanded and stained, while others may require painting. Choose a filler that can be finished to match the surrounding wood trim.
- Application Method: Consider the ease of application. Some fillers come in a pre-mixed formula, while others require mixing. Choose a filler that aligns with your comfort level and the tools you have available.
Usage Of Caulking For Flexible Joints
In addition to using fillers, caulking can be utilized for flexible joints in wood trim. Caulk is a flexible material that can fill gaps and accommodate movement in the wood. It is especially useful for joints that may expand and contract, preventing cracks and ensuring a seamless appearance. When using caulking for flexible joints, make sure to select a high-quality, paintable caulk that is compatible with the trim and can withstand the intended use.
How To Quickly Fill Large Gaps
Wood trim can add a touch of elegance and sophistication to any space. However, over time, gaps may appear between the trim and the wall, detracting from its beauty. Filling these gaps is essential not only for aesthetic reasons but also to prevent drafts and moisture from seeping in. In this post, we will focus on one specific aspect – how to quickly fill large gaps in wood trim. By following these step-by-step instructions and expert tips, you can achieve a smooth and seamless finish that will have your trim looking as good as new.
Step-by-step Process To Apply The Chosen Filler
- Preparation is key. Begin by thoroughly cleaning the gap and removing any loose debris or old filler. A clean surface ensures better adhesion and a longer-lasting repair.
- Select a suitable filler. There are various options available in the market, such as epoxy wood filler or silicone-based products. Choose a filler that matches the color of your trim and is designed to fill large gaps.
- Using a putty knife or a caulking gun, apply the filler to the gap. Fill the entire gap and slightly overfill, as the filler may shrink upon drying. Ensure that the filler is evenly distributed and tightly packed.
- Smooth the filler. Wet your finger with water and gently press it onto the filler, smoothing out any unevenness. Alternatively, you can use a putty knife or a flat edge to achieve a flush finish.
- Allow the filler to dry completely. Refer to the manufacturer’s instructions for specific drying times, as they may vary based on the product and environmental conditions.
- Once dry, sand the filled area using fine-grit sandpaper. This will help to blend the filler with the surrounding trim, creating a seamless appearance.
- Remove any dust or debris resulting from the sanding process, and wipe down the area with a damp cloth.
- Finally, apply a coat of paint or varnish to match the color and finish of your wood trim. This will further enhance the seamless look and provide added protection.
Expert Tips For A Smooth Finish
When filling large gaps in wood trim, it’s important to keep these expert tips in mind:
- Choose a filler that is specifically designed for filling large gaps. This will ensure better adhesion and minimize the risk of cracking or shrinking over time.
- Work in small sections to ensure that the filler is applied consistently and smoothly. This will result in a more seamless finish.
- Use the appropriate tools, such as a putty knife or a caulking gun, to apply the filler accurately and efficiently.
- Avoid overfilling the gap, as excessive filler may create a bumpy or uneven surface. It’s better to slightly underfill and add additional layers if necessary.
- Always follow the manufacturer’s instructions for drying times and conditions. This will help to ensure a durable and long-lasting repair.
Filling large gaps in wood trim may seem like a daunting task, but by following these step-by-step instructions and expert tips, you can achieve professional-quality results. With a little time and effort, you can restore the beauty and functionality of your wood trim, leaving it looking flawless for years to come.
Finishing Touches Post-filling
Once you have successfully filled large gaps in wood trim, it’s time to focus on the finishing touches. These final steps are crucial in ensuring a seamless and professional-looking result. By sanding for an even surface, priming and painting to match existing trim, and sealing to prevent future gaps, you can achieve a flawless finish that blends seamlessly with the rest of the trim.
Sanding For An Even Surface
After the filler has dried, it’s essential to sand the surface to create an even finish. Start by using a medium-grit sandpaper to smooth out the filled gaps. Move the sandpaper in a back-and-forth motion, applying light pressure to avoid damaging the surrounding wood trim. As you sand, regularly check the surface to ensure it is level and smooth. Once you have achieved the desired result, switch to a fine-grit sandpaper to create a polished and seamless finish.
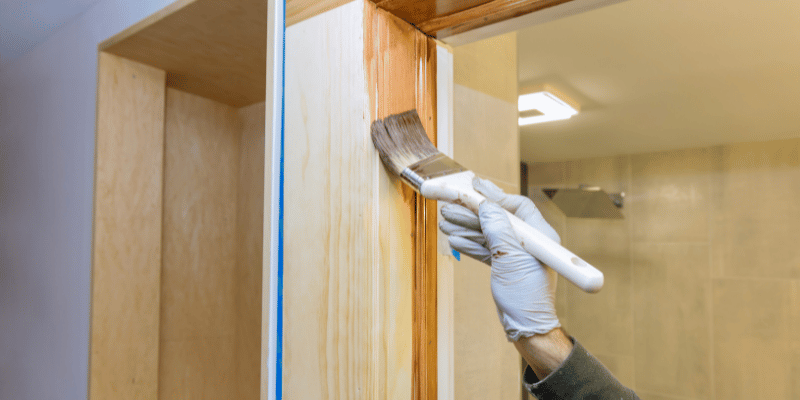
Priming And Painting To Match Existing Trim
Once the surface is smooth, it’s time to prime and paint the filled gaps to match the existing trim. Begin by applying a quality primer specifically designed for wood surfaces. Using a brush or roller, evenly coat the filled gaps and surrounding area with the primer, ensuring complete coverage. Allow the primer to dry completely before proceeding to the next step.
Now that the primer has dried, it’s time to apply the paint. Choose a paint color that matches the existing trim and ensure it is suitable for wood surfaces. Apply the paint in thin, even coats, using a brush or roller. Allow each coat to dry before applying the next. Repeat this process until you achieve the desired color and a seamless blend with the rest of the trim.
Sealing To Prevent Future Gaps
To ensure the longevity of your filled gaps and prevent future gaps from occurring, it’s crucial to seal the wood trim. There are various sealing products available, such as wood sealants or clear caulk, that can effectively fill any potential gaps and provide a protective barrier. Apply the sealant generously along the filled gaps and adjoining areas, ensuring complete coverage. Use a putty knife or your fingers to smooth and level the sealant. Allow it to dry according to the manufacturer’s instructions.
Once the sealing is complete, your wood trim will not only look flawless but also be better equipped to withstand environmental factors and prevent further gaps from occurring.
Frequently Asked Questions On How To Fill Large Gaps In Wood Trim
How Do You Fill Big Trim Gaps?
To fill big trim gaps, you can use caulk or filler. Apply the caulk or filler into the gap using a caulk gun or putty knife. Smooth it out with a wet finger or a damp cloth. Allow it to dry completely before painting or finishing.
What Should I Use To Fill Large Gaps In Wood?
Use a wood filler or epoxy-based product to fill large gaps in wood. These fillers are specifically designed to bond and fill gaps in wood surfaces, providing a durable and seamless finish. Choose a filler that matches the color and texture of the wood for a natural-looking result.
Is Caulk Or Wood Filler Better For Trim?
Caulk is better for trim because it provides a flexible, water-resistant seal that can expand and contract with temperature changes. Wood filler is mainly used for repairing damaged wood and may not withstand these conditions as well.
What Kind Of Caulk For Trim Gaps?
For trim gaps, it’s best to use a caulk that is specifically designed for that purpose. Look for a high-quality silicone caulk that is paintable and flexible. This type of caulk will adhere well to both trim and surfaces, and it will provide a long-lasting seal.
Conclusion
Tackling large gaps in wood trim is a common challenge faced by many homeowners. By following the step-by-step techniques outlined in this blog post, you can effectively fill those gaps and restore the beauty and integrity of your wood trim.
Remember to choose the right filler and sand it down for a smooth finish. Don’t let those gaps detract from the overall appeal of your home; take action and achieve impeccable results.