How to Finish Cedar Wood for Indoors
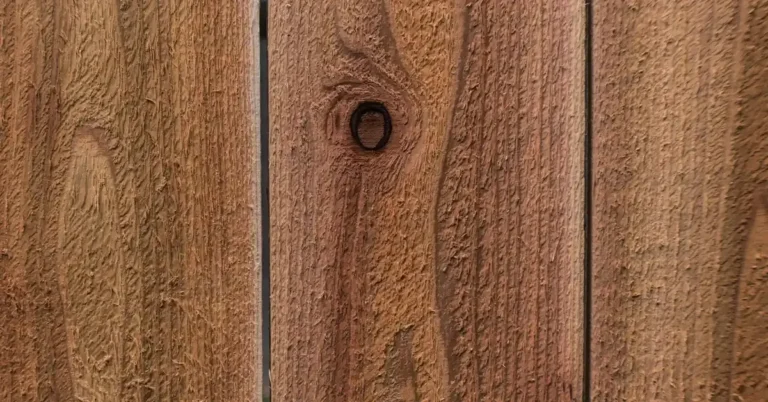
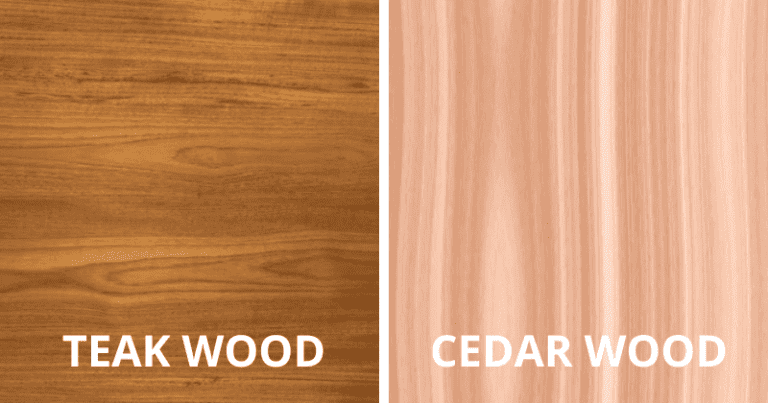
The best way to finish cedar wood indoors is with an oil-poly blend or paste wax — straight polyurethane looks great at first but has documented adhesion problems at cedar’s knots, sometimes flaking within a year. Skip a compatible finish and you’ll be scraping and refinishing sooner than a properly-oiled piece, which can go decades without failing. This guide covers surface prep, which finishes actually hold up on cedar, and how to stop the wood from turning grey over time.
Cedar Mantel Finishing
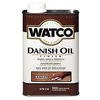
Watco Danish Oil, Natural
Soaks into cedar’s open grain rather than forming a film on top, so there’s no coating to flake at the knots the way polyurethane can.
- Best for: Furniture, mantels, and boards where you want the natural reddish tone to stay visible
- Why we picked it: Oil-poly blend finishes on cedar have shown zero deterioration after 17 years of documented interior use
- Main drawback: Needs periodic reapplication over the years, unlike a one-time film finish
 OPTION 1 Minwax Paste Finishing Wax
|
 OPTION 2 Tried & True Oil/Beeswax Blend
|
 OPTION 3 Minwax Wipe-On Polyurethane
|
As an Amazon Associate we earn from qualifying purchases.
- Start by sanding the wood with coarse-grit sandpaper to remove any roughness.
- Continue sanding with progressively finer grits of sandpaper until the wood is smooth to the touch.
- Wipe away any dust from sanding with a damp cloth.
- Apply a primer designed for use on cedar wood only if you plan to paint over it.
- Allow the primer to dry completely before proceeding to the next step.
Does Interior Cedar Need to Be Sealed
If you’re considering using cedar for your home’s interior, you may wonder if you need to seal it. The answer is: it depends on the room. If the cedar is in a room with high humidity, such as a bathroom, it’s a good idea to seal it with a moisture-tolerant finish like Danish oil. This will help prevent the wood from warping or cracking. However, if the cedar will be in a low-humidity room, such as a living room or bedroom, sealing isn’t strictly necessary — a wax finish can be enough to protect the surface and bring out the grain.
How to Clean Rough Cedar Interior Walls
Rough cedar interior walls are a beautiful addition to any home. But, like any natural wood product, they require special care when cleaning. Here are some tips on how to clean rough cedar interior walls and keep them looking their best.
- Dust regularly: rough cedar attracts dust, so dust your walls regularly with a soft cloth or feather duster.
- Vacuum with the brush attachment: this removes dirt and debris trapped in the textured surface of the wood.
- Spot clean as needed: use a mild soap and water solution on stains, then rinse the area well so no soap residue is left behind.
- Protect against sunlight and moisture: hang curtains or blinds on large windows and use a humidifier in rooms that tend to run dry.
If you’d like the full outdoor version of this process — a different set of steps, since exterior cedar needs weather-grade products — see our dedicated guide on how to finish cedar for outdoor use.
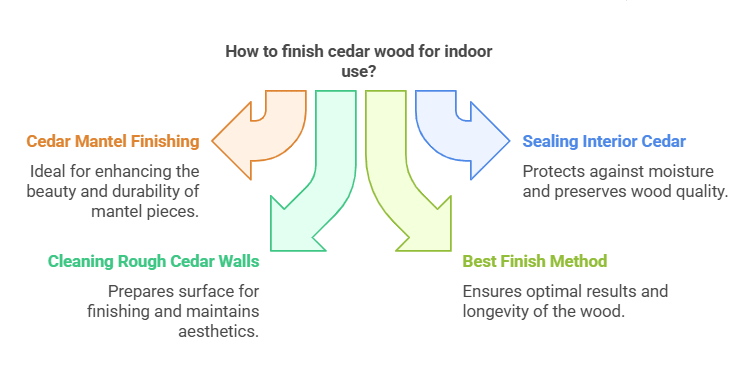
Indoor Cedar
Indoor cedar is used for a variety of purposes: home construction, furniture, and cabinetry among them. Cedar is known for its durability and resistance to rot, making it a popular choice for indoor use, though as covered below it does need the right finish to stay looking its best over time — see our full wood finishing guide for finish types beyond cedar specifically.
Will Cedar Turn Grey Indoors
As beautiful as cedar is, many homeowners worry that the wood will turn grey if used indoors. While it’s true that cedar can lose its vibrant color over time when exposed to sunlight, there are ways to prevent this. Start by sealing the wood with a clear sealer, oil, or stain to keep your cedar looking its best. This will help protect the wood from UV fading. You’ll also want to clean and dust your cedar regularly, using a soft cloth or brush to avoid scratching the surface. If your cedar does start to turn grey, products exist that can help restore its natural color — with some care and attention, cedar furniture can look good for years to come.
How to Finish Cedar Boards
Cedar boards are a great way to finish off a project, providing a natural look and feel that adds to a piece’s overall aesthetic. Here are a few tips on how to finish cedar boards for an indoor project:
- Start by sanding the boards down with fine-grit sandpaper to smooth out any irregularities on the surface.
- Once sanded, apply an oil finish or paste wax rather than a straight polyurethane, which is more prone to flaking at any knots in the board over time.
- Allow the finish to dry completely before moving on to the next coat.
- Once dry, buff or apply a light second coat as the product directions recommend for extra sheen and protection.
Is Cedar Toxic to Humans
Cedar sawdust contains plicatic acid, which can act as a respiratory sensitizer with repeated exposure — this is mainly a concern during cutting and sanding, not from living with finished cedar furniture or paneling. If you’re cutting or sanding cedar, wear a dust mask and work in a ventilated area; wash any cedar dust off skin promptly, since it can also cause contact irritation in sensitive individuals. For the full breakdown of cedar’s health risks, see our dedicated guide: Why Is Cedar Toxic?
Finishing Cedar With Polyurethane
Polyurethane is a clear coating that protects cedar from moisture damage while letting the wood’s natural beauty show through — but it’s not without a real downside on this particular species. Cedar’s knots can cause polyurethane to lose adhesion over time; one documented case showed the finish looking great for the first year, then flaking and peeling right at the knots. If you still want a poly-style finish, a wipe-on polyurethane applied in thin coats holds up better than a thick brushed-on coat, since it puts less film stress on the wood at those knot areas.
Start by sanding the wood with fine-grit sandpaper to create a smooth surface. Wipe away dust with a damp cloth and let the wood dry completely. Once dry, apply a thin layer of polyurethane with a brush, cloth, or roller, working in small sections. Let the first coat dry for at least four hours before applying a second coat.
📊 An oil-poly blend tung oil finish has shown no deterioration after 17 years of interior display use, versus documented knot-adhesion failures with straight polyurethane on cedar within a year. Source: Bear Creek Lumber, Real Cedar.
What is the Best Finish for Interior Cedar?
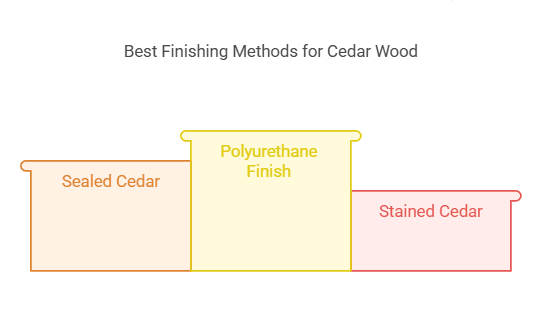
There are a few different options when it comes to finishes for interior cedar. A clear oil finish will show the wood’s natural beauty and has held up over 17 years in documented interior use without deterioration. A stain can add color and depth, though it will mute some of cedar’s natural reddish tone. Paint is also an option, but it hides the grain entirely and may not last as long as other finishes. Straight polyurethane looks glossy at first but carries a real risk of flaking at knots over time — it’s not the safest default choice for this species specifically, even though it’s a fine choice on many other woods. Ultimately, the best finish for interior cedar depends on your preference and the look you’re trying to achieve, balanced against that knot-adhesion risk.
Wax As An Interior Cedar Finish
Clear paste wax is worth considering on its own: few finishes bring out cedar’s inner luster as well, and it’s low-maintenance to reapply. The tradeoff is that wax shows scratches more readily than a film finish, though these can usually be touched up with a bit more tinted wax rather than a full strip-and-refinish.
Is Cedar OK to Use Indoors?
Cedar is a durable, rot-resistant wood used for centuries in everything from fence posts and shingles to cedar chests and saunas. Because of its natural resistance to insects and decay, cedar is often the wood of choice for outdoor projects. But what about using cedar indoors?
There are a few things to consider. First, cedar is a dense wood that can be difficult to work with — it tends to split and crack more easily than other woods, so take extra care with any carpentry. Second, cedar produces a strong smell that some people find overpowering; if you’re sensitive to smells or have allergies, you might want to steer clear of using cedar indoors. That said, cedar’s natural resistance to pests makes it ideal for closets and storage areas, and because it’s such a sturdy wood, cedar furniture can last for generations if properly cared for. So is cedar OK to use indoors? It depends on your individual needs and preferences — if you don’t mind the strong smell and take extra care when working with it, cedar can make a great addition to your indoor space.
What is the Best Way to Finish Cedar Wood?
If you’re looking to finish your cedar wood the best way possible, there are a few things to consider. First, know what kind of cedar wood you’re working with: Western red cedar is the most popular for finishing, but white and yellow cedar are also used and can take finishes slightly differently.
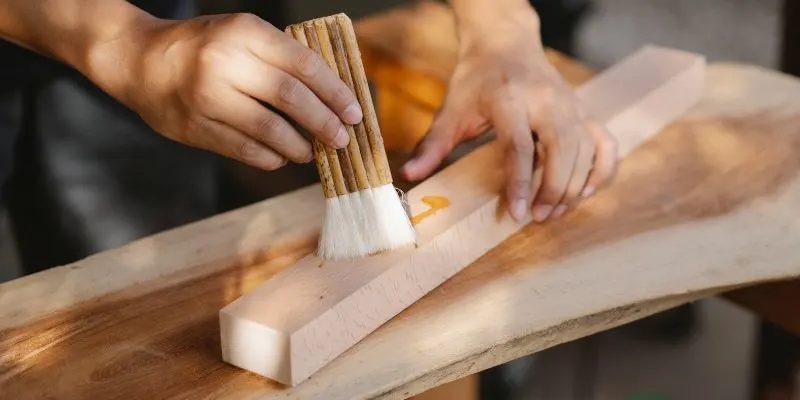
Generally, the best way to finish cedar wood is with an oil finish, paste wax, or a stain designed for the wood’s natural characteristics — sealers help protect against weathering while stains can enhance the wood’s natural grain. If you’re unsure which route to go, consult a professional before beginning any project. When applying, follow all directions carefully: start by sanding the surface to create a smooth finish, then apply the sealer, oil, or stain evenly using a brush or roller, and allow ample time for the product to dry completely before the next step.
Western Red Cedar Vs. White And Yellow Cedar
Western red cedar is the species most commonly recommended for finishing because of how evenly it absorbs oil and stain. White and yellow cedar have a tighter grain and can require a slightly more diluted first coat of oil to avoid a blotchy finish — testing on an offcut first matters more with these species than with Western red cedar.
Does Cedar Need to Be Stained Or Sealed?
No, cedar does not strictly need to be stained or sealed — it’s a naturally rot-resistant wood that can withstand normal indoor conditions without any treatment. However, you may want to seal or stain cedar if you want to change the wood’s color, protect it from UV fading, or reduce how quickly it turns grey over time.
Frequently Asked Questions
What Is The Best Finish For Interior Cedar?
A clear oil finish or paste wax is generally the safest choice for interior cedar — both have shown strong long-term performance, while straight polyurethane carries a documented risk of flaking at cedar’s knots over time.
Is Cedar OK To Use Indoors?
Yes. Cedar is durable and pest-resistant, making it a good indoor choice, though it’s a dense wood that can split more easily during carpentry, and its strong scent isn’t for everyone.
What Is The Best Way To Finish Cedar Wood?
Sand the surface smooth, then apply an oil finish, paste wax, or stain evenly with a brush or roller, letting each coat dry fully. Western red cedar takes finish most evenly; white and yellow cedar may need a diluted first coat.
Does Cedar Need To Be Stained Or Sealed?
No, cedar is naturally rot-resistant and doesn’t require any treatment to hold up indoors. Sealing or staining is worth doing if you want to change its color, block UV fading, or slow the natural greying that happens over time.
Conclusion
Cedar is a beautiful wood for indoor projects, but the finish you pick matters more than most guides let on. Sand the wood with fine-grit sandpaper to smooth rough edges, then choose an oil finish or paste wax over straight polyurethane — it holds up over decades where poly has a real risk of flaking at cedar’s knots. Reapply oil or wax periodically and your cedar piece will look good for years to come.
Sponsored / affiliate links. As an Amazon Associate I earn from qualifying purchases. I may earn additional commission from eligible campaigns.