How To Glue Plywood Together: Master the Art of Seamless Bonding
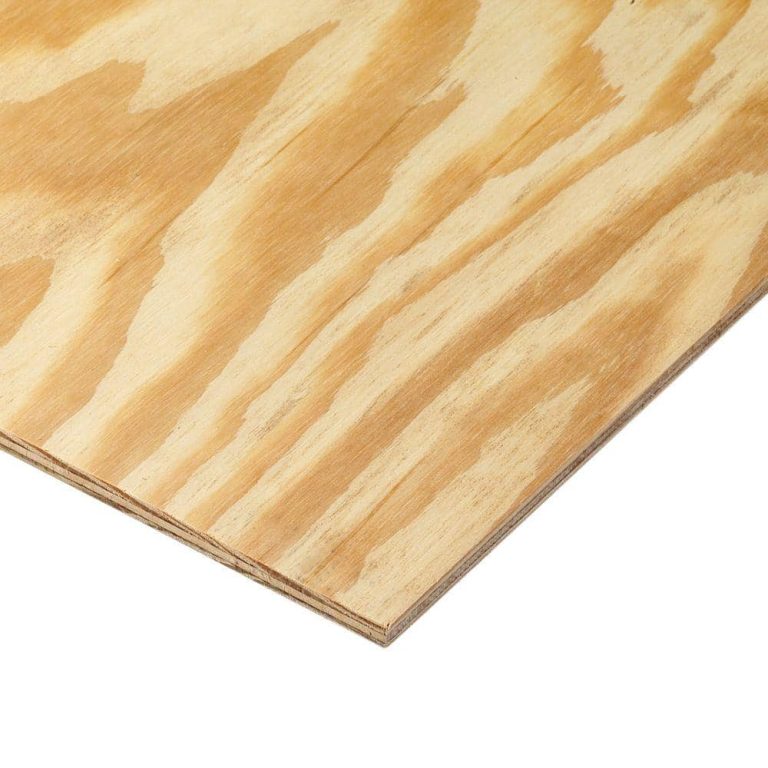
Plywood is a versatile material that is commonly used in various woodworking projects. When working with plywood, it’s important to know how to properly glue the pieces together for a strong and durable bond. In this guide, we will provide step-by-step instructions on how to glue plywood together to achieve the best results.
Materials You’ll Need
- Plywood sheets
- Wood glue (preferably waterproof)
- Clamps
- Sanding block or sandpaper
- Paintbrush or roller
- Clean cloth
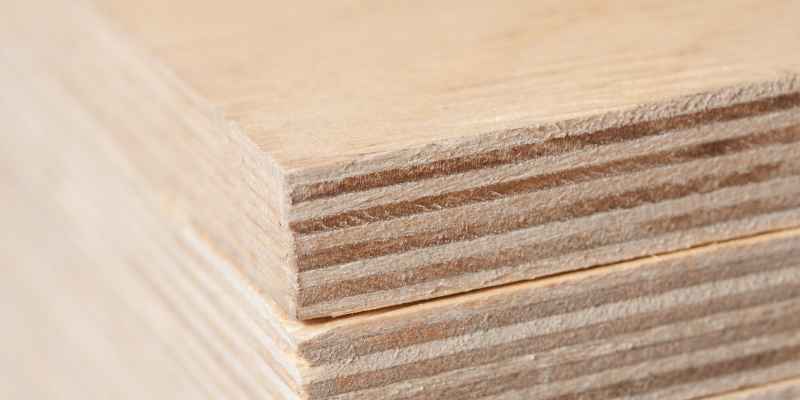
Step 1: Prepare the Plywood Surfaces
Before applying glue, ensure that the surfaces to be glued are clean, dry, and free from any dust or debris. Sand the edges and faces of the plywood to create a smooth surface for better adhesive bonding.
Step 2: Apply Glue
Using a paintbrush or roller, apply a thin and even layer of wood glue to one of the plywood surfaces. Be cautious not to apply too much glue, as excess glue can seep out and create a messy finish.
Step 3: Spread the Glue
Spread the glue evenly using a clean cloth or a disposable brush. Make sure the entire surface is covered without any gaps. This will ensure a strong and uniform bond between the plywood sheets.
Step 4: Align and Join the Plywood Sheets
Carefully align the edges of the plywood sheets that need to be joined together. Press them together firmly to ensure a tight bond. Check for any gaps or misalignments and make necessary adjustments before the glue dries.
Step 5: Apply Pressure
Apply pressure on the glued plywood by using clamps. Position the clamps along the edges, leaving a few inches of space between them. Tighten them evenly to distribute the pressure uniformly.
Step 6: Remove Excess Glue
After securing the clamps, clean off any excess glue that has squeezed out from the joints. Use a damp cloth or sponge to wipe away the excess glue before it dries. This will make the final finish neater and more professional-looking.
Step 7: Let It Dry
Allow the glued plywood to dry completely as per the manufacturer’s instructions. This typically takes 24 hours for the adhesive to set and create a strong bond. Avoid moving or applying stress to the plywood during this drying period.
Step 8: Sand and Finish
Once the glue has fully dried, remove the clamps and sand the glued joints to create a smooth and seamless surface. This step will ensure that the transition between the plywood sheets is not visible after finishing.
Conclusion
By following these step-by-step instructions, you can successfully glue plywood together for your woodworking projects. Remember to use the right adhesive and ensure clean surfaces for the best results. Taking your time to properly align, join, and apply pressure will result in a strong and durable bond. Happy woodworking!