How to Install Hardwood Flooring on Plywood (NWFA Specs)
Hardwood flooring nails directly to a plywood subfloor when that subfloor is at least 5/8-inch CDX Exposure 1 panel and the wood’s moisture content sits within 4% of the subfloor’s — skip either check and boards cup or gap within a year. Getting it wrong means pulling up an entire room after the first humid summer. This guide covers NWFA-spec subfloor prep, the correct nail-down schedule, and the acclimation timing that actually prevents warping.
[Insert your Affiliate Disclosure reusable block here]
Quick Answer
Level the plywood subfloor, confirm it’s at least 5/8" CDX with moisture content within 4% of the flooring, then blind-nail solid hardwood perpendicular to the joists using 1⅓⅓2" cleats or 15.5-gauge staples spaced 6–8" apart, starting from the longest, straightest wall.
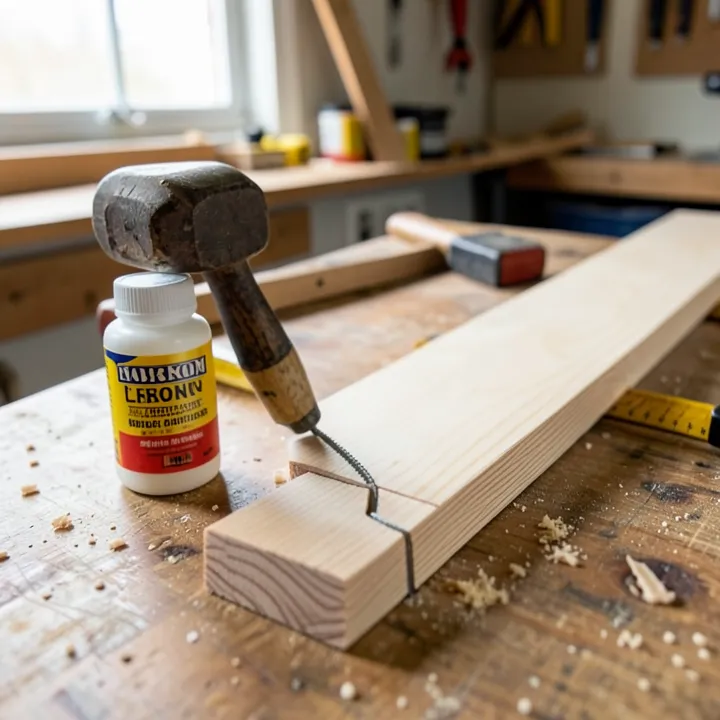
Tools and Materials You’ll Need
Best Moisture Meter Pick

General Tools MMD4E Pin-Type Moisture Meter
A pin-type meter reads both the plywood subfloor and the hardwood planks so you can verify the NWFA’s 4% moisture differential rule before a single cleat goes in.
- Best for: confirming subfloor and flooring moisture match before nail-down
- Why we picked it: stainless pins give a direct reading on both plywood and hardwood, which pinless scanners can misread on thick panels
- Main drawback: pins leave tiny holes, so test in an inconspicuous spot or under where trim will sit
Compare more nail-down installation tools
 Option 1 Metabo HPT 2-in-1 Flooring Nailer/Stapler
|
 Option 2 Roberts Tongue & Groove Flooring Adhesive
|
 Option 3 Homax 8" Notched Adhesive Spreader
|
As an Amazon Associate we earn from qualifying purchases.
- Plywood subfloor panels — 5/8" CDX Exposure 1 minimum, 3/4" CDX preferred
- Pin-type moisture meter for wood (checks both subfloor and flooring readings)
- Pneumatic flooring nailer/stapler accepting 15.5–18 gauge cleats or staples
- 1½" minimum flooring cleats or 15.5-gauge, ½" crown staples
- Tongue-and-groove flooring adhesive (for glue-assist nail-down)
- 3/16" notched trowel, if using adhesive
- Rubber mallet and tapping block
- 15 lb asphalt felt or rosin paper underlayment
- 3/4" spacers for the expansion gap at walls
- Chalk line, straightedge, and a miter or circular saw
What Subfloor Do You Need for Hardwood Flooring on Plywood?
A plywood subfloor is a structural wood panel underlayment that must meet minimum thickness, grade, and moisture specs before hardwood can be nailed to it. The National Wood Flooring Association (NWFA) sets the industry benchmark most manufacturers reference for warranty compliance — the table below compiles those specs in one place, which most installation articles leave scattered across separate pages.
| Requirement | NWFA Spec |
|---|---|
| Minimum plywood thickness | 5/8" (19/32") CDX, Exposure 1 |
| Preferred thickness | 3/4" CDX |
| Panel spacing | 1/8" gap between sheets, 3/4" expansion gap at walls |
| Grade stamp | US PS1-95 or equivalent, Exposure 1 |
| Fastener spacing (plank 3¼"+) | 6–8" on center |
| Install direction | Perpendicular (45°+) to joists unless reinforced |
| Moisture differential | No more than 4% between subfloor and flooring |
| Target flooring moisture at install | 6–9% in a conditioned interior |
If you’re installing parallel to the joists instead of perpendicular, add a second layer of at least 15/32" plywood underlayment first — running boards parallel to the joists without that extra layer is the single most common reason a nail-down floor develops a spring or bounce underfoot.
How to Prepare a Plywood Subfloor for Hardwood Flooring
Preparing a plywood subfloor comes down to three things: clean, flat, and dry. Miss any one and the finished floor telegraphs the problem within months.
- Sweep and vacuum the subfloor to remove debris, sawdust, and grit.
- Pull or set any protruding nails or staples below the surface.
- Wipe with a damp cloth to clear remaining dust before the moisture check.
- Check flatness with a straightedge or 6-foot level — NWFA tolerance is generally 3/16" over 10 feet.
- Fill low spots with a leveling compound and sand down high spots or splinters.
- Confirm panel seams have a 1/8" gap and expansion gaps of 3/4" remain at every wall.
Test moisture last, after leveling is done and dust has settled — a pin-type meter reading on the subfloor, compared against a reading on the acclimating hardwood, is what tells you whether it’s actually safe to nail down.
“In our shop, skipping the moisture meter is the single most common reason a nail-down job telegraphs cupping six months later — a subfloor that looks and feels dry can still read 6–8 points higher than the flooring stacked on top of it. Two minutes with a pin meter catches what a visual check never will.”
Acclimating the Hardwood Flooring
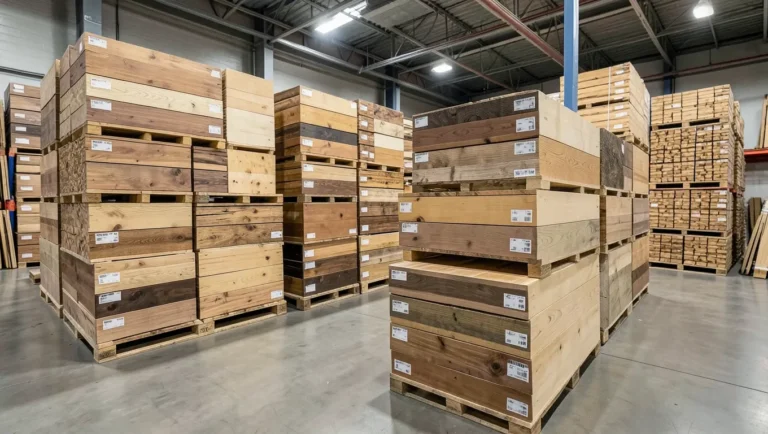
Before installing hardwood flooring on plywood, let the flooring acclimate in the room where it will be installed. This lets the wood adjust to the room’s temperature and humidity, reducing the risk of warping or buckling after installation. Keep the room between 60–80°F with 30–50% relative humidity, and plan on a minimum of five days — longer in humid climates or when the delivered flooring’s moisture reading is more than a couple points off the room’s other wood surfaces.
Unpacking and Stacking the Flooring
Open the bundles and stack the boards in small crosswise layers (a “sticker stack”) rather than leaving them sealed in plastic. Sealed bundles trap moisture at the factory reading instead of letting the wood equalize to your room.
Allowing for Proper Air Circulation
Leave gaps between stacked layers so air reaches every board, not just the top and bottom of the stack. A box fan run on low for the acclimation period speeds this up without over-drying the wood.
How to Install Hardwood Flooring on Plywood Step by Step
- Snap a starting line: Measure out from the longest, straightest wall and snap a chalk line to keep the first row dead straight.
- Roll out the underlayment: Lay 15 lb asphalt felt or rosin paper over the subfloor to cut squeaks and add a light moisture buffer.
- Face-nail the first row: Set the first row’s groove side toward the starting wall, leaving a 3/4" expansion gap, and face-nail near the wall where the nailer can’t reach the tongue.
- Blind-nail the following rows: Once you’re 2–3 rows in, switch to blind-nailing through the tongue at a 45° angle using 1½" cleats or 15.5-gauge staples spaced 6–8" apart.
- Stagger the end joints: Keep end joints at least 6 inches apart between adjacent rows to avoid a weak, repeating seam line.
- Rack ahead before nailing: Dry-lay 4–5 rows ahead of where you’re nailing so you can balance color and grain before committing boards.
- Tap tight with a mallet and block: Use a tapping block and rubber mallet to close each joint — never strike the plank edge directly, it crushes the tongue.
- Rip and fit the last row: Rip the final row to width, keeping the 3/4" expansion gap, and face-nail since a nailer won’t fit against the wall.
| Fastener | Gauge | Min. Length | Spacing |
|---|---|---|---|
| Flooring cleats | 15.5, 16, or 18 ga | 1½" | 6–8" on center |
| Flooring staples | 15.5 ga, ½" crown | 1½" | 6–8" on center |
Common Mistakes to Avoid When Nailing Hardwood Over Plywood
- Skipping the moisture check. A subfloor that feels dry can still be outside the 4% differential rule — this is the top cause of cupping.
- Using cleats or staples shorter than 1½". Shorter fasteners don’t reach far enough into 5/8" plywood to hold under seasonal movement.
- Nailing parallel to the joists without reinforcement. Without an added underlayment layer, the floor develops bounce over time.
- Skipping the 3/4" expansion gap. Hardwood expands seasonally; a tight fit against the wall causes buckling.
- Not racking boards ahead of time. Nailing straight from the box without pre-planning color and grain leads to visible clustering of similar boards.
Finishing Touches
Adding Transition Strips
Install transition strips wherever the hardwood meets a different flooring material or changes level, such as doorways. These strips protect plank edges and give the flooring room to expand and contract seasonally.
Filling Nail Holes and Gaps
Fill any visible nail holes or small gaps with a wood filler that matches the flooring’s tone, then sand smooth once cured. This step is largely cosmetic on a factory-finished floor but matters more on site-finished hardwood before the final coat goes on.
Caring for Your New Hardwood Floor
Regular Cleaning and Maintenance
Sweep or vacuum with a hard-floor attachment regularly to keep grit from scratching the finish, and use a hardwood-safe cleaner rather than an all-purpose spray. For deeper guidance on keeping a floor looking new for decades, see our full hardwood floor care and maintenance guide.
Handling Water and Spills
Wipe up spills immediately — standing water is the fastest way to push a nail-down floor’s moisture reading outside the range that keeps boards flat. If a floor does take water damage, refinishing is usually possible; see how many times you can refinish wood floors before the wear layer runs out.
Choosing the right subfloor and fastening schedule also depends on which wood species and cut you’re installing — our types of wood guide breaks down how hardwood, softwood, and engineered options behave differently over a plywood base, and the full wood flooring guide compares costs and materials if you haven’t settled on a product yet. If you’re still deciding on the plywood itself, this breakdown of 3/4" plywood subfloor options covers pricing and grade differences worth checking before you buy sheets.
Frequently Asked Questions
Can You Install Hardwood Over Plywood?
Yes. Plywood is one of the two standard subfloor materials the NWFA recognizes for nail-down solid hardwood, alongside OSB Exposure 1 panels. The plywood must be at least 5/8" CDX Exposure 1, clean, flat, and within the 4% moisture differential of the flooring before installation.
What Do You Put Between Hardwood Floor and Subfloor?
A layer of 15 lb asphalt felt or rosin paper goes between the plywood subfloor and the hardwood. It reduces squeaking, adds a light moisture buffer, and keeps the wood from sitting directly against bare plywood.
How Do You Prepare a Plywood Subfloor for Hardwood Flooring?
Sweep and vacuum the subfloor, remove any protruding nails or staples, check flatness with a straightedge, fill low spots with leveling compound, sand high spots, and confirm 1/8" gaps between panel seams and 3/4" expansion gaps at the walls. Test moisture content last, once the surface prep is finished.
How Much Moisture Difference Is Acceptable Between the Subfloor and Hardwood Flooring?
The NWFA guideline allows no more than a 4% moisture content difference between the subfloor and the flooring. Target flooring moisture is typically 6–9% in a conditioned interior; if your subfloor reads 10%, the flooring should read between 8% and 12% before you nail it down.
Conclusion
A hardwood floor over plywood holds up for decades when the subfloor meets NWFA’s thickness and moisture specs and the nail schedule is followed instead of eyeballed. Check the subfloor, let the wood acclimate, keep fasteners within spec, and the floor you install this year is still the one you’re refinishing — not replacing — twenty years from now.
Sponsored / affiliate links. As an Amazon Associate I earn from qualifying purchases. I may earn additional commission from eligible campaigns.