How to Install Hardwood Floor on Concrete (3 Methods)
Hardwood floor goes over concrete three ways — nail-down, glue-down, or floating — but only glue-down and floating work directly on a slab; nail-down needs a 3/4-inch plywood subfloor first. Skipping that layer and nailing over a bare vapor barrier voids warranties and causes squeaks or nail pull-through. This guide covers all three methods, plus calcium chloride and RH probe moisture testing (ASTM F1869/F2170).
Choose Your Installation Method: Nail-Down, Glue-Down, Or Floating
Before you buy a single board, decide how the floor will attach to the concrete — this decision determines what prep work the slab actually needs. Nail-down installation is the only one of the three that cannot go directly on concrete.
| Method | Goes Directly On Concrete? | Best For |
|---|---|---|
| Nail-Down | No — requires 3/4″ plywood subfloor or PT sleeper system first | Wide plank solid hardwood (5″+), homeowners who want the most rigid, traditional feel |
| Glue-Down | Yes — moisture-cured urethane adhesive bonds straight to the slab | Solid or engineered hardwood on concrete, thin profiles that can’t be nailed |
| Floating | Yes — click-lock planks rest on a foam or cork pad, no fasteners into the slab | DIY installers, basements, reversible installs, uneven or slightly damp slabs |
If a slab-on-grade concrete floor is your subfloor, you can float or glue your hardwood, but you cannot nail it down unless you first install a 3/4-inch plywood layer. Over an existing plywood subfloor, all three methods are on the table.
Preparing The Concrete Surface
Cleaning The Concrete
Scrub concrete using a stiff brush and degreaser. Vacuum or sweep to remove debris.
Testing For Moisture (Skip The Plastic-Sheet Method)
Taping a sheet of plastic to the slab for 24–72 hours is outdated advice — it only tells you moisture is present, not how much, and flooring manufacturers no longer accept it for warranty purposes. Use one of these two ASTM-standard tests instead:
- Calcium chloride test (ASTM F1869): A sealed dish of anhydrous calcium chloride sits under a dome on the slab for 60–72 hours. The weight gain calculates the moisture vapor emission rate (MVER) in pounds per 1,000 sq ft per 24 hours.
- Relative humidity probe test (ASTM F2170): A hole is drilled to 40% of slab depth (one-sided drying) or 20% (two-sided), fitted with a sleeve, and read with a calibrated RH probe after a 24-hour equilibration period.
ASTM F2170 has been replacing calcium chloride as the preferred method since 2002 because it reads moisture deeper in the slab, not just at the surface — for critical installations, the Resilient Floor Covering Institute recommends running both tests.
📊 Acceptable thresholds per ASTM F710: moisture vapor emission should not exceed 3 lbs per 1,000 sq ft per 24 hrs (F1869), and internal relative humidity should not exceed 75% (F2170), unless the flooring or adhesive manufacturer specifies a stricter limit. — Source: ASTM F710
Best Concrete Moisture Test Kit Pick
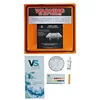
Vapor Score Calcium Chloride Moisture Test Kit (3-Pack)
Runs the ASTM F1869 moisture vapor emission test yourself instead of skipping straight to a plastic-sheet guess.
- Best for: Confirming a slab is dry enough before any glue-down or nail-down install
- Why we picked it: Gives an actual MVER reading in lbs/1,000 sq ft/24 hrs instead of a pass/fail guess
- Main drawback: Only reads surface-level moisture — pair with an RH probe test for a full read on thick slabs
Compare more concrete prep options
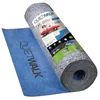 Option 1 QuietWalk Moisture & Sound Barrier Underlayment
|
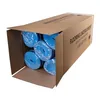 Option 2 3-in-1 Vapor Barrier Underlayment w/ Tape Strip
|
 Option 3 Freeman PF18GLCN Pneumatic Flooring Nailer
|
As an Amazon Associate we earn from qualifying purchases.
Installing Vapor Barrier And Underlayment
To install hardwood flooring on concrete, it is crucial to lay down a vapor barrier and underlayment. The vapor barrier prevents moisture from seeping through the concrete, while the underlayment provides a smooth surface for the hardwood to be installed upon.
These steps ensure a sturdy and long-lasting flooring foundation.
Installing Vapor Barrier and Underlayment is essential for ensuring the longevity of your hardwood floor on concrete.
Laying The Vapor Barrier
1. Clean the concrete surface thoroughly.
2. Roll out the vapor barrier material.
3. Overlap seams by at least 6 inches.
4. Secure the barrier using tape or adhesive.
5. Trim off any excess material around the edges.
Adding Underlayment Material
1. Choose the appropriate underlayment type.
2. Start by laying the underlayment perpendicular to the vapor barrier.
3. Trim the underlayment to fit the room dimensions.
4. Ensure smooth and even coverage throughout.
5. Secure the underlayment in place with tape or adhesive.
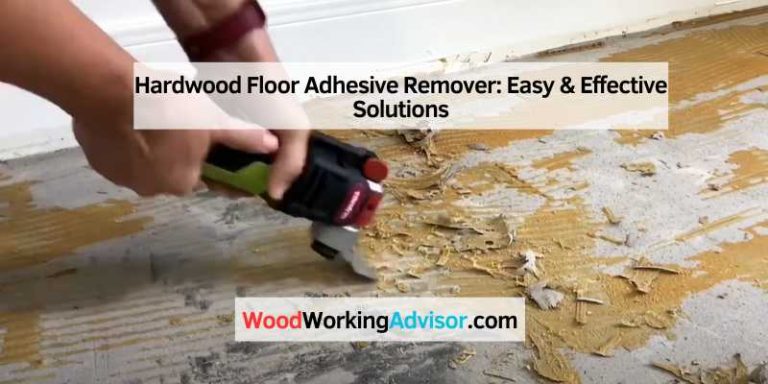
If You’re Nailing Down: Add A Plywood Subfloor First
Nail-down hardwood cannot be driven into bare concrete or a thin vapor barrier — the fasteners need real wood to grip. Choose one of two approaches before you touch a nailer:
- Glue-and-screw plywood: After the vapor barrier is down, glue 3/4-inch tongue-and-groove or APA-rated plywood directly to the slab with construction adhesive, then mechanically fasten with concrete screws every 12–16 inches.
- Sleeper system: Embed pressure-treated 2×4 sleepers flat-face-down in rows 12–16 inches on center over the vapor barrier, then fasten 15/32-inch APA-rated plywood over the sleepers at a 90-degree angle, staggering joints and leaving a 3/4-inch expansion gap at the walls.
Once the plywood layer is down and acclimated, it becomes the actual nailing surface described in the next section — the nailer is driving into 3/4-inch plywood, never directly into the slab.
Acclimating The Hardwood Flooring
Acclimating the hardwood flooring is a crucial step when installing hardwood floors on concrete. This process allows the wood to adjust to the room’s temperature and humidity, minimizing the risk of warping or buckling after installation. Proper acclimation ensures a successful and long-lasting hardwood floor installation.
Bringing The Wood Into The Room
Once the hardwood flooring has been purchased, it should be brought into the room where it will be installed. This allows the wood to acclimate to the room’s environment before installation begins. Ideally, the wood should be brought in at least 48 hours before installation to ensure proper acclimation.
Allowing For Proper Acclimation
After the wood has been brought into the room, it should be left in its packaging and stacked with spacers between each layer to allow for airflow. This setup enables the wood to acclimate to the room’s temperature and humidity. During this period, it’s important to maintain the room’s temperature and humidity levels as close to the normal living conditions as possible.

Installing The Hardwood Flooring
Installing the hardwood flooring is a crucial step in the process of transforming your concrete floor into a stunning and durable hardwood masterpiece. Follow these essential steps below to ensure a successful installation of your hardwood floor.
Starting The First Row
The first row of hardwood flooring sets the foundation for the entire installation, so it’s important to get it right. Here’s how you can start the first row:
- Begin by measuring the width of the room and determining the center point. Mark this point on both walls using a chalk line.
- Place the first piece of hardwood flooring along the chalk line, ensuring that the tongue side faces the center of the room.
- To maintain a consistent gap between the flooring and the walls, use spacers along both sides.
- Continue adding more boards, using a rubber mallet to gently tap them into place. Make sure the boards are interlocked securely.
- Measure and cut the last piece of the first row, allowing for a 1/2-inch expansion gap between the flooring and the wall.
Securing The Flooring
Once the first row is in place, you need to secure the hardwood flooring properly to ensure a durable and long-lasting installation.
The steps below assume you are nail-down installing over the 3/4-inch plywood subfloor from the previous section — if you skipped that step and are gluing or floating directly on concrete instead, see the glue-down and floating notes above rather than reaching for a nailer. Here’s how to secure nail-down flooring once that subfloor is in place:
- Use a pneumatic flooring nailer to drive nails into the boards at a 45-degree angle. Make sure to follow the manufacturer’s instructions for proper use.
- Place the nailer’s foot against the edge of the board and strike it with a rubber mallet to activate the nailer and drive the nail into the board.
- Continue securing the flooring by placing nails every 6 to 8 inches along each board, making sure to maintain an even spacing between them.
- For the last row, you may need to face nail the flooring since there might not be enough space to use the nailer. Pre-drill holes before nailing.
By following these steps, you can successfully install hardwood flooring over concrete and achieve a beautiful and functional floor that adds value to your home.
Finishing Touches And Maintenance
For installing hardwood floor on concrete, focus on finishing touches and maintenance. Ensure proper sealing to prevent moisture damage and use a quality underlayment for smooth installation. Regular cleaning and refinishing will uphold the floor’s durability and aesthetics.
Completing The Installation
To complete the installation of hardwood floors on concrete, there are a few important finishing touches to consider. One essential step is filling any gaps between the boards with wood filler. This not only improves the appearance of your floors but also helps prevent debris from getting trapped. After applying the filler, use a putty knife to scrape off any excess and ensure a smooth surface. Allow the wood filler to dry thoroughly before moving on to the next step.
Once the wood filler is dry, it’s time to sand the entire floor. Rent a drum sander or hire a professional to ensure the job is done properly. Sanding the floor will eliminate any unevenness or imperfections and create a smooth, even surface. Start with a coarse grit sandpaper and gradually work your way up to finer grits for a flawless finish. Be sure to remove all dust and debris with a vacuum or tack cloth before proceeding to the final step.
The final step in completing the installation is applying a protective finish to your hardwood floors. The finish serves multiple purposes, including enhancing the beauty of the wood and providing a durable layer of protection against everyday wear and tear. There are various types of finishes available, such as polyurethane, oil-based, or water-based finishes. Choose the one that best suits your preferences and follow the manufacturer’s instructions for application. Apply multiple coats, allowing each coat to dry thoroughly before adding the next.
Caring For Hardwood Floors
Once your hardwood floors are installed, it’s important to provide proper maintenance to ensure their longevity and beauty. Here are some tips to help you care for your hardwood floors:
1. Regular Cleaning: Dust and sweep your floors regularly to remove dirt, dust, and debris that can scratch the surface. Use a microfiber mop or soft-bristled broom to avoid causing any damage.
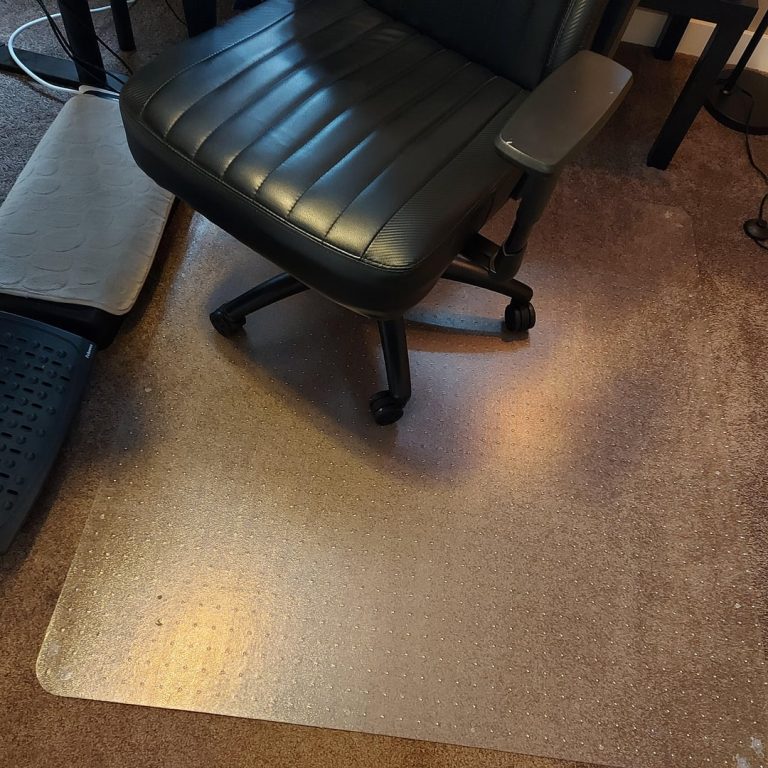
2. Protective Measures: Place mats at entryways and high-traffic areas to prevent dirt and moisture from being tracked onto the floors. Use felt pads on furniture legs to prevent scratches and dents.
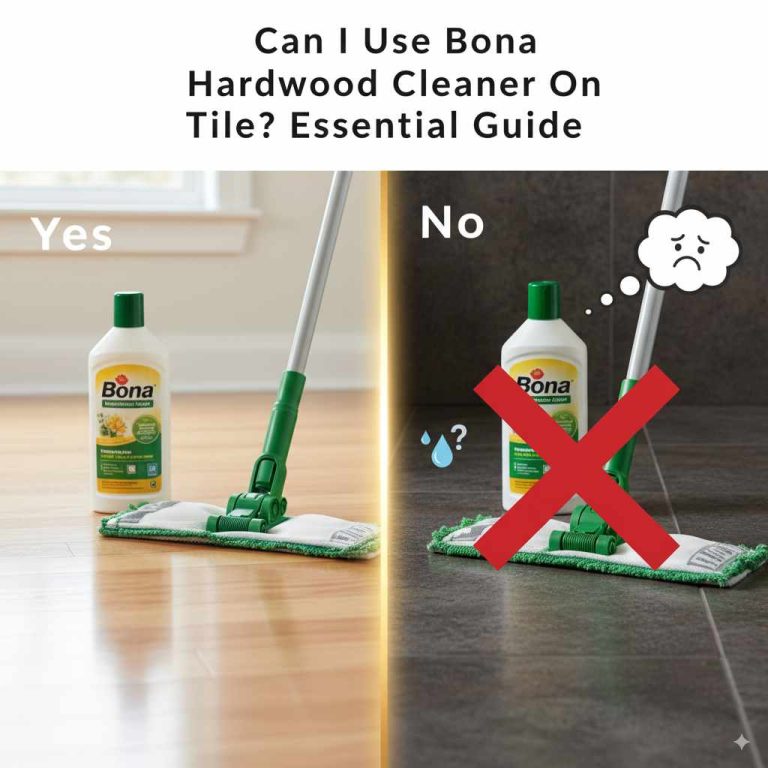
3. Cleaning Products: When it comes to cleaning solutions, opt for those specifically designed for hardwood floors. Avoid using harsh chemicals or excessive water, as they can damage the wood. Instead, use a recommended floor cleaner and a damp mop.
4. Spills and Moisture: Wipe up spills immediately to prevent them from seeping into the wood and causing damage. Avoid excessive moisture on hardwood floors, as it can lead to warping or cupping. Use a humidifier in dry climates to maintain the proper humidity levels.
5. Avoid High Heels and Pets’ Nails: High heels and pet nails can leave dents and scratches on your hardwood floors. Encourage guests to remove their shoes and trim your pets’ nails regularly to minimize the risk of damage.
Remember to perform routine maintenance, such as refinishing or recoating, as recommended by the manufacturer to keep your hardwood floors looking their best. With proper care, they will continue to bring warmth and beauty to your home for years to come.

Frequently Asked Questions On How To Install Hardwood Floor On Concrete
Can You Install Hardwood Floor Directly On Concrete?
It depends on the method. Glue-down and floating hardwood can go directly on concrete over a vapor barrier. Nail-down hardwood cannot — it requires a 3/4-inch plywood subfloor or a pressure-treated sleeper system attached to the slab first, since nails need solid wood to anchor into, not bare concrete.
Do You Need Plywood To Nail Hardwood Flooring To Concrete?
Yes. Nail-down installation always requires a minimum 3/4-inch plywood subfloor glued and screwed to the slab, or a pressure-treated sleeper system, because nails cannot anchor into concrete or a vapor barrier alone. If you would rather skip adding a subfloor, use glue-down or floating installation instead.
What Do You Put Under Hardwood Floors On Concrete?
Every method starts with a vapor barrier to block moisture. Glue-down adds adhesive directly on top; floating adds a foam or cork underlayment pad; nail-down adds a 3/4-inch plywood subfloor (or sleeper system) on top of the vapor barrier before any fastening happens.
Can You Glue Down Solid Hardwood Flooring To Concrete?
Yes. Solid hardwood can be glued directly to concrete with a moisture-cured urethane adhesive once the slab passes a calcium chloride or RH probe moisture test. This is the standard method for installing hardwood over a concrete slab without adding a plywood subfloor.
How Do You Test A Concrete Floor For Moisture Before Installing Hardwood?
Use a calcium chloride test (ASTM F1869) or a relative humidity probe test (ASTM F2170) — not the older plastic-sheet method. Most flooring manufacturers cap acceptable moisture vapor emission at 3 lbs per 1,000 sq ft per 24 hours, and internal relative humidity at 75%, per ASTM F710.
How Do You Secure Wood Flooring To Concrete?
For glue-down: clean and level the concrete, confirm it passes a moisture test, then spread moisture-cured urethane adhesive with a notched trowel and set the planks. For nail-down: install a 3/4-inch plywood subfloor over the vapor barrier first, then nail through the tongue of each board with a pneumatic flooring nailer. Consult a flooring professional if the slab shows high moisture readings.
Conclusion
Installing hardwood floors on concrete is a challenging yet rewarding project. By following the necessary guidelines and steps, you can achieve a beautiful and durable flooring solution. Remember to assess the concrete condition, choose the right materials, and take proper installation precautions.
With patience and attention to detail, you can enjoy the timeless elegance of hardwood floors in your home.