How to Keep Pressure-Treated Wood From Warping and Cracking
Pressure-treated wood warps and cracks when moisture forced in during treatment escapes unevenly as it dries. The fix: stack boards flat on stickers, dry to 15% moisture or below before sealing, or choose KDAT lumber to skip the wait entirely. Skip this and decking crowns, cups, or splits within a season, and staining wet boards traps moisture so the finish fails early. This guide covers proper drying, testing moisture before sealing, and fixing a board that already warped.
Disclosure: This post may contain affiliate links. As an Amazon Associate we earn from qualifying purchases.
Warping vs. Cracking: What’s the Difference?
Best Moisture Meter Pick

General Tools MMD4E Moisture Meter – $37.70
Checks the same 15%-or-below target this guide covers before you seal or stain, on wood, drywall, or subfloor.
- Best for: General PT lumber, framing, and subfloor moisture checks
- Why we picked it: Pin-type reading matches the water-drop test described above with an exact percentage
- Main drawback: Pins leave small holes, so avoid testing on visible faces
Compare more moisture meter options
 Option 1 Klein Tools ET140 Pinless Meter – $49.97
|
 Option 2 TopTes TS-630 Meter – $29.99
|
 Option 3 Mecurate Pin-Type Meter – $27.99
|
As an Amazon Associate we earn from qualifying purchases.
Warping is a change in a pressure-treated board’s overall shape (bowing, cupping, twisting, or crooking), while cracking, also called checking, is a surface split that runs along the grain. Both come from the same root cause: uneven moisture loss. Warping happens when one face or edge of a board dries faster than the rest, so the wood fibers shrink unevenly and pull the board out of shape. Checking happens when the outer surface dries and shrinks faster than the still-wet core, so the surface splits to relieve that stress.
Freshly pressure-treated lumber is especially prone to both because it can leave the treatment plant at well over 50% moisture content. As that trapped water works its way out, unprotected end grain dries fastest, which is why most checking starts at the cut ends of a board. Coating the end grain with an end-grain sealer and slowing the overall drying rate (shade, airflow, no direct sun) reduces checking the same way it reduces warping.
How to Tell When PT Wood Is Dry Enough to Seal or Stain
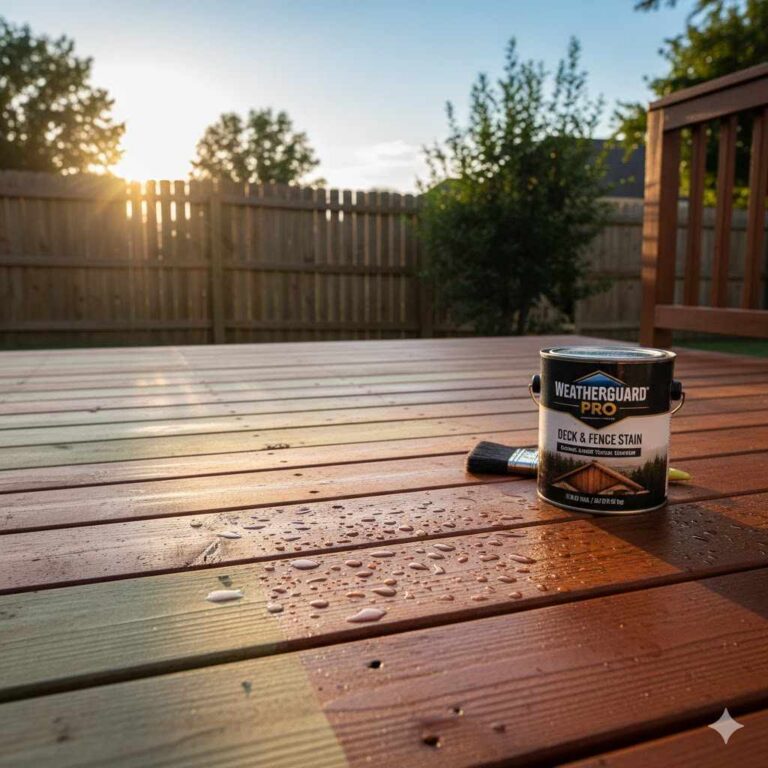
Pressure-treated wood is ready for stain or sealant once it reaches roughly 15% moisture content, and no higher than 19%. Sealing it too early traps the remaining water underneath the finish, which is the single most common reason PT deck stain peels or blisters within the first year.
The Water-Drop Test
No moisture meter on hand? Drip a few drops of water onto the wood’s surface. If the water soaks in within a minute or so, the board is dry enough to finish. If it beads up and sits on top, the wood is still holding too much moisture and needs more drying time.
KD19 and KDAT: Lumber That Skips the Wait
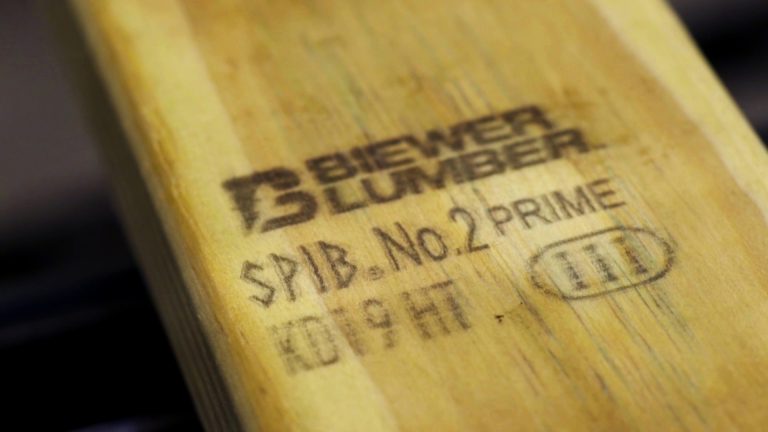
Look for a KD19 grade stamp or kiln-dried lumber labeled KDAT (Kiln-Dried After Treatment). According to the Southern Pine Inspection Bureau, KD19-stamped lumber has been kiln-dried to a maximum of 19% moisture content, averaging closer to 15%, instead of being sold green straight off the treatment line. KDAT mills report reducing moisture content by as much as 80% compared to standard wet PT stock. Either grade stamp means the board has already done its major shrinking before it reaches your job site, so it holds its shape and can often be stained right away.
📊 Green pressure-treated lumber can leave the mill above 50% moisture content, while KD19-stamped stock is capped at 19% (averaging close to 15%). That gap is why untreated-for-drying deck boards shrink, cup, and split after installation while KD19/KDAT boards mostly don’t. — Source: Southern Pine Inspection Bureau
Understanding Wood Warping
Pressure-treated wood resists moisture, insects, and rot, which is why it’s the standard choice for decks and other outdoor framing. That same treatment process is also what makes it warp: the wood is forced to absorb a large amount of liquid preservative under pressure, and it has to give that moisture back up as it dries. To prevent warping, the wood needs to lose that moisture evenly, which means flat storage, stickers, and a level foundation.
Causes of Wood Warping
Moisture is the primary cause, but three things make it worse for PT lumber specifically: uneven sun exposure (the sunny face dries and shrinks faster than the shaded face), poor air circulation in a tight stack, and installing wood that’s still wet from the treatment plant. Species and growth-ring orientation also matter: flat-sawn boards, where the growth rings run roughly parallel to the wide face, shrink more across the width than quarter-sawn boards do, which is why flat-sawn PT decking cups more than quarter-sawn.
Types of Wood Warping
There are four main types. Bowing is a lengthwise bend, like a bow, when the board is viewed from its edge. Cupping is when the two edges of a board curl up or down relative to its center. Twisting is a corkscrew rotation along the board’s length. Crooking (also called crowning) is a lengthwise curve when the board is viewed from its face. Knowing which type you’re dealing with narrows down the fix: cupping and crooking usually respond to fastening and support, while a badly bowed or twisted board is often better replaced.
Proper Storage Techniques
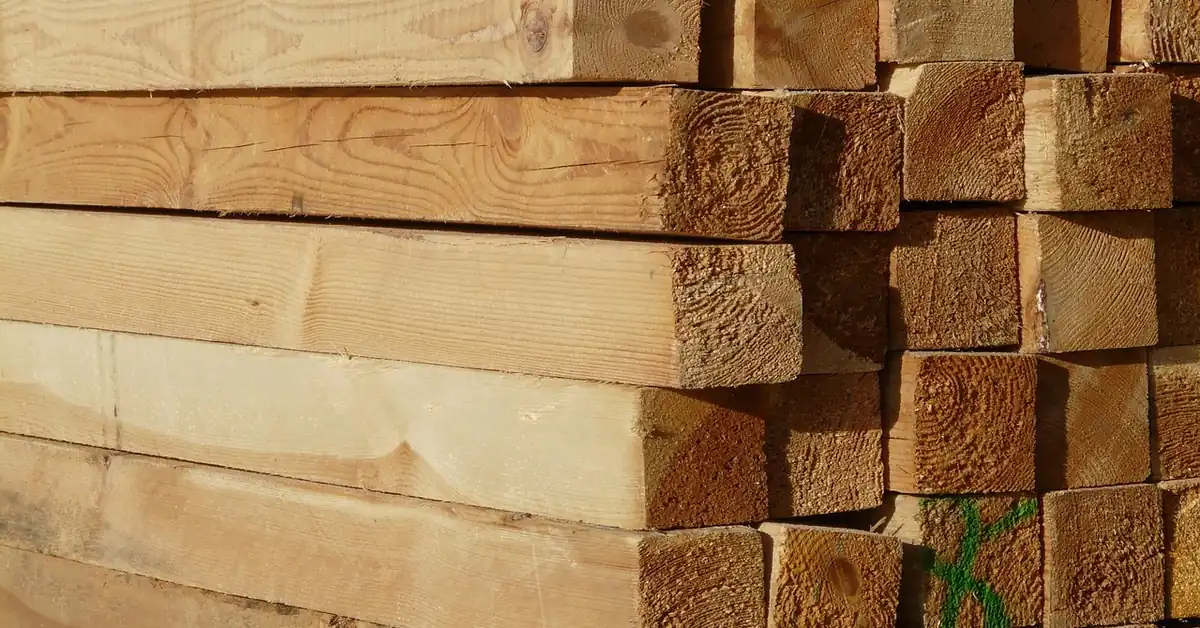
Correct storage is the single biggest factor in preventing warping. Keep every board and every sticker in a stack the same thickness, lay stickers flat and vertically aligned above one another, and rest the whole pile on a flat, level foundation, such as concrete or a leveled gravel bed, never bare dirt or grass. The same rule applies to pressure-treated posts waiting to be set: lean or lay them so they can’t bow under their own weight.
Uniform Thickness for All Boards
Every board on the same layer of a stack should be the same thickness. Mixing thicknesses creates gaps that block even air circulation, so some boards dry faster than their neighbors and warp as a result.
Sticker Placement, Alignment, and Board Orientation
Stickers (small spacer strips) go between every layer to let air reach all four sides of each board. Lay them flat and stack them directly above one another, layer to layer, using a level to check alignment; stickers that are offset create uneven pressure points that dent or warp the boards above them.
For fence pickets and decking specifically, orientation matters as much as spacing. Flat-sawn boards cup toward the bark side as they dry, since wood shrinks more in the direction that runs around the growth rings than across them. Older advice says install bark-side up so the resulting curve sheds water; more recent testing from deck-building resources like UMass Amherst’s Building & Construction Technology program points the other way for wood that’s still wet: heart-side up (growth rings arching downward) cups less as the board finishes drying in place. If you can’t tell which side is which, pick whichever face looks best and install it face-up. Consistency across all the pickets or boards in one run matters more than which rule you follow.
In summary: uniform thickness, aligned stickers, a flat foundation, and consistent board orientation are what keep a stack of pressure-treated wood straight while it dries.
Preventing Wood Warping Before You Build
Beyond storage, three habits keep PT lumber straight before and during a build.
Let the Wood Acclimate
Stack new lumber flat at the job site and let it sit for a few days to a few weeks before cutting or fastening it, so it can adjust to local temperature and humidity before you lock it into a structure. Wood that’s fastened while still shrinking pulls against its own screws and fights the framing as it dries.
Wrap Project Parts in Plastic
If you’ve cut parts for a project but can’t assemble them right away, wrap them loosely in plastic sheeting to slow moisture loss until you’re ready to build. This keeps the parts at a consistent moisture level so they don’t warp before assembly.
Choose Warp-Resistant Joinery
Mortise-and-tenon, dovetail, and finger joints physically lock adjoining pieces together, which resists the pulling force of a warping board better than a simple butt joint held with a couple of fasteners.
Fixing a Board That’s Already Warped or Crowned
If a board has already cupped or crowned after installation, you have three realistic options depending on how bad the warp is.
Support Block Method (Crowned or Cupped Boards)
- Cut a support block: Cut a scrap piece of PT 2×4 long enough to span the warped board and the two boards next to it.
- Fasten it to the joist: Screw the scrap to the side of the joist underneath, with its top edge held tight against the underside of the two good boards on either side.
- Screw the warped board down: Drive screws through the crowned board into the new support block, going slowly so the board doesn’t split.
- Check the surface: Confirm the repaired board now sits level with its neighbors before moving on.
This pulls a crowned or cupped board back level with its neighbors without removing it.
Tiedown Strap Method (Bowed Boards)
For a board that’s bowed away from a neighboring board, wrap a nylon tiedown strap with a locking buckle around both boards and cinch it tight to pull the warped one back into line before you drive the fasteners.
Soaking and Weighting (Not Yet Installed)
For a board that hasn’t been installed yet, submerge it in a shallow pool of water for at least 24 hours, which lets the compressed fibers on the concave side relax. Remove it, clamp or weight the ends flat, and let it dry slowly under that weight. Diluted wood glue (one part water-soluble wood glue to a few parts water, brushed on the concave face before weighting) can help the board hold its corrected shape as it dries.
When to Just Replace It
If a board is split down the middle, badly twisted, or warped enough that a support block can’t hold it flat, replacing it is faster and more reliable than fighting it.
Best Practices for Working with PT Wood
Choosing the Right PT Wood
At the lumber yard, sight down each board’s length and reject anything already bowed, twisted, or split. Where it’s available, choose KD19 or KDAT-labeled lumber over standard wet PT stock; it costs more per board but arrives already close to its stable moisture content, so it moves far less after installation. Softwoods like pine and spruce, the most common PT species, move more than dense hardwoods, so extra care with drying and fastening matters most on framing lumber and decking runs built from them.
Installation Specs That Prevent Warping Later
- Leave a 1/8 to 1/4 inch gap between deck boards for drainage and expansion room.
- Space joists no more than 16 inches on-center under standard 5/4 decking.
- Drive fasteners at least 1 inch in from board edges to avoid splitting.
- Use hot-dip galvanized or stainless screws; ACQ-treated lumber corrodes standard steel and electroplated coatings quickly.
- Coat every cut end with an end-grain sealer immediately after cutting.
Regular Maintenance
Inspect PT structures at least twice a year for early signs of warping or splitting, keep debris from trapping moisture against the wood, and reapply the best stain for pressure-treated wood every 1 to 2 years, sooner in climates with heavy sun or rain exposure. When you do reseal, run the water-drop test first: resealing over wood that’s reabsorbed moisture causes the same peeling problem as sealing it too early the first time.
According to the Southern Pine Inspection Bureau, a KD19 grade stamp means the board was kiln-dried to 19% moisture content or less, averaging closer to 15%, before it ever left the mill, which is the same target this guide recommends testing for before you seal any PT board.
Frequently Asked Questions
Is pressure-treated wood prone to warping?
Yes. Despite resisting moisture, rot, and insects long-term, PT wood typically leaves the treatment plant wet, and uneven drying afterward is what causes warping. Uniform-thickness stacking, aligned stickers, and a flat foundation prevent most of it, and choosing KD19 or KDAT lumber avoids the bulk of the problem entirely.
How do you keep treated boards from warping?
Store boards and stickers at uniform thickness, keep stickers flat and vertically aligned, rest the stack on a flat foundation, and let the wood dry to around 15% moisture before you build with or seal it. Give the pile a few days to a few weeks to acclimate before cutting.
How do you straighten warped pressure-treated wood?
If it’s already installed, screw it down into a support block (crowned or cupped boards) or cinch it against a neighboring board with a tiedown strap (bowed boards). If it isn’t installed yet, soak it in water for 24 hours, then clamp or weight it flat while it dries. Badly split or twisted boards are usually better replaced than straightened.
How do you dry pressure-treated wood without warping?
Stack it flat on aligned stickers of uniform thickness, rest the pile on a flat foundation, and let air circulate on all sides in a shaded, dry spot out of direct sun. Avoid forcing it with a fan, which dries the surface faster than the core and increases both warping and checking. A dehumidifier in an enclosed storage space can speed drying evenly without that risk.
Why does treated wood warp even after installation?
Because green PT lumber can still be well above 19% moisture content when it’s installed, and it keeps shrinking as it finishes drying in place, sometimes for months. That ongoing shrinkage, not a defect in the wood, is what causes boards that looked straight at installation to cup or crown later. KD19/KDAT lumber warps far less after installation because most of that shrinkage already happened at the mill.
How do you fix a board with a hump or crown in the middle?
Use the support block method: screw a scrap PT 2×4 to the joist underneath so its top edge sits tight against the boards on either side of the crowned one, then screw the crowned board down into it slowly. This pulls the hump level with its neighbors. If the board is split at the crown, replace it instead of forcing it flat.
Conclusion
Keeping pressure-treated wood from warping and cracking comes down to controlling how it dries: uniform stacking, aligned stickers, a flat foundation, and letting the wood reach around 15% moisture before you build with or seal it. Choosing KD19 or KDAT lumber sidesteps most of the wait. If a board has already warped, a support block or tiedown strap can usually pull it back into line without a full replacement.
Sponsored / affiliate links. As an Amazon Associate I earn from qualifying purchases. I may earn additional commission from eligible campaigns.