How to Cut Straight With a Circular Saw (No Track Saw Needed)
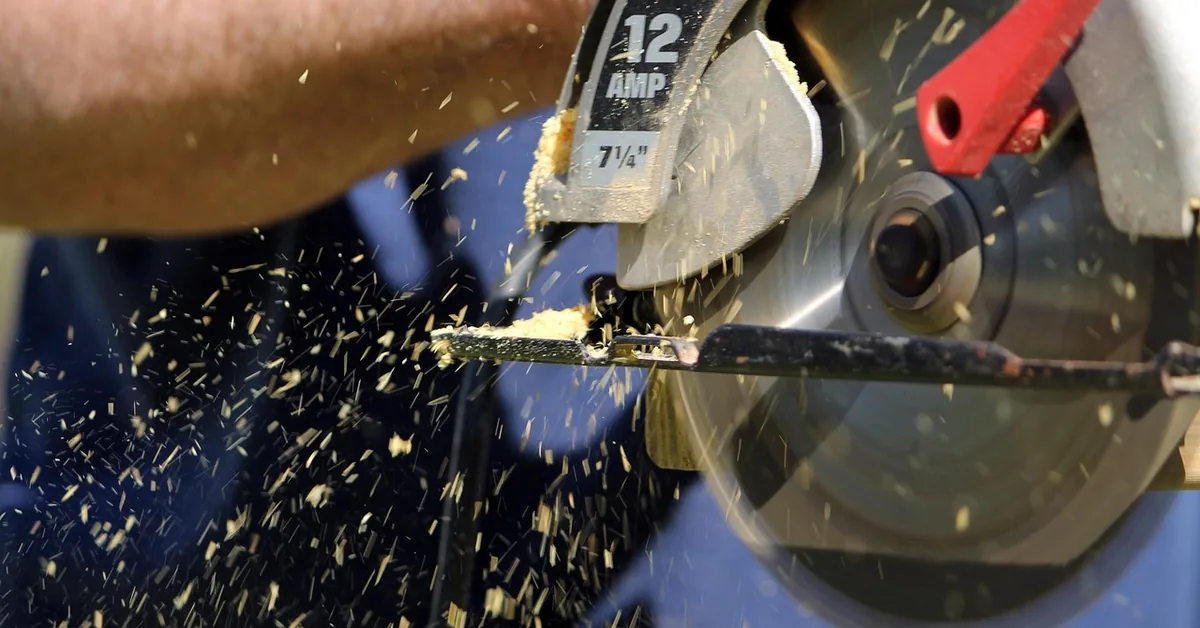
A circular saw cuts as straight as the guide it rides against — freehand, even steady hands drift 1/8 inch or more over 4 feet. Clamp a straightedge (a $49 Kreg Rip-Cut or a factory-edge scrap board) along your offset line and keep the shoe flush against it for the whole cut. This guide covers measuring the blade-to-edge offset, building or buying a guide, and the exact setup and cutting steps that keep the saw from wandering.
Quick Answer
Clamp a straightedge guide — a commercial rail like the Kreg Rip-Cut ($49) or a shop-made plywood fence — parallel to your cut line, offset by the exact distance between your blade and the shoe’s edge. Keep the saw’s base flush against the guide from start to finish. This gets you track-saw accuracy without spending $400 or more on a plunge saw and rail system.
Tools and Materials You’ll Need
Best Straightedge Guide Pick
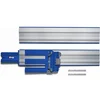
Kreg KMA2700 Accu-Cut Universal Track Saw Guide System
A no-clamp guide track that turns a regular circular saw into a track-saw setup for cuts up to 50 inches long.
- Best for: Repeated straight, cross, rip, and angled cuts on sheet goods
- Why we picked it: No clamping needed, works with left- or right-blade saws, sets up in under 3 minutes
- Main drawback: At $88, it costs more than a basic clamp-on rip guide if you only need occasional rip cuts
Compare more straightedge guide options
 Option 1 Kreg KMA2685 Rip-Cut Circular Saw Guide
|
 Option 2 Swanson 100″ Aluminum Cutting Guide (CG100)
|
 Option 3 BORA NGX 50″ Circular Saw Guide Rail
|
As an Amazon Associate we earn from qualifying purchases.
- Circular saw (corded or cordless), with a blade matched to your material
- Tape measure and a sharp pencil or marking knife
- Chalk line (for long or rough-sawn boards)
- Straightedge guide — commercial rail or a shop-made plywood fence
- Two or more bar clamps or C-clamps
- Sacrificial board or foam insulation board underneath the workpiece
- Safety glasses and hearing protection
Mark Your Cut Line: Pencil, Marking Knife, or Chalk Line
For cuts under 3 feet, a pencil against a combination square gives a line that’s accurate enough. For anything longer — a sheet of plywood or a rough-sawn deck board — a chalk line is more reliable because it snaps a straight reference across the entire length in one motion, even if the board’s factory edge is slightly bowed or cupped.
Hook the chalk line’s tip over one end of the board, stretch it taut to the far end, lift the center of the string a few inches, and let it snap down. On a board with an uneven edge, snap the line far enough from that edge that every low spot still gets a full blade-width of material to cut into. If part of the line comes out faint, go back over it with a pencil and a straightedge rather than re-snapping — a second chalk line rarely lands exactly on the first.
When you’re cutting thin plywood or lauan door-skin panels, mark on the face that will show, and score along the line with a marking knife before you cut — this gives the splinter-prone top veneer a clean edge to break against instead of tearing ahead of the blade.
Choosing the Right Blade
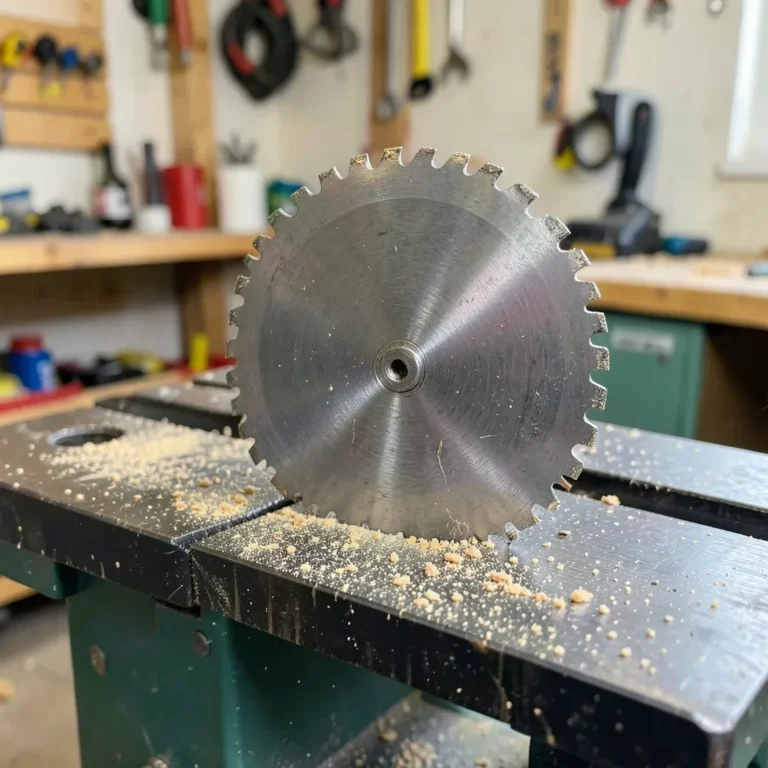
Blade selection affects how straight and clean the cut comes out as much as your guide does. A dull or wrong-tooth-count blade wanders, burns, and splinters even when the saw is riding a perfect guide.
| Blade Type | Best For |
|---|---|
| 24-tooth rip blade | Fast, rough rips in softwood framing lumber |
| 40- to 60-tooth crosscut/combo blade | Clean crosscuts in hardwood and general trim work |
| Fine-tooth plywood/paneling blade (60+ teeth) | Plywood, veneer, and laminate — minimizes splintering |
| Carbide-tipped metal-cutting blade | Sheet steel and aluminum stock |
| Diamond or abrasive masonry blade | Concrete board, brick, and tile |
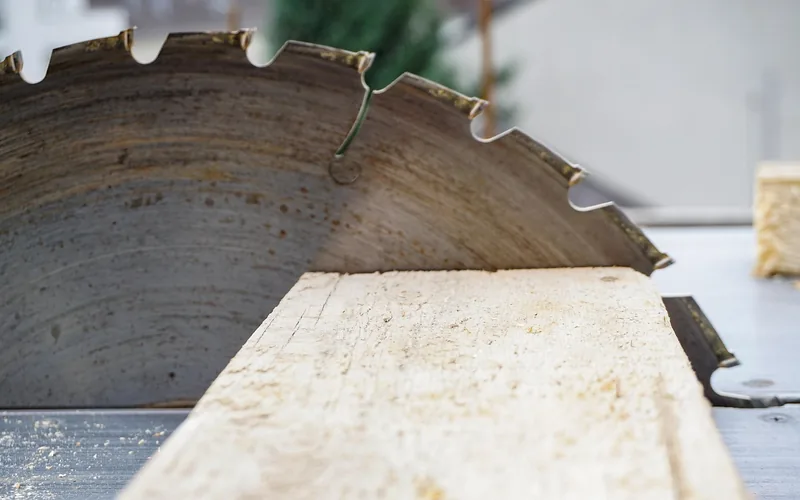
Match the blade size to your saw (usually 7-1/4 inches for full-size circular saws), check the tooth count against the table above, and inspect the blade for missing or dull carbide tips before you clamp anything in place — replacing a $15 blade is cheaper than re-cutting a ruined sheet of plywood.
Use a Clamped Straightedge Guide (The Track Saw Alternative)
A clamped straightedge does the same job as a $400-plus track saw: it gives the saw’s shoe a fixed edge to ride against so your hands only have to supply forward pressure, not steering. The only extra step is accounting for blade offset — the distance between the saw blade and the edge of the shoe, typically 2 to 4 inches depending on the saw.
- Measure your saw’s offset: Rest the saw on scrap, lower the blade, and measure from the blade to the edge of the shoe that will ride the guide. Mark this measurement on the saw’s shoe with a paint pen so you never have to re-measure it.
- Position the guide: Measure the offset distance from your cut line and clamp the guide’s edge there, not on the cut line itself — this is the step beginners skip most often.
- Clamp both ends: Secure the guide with a clamp at each end (and the middle, on anything over 4 feet) so it can’t shift once the saw is moving.
- Set blade depth: Adjust the blade so it extends about 1/4 inch below the material’s underside — deep enough to cut through, shallow enough to limit tear-out and kickback risk.
- Make the cut: Start the saw before the blade touches the material, keep the shoe pressed flat against the guide for the entire length, and don’t stop partway through.
A shop-made version costs almost nothing: rip a factory edge off a strip of 1/2-inch plywood, or use the step-by-step plywood guide build to make one sized to your own saw’s offset. For repeat use, a commercial guide is faster to set up — see the comparison below.
| Guide Type | Typical Cost | Setup Time | Best For |
|---|---|---|---|
| Shop-made plywood straightedge | $0–$15 in scrap | 20–30 min to build once | Occasional use, exact fit to one saw |
| Clamp-on rip guide (Kreg Rip-Cut style) | $40–$55 | Under 1 minute | Rip cuts on boards and sheet edges |
| Universal track/rail guide (Kreg Accu-Cut, Bora NGX) | $80–$130 | 2–3 minutes, no clamps | Repeated cross-cuts and rips on sheet goods |
| Dedicated plunge track saw + rail | $400–$650+ | Ready in seconds once owned | Daily use, splinter-free plunge cuts |
📊 A Kreg Accu-Cut universal guide system runs about $80–$90, versus $400–$650 for a name-brand plunge track saw with rail — Source: ToolGuyd, Kreg Accu-Cut review
“In our shop, we measure the blade-to-edge offset once per saw and mark it right on the shoe with a paint pen — skipping that step is the single biggest reason a beginner’s ‘straight’ cut has drifted by the time it reaches the far end of an 8-foot sheet.”
— Our team, Woodworking Advisor
Preparing and Securing the Workpiece
An unsecured workpiece is the second most common cause of a crooked cut — the material shifts a fraction of an inch mid-cut and the saw follows it, not your line. Understanding how your saw’s base plate and guard work also helps you see why a stable reference surface matters so much.
| Method | Description |
|---|---|
| Clamping to a workbench | Fastest setup for shorter boards; prevents any shifting during the cut |
| Sawhorses | Elevated, stable surface for full sheets and long boards |
| Sacrificial board underneath | Reduces tear-out on the cut’s underside and protects the surface below |
Setting Up the Saw: Depth and Bevel
Depth and bevel settings affect the cut’s accuracy as much as your guide does. Set the blade depth to about 1/4 inch below the material’s thickness — deeper than that increases kickback risk and drag on the blade, which can pull the saw off line. For the exact depth numbers on standard framing lumber, see our guide on setting circular saw blade depth for a 2×4. If you’re cutting a bevel, lock the shoe at the correct angle before you clamp your guide, since the offset between blade and shoe edge changes slightly at anything other than 90 degrees.
Sidewinder saws (blade on the right for right-handed users) and worm-drive saws (blade on the left) put the motor housing on opposite sides, which changes your sightline to the cut. Learn how your specific saw’s guide notch lines up before your first cut on a new saw rather than guessing mid-cut.
Executing the Cut
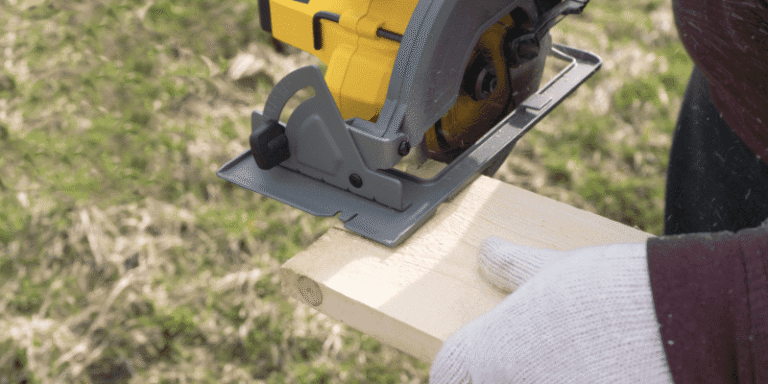
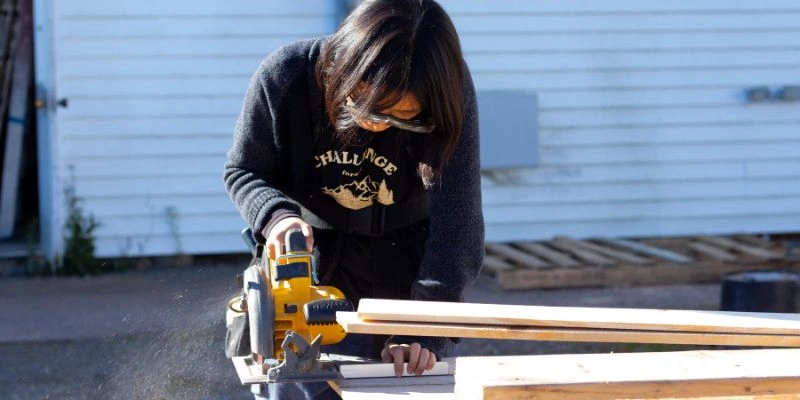
Grip the saw with your dominant hand on the main handle and your other hand on the auxiliary handle, feet shoulder-width apart, body aligned with the direction of the cut. Start the saw before the blade touches the material, ease it into the cut, and keep steady forward pressure — let the blade do the cutting instead of pushing hard, which is what causes the saw to bind or wander.
Keep your eyes on where the blade meets the line, not on the spinning blade itself, and use the notch or guide mark on the front of the shoe as your reference point throughout. If the saw starts to drift off the line, don’t force it back — stop, back up about 6 inches behind where it strayed, and restart the cut from there.
Common Mistakes That Ruin a Straight Cut
| Problem | Fix |
|---|---|
| Blade binds or gets stuck mid-cut | Stop immediately, let the blade fully stop, then check for pinching material or debris before continuing |
| Saw drifts off the marked line | Stop, back up about 6 inches, re-align with the line, and resume slowly with steady pressure |
| Splintering or tear-out along the cut | Score the line with a marking knife first, use a fine-tooth blade, and back the material with a sacrificial board |
| Guide shifts during the cut | Add a third clamp at the midpoint on anything longer than 4 feet |
| Kickback at the end of the cut | Keep the blade depth shallow (about 1/4 inch past the material) and never force the saw faster than it wants to cut |
Finishing and Smoothing the Cut Edge
Sand the cut edge with medium-grit paper first, then finer grit, always working in the direction of the grain to avoid new scratches. For an exposed edge that will show, a chamfer bit in a router softens the corner; for a stray splinter, a sharp file removes it without taking off more material than necessary.
On long workpieces, sawhorses positioned parallel to the cut line — spaced so the material doesn’t sag between them — keep the straightedge guide sitting flat along its whole length, which matters as much for the finished edge as the sanding does.
Frequently Asked Questions
How do you make a perfect straight cut with a circular saw?
Measure and mark your cut line, clamp a straightedge guide offset by the exact distance between your blade and the shoe’s edge, set the blade depth about 1/4 inch below the material, and keep the shoe pressed flat against the guide for the entire cut without stopping partway through.
What’s the easiest way to cut a straight line without a track saw?
Clamp a straightedge guide to your workpiece and run the circular saw’s shoe against it. A $49 clamp-on guide like the Kreg Rip-Cut, or even a factory-edge strip of plywood, delivers results close to a $400-plus track saw for a fraction of the cost — the technique matters more than the tool.
How far should a circular saw guide be clamped from the cut line?
Clamp the guide at the exact distance between your saw’s blade and the edge of its shoe, typically 2 to 4 inches depending on the saw model — never directly on the cut line itself. Measure this offset once, mark it on the shoe with a paint pen, and reuse that mark every time.
Can you cut straight lines in plywood or lauan without splintering?
Yes — score the cut line with a marking knife before sawing, use a fine-tooth (60-plus) plywood blade, and back the panel with a sacrificial board. Cutting with the good face down on a sidewinder saw, or up on a worm-drive or track saw, also keeps the visible veneer on the clean side of the cut.
Do you cut on the line or leave the line?
Cut on the line itself for the most accurate result, letting the blade split the marked line down its center.
Why does my circular saw kickback at the end of a cut?
Kickback at the end of a cut usually comes from incorrect blade alignment, pushing the saw too hard, or the material closing in and pinching the blade as it exits. Keep the blade depth shallow, maintain steady (not forced) pressure, and support both sides of the cut so the material can’t sag and bind the blade.
Conclusion
A straight cut comes down to three things: a sharp, correctly matched blade, a workpiece that can’t shift, and a guide the saw’s shoe can ride against without wandering. Whether that guide is a $49 clamp-on rail or a scrap of plywood with a factory edge, the same offset-and-clamp method applies every time. For more on getting the most from your saw, see our full circular saw guide library or compare models in our best circular saw picks.