How to Make Wood Floors Look New Again
Most wood floors don’t need full sanding to look new again – if the wood underneath is undamaged and the finish is just dull or lightly scratched, cleaning plus a screen-and-recoat (a light abrasion and a fresh topcoat, no sanding to bare wood) restores the shine in a day for a fraction of the cost of a full refinish. Full sanding is only necessary when scratches go through the finish into the wood itself, or the floor has deep water damage, cupping, or many past refinishes that have worn the wear layer thin.
Step 1: Figure Out Which Kind of “Old” You’re Dealing With
Best for Dull-But-Not-Damaged Floors
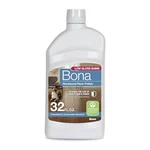 |
Bona Hardwood Floor Polish, 32 oz – $20.98 Renews shine and fills fine surface scratches on floors that just look tired – no sanding, no fumes, dry in about an hour.
|
Before buying anything or renting a sander, walk the room and check a few things: Does the dullness wipe away with a damp cloth, or is it baked into the finish? Do scratches catch a fingernail, or are they just visible under raking light? Is there cupping, warping, or a gray/black stain (usually water damage that’s reached the wood itself, not just the surface)? If the answer is “just dull and lightly scratched, but flat and stable,” you’re a candidate for cleaning and a recoat. If you see cupping, black staining, or scratches deep enough to catch a fingernail, you’re looking at sanding, and possibly board replacement for the worst spots.
Step 2: Deep Clean Before Doing Anything Else
Dirt and old wax residue are the single biggest reason a “recoat” fails to bond and peels within weeks. Vacuum or dry-mop thoroughly first, then clean with a pH-neutral wood floor cleaner – never an all-purpose cleaner, ammonia-based product, or steam mop, all of which can dull the finish further or force moisture into the seams between boards. Let the floor dry completely (a few hours, longer in humid weather) before deciding on your next step, since a hazy or streaky look sometimes disappears entirely once the floor is properly clean and dry, no other work needed.
Step 3: Screen-and-Recoat vs. Full Sand-and-Refinish
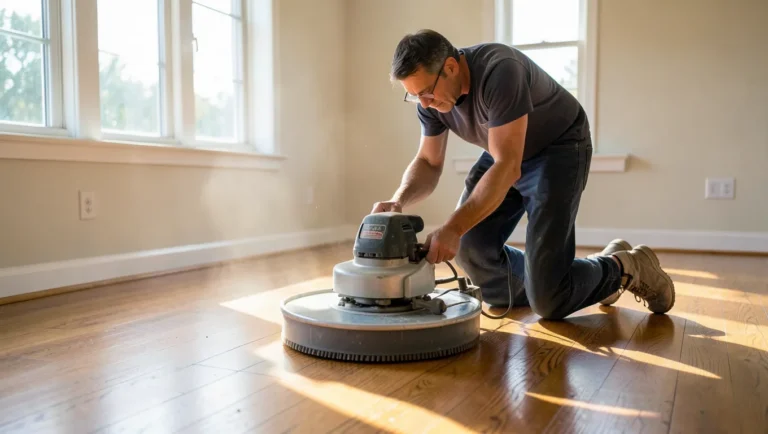
A screen-and-recoat lightly abrades the existing finish with a floor buffer and fine screen (or by hand with a maroon abrasive pad on smaller areas) just enough to give a new topcoat something to grip, then applies a fresh coat of polyurethane or a polish product directly over what’s already there. It takes a fraction of the time of full refinishing, produces far less dust, and typically costs 30-50% less when hiring it out, but it only works if the existing finish is intact enough to bond to – it will not fix scratches that go through to bare wood or floors with wax buildup underneath (wax and polyurethane don’t bond to each other, so a recoat over old wax will peel).
Full sanding removes the finish and a thin layer of wood entirely, down to bare wood, which is the only way to fully erase deep scratches, gray water stains, or an uneven old finish, and it’s necessary if you don’t know the floor’s finish history. Solid hardwood floors can typically be sanded and refinished 4-6 times over their lifespan (each pass removes roughly 1/32 inch), while most engineered wood floors have a thin veneer that only tolerates one or two light sandings before you hit the plywood core – check which type you have before scheduling a full sand.
Fixing Scratches, Gouges, and Water Stains
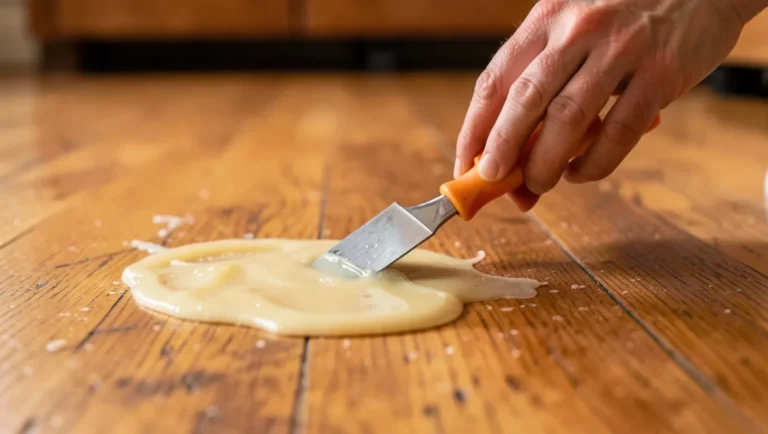
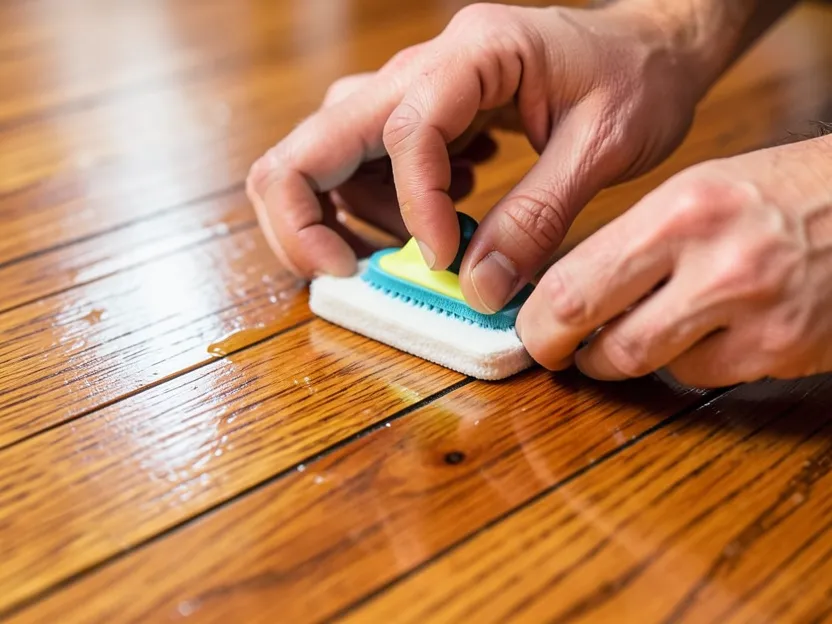
For light surface scratches on an otherwise sound finish, a color-matched wood filler pencil or a color-matched putty applied with a plastic putty knife, then leveled and lightly buffed, blends in well enough that it won’t be noticeable from standing height. One genuinely useful old trick for shallow surface scratches on unfinished or lightly-finished wood: rubbing the meat of a raw walnut over the scratch releases natural oils that darken and fill it in temporarily – it’s not a permanent fix, but it works surprisingly well on small marks before you commit to a full repair.
Water stains fall into two categories. A white or cloudy haze usually means moisture only reached the finish, not the wood, and often buffs out with fine steel wool and a little floor wax or polish. A dark gray or black stain means water penetrated into the wood fibers themselves and reacted with tannins in the wood – this requires sanding down to the stain (sometimes past it entirely) and, for severe cases, a wood bleach treatment before refinishing, or replacing the affected boards outright. Deep gouges that catch a fingernail are a job for filler plus a matching stain, or, if there are several of them close together, a full sand is usually more time-efficient than filling each one individually.
Keeping It Looking New
Most of what shortens a finish’s life is grit acting like sandpaper underfoot. Doormats at every entrance, felt pads under furniture legs, and a “no stiletto heels or dog nails without trimming” policy in high-traffic rooms do more to preserve a fresh finish than any product applied after the fact. Sweep or vacuum (with a hard-floor setting, not a beater bar) a few times a week, and clean with a pH-neutral cleaner rather than a steam mop or vinegar-and-water, both of which can dull or damage polyurethane finishes over time. A light recoat with a floor polish every few months in high-traffic areas keeps the surface layer fresh so you’re maintaining the topcoat instead of waiting until the whole floor needs redoing.
Frequently Asked Questions
How do you make real wood floors look new again?
Clean thoroughly with a pH-neutral wood floor cleaner first, then decide between a screen-and-recoat (light abrasion plus a fresh topcoat, no sanding) for floors that are just dull, or a full sand-and-refinish for floors with deep scratches or water damage that’s reached the wood.
Can you make hardwood floors look new without refinishing?
Yes, if the wood itself is undamaged. Deep cleaning, buffing out light surface scratches, and applying a floor polish or doing a screen-and-recoat can restore shine without sanding down to bare wood.
How do you make dull wood floors shine?
Clean the floor completely with a pH-neutral wood floor cleaner and let it dry fully, then apply a wood floor polish made for your finish type and buff with a microfiber pad. If the dullness doesn’t lift after cleaning, the finish itself is likely worn and needs a recoat.
Does refinishing hardwood floors really make them new again?
Yes, for solid hardwood – full sanding removes the worn finish and top layer of wood entirely, so scratches, stains, and unevenness go with it. Solid floors can typically handle 4-6 refinishes over their lifespan; engineered floors usually tolerate only one or two before hitting the veneer’s limit.
Bottom Line
Check whether the damage is in the finish or the wood before you commit to a method – a clean and a recoat handles most “my floors just look tired” situations in a day, and full sanding is reserved for the floors that actually need it.
Sponsored / affiliate links. As an Amazon Associate I earn from qualifying purchases. I may earn additional commission from eligible campaigns.