How to Measure a Chainsaw Bar: Labeled Size vs. True Length
To measure a chainsaw bar correctly, run a tape from the very tip of the bar back to the point where it exits the powerhead, not to the mounting tang hidden inside the body. That single detail matters because the number printed on the box – the “nominal” or “labeled” length – is almost always 1 to 2 inches longer than the bar’s true, usable cutting length. A saw sold as an “18-inch” model may only cut about 16 to 17 inches of actual wood. Get the measuring point wrong and you’ll order a replacement bar or chain that doesn’t fit.
The Quick Answer: Tip to Where the Bar Exits the Powerhead
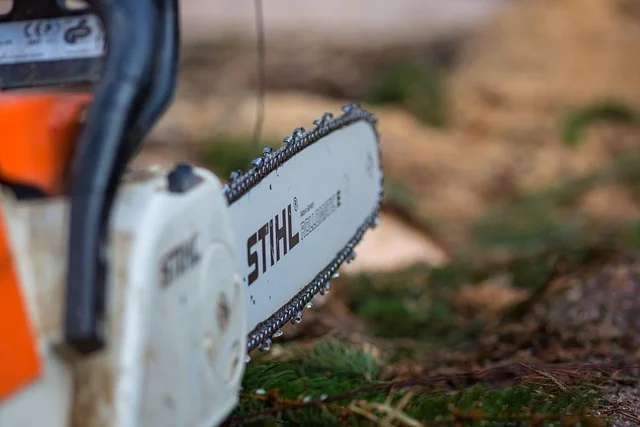
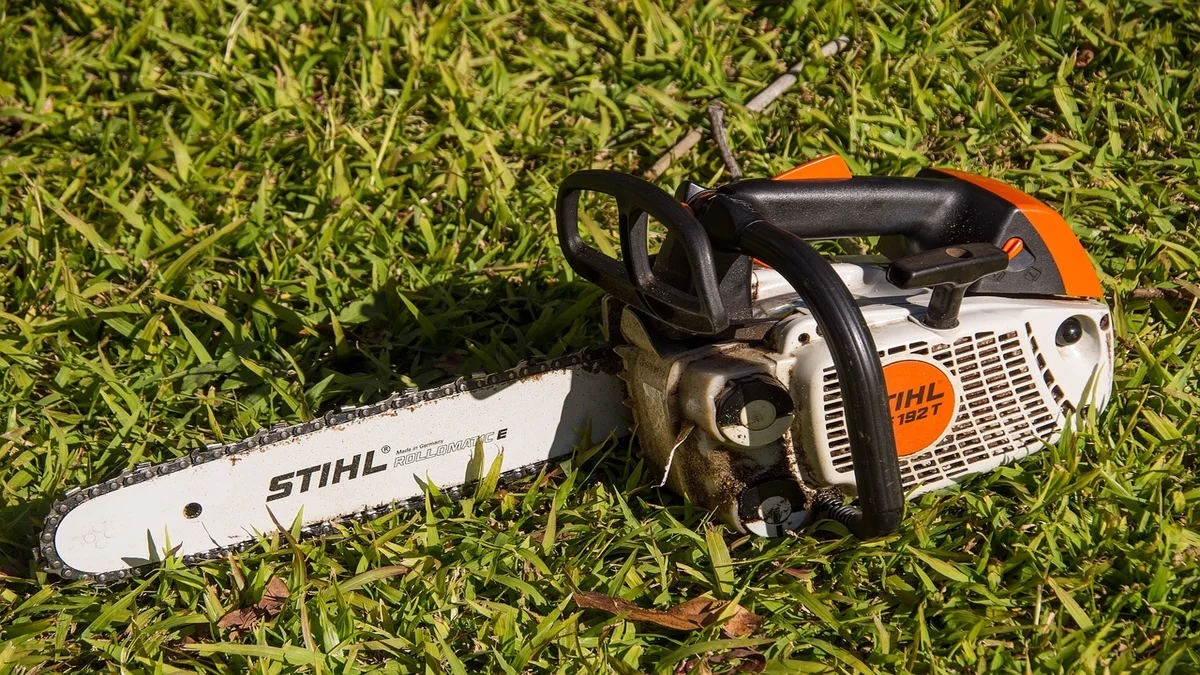
Hold a tape measure flat against the bar. Start at the very tip (the rounded nose where the chain wraps around) and stop at the point where the bar physically exits the clutch cover on the powerhead – not where the bar’s mounting tang disappears inside the housing, which is 1 to 2 inches further back and not visible once the cover is on. Round the result up to the nearest even number; that’s your nominal bar size (14″, 16″, 18″, 20″, and so on), which is what manufacturers print on the box and what you’ll search for when buying a replacement.
Best Tape Measure For Accurate Bar Sizing
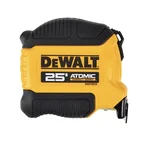 |
DEWALT Atomic Compact Series 25 ft. Tape Measure – $17.99 A rigid, easy-to-read blade makes it simple to hold a straight line along a curved bar tip without the tape sagging mid-measurement.
|
Why the Number on the Box Doesn’t Match the Bar in Your Hand
This is the detail that trips up most people buying a replacement bar or chain: the “18-inch bar” printed on your chainsaw’s spec sheet is a nominal size, not the true cutting length. Manufacturers round the measurement up to the nearest even inch and measure to a reference point inside the housing, so the bar you actually hold and use typically cuts 1 to 2 inches shorter than the labeled number. An 18-inch nominal bar commonly has a real cutting length closer to 16.5 to 17 inches.
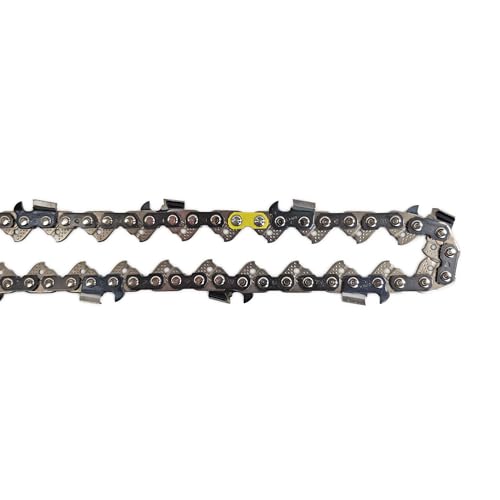
The fix is simple: always measure your own bar tip-to-powerhead-exit rather than trusting the sticker on an old bar or a number remembered from years ago. If you’re ordering a replacement chain, the chain’s actual length depends on the drive-link count, not the nominal bar size – two bars both labeled “16 inches” from different manufacturers can call for a different number of drive links depending on gauge and pitch. When in doubt, count the drive links on your old chain instead of matching by the inch number alone.
Tools You’ll Need
You don’t need anything specialized to measure a chainsaw bar. A flexible tape measure or steel rule handles the length, and a caliper (or a chain-specific gauge tool) makes gauge and pitch measurements far more reliable than guessing.
- Tape measure or steel rule: For the bar’s overall length.
- Caliper or feeler-gauge set: For measuring drive-link thickness (gauge) accurately – a tape measure can’t resolve differences as small as .050″ vs .063″.
- Clean rag and wire brush: Sawdust and bar oil residue make it easy to misread the tip or miscount drive links.
- Owner’s manual or bar stamp: Many bars have the gauge, pitch, and drive-link count stamped near the mounting slot – check there before you measure anything by hand.
If you also need to true up your chain’s cutters after a rough day of felling, our guide to choosing the right chainsaw file covers matching a file diameter to your chain’s pitch.
Before You Measure: Two Prep Steps That Prevent a Bad Reading
Disengage the Chainsaw First
Turn the chainsaw off, engage the chain brake, and if it’s a gas model, pull the spark plug boot before you touch the bar. A chain that shifts while you’re holding a tape against it is a real cut hazard, and it’s an easy step to skip when you’re just “quickly checking a measurement.”
Clean the Bar
Wipe caked sawdust and bar oil off the groove and tip with a rag, then run a wire brush along the edge if it’s crusted. Debris at the tip is the most common reason a measurement comes out a quarter-inch off – it’s easy to mistake a clump of sawdust for the actual end of the bar.
- Power off the saw and engage the chain brake.
- Remove the spark plug wire on gas models (or the battery on cordless models).
- Wipe the bar clean with a rag, then wire-brush any stuck-on debris near the tip.
- Lay the saw on a flat, stable surface for the measurement.
Step-by-Step: Measuring the Bar’s Length
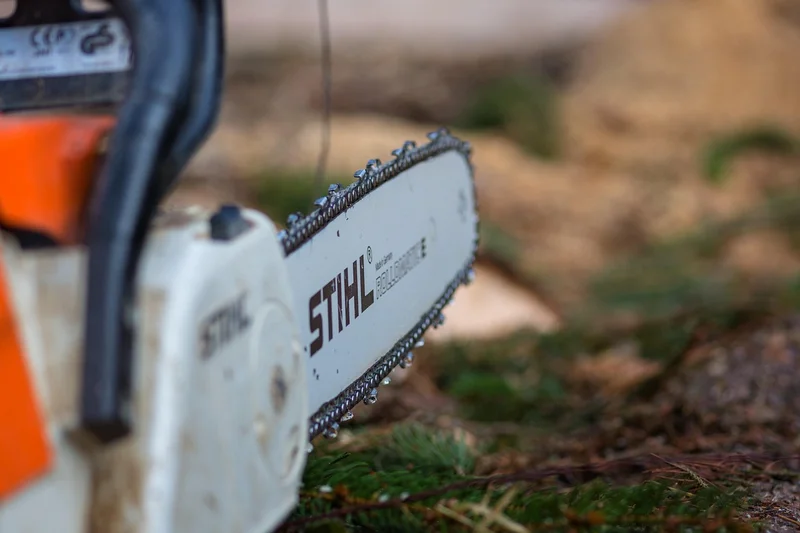
With the saw disengaged and the bar clean, place the end of your tape measure at the very tip of the bar – the rounded nose that the chain wraps around, or the front edge of the sprocket if your bar has a sprocket-nose tip. Keep the tape flat against the bar’s edge, not curved along its top, or you’ll read long.
Run the tape back along the bar to the point where the bar’s body exits the clutch cover on the powerhead – the visible gap between the cover and the bar, not the slot where the mounting tang sits inside the saw. Read the measurement there, then round up to the nearest even inch. That rounded number is the bar’s nominal size, and it’s the number you’ll use when shopping for a replacement.
Two things that throw off the reading: measuring at an angle instead of parallel to the bar’s edge, and stopping at the mounting slot instead of the visible exit point at the clutch cover. Both make the bar read 1 to 2 inches shorter than its actual nominal size.
Bar Gauge and Chain Pitch: The Other Two Numbers You Need
Length alone won’t get you a chain that fits. A replacement chain also has to match the bar’s gauge and the chain’s pitch, and getting either wrong means the chain won’t seat in the bar’s groove or won’t mesh with the drive sprocket.
Gauge
Gauge is the thickness of the chain’s drive links where they sit inside the bar’s groove. The three common sizes are .050″, .058″, and .063″ – a difference of just eight-thousandths of an inch, which is why a caliper reads it far more reliably than trying to eyeball it. Using a chain with the wrong gauge either binds in the groove or rattles loosely inside it.
Pitch
Pitch is the distance between any three consecutive rivets on the chain, divided by two. It’s usually stamped on the bar itself near the mounting slot, or listed in your chainsaw’s owner’s manual alongside the recommended chain tension. Common pitches are 3/8″, .325″, and .404″. If the bar isn’t stamped and you don’t have the manual, count the drive links in a 3-foot section of chain and divide by 2 to back into the pitch.
Where to Find These Numbers Fast
Before measuring anything by hand, check the bar itself – most bars have gauge, pitch, and sometimes drive-link count stamped or printed near the mounting slot where it meets the powerhead. If that’s worn away, the saw’s owner’s manual or the manufacturer’s parts lookup by model number is faster and more reliable than measuring an old, worn chain.
Common Mistakes That Lead to the Wrong Replacement Bar
- Measuring to the mounting tang instead of the clutch cover exit point. This is the single most common error and it’s what causes people to order a bar 1 to 2 inches too short.
- Rounding down instead of up. Nominal bar sizes are always rounded up to the nearest even inch, not down – a 17.2″ true measurement is an 18″ nominal bar, not a 16″ one.
- Matching by inch number alone when buying a chain. Two bars with the same nominal length can need different drive-link counts depending on gauge and pitch. Match all three numbers, or count drive links directly off the old chain.
- Measuring with the chain still on and loose. A slack chain can shift the bar slightly in the mount, throwing the reading off by a fraction of an inch. Set the correct chain tension first if you’re keeping the same bar.
- Ignoring bar wear. A bar with a worn or bent tip can measure differently than its stamped size. If the stamped number and your tape measurement disagree by more than a quarter inch, trust the stamp and inspect the bar for damage.
Keeping Your Bar Measurable and Accurate Long-Term
A bar that’s cared for stays easier to measure accurately and lasts longer between replacements. Wipe it down and check the groove for debris after every use, and inspect the rails – the metal edges that guide the chain – for burrs or uneven wear every few tankfuls of gas or battery charges. Flip the bar end-for-end periodically if your saw allows it; this evens out one-sided wear from always cutting with the same face down, which keeps your measurements consistent over the bar’s life.
Replace the bar once the groove has visibly widened, the rails are chipped or bent, or the bar no longer holds a straight cut – at that point, no amount of careful measuring will make a worn bar perform like a new one.
Frequently Asked Questions
How do you measure a chainsaw bar?
Run a tape measure flat along the bar from its tip to the point where it physically exits the clutch cover on the powerhead, then round the result up to the nearest even inch. That rounded number is the bar’s nominal size, which is what’s printed on replacement bar and chain packaging.
Why is the labeled bar size different from the actual cutting length?
Manufacturers measure to a reference point that includes part of the mounting hardware and round up to the nearest even inch, so the labeled or nominal size is typically 1 to 2 inches longer than the bar’s true, usable cutting length. An 18-inch nominal bar commonly cuts closer to 16.5 to 17 inches of actual wood.
What is the purpose of measuring a chainsaw bar?
Measuring the bar tells you which nominal size to search for when buying a replacement bar or chain. Buying the wrong size can prevent the chain from seating properly, reduce cutting performance, or create a safety hazard from improper fit.
How often should you measure a chainsaw bar?
Measure whenever you’re buying a replacement bar or chain, or if you’re not certain of your saw’s current bar size. It’s also worth re-checking after any repair or bar swap, since a stamped number can be worn away or the bar itself replaced with a different one at some point in the saw’s history.
Conclusion
Measuring a chainsaw bar comes down to one habit: measure tip-to-clutch-cover, not tip-to-mounting-tang, and expect the true cutting length to run 1 to 2 inches shorter than the nominal number on the box. Combine that with the correct gauge and pitch, and you’ll order a replacement bar or chain that fits the first time.
Sponsored / affiliate links. As an Amazon Associate I earn from qualifying purchases. I may earn additional commission from eligible campaigns.