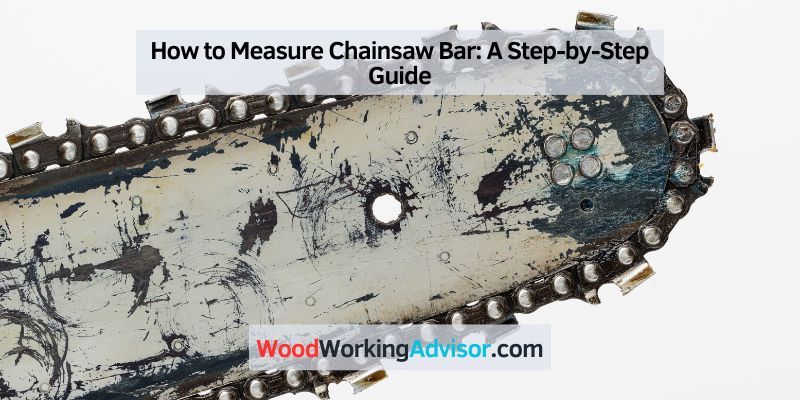
How to Measure Chainsaw Bar: A Step-by-Step Guide
To measure a chainsaw bar, place a measuring tape at the tip of the bar and extend it to the end. If you want to accurately determine the length of your chainsaw bar, follow these simple steps.
Firstly, locate the tip of the bar and securely place the end of a measuring tape on it. Next, extend the measuring tape along the length of the bar until you reach the opposite end. Ensure the tape is straight and aligned with the bar’s entire length, then read the measurement in inches or centimeters at the endpoint.
By using this straightforward method, you can effectively measure your chainsaw bar and choose the appropriate replacement or accessory to enhance your cutting performance.
Step 1: Gather The Necessary Tools
When it comes to maintaining your chainsaw, one crucial aspect is knowing how to measure the chainsaw bar. This step is essential for selecting the right replacement or guide bar for your chainsaw. In this guide, we will walk you through the process of measuring a chainsaw bar, starting with gathering the necessary tools. By following these steps, you can ensure that your chainsaw remains in optimal condition and continues to provide efficient and safe cutting performance.
Before you begin measuring your chainsaw bar, make sure you have the following tools ready:
| Tools Required for | Measuring Chainsaw Bar |
| 1. Measuring Tape: | A measuring tape is essential for accurately measuring the length of your chainsaw bar. Make sure it’s a flexible one that can easily wrap around the bar. |
| 2. Safe Work Gloves: | It’s important to protect your hands while handling tools and the sharp edges of the chainsaw. Wear a pair of sturdy work gloves to ensure your safety. |
| 3. Clean Cloth: | Before taking measurements, clean the chainsaw and the bar to remove any debris or dirt. A clean cloth will help you wipe away any particles that could affect accuracy. |
Once you have gathered these tools, you are ready to move on to the next step.
Step 2: Remove The Chainsaw Bar
Removing the chainsaw bar is a crucial step in measuring it accurately. Whether you’re replacing the old bar or simply checking its size, this step-by-step guide will ensure you do it correctly. Follow these instructions to remove the chainsaw bar from your chainsaw:
Removing The Chainsaw Bar From The Chainsaw
Before you begin, make sure you have protective gloves and eyewear to ensure your safety. With the necessary safety precautions in place, follow these steps to remove the chainsaw bar:
- Turn off the chainsaw and unplug it from any power source.
- Locate the bar retaining nuts or bolts on the side of the chainsaw.
- Using a socket wrench or an appropriate tool, loosen the nuts or bolts counterclockwise.
- Once the nuts or bolts are loosened, carefully remove them, keeping them in a safe place.
- Hold the chainsaw bar firmly and pull it away from the chainsaw body, disconnecting it from the drive sprocket and chain.
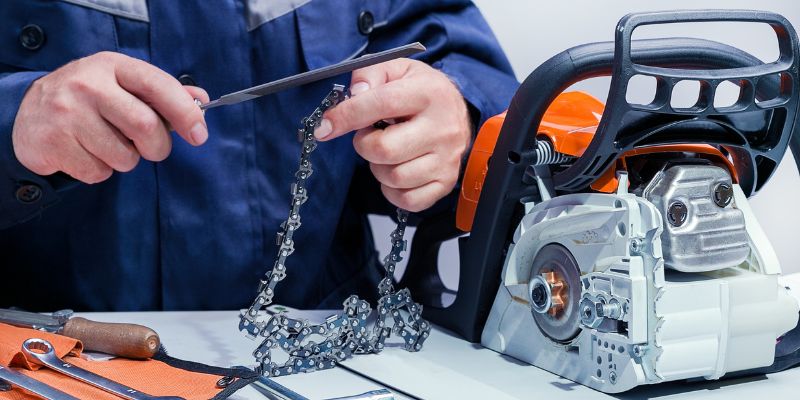
- Inspect the chainsaw bar for any signs of damage, such as excessive wear or bent areas. If necessary, this is also the perfect time to clean the bar thoroughly.
Ensuring Accurate Measurements
Now that you have successfully removed the chainsaw bar from the chainsaw, it’s important to ensure accurate measurements. Here are a few things to keep in mind:
- Measure the length of the chainsaw bar from the tip to the base of the bar using a tape measure. Be sure to measure the edge of the bar, excluding any protruding parts like the nose sprocket.
- Take note of the measurement in inches or centimeters, depending on your preference, and keep it for reference when purchasing a replacement bar.
- While measuring, check for any signs of excessive wear, such as grooves or missing teeth on the bar. If necessary, it may be time to replace the bar to ensure optimal performance.
By carefully removing the chainsaw bar and taking accurate measurements, you’ll be ready to find the perfect replacement bar for your chainsaw. Keeping your chainsaw in top shape ensures efficient cutting and prolongs the lifespan of your tool. Stay tuned for the next step to complete your chainsaw bar measurement process!
Step 3: Measure The Length Of The Chainsaw Bar
To measure the length of your chainsaw bar, simply measure from the tip to the point where it enters the chainsaw body. This measurement is crucial for finding the correct replacement or upgrade bar for your chainsaw.
Measuring the length of your chainsaw bar is an essential step to ensure that you purchase the correct replacement chain and maintain the optimal performance of your chainsaw. By accurately measuring the length of the bar, you can avoid the hassle of buying the wrong chain size or experiencing difficulties during cutting.
Using A Measuring Tape To Determine The Length
To measure the length of your chainsaw bar, you will need a measuring tape or a ruler. Follow these easy steps to accurately measure your chainsaw bar:
- Ensure that your chainsaw is turned off and is placed on a flat, stable surface.
- Locate the chainsaw bar. It is the long, flat metal piece that extends out from the chainsaw body.
- Take your measuring tape and place one end against the point where the chainsaw bar enters the chainsaw body. The measurement should span the entire length of the bar, up to the tip.
- Make sure the measuring tape is straight and parallel to the chainsaw bar for an accurate measurement.
- Read and note down the measurement indicated on the tape or ruler. This measurement represents the length of your chainsaw bar.
Remember to measure the length of your chainsaw bar in inches or centimeters, depending on the measuring system you prefer.
If your chainsaw bar measurement falls between two standard sizes, always choose the larger size. It is preferable to have a slightly longer bar than a shorter one, as it allows for more versatility in cutting applications.
Now that you know how to measure the length of your chainsaw bar, you can confidently purchase the right replacement chain and continue to maintain the efficiency of your trusty tool. Keep in mind that regular measurements are recommended, as chainsaw bars can experience wear and tear over time. By regularly monitoring the length of your chainsaw bar, you can ensure the longevity of your chainsaw and achieve optimal cutting performance.
Step 4: Measure The Cutting Length
In Step 4 of measuring a chainsaw bar, you will determine the cutting length. This is an important step to ensure accuracy and safety when using a chainsaw.
After identifying the pitch and gauge of the chainsaw bar in the previous steps, the next crucial measurement to take is the cutting length. Knowing the cutting length of your chainsaw bar is essential as it determines the maximum diameter of wood you can cut with the chainsaw.
Identifying The Cutting Length Of The Chainsaw Bar
To measure the cutting length accurately, follow these simple steps:
- Disconnect the spark plug wire from the spark plug to ensure the chainsaw is completely powered off.
- Locate the end of the chainsaw bar that extends from the chainsaw body. This is the part that enters the wood during cutting.
- Using a tape measure or ruler, place one end at the base of the chainsaw bar where it meets the chainsaw body.
- Extend the tape measure or ruler along the length of the bar until you reach the tip. Make sure to measure the part of the bar that has a cutting edge, excluding any unused length.
It is important to note that the cutting length may be slightly shorter than the overall length of the chainsaw bar. This is because chainsaw bars often have a small portion of the bar that does not have a cutting edge, known as the safety tip.
Once you have measured the cutting length of the chainsaw bar, make a note of the measurement. This information will be useful when selecting the appropriate chain for your chainsaw, ensuring optimal performance and safety during use.
Step 5: Reinstall The Chainsaw Bar
To measure a chainsaw bar, follow Step 5: Reinstall the chainsaw bar. This is an important step in ensuring proper functioning and safety of your chainsaw.
Step 5: Properly Reattaching The Chainsaw Bar To The Chainsaw
Now that you have successfully measured your chainsaw bar, it’s time to reinstall it onto your chainsaw. Follow these simple steps to ensure a secure and safe attachment.
1. Clean The Chainsaw Bar Groove
Before reattaching the chainsaw bar, it’s essential to clean the groove on the chainsaw body where the bar sits. Use a brush or rag to remove any debris, sawdust, or oil buildup. This step ensures proper and smooth fitting of the bar.
2. Insert The Bar Into The Slot
Position the chainsaw bar into the guide slot in the chainsaw body, aligning the bar with the sprocket at the end. Make sure the chainsaw chain fits snugly around the sprocket and the bar lies flat against the body.
3. Tighten The Bar Nuts
Using the appropriate tool, tighten the bar nuts until they are snug against the chainsaw body. Take note not to overtighten, as this can lead to bar damage or cause the chain to bind. A torque wrench can be helpful to ensure the nuts are tightened to the manufacturer’s specifications.
4. Test The Chain Tension
Check the tension of the chainsaw chain by pulling it away from the bar. The chain should have a slight give but not sag or hang loose. Adjust the tension if necessary using the chain tensioning screw or adjusting pin on your chainsaw.
5. Reattach Any Safety Features
Don’t forget to reinstall any safety features that were previously removed during the bar measurement process. This may include the chain brake, handguard, or other protective elements. Verify that these components are securely attached and in proper working order.
6. Double-check The Installation
Now that you’ve reinstalled the chainsaw bar, take a moment to inspect the entire assembly. Ensure the bar is properly aligned, the chain is seated correctly, and all nuts and bolts are tightened. This thorough examination helps prevent accidents and ensures optimal performance.
With the chainsaw bar correctly reattached, you’re ready to resume your cutting tasks. Remember to regularly check and maintain your chainsaw bar to maximize its lifespan and ensure safe operation.
Frequently Asked Questions Of How To Measure Chainsaw Bar
What Is The Proper Way To Measure A Chainsaw Bar?
To measure a chainsaw bar properly, use a measuring tape to determine its length from the tip to the point where the chain enters the housing. Make sure to measure only the bar and not include any protective coverings. This measurement will help you select the right replacement bar for your chainsaw.
How Do I Know What Size Chain My Chainsaw Has?
To determine the size of the chain for your chainsaw, you should locate the stamped numbers on the chainsaw blade or bar. Look for numbers such as 3/8″, 0. 325″, or 0. 404″, which indicate the pitch or size of the chain.
Refer to the chainsaw’s manual for more details.
What Are The Sizes Of Chainsaw Bars?
Chain saw bars come in various sizes, ranging from 12 to 36 inches. The size of the bar determines the maximum size of the log that can be cut. Smaller bars are suitable for light-duty tasks, while larger bars are used for heavy-duty cutting.
How Long Should My Chainsaw Bar Be?
The length of your chainsaw bar should be determined by the type of work you plan to do. For general home use, a 16 to 20-inch bar is suitable. If you’re tackling larger trees or heavy-duty tasks, opt for a longer bar, around 24 inches or more.
Always consider your experience and comfort level when choosing the right bar length for your chainsaw.
Conclusion
To accurately measure a chainsaw bar, follow these simple steps. Start by removing the bar from the chainsaw and measuring its length using a tape measure. Ensure the measurement is precise, as even a slight inaccuracy can affect the functioning of the chainsaw.
By regularly measuring your chainsaw bar, you can ensure optimal performance and safety while using this powerful tool. So, keep in mind these easy steps and keep your chainsaw well-maintained for smooth cutting and increased longevity.