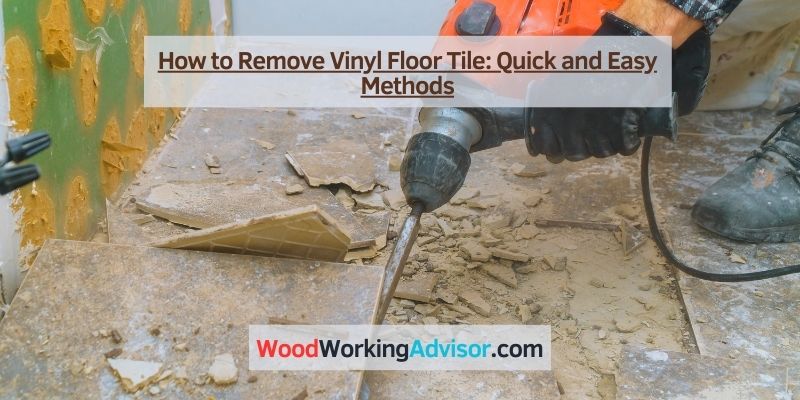
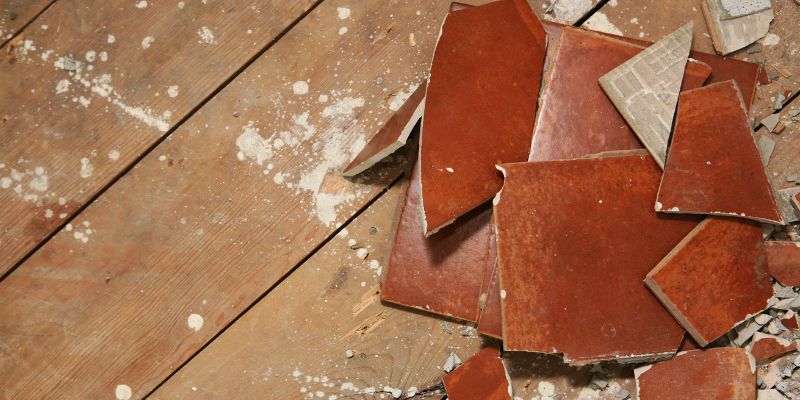
How to Remove Vinyl Floor Tile: Quick and Easy Methods
To remove vinyl floor tile, start by heating the tiles with a hairdryer to soften the adhesive, then use a putty knife to gently pry them up. Next, scrape off any remaining adhesive with a scraper tool, and clean the subfloor with a commercial adhesive remover or warm soapy water.
That’s it! Are you ready to update your flooring and want to remove those old vinyl floor tiles? Don’t worry, it’s a straightforward process that you can easily do yourself. By following a few simple steps, you’ll have those tiles removed in no time.
We’ll guide you on how to remove vinyl floor tile efficiently and without hassle. So, let’s dive into it and get ready to transform your space with a fresh new look.
Method 1: Using A Heat Gun
To remove vinyl floor tiles, one effective method is using a heat gun. By heating the tiles, you can easily loosen the adhesive, making it easier to pry them up and remove them. Be cautious and work in small sections to avoid damaging the floor.
If you’re looking for an effective way to remove vinyl floor tiles, using a heat gun is a popular and efficient method. By applying heat to the tiles, you can loosen the adhesive and make it easier to remove them. Here’s a step-by-step guide on how to remove vinyl floor tiles using a heat gun:
Step 1: Gather The Necessary Tools And Materials
Before you begin, make sure you have all the necessary tools and materials at hand. Here’s a list of what you’ll need:
- A heat gun
- A putty knife or scraper
- Gloves
- Protective eyewear
- A drop cloth or tarp to protect the surrounding area
Step 2: Prepare The Work Area
Once you have your tools ready, it’s important to prepare the work area. Lay down a drop cloth or tarp to protect the surrounding floor from any debris or adhesive. This will make the cleanup process much easier later on.
Step 3: Apply Heat To The Vinyl Floor Tile
Put on your gloves and protective eyewear before you begin. Start by heating one corner of the vinyl floor tile using the heat gun. Hold the heat gun about 6 inches away from the tile, and move it back and forth in a sweeping motion. Continue heating the tile for about 1-2 minutes, or until you start to see the adhesive softening.
Step 4: Remove The Loosened Tile
Once the adhesive has softened, take your putty knife or scraper and gently pry up the loosened tile from the floor. Start at the corner where you applied heat and work your way towards the center of the tile. Be careful not to damage the subfloor while removing the tile.
Continue this process, heating and removing one tile at a time, until all the vinyl floor tiles have been removed. If you encounter stubborn adhesive that’s not coming off, you can repeat the heating process or use a scraper to remove any remaining residue.
Now that you know how to remove vinyl floor tiles using a heat gun, you can tackle your flooring project with confidence. Remember to take necessary safety precautions, and enjoy the satisfaction of a job well done!
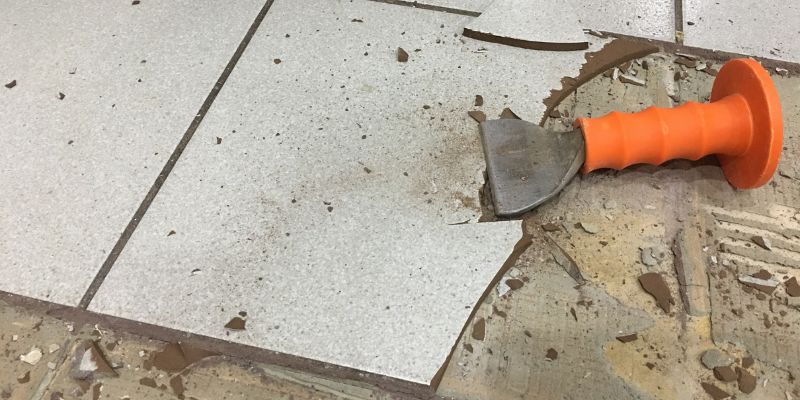
Method 2: Using A Floor Scraper
To remove vinyl floor tiles, try Method 2: Using a Floor Scraper. This method involves carefully scraping away the tiles using a scraper tool, following the instructions to ensure a smooth and successful removal process.
If you’re aiming to remove vinyl floor tiles, using a floor scraper can be an effective method. This tool allows you to gently scrape away the tiles without causing damage to the underlying floor. Keep in mind that this method might require some physical effort, but it’s worth it for a successful result. The following steps will guide you through the process:
Step 1: Gather The Necessary Tools And Materials
Before getting started, ensure you have all the required tools and materials at hand. Having everything ready will save you time and effort. Here are the items you’ll need for this method:
- Floor scraper
- Putty knife
- Gloves
- Safety goggles
- Dust mask
- Plastic sheeting or drop cloth
- Painter’s tape
- Trash bags
- All-purpose cleaner or adhesive remover
- Warm water
- Clean cloth or sponge
Step 2: Prepare The Work Area
Creating a suitable work area ensures a smooth and efficient removal process. Follow these steps to prepare the space properly:
- Clear the room of any furniture or obstacles that may hinder your work.
- Cover any nearby furniture, appliances, or fixtures with plastic sheeting or drop cloth to protect them from debris and dust.
- Secure the plastic sheeting or drop cloth using painter’s tape to keep it in place.
- Open windows or doors in the room to provide ventilation and prevent the accumulation of fumes.
- Wear gloves, safety goggles, and a dust mask to protect yourself from potential hazards like sharp edges, dust, and chemicals.
Step 3: Score The Vinyl Floor Tile
Scoring the vinyl floor tile will help loosen the adhesive underneath, making it easier to remove. Follow these steps to score the tile:
- Start at one corner of the tile and use a putty knife or utility knife to create small cuts in a criss-cross pattern across the surface of the tile.
- Make sure not to press too hard to avoid damaging the subfloor.
- Repeat this process for each tile you plan to remove.
Step 4: Use A Floor Scraper To Remove The Tile
Once you’ve scored the tile, it’s time to use the floor scraper to remove it. Follow these steps for effective tile removal:
- Position the floor scraper at the corner of the scored tile.
- Apply downward pressure and angle the scraper towards the floor to lift the tile away from the adhesive.
- Work your way along the scored lines, using the scraper to gently lift and remove each tile.
- If any pieces remain stubborn, re-score them and continue the removal process.
- Remember to be patient and take breaks if needed to prevent excessive strain.
Removing vinyl floor tiles using a floor scraper may require some time and effort, but it can be a rewarding DIY project. By following these steps, you’ll be well on your way to removing your vinyl floor tiles efficiently and effectively.
Method 3: Using A Chemical Adhesive Remover
You’re nearly there! Method 3 involves using a chemical adhesive remover to tackle that stubborn vinyl floor tile. This approach is effective in breaking down the adhesive bond, making it easier to remove the tile. Let’s dive into the process step by step.
Step 1: Gather The Necessary Tools And Materials
Before you begin, make sure you have all the tools and materials you’ll need for this method. Here’s a handy list:
- Chemical adhesive remover
- Protective gloves and goggles
- Scraper or putty knife
- Scrub brush
- Bucket of warm water
Step 2: Prepare The Work Area
Once you have everything ready, it’s time to prepare the work area:
- Open windows or turn on ventilation to ensure proper airflow.
- Put on protective gloves and goggles to protect your hands and eyes.
- Clear the floor of any obstacles or furniture to provide easy access.
Step 3: Apply The Adhesive Remover
Now it’s time to apply the chemical adhesive remover:
- Follow the instructions on the adhesive remover product for proper usage.
- Pour or spray the adhesive remover onto a small section of the vinyl tile.
- Allow the adhesive remover to penetrate the tile for the recommended amount of time.
Step 4: Remove The Tile With A Floor Scraper
Finally, you can start removing the tile using a floor scraper:
- Starting at one corner of the tile, position the floor scraper at a slight angle.
- Apply firm pressure and push the scraper underneath the tile.
- Work your way along the tile, carefully lifting and removing it.
- Repeat the process for any remaining tiles until the area is clear.
That’s it! By following this method, you’ll be able to remove vinyl floor tiles using a chemical adhesive remover. Remember to ventilate the area, wear protective gear, and read the instructions of the adhesive remover product to ensure safe and effective results.
Conclusion
Removing vinyl floor tile can be a daunting task, but with the right tools and techniques, it can be done efficiently. By following the steps outlined in this blog post, you can successfully remove vinyl floor tile without causing damage to the underlying surface.
Remember to protect yourself with safety gear and take your time to ensure a smooth removal process. With these tips, you’ll be on your way to a beautiful new floor in no time. Happy renovating!