How to Screw into a Stud: Weight Limits, Tools and Step-by-Step
To screw into a stud, locate it with a stud finder, drill a pilot hole slightly smaller than the screw’s core, then drive the screw in straight — a single #8 wood screw can hold roughly 95 lbs of pull-out resistance per inch of thread engagement in solid wood. Skip the pilot hole on hardwood and you risk splitting the stud instead of anchoring into it. This guide covers finding the stud, the right screw and drill bit, and how much weight your mount can actually hold.
How Much Weight Can a Screw Hold in a Stud?
A standard #8 wood screw driven into a solid wood stud has an ultimate withdrawal resistance of roughly 95 lbs per inch of thread engagement. A high-quality wood screw or lag screw driven into the center of a stud can safely support hundreds of pounds when properly engaged — the limiting factor is usually the screw’s shear strength and how much of the thread is actually seated in the wood, not the stud itself.
📊 For full holding strength, the screw should penetrate at least two-thirds of its length into the stud. Source: EngineeringToolbox wood screw withdrawal load data.
Finding The Right Tools
When it comes to finding the right tools for screwing into a stud, it’s important to use a stud finder to locate the stud. Once located, use a power drill and wood screws that are long enough to reach firmly into the stud. This ensures a secure and safe installation.
Finding the right tools is crucial for a successful and secure installation. The right tools ensure that you have the proper equipment to get the job done quickly and efficiently. In this section, we will discuss two important tools you’ll need to find: the right screw and the correct drill bit.
Selecting The Right Screw
Choosing the right screw is essential for a sturdy and durable mount. A properly selected screw will securely anchor your fixture to the stud, preventing any wobbling or loosening over time. When selecting a screw, keep the following factors in mind:
- Length: The screw should be long enough to penetrate through the fixture and into the stud, but not too long that it will pierce the other side.
- Diameter: The diameter of the screw should provide enough support for your fixture, ensuring it remains securely in place.
- Thread Type: For wood studs, choose coarse-thread wood screws, as they provide better grip and hold than fine-thread screws made for metal or drywall alone.
- Material: Opt for screws made of durable materials like stainless steel or zinc-plated steel to prevent rust and corrosion.
By considering these factors, you’ll be able to find the perfect screw that suits your specific mounting needs.
Choosing The Correct Drill Bit
Now that you have the right screw, it’s important to pair it with the correct drill bit to ensure a precise and clean installation. The right drill bit will create a pilot hole that makes it easier to drive the screw into the stud. Here’s what you should keep in mind when choosing a drill bit:
- Diameter: The diameter of the drill bit should be slightly smaller than the screw’s core diameter. This ensures a snug fit and reduces the risk of splintering the wood.
- Type: For wood studs, use twist drill bits designed for wood drilling. These bits have sharp points and flutes that help guide the bit through the material smoothly.
By selecting the correct drill bit, you’ll ensure a precise and effortless drilling process, allowing the screw to be inserted seamlessly into the stud.

Best Stud Finder Pick
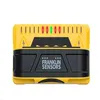
Franklin Sensors ProSensor Stud Finder (9-Sensor)
Multi-sensor stud finder that shows all edges of the stud at once instead of one beep at a time, so you can find dead center on the first pass.
- Best for: quickly locating stud center for maximum screw holding power
- Why we picked it: multi-sensor display avoids the guesswork of single-sensor stud finders
- Main drawback: no metal or live-wire detection on the base model
Compare more mounting supplies
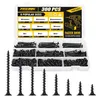 Option 1 Coarse Thread Wood Screws Assortment Kit
|
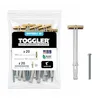 Option 2 TOGGLER SNAPTOGGLE Drywall Anchor
|
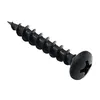 Option 3 Rok Hardware #8 Coarse Deep Thread Pan Head Screws
|
As an Amazon Associate we earn from qualifying purchases.
Locating The Stud
When it comes to securely hanging heavy items or mounting shelves on your walls, finding a stud is crucial. A stud is a vertical framing member within the wall that provides the necessary support. Without locating a stud, you risk your objects falling down, damaging both your belongings and the wall itself. In this section, we’ll cover two effective methods to help you find a stud — using a stud finder and identifying studs without one.
Using A Stud Finder
If you want a quick and accurate way to locate studs, using a stud finder is your best bet. These handheld devices are specifically designed to detect the presence of studs behind the drywall. Here’s how you can use one:
- Read the instructions: Before using a stud finder, make sure to read the manufacturer’s instructions carefully. This will give you a better understanding of how to operate the device correctly.
- Choose the right setting: Stud finders often have different modes, such as stud scan, metal scan, or live wire detection. Select the mode that suits your needs.
- Calibrate the stud finder: To get an accurate reading, place the stud finder flat against the wall and press the calibration button. Wait until the device signals that it is ready to use.
- Scan the wall: Start from one side of the wall and move the stud finder slowly across the surface, making sure to maintain consistent pressure. The device will emit a sound or display a light indicator when it detects a stud.
- Mark the stud: Once the stud is located, mark its edges using a pencil or painter’s tape. This will help you remember its position when it’s time to screw or nail into the stud.
Identifying Studs Without A Stud Finder
If you don’t have a stud finder on hand, don’t worry. There are alternative methods to help you locate studs without relying on a specialized tool. Here are some techniques you can try:
- Look for clues: Studs in residential construction are typically spaced 16 inches on-center per IRC standards (24 inches on-center in some framing), with the first stud usually located around 16 inches from the corner. Look for clues like electrical outlets, light switches, or baseboards, as they are often mounted directly onto studs.
- Knock and listen: By lightly tapping on the wall with your knuckles, you can listen for a solid, dull sound. Studs tend to produce a denser sound compared to hollow areas in the wall.
- Use a magnet: Run a strong magnet along the wall surface. It will stick to the screws or nails securing the drywall to the studs, indicating their presence.
- Measure and calculate: If you can access the opposite side of the wall, you can measure the distance between two electrical outlets or switches. Studs are typically spaced at regular intervals, which can help you estimate the location of adjacent studs.
By following these methods, you can accurately locate studs and ensure a secure and sturdy mounting for your wall fixtures and decorations. Remember, taking the time to find a stud will save you from potential mishaps in the future.

Screwing Into The Stud
When hanging heavy items such as shelves, cabinets, or mirrors, it’s crucial to screw directly into a stud to ensure a secure and stable installation. The stud offers the strongest support for heavy objects and can prevent damage to your walls. In this guide, we’ll walk you through the process of screwing into a stud, from pre-drilling pilot holes to driving the screw in securely.
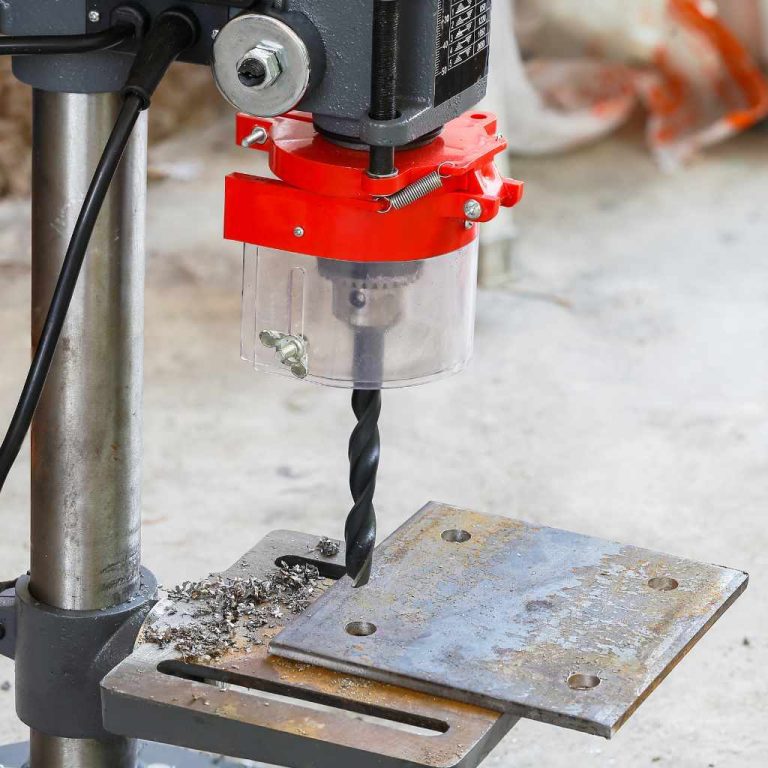
Pre-drilling Pilot Holes
Before driving a screw into the stud, it’s essential to pre-drill pilot holes to make the process easier and prevent the wood from splitting. Use a drill bit that is slightly smaller than the diameter of the screw to create the pilot hole. Position the drill perpendicular to the stud, and start drilling at a slow speed, applying gentle pressure. Stop once the pilot hole is deep enough for the screw to enter easily, but not too deep that it goes through the stud entirely.
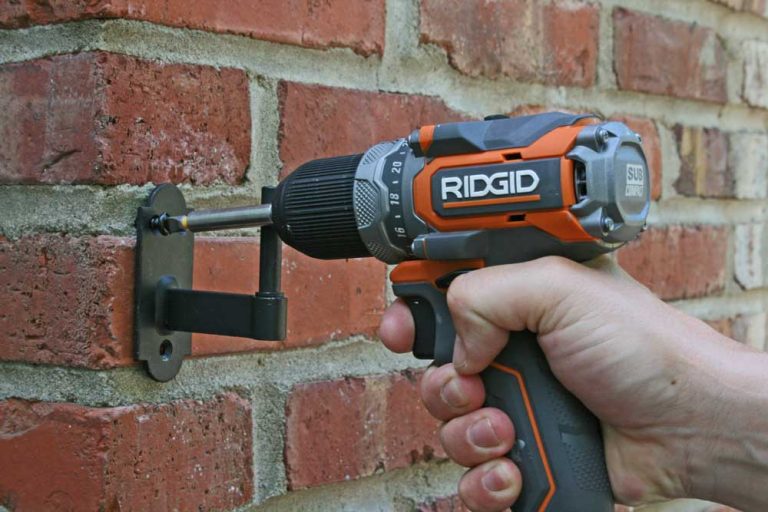
Driving The Screw Into The Stud
After pre-drilling the pilot holes, take the appropriate screw for the job and position it at the pilot hole. Use a power drill or a screwdriver to drive the screw into the stud, ensuring it goes in straight and flush with the surface, penetrating at least two-thirds of the screw’s length for full holding strength. Be cautious not to apply too much force as it can cause the screw to strip or break, compromising the integrity of the installation. Verify the screw is securely in place by giving it a gentle tug, ensuring it doesn’t loosen or shift.
Ensuring Secure Mounting
When it comes to securing objects to the wall, it is crucial to know how to screw into a stud. This method ensures a secure mounting, preventing any potential accidents or damage. In this section, we will guide you through the necessary steps to ensure your mounting is stable and offer some troubleshooting tips for common issues that may arise during the process.
Checking For Stability
Before you begin screwing into a stud, it is important to ensure that the stud itself is stable. This step will help you avoid any mishaps and ensure that your mount is secure.
- Start by checking the wall for any visible signs of damage or rot. Inspect the area where you plan to mount your object and make sure the stud is structurally sound.
- Using a stud finder, locate the position of the stud within the wall. This tool will help you identify the exact spot where you should aim to screw in your mounting hardware.
- Once you’ve located the stud, give it a gentle tap with your knuckles to ensure it sounds solid. If it feels hollow or unstable, you may need to find another stud or use alternative mounting methods.
- Verify the location of any electrical wires or pipes behind the wall before you start drilling. Accidentally puncturing these can have serious consequences. Use a wire detector or consult an expert to ensure the area is safe.
Troubleshooting Common Issues
During the process of screwing into a stud, you may encounter some common issues that can make the mounting less secure. Here are a few troubleshooting tips to help you overcome these challenges:
- If you find it difficult to drive the screw into the stud, try using a pilot hole. This smaller hole will make it easier to penetrate the wood and reduce the chance of splitting.
- In case you encounter resistance or the screw won’t go in smoothly, examine the screw itself. Ensure that it is the appropriate length and thickness for the selected mounting hardware.
- If you accidentally strip the screw hole, remove the screw and fill it with a toothpick coated in wood glue. Once dry, you can reposition the screw and achieve a snug fit.
- In the event that the stud itself is damaged or compromised, or you need to mount between studs, consider using wall anchors or toggle bolts. These alternative mounting solutions can provide stability even in weaker areas of the wall.
By following these steps and troubleshooting tips, you can ensure that your mounting is secure and avoid any potential problems. Remember to always prioritize safety and take necessary precautions when screwing into a stud.
Enhancing Aesthetic Appeal
When it comes to hanging objects on your walls, screwing into a stud is the best way to ensure stability and durability. However, the thought of exposed screw heads may deter you from this method. There are simple yet effective ways to enhance the aesthetic appeal of your wall hangings and conceal those unsightly screw heads. Below are two techniques that will give your wall decor a professional finish while seamlessly blending with your interior design.
Concealing Screw Heads
If you want to maintain a clean and sleek look on your walls, concealing screw heads is the way to go. Here are a few ways to achieve a seamless appearance:
- Wood Filler: Fill the screw hole with wood filler that matches the color of your wall. Once dry, sand it down until smooth and paint over it for an almost invisible finish.
- Paintable Screw Caps: Use paintable screw caps to cover the screw heads. Simply apply a small amount of adhesive to the cap and press it onto the screw head. Once dry, paint over the cap to match your wall color.
- Decorative Screw Covers: If you’re looking to add a touch of elegance or whimsy to your wall decor, decorative screw covers are the perfect solution. These small accessories come in a variety of designs and finishes, allowing you to match them to the style of your room.
Touching Up The Finish
Another way to enhance the aesthetic appeal of screwing into a stud is by touching up the finish. Here are some techniques to consider:
- Filler and Touch-Up Paint: If the area around the screw head becomes damaged during installation, apply a small amount of filler to smooth it out. Once dry, lightly sand the area and touch up with matching paint.
- Paint or Stain: For a more bold and intentional look, paint or stain the screw heads in a contrasting color. This technique works particularly well if you want to make a statement or add an interesting design element to your wall decor.
- Texture Techniques: If you’re feeling creative, consider using texture techniques to camouflage the screw heads. This can be achieved by applying textured paint or using techniques such as stippling, sponging, or ragging to create a unique finish.
By following these tips, you can transform the appearance of your wall hangings by enhancing the aesthetic appeal of screwing into a stud. Whether you prefer a seamless and discreet finish or want to make a decorative statement, these techniques will ensure your wall decor blends harmoniously with your interior design.

For more on choosing the right hardware for your project, see our full drilling and fastening hub.
Frequently Asked Questions On How To Screw Into A Stud
Can You Put A Screw Into A Stud?
Yes, you can put a screw into a stud. It provides a secure and stable hold for heavier items like shelves or TV mounts. It’s important to use the correct size screw and a stud finder to locate the stud before drilling.
Do You Need To Drill A Hole Before Screwing Into Stud?
Yes, it is necessary to drill a hole before screwing into a stud. Drilling a pilot hole helps prevent the wood from splitting and makes it easier to drive the screw into the stud. It provides a secure and stable anchor for the screw.
Why Won’t My Screw Go Into The Stud?
The screw may not align with the stud. Check for drilling errors or use pilot holes. Use a stud finder to locate the center of the stud. Ensure you’re using the right size and type of screw. Pre-drill a hole to help guide the screw into the stud.
Why Can’t I Drill Into My Stud?
Drilling into a stud may be difficult because it could be made of metal or positioned too close to the edge. Use a stud finder to locate the exact position and try again. Ensure you are using a drill bit suitable for the stud material and applying proper pressure.
How Far Apart Are Studs Usually Spaced?
Studs in residential walls are typically spaced 16 inches on-center, per IRC framing standards, with 24 inches on-center also used in some construction. The first stud from a corner is usually about 16 inches away.
Conclusion
Knowing how to screw into a stud is essential for any DIY enthusiast. With the right tools and techniques, you can secure heavy objects safely and effectively. By following the steps outlined in this post, you can create sturdy and reliable installations that will stand the test of time.
Happy screwing!