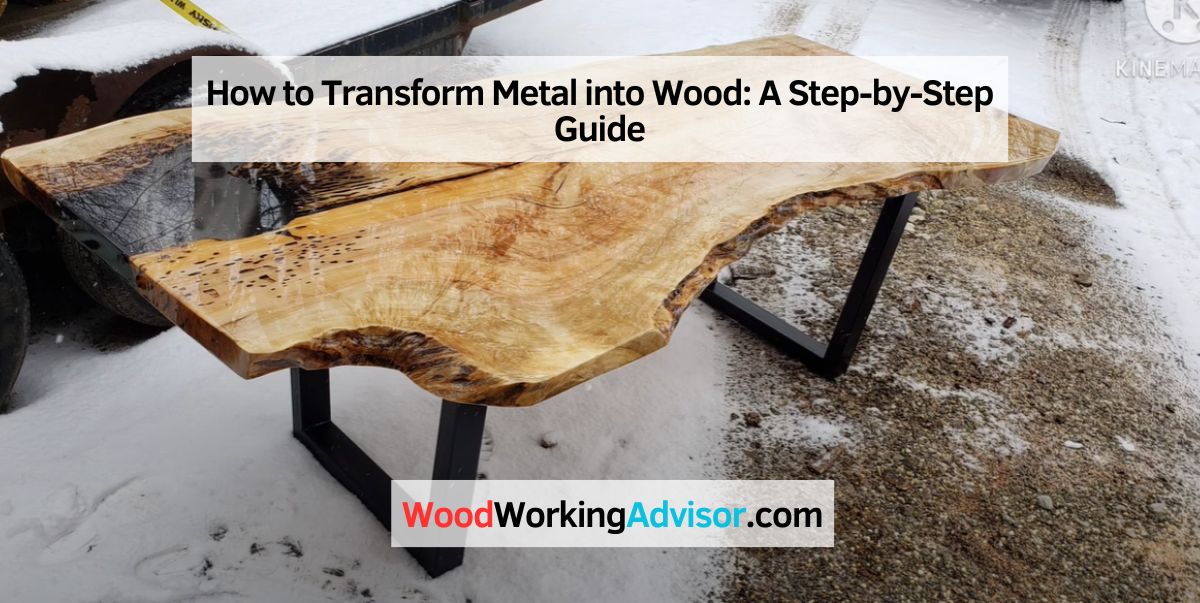
How to Transform Metal into Wood: A Step-by-Step Guide
To stain metal to look like wood, start by applying a base coat of primer followed by a generous layer of gel stain. Work the stain into the metal using a brush or cloth, then allow it to dry completely.
Looking to transform your metal objects into convincing wood look-alikes? Whether it’s for furniture, decor, or any other metal surface, staining metal to resemble wood can give it a warm and rustic appearance. This technique can be a cost-effective way to achieve the look of wood without the expense or maintenance associated with real wood.
We will explore the steps involved in staining metal to look like wood, allowing you to add a touch of natural beauty to your metal items. Follow these simple instructions and enjoy the visual appeal of faux wood in your metal pieces.
Choosing The Right Metal
To achieve the look of wood on metal, selecting the right type of metal is crucial. Opt for materials that are receptive to staining, such as steel or aluminum, to effectively mimic the appearance of wood. Preparing the metal surface is essential to ensure the stain adheres properly and achieves the desired wood-like finish.
Selecting The Metal Type
Choosing the right metal is the first step in staining it to look like wood. Not all metals can successfully achieve a wood-like appearance, so it’s crucial to select a suitable metal type. Here are some common metals that work well for this technique:
1. Aluminum: Lightweight and durable, aluminum is an excellent choice for mimicking wood. Plus, it is resistant to rust and corrosion, making it ideal for outdoor projects.
2. Steel: Opt for steel if you require a sturdier metal with a wood-like finish. Steel provides added strength and can withstand harsh weather conditions. However, keep in mind that it is prone to rust, so proper coating and maintenance are essential.
3. Iron: Iron is another option for achieving a wood-like appearance. With its natural strength and durability, iron can create an authentic wood grain effect. However, it is vital to protect iron from moisture and rust.
Evaluating The Metal Condition
Before you begin staining the metal, it’s essential to evaluate its condition. The metal should be in good shape without any significant damage or rust that could affect the final outcome. Here’s what to consider:
1. Cleanliness: Ensure the metal is free from dirt, dust, grease, and any previous coatings. Use a suitable cleaner and degreaser to thoroughly clean the surface before proceeding.
2. Smoothness: Examine the metal for any rough or uneven surfaces. Sanding the metal can help create a smooth canvas for the wood-like stain. Use fine-grit sandpaper or a sanding block to gently smooth out any imperfections.
3. Rust: If the metal has rust spots, it’s crucial to address them before staining. Use a rust remover or a wire brush to remove the rust and prevent it from spreading. Once the rust is removed, the metal can be properly prepared for staining.
Remember, choosing the right metal type and evaluating its condition are crucial steps for successfully staining metal to look like wood. By selecting a suitable metal and ensuring it’s clean, smooth, and free from rust, you’ll be on your way to achieving a stunning wood-like finish.
Preparing The Surface
Cleaning The Metal Surface
Before you begin the staining process, it’s essential to thoroughly clean the metal surface. This step helps to remove any dirt, grease, or rust that may hinder the adhesion of the stain. Cleaning the metal surface can be easily done by following these simple steps:
- Start by wiping the surface with a damp cloth or sponge to remove any loose debris.
- Mix a gentle detergent or dish soap with warm water in a bucket.
- Dip the cloth or sponge into the soapy mixture and scrub the metal surface in circular motions.
- Rinse the surface with clean water to remove any soap residue.
- Dry the metal surface thoroughly using a clean cloth or allow it to air dry completely.
Tip: For stubborn stains or rust, you can use a mild abrasive cleaner or steel wool to gently scrub the surface. However, be cautious not to damage or scratch the metal.
Sanding And Smoothing
Once the metal surface is clean and dry, the next step is to sand and smooth it. This step is crucial as it helps to create a rough texture that allows the stain to adhere better and ensures a more natural wood-like finish. Follow these simple steps to sand and smooth the metal surface:
- Start by selecting the appropriate grit sandpaper depending on the condition of the metal surface.
- Use a sanding block or sandpaper to gently sand the surface in smooth, even strokes, moving in the direction of the metal grain.
- Continue sanding until you achieve a uniform roughness on the entire surface.
- Once the sanding is complete, wipe away any dust or debris using a clean cloth or a tack cloth.
Note: If the metal surface has any imperfections or dents, you can use a metal filler to fill them in and ensure a smoother final result. Be sure to follow the instructions on the metal filler product for the best application technique.
By thoroughly cleaning and sanding the metal surface, you are creating the perfect foundation for the wood stain. This process not only enhances the adhesion of the stain but also helps to achieve a more realistic wood-like appearance. Now that the surface preparation is complete, you are ready to move on to the next step of applying the stain.
Priming The Metal
Before applying the wood grain finish to the metal, the surface needs to be primed to ensure the paint adheres properly and achieves a realistic wood-like appearance. Priming the metal is a crucial step in the process of staining it to look like wood, and it involves selecting the right primer and applying it correctly.
Selecting The Right Primer
When choosing a primer for staining metal to resemble wood, it’s important to select a high-quality metal primer specifically designed for exterior or interior use. Look for a primer that offers excellent adhesion and corrosion resistance. Ensure that the primer is compatible with the type of metal you are working with, whether it’s steel, aluminum, or another metal material. Consider a primer that is formulated to promote adhesion to smooth surfaces or has a rust-inhibitive formula. This will help ensure a durable and long-lasting wood-like finish on the metal.
Applying The Primer
- Clean the metal surface thoroughly to remove any dirt, grease, or rust. This will help the primer adhere better to the metal.
- Use a high-quality brush, roller, or spray gun to apply the primer evenly to the metal surface. Ensure that the primer is applied in a thin, even coat to avoid drips or uneven coverage.
- Allow the primer to dry completely according to the manufacturer’s recommendations. This may involve waiting for a specific amount of time or until the primer becomes tack-free.
Applying Faux Wood Finish
Transforming metal into a convincing wood-like finish is achievable with the application of a faux wood technique. Discover how to stain metal to resemble wood with these simple steps.
Techniques For Wood Grain Effect
To achieve a realistic wood grain effect on your metal surface, there are a few techniques you can employ.
One effective technique is using a wood grain tool or a small brush to create fine lines and grain patterns. By carefully dragging and rocking the tool or brush over the faux wood finish, you can mimic the look of natural wood grain.
Another technique involves using a stippling brush or sponge to create texture on the metal surface. Simply dabbing or pouncing the brush or sponge onto the surface can create a textured effect similar to the grain of wood.
For a more pronounced wood grain effect, you can also use a wood graining tool, which is typically made of rubber or plastic. By dragging the tool along the faux wood finish, you can create deep and defined grain patterns.
Layering And Texturing
To add depth and dimension to your faux wood finish, layering and texturing are essential techniques.
One way to achieve layering is by using different shades of stain or paint. Apply a base coat of a lighter color and allow it to dry completely before applying a darker color. This creates a realistic variation in the wood tones, giving the appearance of layered grain.
Texturing can be achieved by using techniques such as adding knots or distressing the surface. By using a small brush or sponge, you can create knots by dabbing on darker colors in irregular shapes. For distressing, you can use sandpaper or a wire brush to gently scrape away some of the faux wood finish, revealing the metal surface underneath.
Remember to let each layer dry completely before applying the next layer or texture to avoid smudging or blending the colors.
In conclusion, applying a faux wood finish to metal requires careful attention to detail and the use of specific techniques such as wood grain effect and layering. By employing these techniques, you can transform a plain metal surface into a stunning piece that resembles the beauty of natural wood.
Protecting The Finish
Protecting the finish of metal surfaces when attempting to stain them to resemble wood is crucial. Follow the proper techniques and use sealants or protective coatings to ensure a long-lasting and authentic wood-like appearance.
Choosing The Sealant
When it comes to protecting the finish of your metal-to-wood stained project, selecting the right sealant is crucial. A sealant not only adds durability to the painted surface but also provides much-needed protection against weather conditions and everyday wear and tear. However, with various sealant options available in the market, it can be overwhelming to make the right choice. Here are a few factors to consider when choosing the sealant:
- Type of sealant: Opt for a clear polyurethane sealant specifically designed for outdoor use. This type of sealant will provide excellent protection against sunlight, moisture, and temperature changes.
- Finish: Consider the desired finish of your project. If you prefer a glossy look, choose a high-gloss sealant. On the other hand, if you want a more natural-looking finish, a satin or matte sealant is ideal.
- Application method: Different sealants may require different application methods, such as brush-on, spray-on, or wipe-on. Choose a sealant that aligns with your preferred application technique.
- Compatibility: Ensure that the sealant you choose is compatible with the type of metal you are working with. Some sealants may react negatively and cause damage to certain metals.
Applying The Sealant
Once you have chosen the sealant that best suits your project, it’s time to apply it to the stained metal surface. Follow these steps for effective application:
- Clean the surface: Before applying the sealant, make sure the metal surface is clean and free from dust, dirt, and any loose particles. Use a mild detergent or metal cleaner along with a soft cloth to thoroughly clean the surface.
- Prepare the sealant: Follow the manufacturer’s instructions to prepare the sealant for application. This may involve stirring the sealant to ensure proper consistency or diluting it with a solvent if required.
- Apply the sealant: Use a brush, applicator pad, or spray gun to evenly apply the sealant onto the stained metal surface. Pay attention to any crevices, corners, or intricate details that need additional protection.
- Allow drying time: Give the sealant sufficient time to dry according to the manufacturer’s instructions. This will vary depending on the type of sealant and environmental conditions.
- Apply multiple coats: For added protection, consider applying multiple coats of sealant. However, remember to allow each coat to dry completely before applying the next one.
Frequently Asked Questions Of How To Stain Metal To Look Like Wood
How Do You Make Wood Effect On Metal?
To create a wood effect on metal, use a wood grain tool to imprint patterns. Apply the base coat, then use the dry brush technique with lighter and darker colors to add depth. Finally, seal with a protective coating.
Can You Stain A Metal Door To Look Like Wood?
Yes, it is possible to stain a metal door to look like wood. Using a special technique and wood-grain paint or stain, the metal surface can be transformed to resemble the appearance of wood. This can provide a cost-effective and durable alternative to a traditional wood door.
Can I Use Wood Stain On Metal?
Yes, you can use wood stain on metal. Apply the stain evenly and let it dry completely before adding a sealer for protection. Sanding the metal surface can help the stain adhere better. Make sure to clean the metal surface thoroughly before staining.
How Do You Make A Metal Garage Door Look Like Wood?
To make a metal garage door look like wood, use a wood grain faux finish paint. Clean and sand the door, prime it, and then apply the faux finish paint using a wood grain tool to create a realistic wood appearance.
Finish with a protective clear coat for durability.
Conclusion
Staining metal to mimic wood can transform ordinary items into unique pieces. With the right techniques and products, anyone can achieve the look of wood on metal surfaces. By following the steps outlined in this guide, you can unleash your creativity and give new life to your metal items.
Happy crafting!

![How To Mount A Woodworking Vice [Quick Guide]](https://cdn.woodworkingadvisor.com/2022/11/How-To-Mount-A-Woodworking-Vice-768x384.webp)
