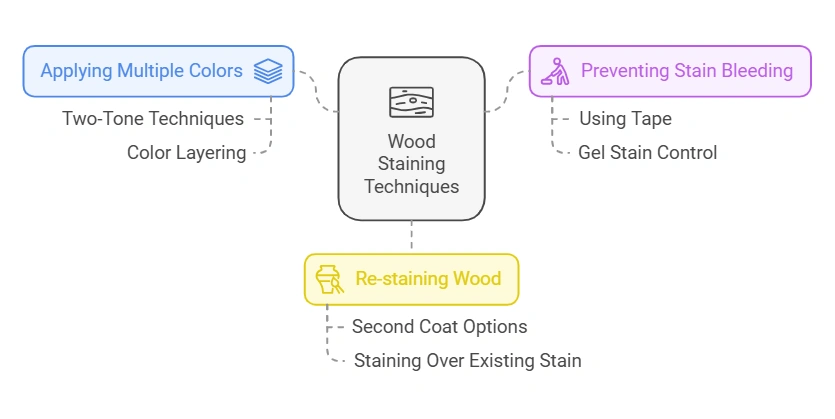
How to Stain Wood Different Colors Without Bleeding
Staining wood can be a great way to change the color without painting it. However, one problem you may run into is that the stain can bleed through the wood, ruining your project. There are a few ways that you can prevent this from happening.
One way is to use a primer before you stain the wood. This will help seal the wood and prevent the stain from bleeding. Another way is to choose a color that is designed for use on outdoor furniture or decks.
These stains are made to resist bleeding and will give you the results you are looking for.
- Choose the color or colors of stain you want to use
- You can find these at any hardware store
- Apply a base coat of stain to the wood using a brush or rag
- Make sure to apply it evenly
- Let the base coat dry for at least an hour before proceeding
- Once the base coat is dry, apply a second coat of stain if desired
- Again, use it evenly and let it dry completely before proceeding.
- To create different colors, mix two dyes before applying them to the wood surface.
- Experiment with different ratios until you get the desired color

How Do You Stain Wood With Multiple Colors?
When staining wood with multiple colors, there are a few things to remember. First, it’s essential to choose stains that will work well together. Some colors may not mix well, so it’s necessary to do a test run on a scrap piece of wood before proceeding.
Once you’ve chosen your stains, it’s time to get started. Begin by applying the lightest color stain and working your way up to the darkest. Make sure to allow each layer of pigment to dry completely before moving on to the next.
With patience and care, staining wood with multiple colors can create stunning results!
Can the Second Coat of Stain Be a Different Color?
Yes, the second coat of stain can be a different color. This is because the first coat of paint will absorb into the wood more than the second coat. The second coat will therefore be lighter in color.
You can use this to your advantage to create a two-toned effect on your project.
How Do You Stop a Stain from Bleeding on Wood?
If you’re trying to remove a stain from wood, there are a few things you can do to try and stop the bleeding. First, you’ll want to clean the area with a mild soap and water solution. Once clean, you can try using a white vinegar or lemon juice solution to help lighten the stain.
If neither works, you can use commercial wood bleach like oxalic acid or chlorine. Be sure to follow the directions on the product label carefully, as these products can damage the wood if misused.
Can Stained Wood Be Stained a Different Color?
Yes, stained wood can be dyed a different color. The process is called “re-staining.” You must remove the old stain with a stripper and apply the new paint.
Be sure to follow the manufacturer’s instructions for both products.
Credit: www.thenavagepatch.com
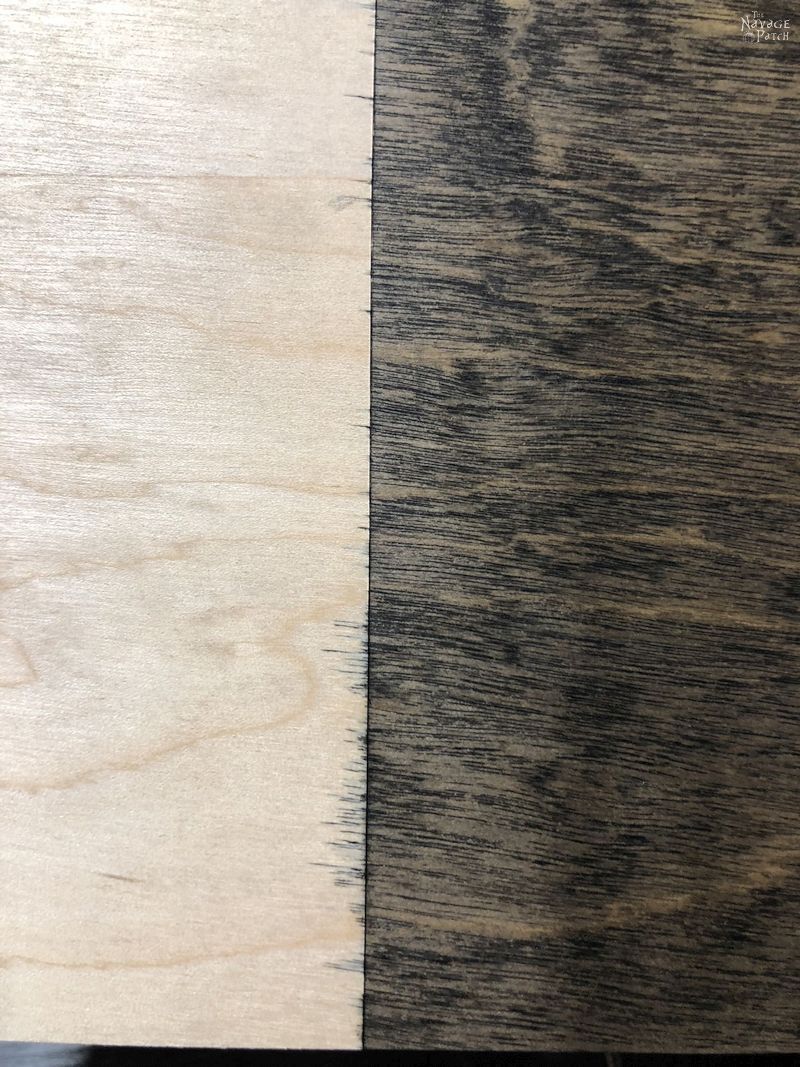
Two-Tone Wood Stain Techniques
Two-tone wood staining is a popular technique to create exciting and unique looks for furniture and other woodworking projects. There are many different ways to achieve this look, but the most common method is to use two different colors of stain. The first step is to choose the two colors you want to use.
It’s essential to select stains that will contrast nicely with each other. Once you’ve made your selection, it’s time to get started. Begin by applying the lighter stain color to the entire wood piece.
You can use a brush or a rag for this step. Allow the stain to dry completely before moving on to the next step. Next, apply the darker color of the paint in whatever pattern you desire.
Again, you can use a brush or rag for this step. Be sure to allow the second coat of stain to dry before proceeding. Once both coats of paint have dried, you’re ready to finish your project!
Apply a clear sealer over the top and enjoy your new two-tone creation!
Does Gel Stain Bleed under Tape
If you’ve ever tried to stain a piece of wood, you know that it can be a bit tricky. You must apply the stain evenly and ensure that you don’t miss any spots. Otherwise, the finish won’t look its best.
One common problem when staining is that the gel stain can bleed under the tape. This happens when the gel stain seeps underneath the video and leaves a smudged or streaky line. It’s not always easy to avoid this problem, but you can do a few things to minimize the chances of it happening.
First, make sure that your tape firmly adheres to the surface. The gel stain can easily seep underneath if it’s not stuck down well. Second, use a high-quality gel stain that’s designed for woodworking.
These stains are less likely to bleed than cheaper ones. Finally, try applying several thin coats of gel stain instead of one thick skin. This will help reduce the amount of bleeding even further.
If you follow these tips, you should be able to avoid most problems with gel stain bleeding under the tape. But if it does happen, don’t worry – it’s usually not too difficult to fix with sanding and touch-up work!
How to Stop Stain from Bleeding under Tape
If you’re trying to avoid staining your work area when painting, it’s essential to use painter’s tape. But sometimes, paint can seep under the video, which can be frustrating.
Here are a few tips on how to stop stains from bleeding under tape:
1. Make sure the surface is clean and dry before applying the tape. Any dirt or moisture will make it more likely for the paint to bleed through.
2. Use a high-quality painter’s tape designed explicitly to prevent bleed-through.
Cheap tapes are more likely to allow the paint to seep through.
3. Apply the tape firmly and evenly along the edges of your work area. If there are gaps or uneven areas, paint is more likely to seep through.
4. Allow freshly painted surfaces to dry before removing the painter’s tape. Otherwise, wet paint could come off with the video and cause bleeding again.
Conclusion
Staining wood in different colors is a great way to add personality to your home décor. However, if you’re not careful, the different colors can bleed into each other and create a mess.
Here are a few tips to help you avoid that:
– Use a primer before you start staining. This will help to prevent the colors from bleeding into each other. – When applying the stain, work in small sections and wipe off any excess immediately.
– Once the stain is dry, apply a clear sealer to protect it.