How to Unlock a Craftsman Miter Saw: 4 Lock Types Explained
Craftsman miter saws use up to four separate locks – a blade lock lever, a swivel (miter) knurled knob, a head locking pin, and a bevel lock lever – and each one releases with a different motion. Forcing the wrong lock, or prying on a jammed locking pin, can bend the detent pin or crack the plastic bevel handle, turning a 30-second fix into a $20 parts order. This guide covers how to identify which lock you have, release it safely, and what to do when a lock is stuck.
Quick Answer
To unlock a Craftsman miter saw, first identify which lock is engaged: the blade lock lever (near the motor housing), the bevel lock lever (behind the table), the swivel knob (front of the base), or the head locking pin (rear of the saw head). Power off the saw, wait for the blade to stop completely, then release that specific lock – most disengage by pulling out, twisting counterclockwise, or depressing a spring-loaded lever.
The 4 Lock Types on a Craftsman Miter Saw
A Craftsman miter saw is not held in place by a single lock. Depending on the model – compact 7-1/4″ saws, 10″ compound miter saws, and 12″ sliding compound miter saws all differ slightly – it can have up to four separate locking points, each controlling a different range of motion. A miter saw‘s whole design depends on these locks holding their position accurately, which is also why the swivel base and miter scale only stay accurate when the correct lock is fully engaged (or released) before you move the saw.
A miter saw lock is a mechanical pin, lever, or knob that holds one axis of the saw’s movement – blade height, bevel tilt, miter angle, or head position – in a fixed position. Each lock is independent: releasing the blade lock does not release the bevel lock, and vice versa.
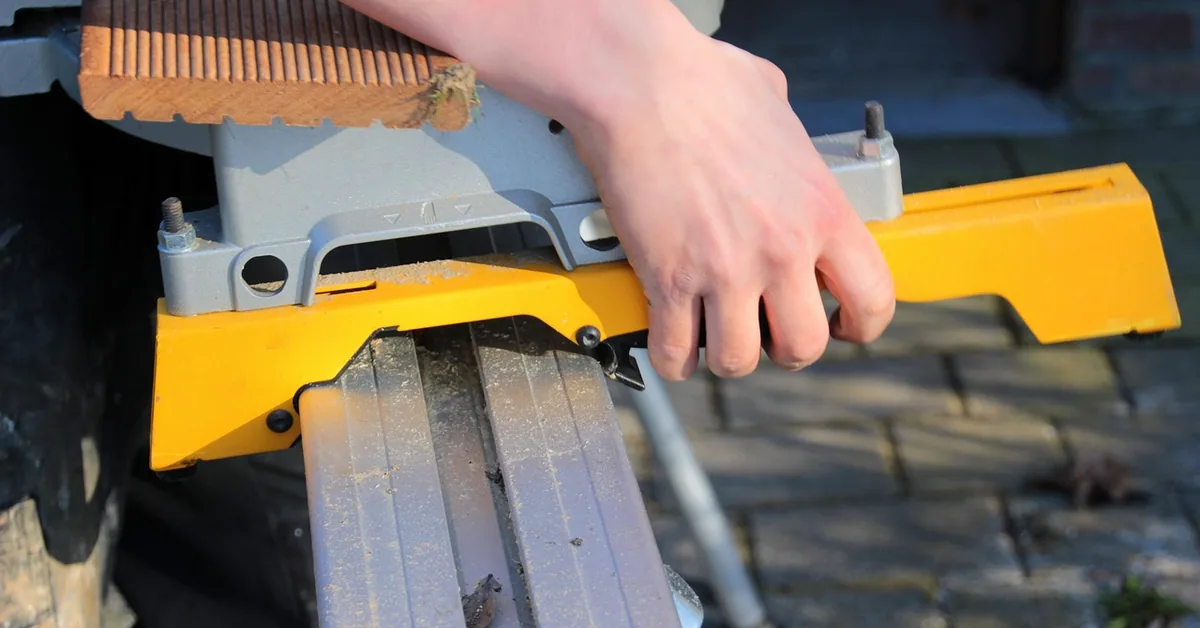
| Lock Type | Location | How It Releases | What It Controls |
|---|---|---|---|
| Blade lock lever | Side of the motor housing, above the handle | Depress and hold the spring-loaded lever | Keeps the blade housing from dropping when not cutting |
| Bevel lock lever | Behind the table, near the pivot arm | Turn counterclockwise to loosen | Locks the bevel (tilt) angle of the blade |
| Swivel/miter knob | Front of the base, below the miter scale | Twist counterclockwise to loosen | Locks the miter (left-right) angle of the table |
| Head locking pin | Rear of the saw head, near the hinge | Pull straight out | Holds the saw head down for transport or storage |
📊 An estimated 6,800 miter saw-related injuries are treated in U.S. emergency rooms every year – Source: CPSC power saw injury data (NEISS). A large share trace back to a saw being operated with a lock disengaged, or re-engaged incorrectly after use.
Best Bevel Lock Handle Replacement Pick
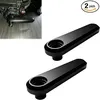 |
Bevel Lock Handle Replacement (2-Pack) – $20.00 If the bevel lock lever described above is cracked, stripped, or missing its grip entirely, this compatible replacement handle restores the bevel-angle locking control without buying a whole new saw.
|
How to Release the Blade Lock Lever
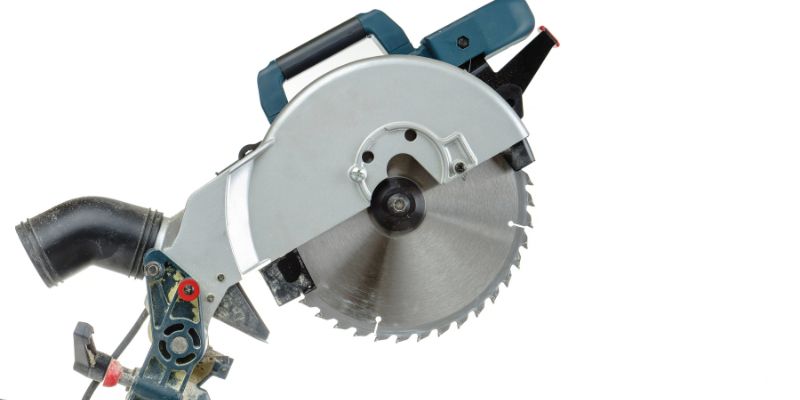
The blade lock lever keeps the motor housing from dropping under its own weight when the saw is idle. On most Craftsman corded and compound miter saws it sits on the side of the motor housing, just above the main handle, and is spring-loaded.
- Power off and unplug the saw: Switch off the trigger and disconnect the power cord before touching any lock.
- Wait for the blade to stop: Let the blade come to a complete stop – this can take several seconds after the motor shuts off.
- Locate the lever: Find the small lever or button on the side of the motor housing, usually within reach of your thumb when gripping the main handle.
- Depress and hold: Push the lever in and hold it while gently lifting the saw head – it will not move until the lever is fully depressed.
- Raise the head slowly: Guide the head up to its resting position; release the lever only once the head is fully raised.
How to Release the Bevel Lock Lever
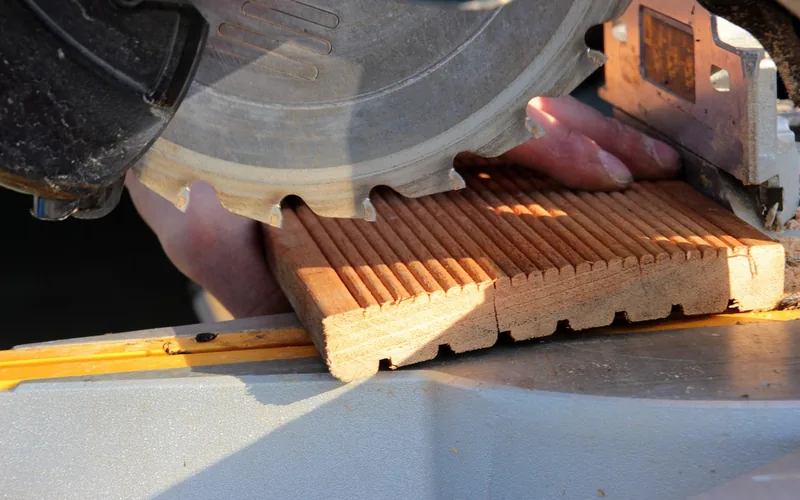
The bevel lock lever controls the tilt of the blade for angled cuts, and it’s the lock most often confused with the blade lock because both sit near the back of the saw’s pivot arm.
- Confirm the saw is off: Power down and unplug before adjusting the bevel.
- Find the bevel lock handle: Look behind the table, near where the arm pivots side to side – it’s usually a plastic or metal handle, not a button.
- Turn counterclockwise: Rotate the handle counterclockwise to loosen the bevel clamp; you’ll feel the arm become free to tilt.
- Set the new bevel angle: Tilt the saw head to the desired angle using the bevel scale as a reference.
- Retighten clockwise: Turn the handle clockwise until snug – do not overtighten, which is what cracks plastic handles over time.
How to Release the Swivel (Miter) Knurled Knob
The swivel knob locks the miter angle – the left-right rotation of the table under the blade – and is typically a knurled (ridged) knob at the front of the base, near the miter angle scale.
Twist the knob counterclockwise to loosen the swivel action. Once loose, the table rotates freely so you can set a new miter angle using the detent stops or the angle scale, then twist the knob clockwise to re-lock the table in place before cutting. If the swivel action feels notchy at specific angles (0°, 15°, 22.5°, 45°), that’s the saw’s built-in detent system engaging, not a fault – it’s designed to snap into the most common angles automatically.
How to Release the Head Locking Pin
The head locking pin is a transport lock, not a cutting-position lock – it holds the saw head fully lowered so the saw can be carried or stored without the head swinging up.
Locate the pin at the rear of the saw head, near the hinge point. With the head pressed down, pull the pin straight out (some models require a quarter-turn first to clear a notch). Once removed, the head will spring upward – keep a hand on the handle so it doesn’t snap up unexpectedly. To re-engage this pin before moving the saw again, push the head fully down and press the pin back in until it seats.
What to Do When a Lock Won’t Release
Occasionally a lock resists even when you’re using the correct motion. These are the most common causes and fixes.
| Symptom | Likely Cause | Fix |
|---|---|---|
| Bevel or miter lock is stiff and hard to turn | Sawdust or debris packed around the threads | Clean the mechanism with a brush or compressed air, then apply a small amount of dry lubricant |
| Blade lock lever won’t depress | Spring is corroded or the lever’s pivot pin is bent | Apply penetrating oil, work the lever gently; if it still won’t move, the lever or spring needs replacing |
| Head locking pin won’t pull out | Pin is rusted in place or the head is under spring tension against it | Press the head down firmly to relieve tension before pulling, and apply penetrating oil if rusted |
| Bevel handle spins without locking | Stripped threads or a cracked handle | The clamp mechanism itself is worn – replace the bevel lock handle rather than continuing to force it |
If a lever or handle is visibly cracked, stripped, or missing, don’t keep forcing it – continuing to torque a damaged lock can shear the mounting bolt underneath, which is a more expensive repair. Our miter saw parts replacement guide covers how to source and swap out worn lock hardware.
Routine Maintenance to Prevent Locking Problems
Most stuck locks are a maintenance problem, not a defect. A few minutes of upkeep after each project prevents most of the issues in the table above.
- Clean the blade guard and blade lock area after every use to prevent dust buildup around the spring-loaded lever.
- Lubricate the miter and bevel lock threads with a dry PTFE lubricant every few months – avoid heavy grease, which attracts sawdust.
- Inspect the power cord for cracks or fraying and replace it if damaged, to avoid an unrelated electrical hazard during operation.
- Recalibrate the miter and bevel angle scales periodically, since a lock that’s slightly loose at rest will drift out of square over time.
How to Re-Lock the Saw After Use
After finishing a cut, re-securing the saw prevents accidental movement and protects the blade during storage or transport.
- Make sure the blade has fully stopped and the power is off before touching any lock.
- Lower the saw head fully and press the head locking pin back in until it seats – this is the transport lock, and it should be engaged any time the saw is moved.
- Return the bevel and miter locks to 0° if you’re finished with angled cuts, so the next user starts from a known reference point.
- Store the saw in a dry, covered area away from direct sunlight and moisture, and check that it’s positioned so it can’t tip over.
Frequently Asked Questions
How do I unlock a Craftsman miter saw?
Identify which of the four locks is engaged – blade, bevel, swivel, or head pin – then release that specific lock using its own motion (lever depress, counterclockwise turn, or pull-out pin). Always power off the saw and let the blade stop completely before touching any lock.
What safety precautions should I take when unlocking the saw?
Wear safety glasses and keep hands clear of the blade path. Confirm the saw is unplugged and the blade has fully stopped spinning before releasing any lock, and keep a hand on the handle when releasing the head locking pin since the head will spring upward.
Can I unlock the Craftsman miter saw without the user manual?
Yes. All four lock types described in this guide are standard across most Craftsman corded and compound miter saws, so the manual isn’t required for routine unlocking. Note that Craftsman’s current lineup doesn’t include a dedicated compact miter saw – if you’re working on an older corded model, it’s likely a legacy Sears-era saw rather than a current product, and its lock hardware may look slightly different.
Why Does a Miter Saw Lock Lever Get Stuck?
The two most common causes are sawdust packed into the mechanism and a corroded or bent spring. Clean the lock area with a brush or compressed air first, then apply a small amount of dry lubricant. If the lever still does not move, the lever or its spring is likely worn and needs replacing rather than continuing to force it.
Do all Craftsman miter saws use the same lock design?
No. Compact 7-1/4″ saws typically have fewer locks (often just a head pin and blade lever), while 10″ and 12″ compound and sliding compound models add the separate bevel and swivel locks covered in this guide. Check your specific model’s manual for exact lock placement if it differs from what’s described here.
Conclusion
A Craftsman miter saw’s locks are simple once you know which one you’re dealing with: depress the blade lever, turn the bevel and swivel locks counterclockwise, and pull the head pin straight out. Clean and lubricate each mechanism periodically and you’ll rarely run into a lock that won’t release. If you’re comparing saws for an upgrade rather than repairing one you own, our sliding compound miter saw reviews cover current models side by side.
Sponsored / affiliate links. As an Amazon Associate I earn from qualifying purchases. I may earn additional commission from eligible campaigns.