Laminate Flooring How to Install: Expert Tips and Tricks
To install laminate flooring, start by preparing the subfloor and acclimating the planks before laying them down. Proper installation ensures a durable and visually appealing flooring solution for your space.
With step-by-step guidance and the right tools, you can easily achieve a professional-looking finish. Understanding the process and following manufacturer’s instructions will help you complete the installation smoothly. By taking the time to plan and execute the installation correctly, you can enjoy the benefits of laminate flooring for years to come.
Let’s explore the detailed steps involved in installing laminate flooring and how you can achieve a beautiful and functional floor in your home.
Credit: www.familyhandyman.com
Choosing The Right Materials
When it comes to installing laminate flooring, selecting the right materials is crucial for a successful installation. The quality and suitability of the materials you choose can significantly impact the final outcome of your flooring project.
Selecting The Right Laminate
Laminate flooring comes in a variety of styles, colors, and finishes. Here are a few key factors to consider:
- Durability: Ensure the laminate is durable enough to withstand daily wear and tear.
- Thickness: Opt for a thickness that is suitable for your specific installation requirements.
- Water Resistance: Consider water-resistant laminates for areas prone to moisture.
Underlayment Options
Choosing the right underlayment is essential to prolong the life of your laminate flooring. Here are some common options:
- Foam Underlayment: Provides cushioning and sound absorption.
- Cork Underlayment: Offers thermal insulation and moisture resistance.
- Felt Underlayment: Ideal for engineered or laminate flooring installations.
Credit: remoteestimation.us
Preparing The Space
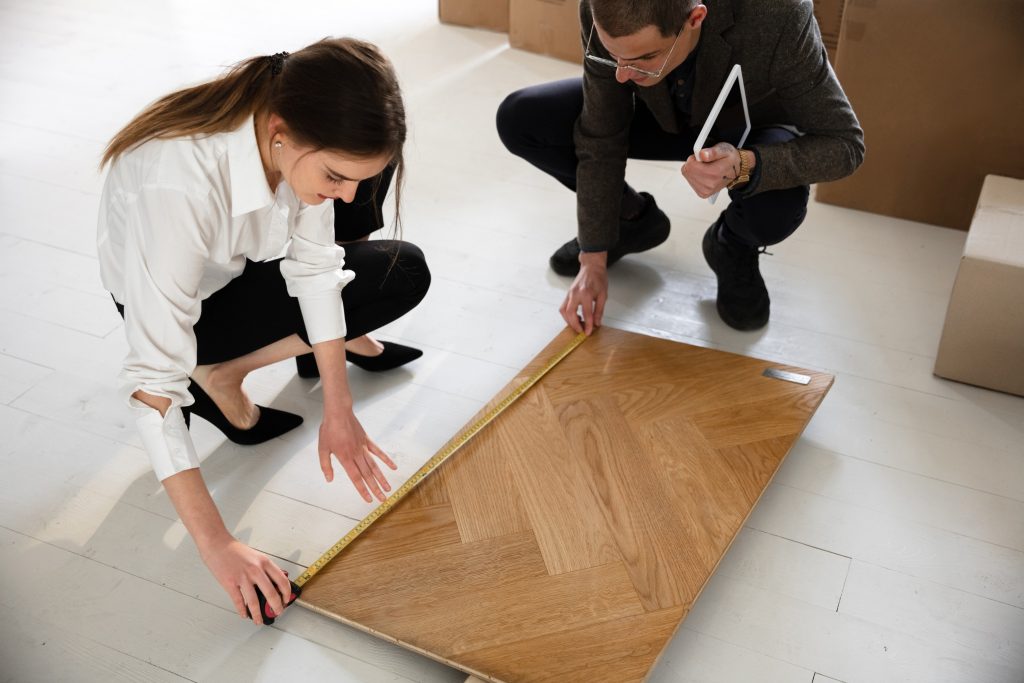
Room Measurement And Planning
First, accurately measure the room’s dimensions and create a layout plan.
Consider laying the laminate flooring parallel to the longest wall for a spacious feel.
Subfloor Preparation
- Check the subfloor for any imperfections or damage that need repair.
- Ensure the subfloor is clean, dry, and level before installing the laminate.
Tools And Equipment
Laminate flooring is a cost-effective and popular choice for many homeowners. Installing laminate flooring requires the right tools and equipment to ensure a successful and efficient installation process. Being well-prepared with the necessary tools and safety gear is crucial for achieving a professional-looking result and ensuring the safety of those involved in the installation. Here’s a breakdown of the essential tools and safety gear required for installing laminate flooring.
Essential Tools For Installation
Before beginning the installation process, it’s essential to gather the necessary tools. Here are the tools you’ll need:
- Measuring tape
- Square
- Pencil
- Utility knife
- Spacers
- Hammer
- Claw bar
- Tapping block
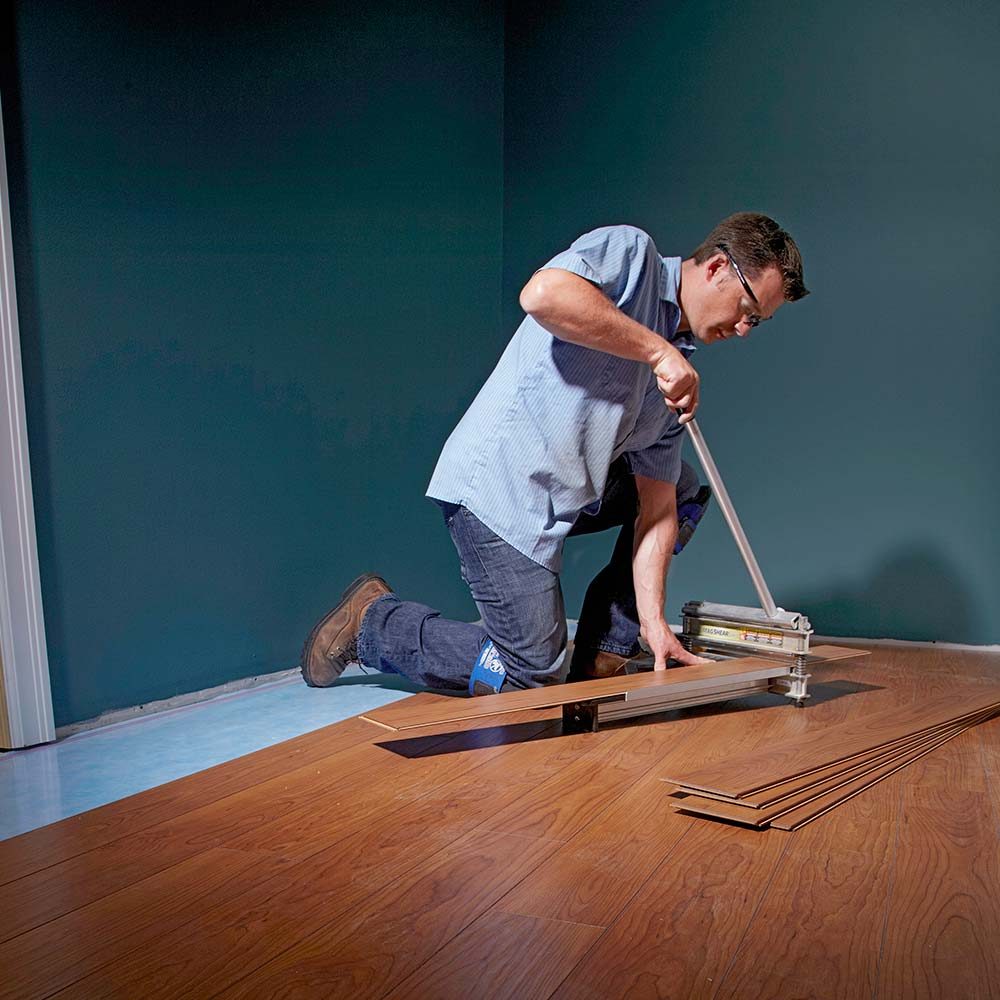
- Laminate cutter
- Undercut saw
Safety Gear
Prioritizing safety is crucial when carrying out any flooring installation. Here’s the safety gear required:
- Safety goggles
- Ear protection
- Knee pads
- Work gloves
- Respirator mask
Step-by-step Installation
Learn how to install laminate flooring with our easy step-by-step guide. From preparing the subfloor to installing the planks, our detailed instructions will help you achieve a professional-looking finish in no time. Master the art of laminate flooring installation and revamp your space with confidence.
Installing laminate flooring can be a cost-effective and visually appealing way to improve the look of your home. With its durability and easy maintenance, laminate flooring is a popular choice for many homeowners. If you’re considering installing laminate flooring yourself, here is a step-by-step guide to help you through the process. By following these steps, you can achieve a professional and seamless installation result.
Laying The Underlayment
The first step in laminate flooring installation is to lay the underlayment. The underlayment performs several important roles, including providing a smooth surface for the laminate planks, reducing noise, and acting as a moisture barrier. To lay the underlayment:
- Clear the area of any obstacles or debris.
- Roll out the underlayment perpendicular to the direction you plan to lay the laminate planks.
- Overlap the seams of the underlayment by a few inches and use a utility knife to trim off any excess.
Once the underlayment is in place, you are ready to move on to the next step.
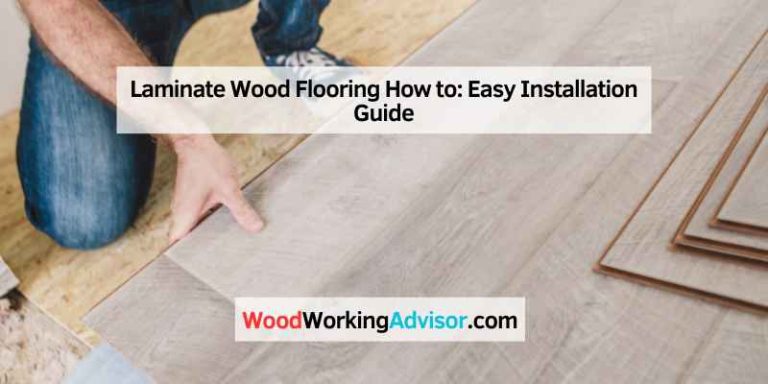
Installing The Laminate Planks
Now it’s time to install the laminate planks. Follow the steps below to achieve a smooth and professional-looking installation:
- Start by measuring and cutting the first row of planks to fit against the wall, leaving a small gap for expansion.
- Begin laying the first row of planks alongside the starting wall, ensuring they are snugly fit together.
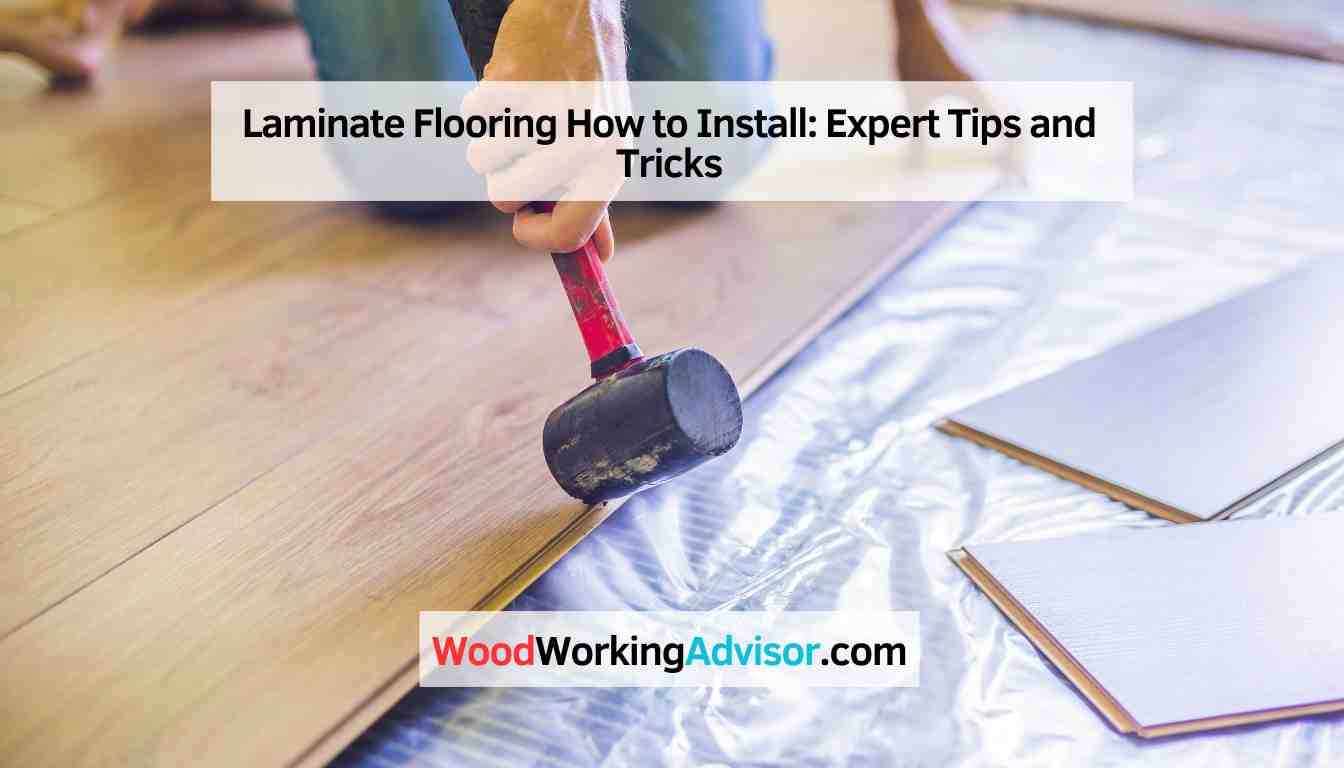
- Use spacers to maintain a consistent expansion gap between the planks and the wall.
- Continue installing additional rows of planks, using a tapping block and mallet to fit them firmly together.
- Stagger the end joints of adjacent rows for a more natural and visually appealing look.
- If necessary, cut the last row of planks to fit against the opposite wall.
By following these steps and taking your time, you can achieve a beautiful and professional-looking laminate flooring installation. Remember to read and follow the manufacturer’s instructions for your specific laminate flooring product, as some installation steps may vary.
Finishing Touches And Maintenance
Enhance your laminate flooring installation with the perfect finishing touches. Learn essential maintenance tips to keep your floors looking pristine for years to come. Discover how to achieve a flawless installation through careful attention to detail.
Trim And Molding Installation
Once you have successfully installed your laminate flooring, it’s time to focus on the finishing touches to make your installation look professional and polished. One crucial aspect is the installation of trim and molding, which not only adds aesthetic appeal but also protects the edges of your flooring. Here are some tips to help you with the trim and molding installation:
- Start by measuring the length of each wall where you plan to install the trim or molding. Cut the pieces accordingly, ensuring they fit snugly against each other.
- Use a 45-degree miter cut for inside corners and a 90-degree cut for outside corners to create clean, seamless transitions.
- Apply a strong adhesive to the back of each piece of trim or molding and press it firmly against the wall, making sure it is level and secure.
- If you come across any gaps or uneven areas, use wood putty or caulk to fill them in for a seamless finish.
- Finally, if desired, you can paint or stain the trim or molding to match the aesthetic of your laminate flooring.
Tips For Maintenance
Proper maintenance is essential to keep your laminate flooring looking pristine for years to come. Follow these tips to ensure its longevity:
- Regularly sweep or vacuum your laminate flooring to remove dirt and debris.
- Avoid using excess water when cleaning the floor. Instead, use a damp mop or a laminate floor cleaner specifically designed for this type of flooring.
- Wipe up spills immediately to prevent any moisture from seeping into the laminate and causing damage.
- Place rugs or mats near entranceways to catch dirt and prevent it from being tracked onto the laminate flooring.
- Use furniture pads or coasters under heavy furniture to prevent scratches and indentations.
- Keep pets’ nails trimmed to minimize the risk of scratches.
- Consider using protective chair mats in areas with rolling chairs to prevent wear and tear.
By following these tips for trim and molding installation as well as maintenance, you can ensure the durability and beauty of your laminate flooring for many years to come.
Credit: www.thewcsupply.com
Frequently Asked Questions On Laminate Flooring How To Install
How Do I Prepare My Floor Before Installing Laminate Flooring?
To prepare your floor for laminate flooring installation, start by cleaning the surface to remove any dirt or debris. Check for any unevenness and level it, ensuring a smooth surface. Install a moisture barrier to protect against moisture damage. Finally, measure and mark the layout to plan for an efficient installation process.
Can Laminate Flooring Be Installed Over Existing Floors?
Yes, laminate flooring can be installed over existing floors. However, it is important to prepare the existing floors properly. Ensure that the surface is clean, level, and in good condition. If necessary, remove any old flooring that is damaged or uneven.
Installing an underlayment can help improve the overall performance and lifespan of your laminate flooring.
How Long Does It Take To Install Laminate Flooring?
The time it takes to install laminate flooring depends on several factors, including the size of the area, the complexity of the layout, and the experience and skill level of the installer. On average, it can take anywhere from a few hours to a few days to complete the installation.
Hiring a professional installer can help ensure a quicker and smoother installation process.
Conclusion
Installing laminate flooring requires proper preparation and attention to detail. By following the step-by-step guide, you can achieve professional results and enhance the aesthetic appeal of your space. Remember to consult the manufacturer’s instructions and seek professional assistance, if needed.
With a well-installed laminate floor, you can enjoy durability, style, and easy maintenance for years to come.