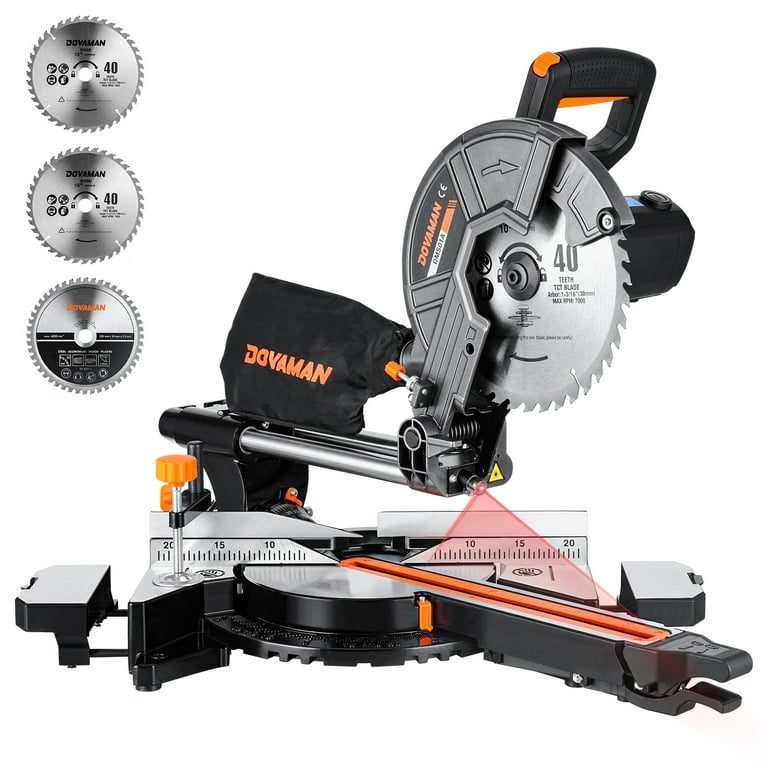
Miter Saw Fence Systems Compared: Price, Length & Stop Accuracy
A miter saw fence system replaces the saw’s stock 12 to 18 inch fence with a rigid rail and flip stops for repeatable cuts, but it’s an aftermarket add-on, not a built-in saw feature. Skip one and every repeat cut needs a fresh tape-measure mark, with drift compounding over a run of parts. This guide compares real Kreg, Woodpeckers, POWERTEC, and O’SKOOL systems by price, length, and stop accuracy, and covers installation.
Quick Answer
For most home shops, the Kreg KMS8000 Precision Trak & Stop Kit ($169) is the best overall miter saw fence system — 8 feet of anodized-aluminum track with a precision lens cursor for repeat cuts. On a tighter budget, the O’SKOOL 68″ system ($105) covers the same core function for about $65 less. Choose based on the track length you need and how often you’ll repeat the same cut.
What Is a Miter Saw Fence System? (Aftermarket Kit vs. Built-In vs. a Stand)
Best Miter Saw Fence System Pick
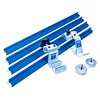
Kreg KMS8000 Precision Trak & Stop Kit – $169.00
8 feet of anodized-aluminum track with a precision lens cursor stop — the setup this guide’s comparison table above rates as the best overall balance of length and precision.
- Best for: Home shops needing 8 feet of split or combined track length
- Why we picked it: Matches the 2¼in support-fence height spec covered above and includes a precision lens cursor for repeat cuts
- Main drawback: Swing Stop and Production Stop accessories are sold separately from the base kit
Compare more miter saw fence system options
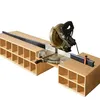 Option 1 O’SKOOL 68″ Expandable Fence – $104.99
|
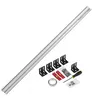 Option 2 Woodpeckers StealthStop SS4K-FL – $149.99
|
 Option 3 POWERTEC Miter Saw Fence Kit – $142.49
|
As an Amazon Associate we earn from qualifying purchases.
A miter saw fence system is an aftermarket rail-and-stop kit that mounts to a shop-built support behind a miter saw, replacing the saw’s stock 12 to 18 inch fence with a longer, more rigid one and adding a flip stop for repeat measurements. It is not a feature that ships on the saw itself — stock miter saws come with a short fence and no stop track, which is exactly the gap this category of product fills.
This is different from a miter saw stand. A stand, like a DIY miter saw stand or a purpose-bought miter saw stand combo, supports the saw’s weight and gives it a working height; a fence system extends and precision-adjusts the surface the workpiece slides along. A few products combine both into one mobile unit, but for most brands the two problems — saw support versus cut repeatability — are solved by separate purchases.
The Evolution Of Miter Saw Fence Systems
Early miter saw setups used a straight-edge clamped to a board for repeat cuts — accurate for one job, but it had to be reset from scratch every time the cut length changed. Aftermarket track-and-stop systems replaced that with a fence that stays fixed and a stop block that slides and locks, so the same cut length repeats without re-measuring.
From Basic Fences To Advanced Systems
A basic sacrificial fence is just a straight board screwed to the stock fence to reduce blowout on the exit side of a cut. A full track-and-stop system goes further, adding a machined aluminum rail with a T-track and one or more flip stops that lock to a set measurement and swing out of the way between cuts.
Impact On Accuracy And Efficiency
A fixed track-and-stop setup removes the two biggest sources of repeat-cut error — tape measure misreads and pencil-mark drift. Once a stop is locked, every board cut against it comes out the same length without re-measuring, which is the main reason production shops use these systems for batch work like trim, shelving, and picture-frame stock.
Key Components Of Miter Saw Fence Systems
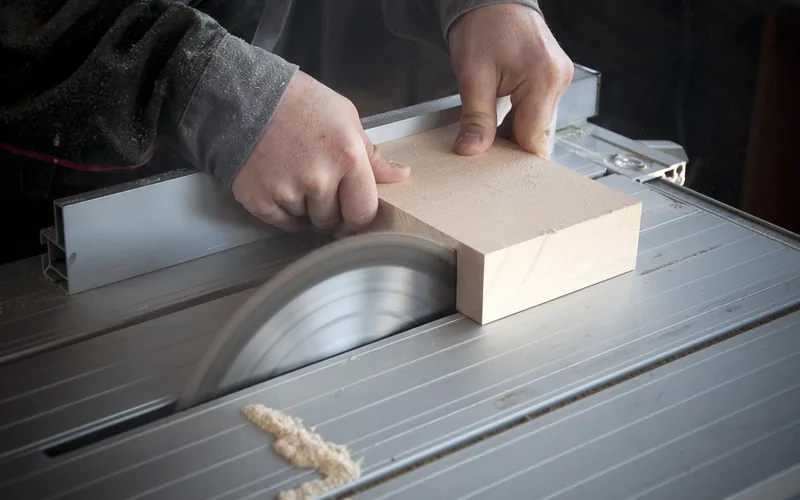
Every fence system is built from the same three parts: a rigid track, one or more adjustable stops, and a way to mount both securely behind the saw. How each part is made determines how accurate and how durable the whole setup is.
Fence Design And Materials
The track needs to sit dead straight and stay that way under repeated clamping pressure. Extruded aluminum is the standard material because it won’t warp the way MDF or plywood fences can, and most kits use a T-track profile so stops can slide and lock anywhere along the length.
Integration With Measuring Systems
Most kits include a self-adhesive tape scale that runs along the track, readable from either side of the blade. The stop’s cursor lines up with that scale, so a cut can be set from a written measurement without any additional tape-measure work at the saw.
📊 Kreg specs its Precision Trak system for a shop-built support fence that stands 2¼ inches (57mm) above the miter saw table and mounts to a base at least ¾ inch (19mm) thick — go shorter or thinner and the stops won’t ride flush against the track. Source: Kreg Tool, Precision Trak & Stop Kit product page
Choosing The Right Miter Saw Fence System
The right system depends less on brand and more on three numbers: how much track length your projects actually need, what stop-adjustment precision matters for your work, and what you’re willing to spend per foot of usable fence.
Considerations For Woodworking Projects
For most home shops, 4 to 6 feet of combined track is enough for trim, shelving, and furniture parts; production or crown-molding work benefits from 8 feet or more split across both sides of the blade. Confirm the mounting hardware fits your setup before buying — most kits assume a shop-built support fence, not a direct bolt-to-saw mount.
Comparison Of Popular Models
These four systems are current, in-stock options that cover the budget-to-production range — pricing and specs verified live as of this update:
| System | Price | Length | Material | $/ft | Best For |
|---|---|---|---|---|---|
| Kreg KMS8000 | $169.00 | 8 ft | Anodized aluminum | $21.13 | Overall balance of length & precision |
| O’SKOOL 68″ | $104.99 | 5.7 ft | Aluminum, dovetail rails | $18.53 | Budget pick |
| Woodpeckers StealthStop | $149.99 | 4 ft (8 ft combo) | Glass-reinforced polycarbonate | $37.50 | Daily/production use, US-made |
| POWERTEC 71742 | $142.49 | Modular, up to 8 ft | Aluminum T-track caps | $17.81 | Flexible/split configurations |
By cost per foot of usable track, the O’SKOOL and POWERTEC kits are the better value for occasional use; the Woodpeckers StealthStop costs more per foot but is made in the US from glass-reinforced polycarbonate rather than aluminum, which matters more for daily production use than for a weekend shop.
Installation And Setup Guidelines
Most kits ship with mounting hardware and a printed guide, but three details matter more than the instructions usually explain: fence height, squareness to the blade, and how the track handles the saw’s swing radius.
Correct Positioning And Alignment
The fence needs to sit flush against a support that’s tall enough for the stops to glide above the saw table, and parallel to the blade with zero deviation.
- Position the fence parallel to the blade — even a slight angle compounds into a visible taper over a long board.
- Size the fence length to your typical stock. A longer fence supports bigger workpieces without extra clamping.
- Set fence height so stops clear the saw table and don’t interfere with the blade’s swing path.
- Check the fence with a level or a squaring routine before the first cut — a fence that’s out of true throws off every cut made against it.
Calibration And Adjustments
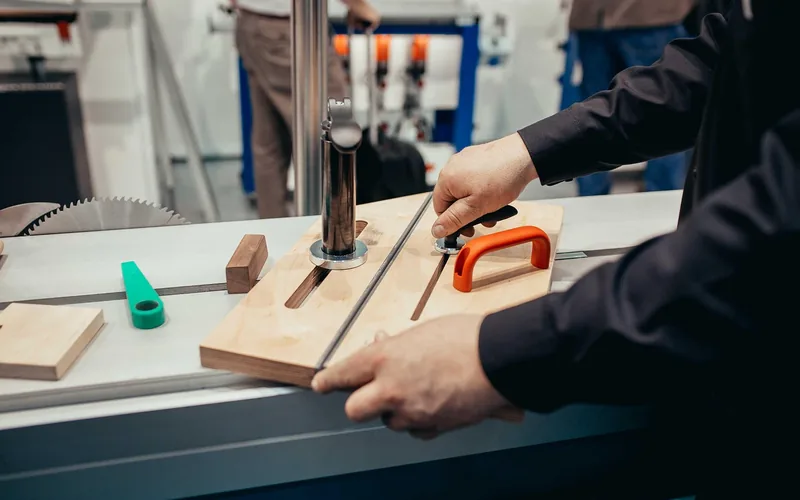
A fence system doesn’t fix a miter saw that’s already out of square — it just repeats whatever angle the saw is set to. Calibrate the saw first, then the fence.
- Check the fence for square against the blade using a reliable square, not by eye.
- Inspect the blade for damage or dullness — a worn blade won’t cut a straight reference edge no matter how square the fence is.
- Follow your saw’s manual for bevel and miter adjustments; every model’s tolerance is slightly different, and adjusting the saw itself comes before trusting the fence.
- Recheck stop position after the first several cuts — vibration during use can walk a flip stop off true. Expect to spot-check roughly every 20 to 30 cuts on a long run.
Advanced Techniques And Tips For Precision Cuts
Beyond basic setup, a few features separate an adequate fence system from one that holds up under repeated daily use.
Adjustable Stops And Extensions For Repeat Cuts
A flip stop locks a measurement and swings out of the cutting path between cuts, so the same length can be cut dozens of times without re-marking. Extension wings do the structural half of the job — they lengthen the support surface so long stock doesn’t tip or wobble as it’s fed into the blade, which matters as much for cut accuracy as the fence itself. Before loading up a long extension with heavy stock, it’s worth running the numbers through a wood load capacity calculator so the support doesn’t sag under the workpiece mid-cut. With a longer fence and extensions in place, compound and bevel cuts on wide stock also stay supported through the full length of the cut instead of just at the blade.
Anti-Kickback Features To Look For
Stock kickback is a real hazard on any stationary saw, not just table saws. A rigid, well-supported fence is one of the simplest ways to reduce that risk, since it keeps the stock from shifting as the blade engages — the same underlying failure applies whenever a workpiece isn’t held flat and square against the fence.
📊 In a CPSC study of stationary saw injuries, stock kickback or jumping was a factor in 40.5% of table and bench saw operator injury cases (an estimated 30,800 of 76,100 total injuries). The report is specific to table and bench saws rather than miter saws, but the failure mode it documents — stock creeping or lifting off the fence mid-cut — is the same reason a rigid, well-clamped fence matters on any stationary saw. Source: U.S. Consumer Product Safety Commission, Survey of Injuries Involving Stationary Saws (2011)
Laser Guides For Cutting Precision
Some fence systems and saws pair with a laser guide that projects a line along the cut path before the blade drops. It’s a convenience for eyeballing placement, not a substitute for the fence and stop — recalibrate the laser periodically, since it can drift out of alignment with the actual blade kerf over time.
“A flip stop that’s dead-on in the morning can walk off square by the afternoon once sawdust builds up in the track — I get in the habit of checking it against a combination square every time I switch project pieces, not just at setup.”
Frequently Asked Questions On Miter Saw Fence Systems
How Does A Miter Saw Fence Work?
A miter saw fence is a guide that helps you make precise cuts. It acts as a support for your workpiece, ensuring it stays in place while you make your cuts. The fence can be adjusted to different angles, allowing you to make accurate bevel and miter cuts.
What Are The Benefits Of Using A Miter Saw Fence System?
Using a miter saw fence system offers several benefits. It provides added stability and support for your workpiece, resulting in more accurate and precise cuts. It also helps to reduce the risk of kickback. Additionally, a miter saw fence system can be easily adjusted, allowing you to make cuts at different angles and lengths with ease.
Are Miter Saw Fence Systems Interchangeable?
Miter saw fence systems are not interchangeable across different models and brands. Each miter saw has its own unique mounting setup, so it’s important to choose a fence system that is compatible with your saw and support fence to ensure proper fit and functionality.
What Materials Are Miter Saw Fence Systems Made Of?
Miter saw fence systems are commonly made of extruded aluminum for the track, chosen because it resists warping under repeated clamping. Some systems, like Woodpeckers’ StealthStop, use glass-reinforced polycarbonate for the stop body instead, paired with stainless or zinc-plated internal hardware for durability.
Does A Miter Saw Need To Be Bolted Down?
Not always, but a miter saw that shifts during a cut makes any fence system’s measurements unreliable. Benchtop saws on a stable, heavy stand generally don’t need bolting; portable saws used on lightweight stands or sawhorses benefit from being bolted or clamped down, since even small movement during the cut throws off repeat measurements set on the fence.
What’s The Difference Between A Miter Saw Fence System And A Table Saw Fence?
A table saw fence sets the distance between the blade and a parallel rip fence for ripping boards to width, and it moves closer to or farther from the blade. A miter saw fence system sits behind a fixed blade position and uses stops along its length to set cut length for crosscuts. The two solve different measurement problems and aren’t interchangeable between saw types.
How Do I Install A Miter Saw Fence System?
Most kits mount to a shop-built support fence rather than bolting directly to the saw: build a plywood or MDF support tall enough to hold the track above the saw table, position the track parallel to the blade, and secure it with the included hardware. See the installation steps above for the full sequence, including the height and squareness checks that matter most.
Conclusion
A stock miter saw fence is fine for one-off cuts, but repeat work is where a real fence system earns its price. For most home shops, the Kreg KMS8000 or O’SKOOL’s 68 inch kit cover the core need for under $170; production shops cutting daily benefit more from the Woodpeckers StealthStop’s rigid, US-made build. Whichever system you choose, calibrate the saw before the fence, and recheck the stop for square every so often — the fence only repeats what you set it to.
Sponsored / affiliate links. As an Amazon Associate I earn from qualifying purchases. I may earn additional commission from eligible campaigns.


![How to Adjust Laser on Chicago Electric Miter Saw? [A Step-By-Step Guide]](https://cdn.woodworkingadvisor.com/2023/01/How-to-Adjust-Laser-on-Chicago-Electric-Miter-Saw-_A-Step-By-Step-Guide_-768x384.webp)