Refurbishing Table Saw: Unlock the Power of a Like-New Machine!
Refurbishing a table saw involves cleaning, repairing, and replacing parts to restore functionality and safety. Enhance your table saw performance by refurbishing it with these essential steps.
When it comes to woodworking tools, maintaining them properly is crucial for optimal performance. A well-maintained table saw not only ensures precision in your cuts but also extends the lifespan of the equipment. Refurbishing your table saw can be a cost-effective way to improve its efficiency and safety.
In this guide, we will discuss the steps you need to take to refurbish your table saw effectively. By following these tips, you can get your table saw back to peak condition and enjoy using it for years to come.
Credit: www.milwaukeetool.com
Assessing The Condition
Before refurbishing a table saw, it is crucial to assess its current condition accurately.
Inspecting For Wear And Tear
- Check saw blade for chips, cracks, or any signs of damage.
- Inspect the tabletop for scratches, dents, or uneven surfaces.
- Ensure the fence and miter gauge are aligned and functioning correctly.
Checking Power And Electrical Components
- Examine the power cord for fraying or exposed wires.
- Test the on/off switch and emergency stop button for proper operation.
- Check that the motor runs smoothly and does not produce unusual noises.
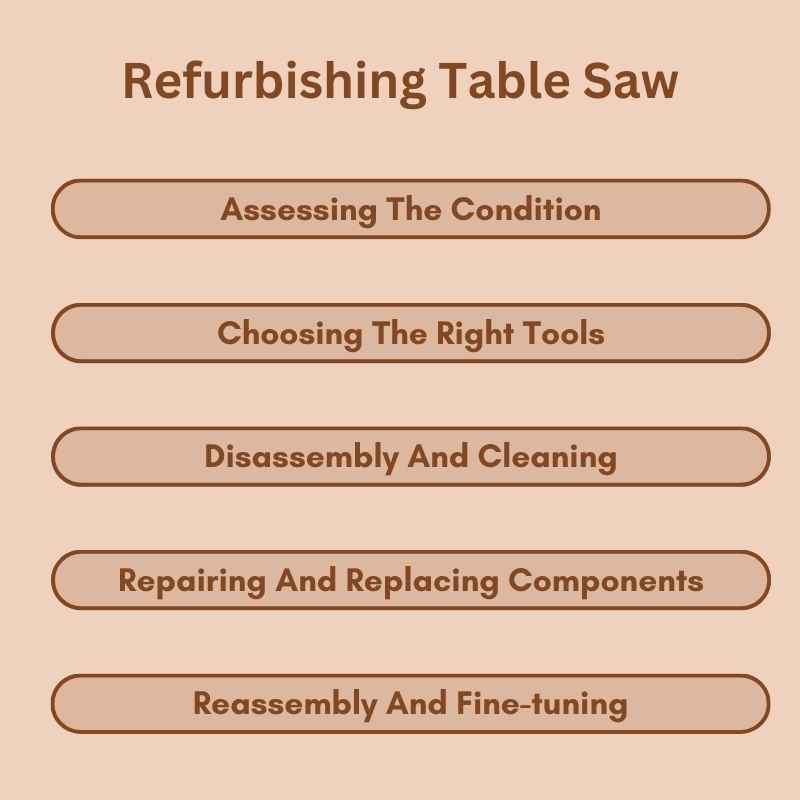
Choosing The Right Tools
Choosing the right tools is crucial when refurbishing a table saw. You need to ensure you have the appropriate safety equipment and essential repair and replacement tools. Let’s delve into each aspect to guide you through the process.
Selecting The Appropriate Safety Equipment
When refurbishing a table saw, safety should be your top priority. Ensure you have:
- Safety goggles to protect your eyes from debris.
- Hearing protection to prevent damage from loud noises.
- Work gloves to keep your hands safe from sharp edges.
- Dust mask to shield yourself from sawdust particles.
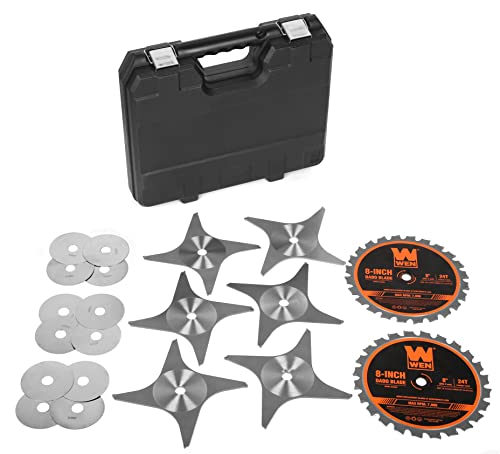
Identifying Essential Repair And Replacement Tools
Having the right tools for repairs and replacements is essential for a successful refurbishment. Make sure you have:
- Allen wrench set for adjusting and tightening parts.
- Replacement blades for a smoother cutting experience.
- Tape measure for precise measurements during repairs.
- Screwdriver set to help with disassembling and reassembling components.
- Lubricating oil to keep the moving parts of the saw functioning smoothly.
Disassembly And Cleaning
Refurbishing a table saw involves a detailed process to ensure its optimal functionality and longevity. The disassembly and cleaning stage is a crucial part of this process, as it allows for a thorough inspection of the saw’s components and the removal of any rust or debris that may hinder its performance.
Carefully Disassembling The Table Saw
To begin the refurbishment process, carefully disassembling the table saw is essential. This entails removing the blade guard, throat plate, fence, and miter gauge. It’s important to take note of the placement and orientation of each part to facilitate reassembly later. Additionally, using appropriate tools and following the manufacturer’s disassembly instructions is crucial to prevent damage to the saw’s components.
Thorough Cleaning And Removal Of Rust Or Debris
Once the table saw is disassembled, thorough cleaning and removal of rust or debris can commence. Begin by wiping down each component with a damp cloth to remove surface dust and dirt. For more stubborn grime, a mild detergent solution can be used. Additionally, inspect for any signs of rust or corrosion, which can be carefully removed using a rust remover or fine-grit sandpaper. Paying attention to the details during this stage will ensure that the table saw is thoroughly cleaned and free of any potential hindrances to its performance.
Repairing And Replacing Components
When it comes to refurbishing a table saw, one of the key aspects is repairing and replacing the components. Over time, electrical wiring may become worn out and connections may loosen. Additionally, parts of the table saw may also experience wear and tear or damage, affecting the overall performance. In this section, we will discuss the importance of repairing electrical wiring and connections, as well as replacing worn out or damaged parts, to ensure the table saw operates at its best.
Repairing Electrical Wiring And Connections
One of the crucial steps in refurbishing a table saw is to assess and repair any issues with the electrical wiring and connections. Faulty wiring or loose connections can lead to poor performance and safety hazards. Hence, it is essential to check for any frayed wires or improperly connected components. To repair electrical wiring and connections:
- Ensure the table saw is unplugged from the power source for safety.
- Inspect the wiring for any visible signs of damage such as cracks or exposed wires.
- If any damaged wiring is found, carefully remove the damaged section and replace it with a new wire of the same gauge.
- Examine the connections between the wires and other electrical components. Tighten any loose connections to ensure a secure and stable connection.
- Test the repaired electrical wiring and connections by plugging in the table saw and checking for proper power supply and functionality.
Replacing Worn Out Or Damaged Parts
In addition to repairing electrical components, it is also crucial to replace any worn out or damaged parts of the table saw. Over time, components such as the blade, fences, or miter gauge may lose their effectiveness. To ensure optimal performance and accuracy, follow these steps to replace worn out or damaged parts:
- Identify the specific parts of the table saw that are worn out or damaged.
- Refer to the manufacturer’s instructions to find the correct replacement parts or consult with a professional if needed.
- Assemble the necessary tools needed for the replacement process.
- Remove the worn out or damaged part carefully, following the manufacturer’s guidelines.
- Install the new part according to the manufacturer’s instructions, ensuring a secure fit.
- Test the table saw after the replacement to ensure that the new part functions properly.
By repairing electrical wiring and connections, as well as replacing worn out or damaged parts, you can ensure that your refurbished table saw operates safely and efficiently. Following these steps will not only enhance the performance of the table saw but also extend its lifespan and provide you with consistent and reliable results for your woodworking projects.
Reassembly And Fine-tuning
Once you have successfully refurbished your table saw and completed the necessary repairs and replacements, it’s time to tackle the critical step of reassembly and fine-tuning. This is an essential part of the process to ensure that your table saw functions optimally with precision and safety in mind.
Methodical Reassembly Process
The reassembly process requires a methodical approach to ensure that all components are properly assembled and secure. Following these steps will help you avoid any errors or mistakes:
- Gather all the parts and components that you have cleaned, repaired, or replaced during the refurbishing process. Ensure that everything is organized and easily accessible.
- Refer to the manufacturer’s manual or documentation to understand the correct order and alignment of the parts. This will help you follow the specific instructions and diagrams for reassembly.
- Start by attaching the main components, such as the motor, arbor, and blade, following the recommended tightening torques. This will ensure that they are securely fastened.
- Gradually work your way through the smaller components, such as the guides, fences, and miter gauges. Pay close attention to any alignment adjustments they may require and make sure they are snugly fitted.
- Double-check all the connections and fasteners to ensure they are tightened to the appropriate specifications. This step is crucial to prevent any accidents or potential hazards during operation.
Fine-tuning For Precision And Safety
Once the reassembly is complete, it is time to fine-tune your table saw for optimal precision and safety:
- Check the alignment of the blade with the miter slot and fence. Use a straightedge or precision measuring tools to ensure they are parallel.
- Adjust the blade height and bevel angle according to your specific cutting requirements. This will enable you to achieve accurate cuts and desired angles.
- Inspect the safety features, such as the blade guard, anti-kickback pawls, and riving knife, to ensure they are properly installed and functioning as intended. These safety devices play a vital role in preventing accidents during operation.
- Verify that the table saw’s power switch and emergency stop button are easily accessible and in proper working condition.
- Test the operation of the table saw by making a few practice cuts on scrap wood. This will allow you to check for any abnormalities or issues that may need further adjustment.
By following a methodical reassembly process and paying attention to fine-tuning details, you can ensure that your refurbished table saw operates smoothly, accurately, and safely. Investing time and effort into this final step will result in a reliable and efficient tool that can be relied upon for all your woodworking projects.
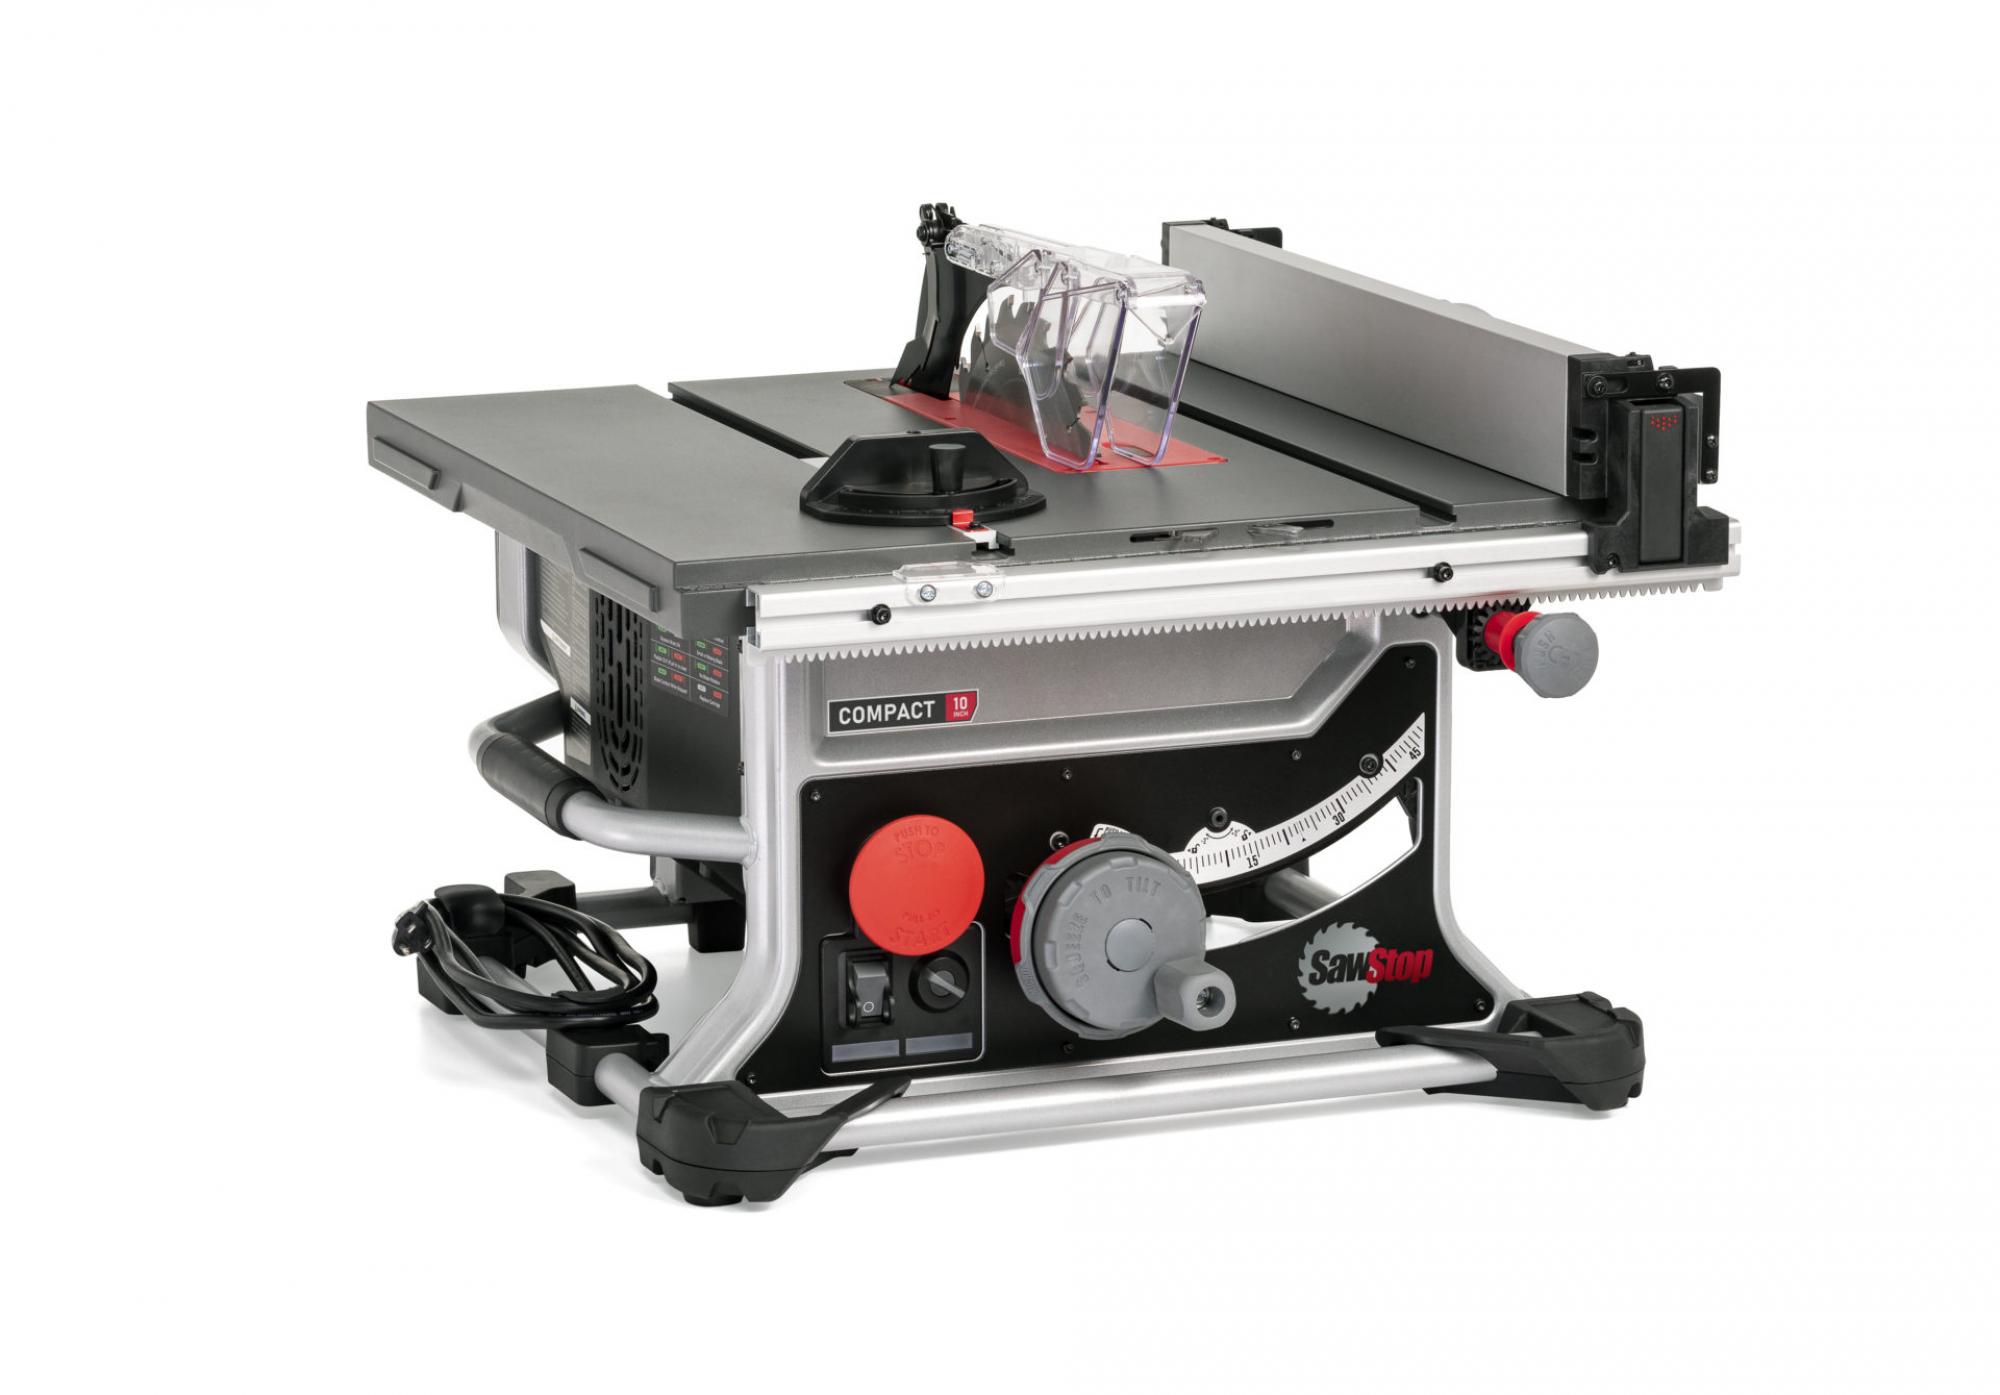
Credit: www.sawstop.com
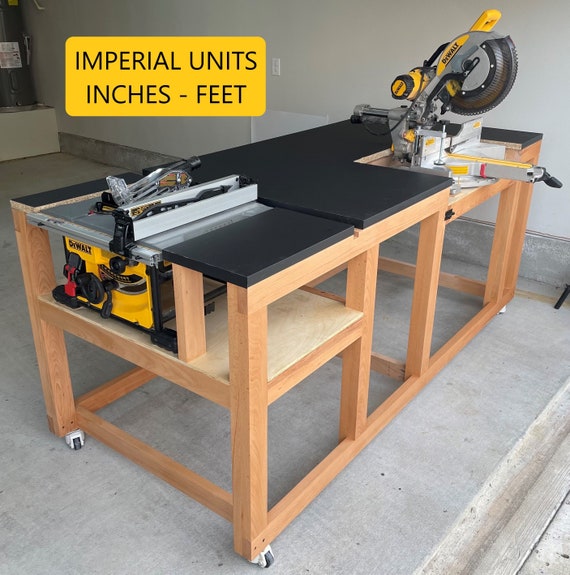
Credit: www.etsy.com
Frequently Asked Questions For Refurbishing Table Saw
How Do You Refurbish A Table Saw?
To refurbish a table saw, start by cleaning all the parts, including the blade, miter gauge, and rip fence. Check for any damaged or worn-out components and replace them if necessary. Lubricate moving parts and make sure everything is properly aligned.
Finally, give the table saw a fresh coat of paint or protective finish.
Why Should I Refurbish My Table Saw?
Refurbishing your table saw helps to extend its lifespan and maintain its performance. It ensures that the saw is in good working condition, reduces the risk of accidents, and improves the quality and accuracy of your cuts. It also saves you money by avoiding the need to purchase a new table saw.
Can I Refurbish My Table Saw Myself?
Yes, you can refurbish your table saw yourself. It requires basic knowledge of the table saw’s anatomy and some handy skills. There are many online resources, tutorials, and videos available to guide you through the refurbishing process. However, if you feel uncomfortable or unsure, it’s always best to consult a professional for assistance.
What Tools Do I Need To Refurbish A Table Saw?
To refurbish a table saw, you will need a set of basic hand tools such as screwdrivers, wrenches, and pliers. You may also need a wire brush or sandpaper for cleaning, lubricant for the moving parts, and paint or finish for the cosmetic aspects of the refurbishing process.
Specific tools required may vary based on the condition of your table saw.
Conclusion
Incorporating a table saw refurbishing project can revive old equipment and save costs. With proper maintenance, a table saw can last for years, delivering precise cuts and enhancing woodworking projects. Refurbishing your table saw is a worthwhile investment that ensures safety and efficiency in your workshop.