Wood-Mizer Blades: Types, Tooth Profiles & Selection
The right Wood-Mizer blade is the one that matches your sawmill model, the wood you cut, and the finish you need—not simply the longest-lasting blade in a catalog. Blade width, thickness, tooth profile, hook angle, set, and steel type all affect tracking, feed speed, surface quality, and blade life.
Start with the blade specification approved for your sawmill. Then choose a profile for the log: green softwood, hardwood, frozen wood, reclaimed material, or resaw work may need different geometry and feed technique. Dirty logs and incorrect tension can ruin even a well-matched blade early.
Wood-Mizer Blade Selection: Quick Answer
Match the length, width, thickness, and profile to the sawmill manual first. For routine milling, select the tooth profile recommended by Wood-Mizer for your wood species and conditions. Keep logs clean, set tension correctly, make a gentle break-in cut with a new blade, and change a dull blade instead of forcing the feed.
Best All-Purpose Wood-Mizer Blade Pick
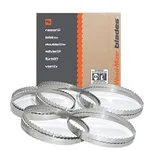 |
Wood-Mizer 158" DoubleHard 10° All-Purpose Blades, 5-Pack – $172.00 This guide’s own pick for most mills — the 10° hook angle this article recommends as the most versatile all-purpose profile for softwoods, medium hardwoods, and hardwoods alike.
|
Blade Details That Change the Cut
| Factor | What it affects |
|---|---|
| Width and thickness | Tracking, fatigue resistance, kerf, and compatibility with the mill. |
| Tooth profile and hook angle | Chip clearance, feed behavior, and how the blade handles softwood or hardwood. |
| Tooth set | Kerf clearance and heat control; incorrect set can cause wandering cuts. |
| Steel type | Sharpening life, toughness, and suitability for the cutting conditions. |
| Log cleanliness | Mud, grit, nails, and embedded debris can destroy sharpness quickly. |
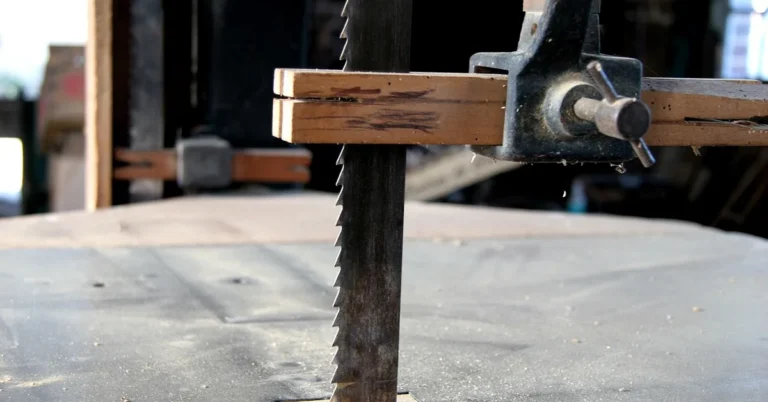
Wood-Mizer’s blade-selection guide explains that its profiles combine hook angle, tooth set, width, and thickness for different sawing applications. Use its current guide and your mill manual rather than copying a neighbor’s setup.
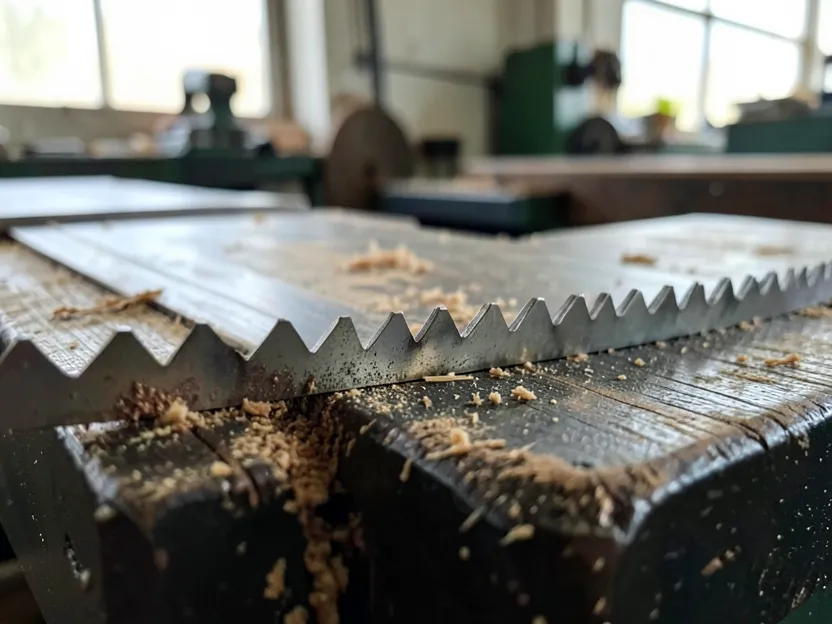
Hook angle — how far the tooth face leans forward of 90° — is the single biggest factor in that selection guide. A 4° hook angle is the lowest-aggression option, meant for frozen or dense hardwoods and knotty softwoods. 10° is the most popular all-purpose angle, covering softwoods through hardwoods like oak, cherry, and maple on standard horsepower mills. 7° and Turbo 7° profiles add gullet capacity for higher-horsepower mills (25HP+) cutting hardwood, and Turbo 747° pushes to a 47° back angle for faster cutting speed at any horsepower level.
Match the Blade to the Work
- Green softwood: use a profile with chip clearance appropriate to fast, wet cutting.
- Hardwood: use the manufacturer-recommended profile and avoid forcing a dull blade through dense material.
- Frozen or abrasive wood: expect different wear and choose the approved profile for the condition.
- Resawing: follow the mill or resaw manufacturer’s narrower guidance for blade dimensions and feed.
A cut that starts straight and then waves may point to a dull or damaged blade, incorrect tension, a dirty log, poor tracking, or excessive feed. Diagnose the whole setup before blaming one specification.
Safe Installation, Break-In, and Care
- Shut down and isolate the sawmill according to its manual before handling a blade.
- Wear suitable hand and eye protection; a coiled blade stores energy and can spring open.
- Install only the length and dimensions approved for the mill, then set tracking and tension exactly as instructed.
- Make the first cuts at a reduced, controlled feed so a new blade can bed in without overheating.
- Stop and inspect when the cut wanders, burns, chatters, or needs excessive feed pressure.
- Clean and store blades dry; send blades for sharpening or replace them before they damage lumber or the mill.
The embedded Wood-Mizer video shows safe unpacking of a ReSharp flatpack blade. It is supplemental: the operating manual for your exact sawmill controls installation, tension, guarding, and lockout procedures.
When to Change or Sharpen a Blade
Change the blade when cut quality declines, feed pressure rises, tooth damage is visible, or the blade has hit embedded debris. Continuing to push a dull blade can waste lumber and add heat and stress to the band. Use a reputable sharpening service that can restore the correct tooth geometry for your blade type.
Bottom Line
Choose Wood-Mizer blades by exact mill compatibility and the wood you cut. Keep the log clean, use the recommended profile, make a careful break-in, and treat wandering cuts as a setup signal—not an excuse to force the saw.
Related: Planning a milling or shop project? Use our Woodworking Shop Calculators hub for wood lathe speed, clamping force, glue coverage, firewood usage, and more shop-math tools.
Frequently Asked Questions
How do I choose a Wood-Mizer blade?
Start with the blade length, width, and thickness approved for your mill, then choose the tooth profile recommended for your wood and cutting conditions.
Why does my blade cut wavy?
Common causes include dull or damaged teeth, improper tension or tracking, dirty logs, and feeding too fast.
Can I use any bandsaw blade on a Wood-Mizer?
No. Use only a blade with dimensions and specifications approved for your specific sawmill.
How do I make a new blade last longer?
Keep logs clean, set up the mill correctly, break in the blade gently, avoid forcing the feed, and remove it after damage or dullness.
Is the embedded video the installation manual?
No. It is a supplementary safe-handling video. Follow the manual for your exact sawmill and blade system.
Sponsored / affiliate links. As an Amazon Associate I earn from qualifying purchases. I may earn additional commission from eligible campaigns.