Wood Splinters: Causes, Safe Removal, and Prevention
Wood splinters happen when disrupted grain, usually at a cut or sanded edge, leaves sharp fibers standing proud of the surface; cedar, redwood, and rough-sawn oak splinter far more than kiln-dried pine or maple. Left in the skin, even a tiny splinter can trap bacteria and cause a localized infection within a day or two. This guide covers why certain woods splinter more, how to remove one safely, and the 80-to-220-grit sanding progression that stops new splinters before they start.
Insert your Affiliate Disclosure reusable block here
Quick Answer
Pull a wood splinter out with sterilized tweezers at the exact angle it entered your skin — never squeeze it, or it will break apart. Clean the area with soap and water, then apply an antibiotic ointment and a bandage. To stop new splinters, sand cut edges through a full grit progression (80, then 120, then 220) and reseal outdoor wood like cedar or redwood every season.
Why Do Wood Splinters Happen?
Best Splinter Removal Pick
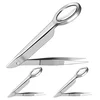
Weewooday Splinter Tweezers with Magnifying Glass
Pointed precision tweezers with a built-in 10x magnifier for seeing exactly where and at what angle a splinter entered.
- Best for: pulling embedded splinters without digging with a dull needle
- Why we picked it: the magnifier lets you confirm the entry angle before you pull — the single biggest factor in removing a splinter whole instead of in pieces
- Main drawback: the tips are sharp enough that kids shouldn’t use them unsupervised
Compare more splinter prevention options
 Option 1 KAYGO Nitrile-Coated Work Gloves
|
 Option 2 48-Piece Assorted Grit Sandpaper (120-5000)
|
 Option 3 Ready Seal Exterior Wood Stain & Sealer
|
As an Amazon Associate we earn from qualifying purchases.
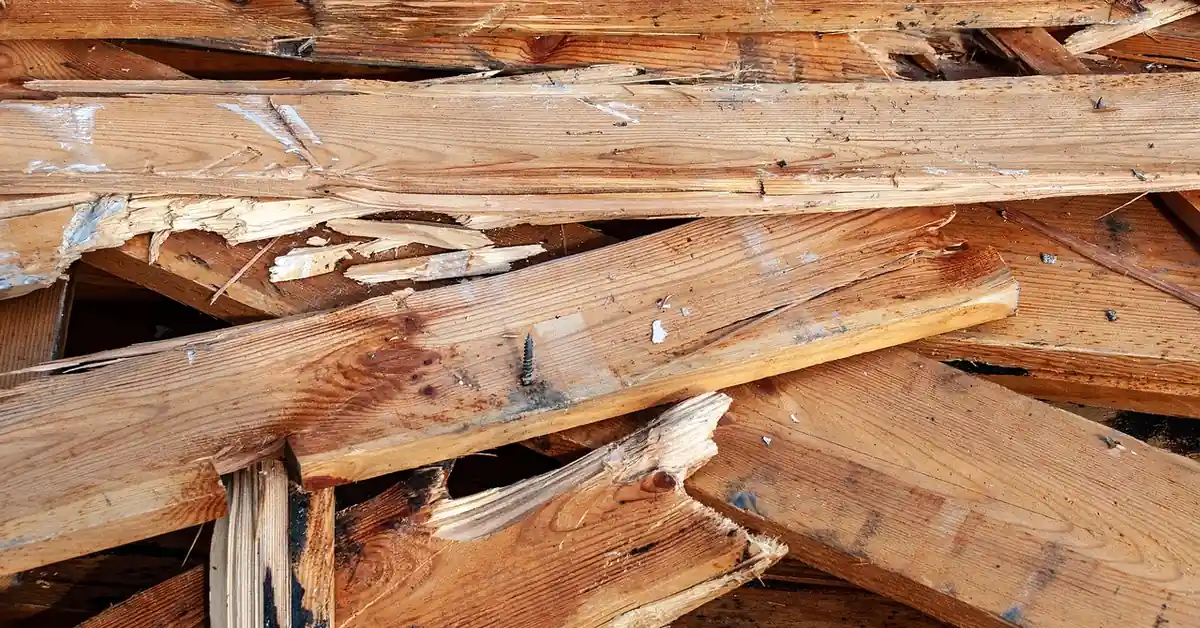
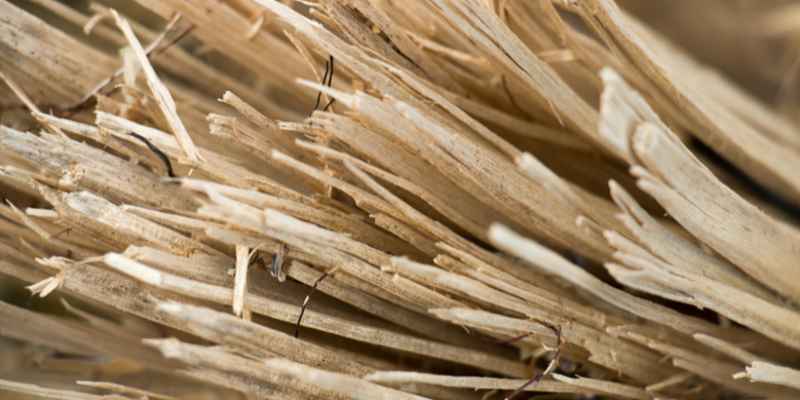
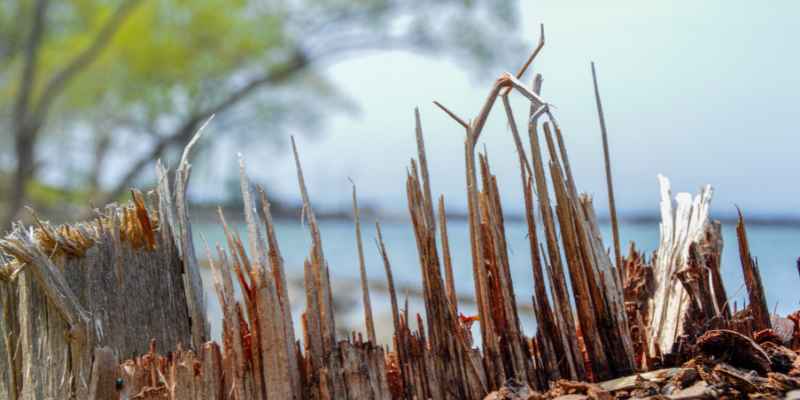
A wood splinter is a thin, sharp fragment of wood fiber that separates from a board along the grain and lodges in skin on contact. It forms wherever grain gets disrupted faster than it gets smoothed — a table saw cut, a torn-out router pass, a dry, weathered deck board, or an edge that was never sanded after cutting.
Four causes account for most splinters in a home shop or on a deck:
- Unsanded cut or drilled edges — any saw or drill bit tears fibers at the exit side of the cut, and a dull blade or the wrong tooth count for the material makes the tear-out worse.
- Weathering — UV exposure and repeated wet/dry cycles break down the lignin holding surface fibers together, so old, unsealed deck boards splinter even without being touched.
- Improperly seasoned lumber — wood that dried too fast or unevenly develops surface checking, which is a head start on splintering.
- Soft, straight-grained species — some woods are simply more prone to it than others, which is worth knowing before you pick a board for a deck rail or a handled tool.
Which Woods Splinter the Most? (Janka Hardness Compared)
Janka hardness measures the force needed to dent a wood surface, not splintering directly — but softer, low-Janka species generally have looser surface fibers that lift and tear more easily, which is why the softest woods on this list are also the ones woodworkers complain about most for splinters. Grain straightness and moisture content matter too, so a rough-sawn oak board can still out-splinter a smooth, sealed pine one.
| Species | Janka Hardness (lbf) | Splinter Risk |
|---|---|---|
| Western Red Cedar | 320 | High — soft, straight-grained fibers separate easily |
| Redwood | 420 | High — weathers into loose surface fibers outdoors |
| Eastern White Pine | 380 | Moderate — soft, but tighter grain than cedar/redwood |
| Red Oak (rough-sawn) | 1,290 | Moderate-High — hard fibers, but rough milling leaves sharp shards |
| White Oak | 1,360 | Low-Moderate when surfaced and sealed |
| Hard Maple | 1,450 | Low — tight, dense grain resists fiber lift |
Janka ratings via the industry-standard hardness scale. See our complete types of wood guide for the full species-by-species breakdown, including Janka numbers for every wood mentioned here.
How to Prevent Wood Splinters When Sanding and Building
Most splinters start at an edge that never got sanded after it was cut. Working through a full grit progression, instead of stopping at one grit, is what actually closes the grain back down.
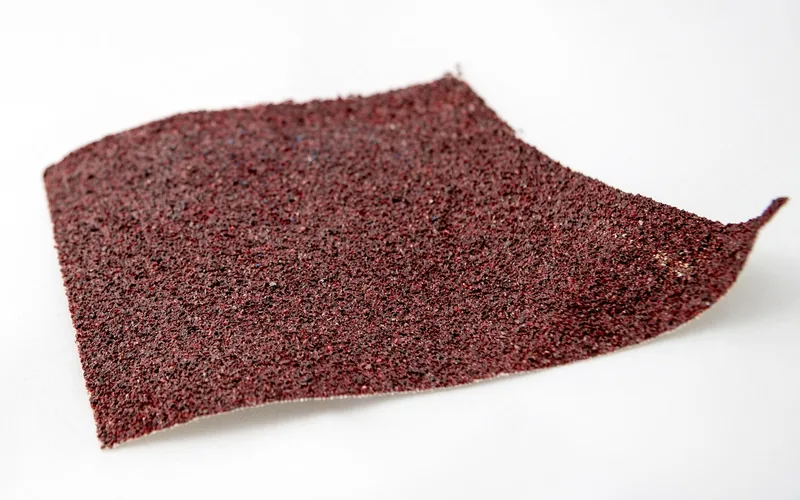
- Start at 80 grit on any freshly cut or rough-sawn edge to knock down the torn fibers left by the blade.
- Move to 120 grit to remove the coarser scratch pattern the 80 grit leaves behind.
- Finish at 220 grit for anything that will be handled — tool handles, deck rails, chair arms, cutting boards.
- Wet-sand outdoor and end-grain surfaces when possible; a damp pass softens surface fibers so they lie down instead of standing up sharp.
- Ease every cut edge with a round-over or chamfer where the piece will be gripped — a sharp 90-degree edge is where splinters concentrate.
Outdoors, sanding only buys time if the wood is left bare. Cedar and redwood decking that goes a full season without a sealer will start splintering again as the sun and rain break the surface fibers back down — our wood finishing guide covers which sealers hold up longest by climate. Indoors, sanding by hand and in the shop also kicks up fine dust; if you are working extended sanding sessions, see our guide on what to do if you inhale sawdust.
How to Safely Remove a Wood Splinter
The core rule, according to the American Academy of Dermatology, is to pull a splinter out at the same angle it went in — never pinch or squeeze it, which snaps organic wood fiber into pieces that are harder to find and remove.
- Wash and inspect: wash your hands and the area with soap and water, then use good light (a phone flashlight works) to see how deep the splinter sits and which direction it entered.
- Sterilize your tools: wipe tweezers, or a sewing needle, with rubbing alcohol before touching the skin.
- Pull at the entry angle: if the end is sticking out, grip it close to the skin and pull along the same line it went in — not straight up.
- Uncover embedded splinters first: if it’s fully under the skin, use the sterile needle to gently open the skin just above the splinter, then lift the end free with the tweezers.
- Clean and cover: wash the spot again, apply a thin layer of antibiotic ointment, and cover it with a bandage until it closes over.
📊 Wood splinters carry their own bacteria and fungi because the material is porous and organic — unlike a clean metal or glass sliver, a wood splinter left under the skin gives bacteria a warm, low-oxygen pocket to multiply in. Source: American Academy of Dermatology, splinter removal guidance.
“The splinters that give people the most trouble in the shop aren’t from the table saw — they’re from handling rough-sawn cedar and reclaimed lumber bare-handed while stacking or moving it. A five-second glove check before you pick up a board saves more trips to the tweezers than any sanding trick does.”
When to See a Doctor for a Splinter
Most wood splinters come out at home with tweezers and cause no lasting problem. See a doctor if any of the following apply:
- The splinter is deep, large, or located near or in the eye.
- You cannot see or reach the end of it after a careful attempt.
- The area becomes red, swollen, warm, or starts draining pus in the days after.
- You notice red streaking spreading from the site, which can signal a spreading infection.
- You’re not current on a tetanus shot and the splinter came from outdoor or treated lumber.
Common Mistakes People Make With Wood Splinters
- Squeezing the skin to pop it out. This is the single most common mistake and the reason splinters “disappear” under the skin — the pressure snaps the fiber and pushes half of it deeper.
- Jumping straight to a fine grit on rough-sawn lumber. Starting at 220 grit on a torn, freshly cut edge just burnishes the sharp fibers flat instead of removing them; they stand back up the first time the board flexes.
- Skipping edge-sanding after every cut. Grain disruption at a fresh cut is the number one splinter source in a home shop, and it takes under a minute per edge to fix.
- Leaving cedar or redwood decking unsealed through a full season. UV and moisture cycling will splinter the surface on their own, with no tool involved at all.
- Digging at an embedded splinter with a fingernail or knife tip. Unsterilized tools introduce more bacteria than the splinter itself and increase infection risk.
Frequently Asked Questions About Wood Splinters
Can a wood splinter cause an infection if you leave it in?
Yes. Wood is porous and organic, so a splinter left under the skin can carry its own bacteria and fungi into a warm, low-oxygen pocket where they multiply. Most small, shallow splinters cause no problem once removed promptly, but a splinter left in place for days raises the risk of redness, swelling, or pus.
Why do cedar and redwood splinter more than oak?
Cedar (about 320 lbf) and redwood (about 420 lbf) rate far softer on the Janka hardness scale than red oak (about 1,290 lbf), and their straight, open grain lets surface fibers lift and separate more easily under abrasion or weathering. Hardness isn’t the only factor — rough-milled oak can still out-splinter smooth, sealed pine — but softer species are the more common culprit outdoors.
Can you remove a splinter without tweezers?
Yes. A sterilized sewing needle can lift a shallow or embedded splinter by gently opening the skin just above it, then guiding the end out. Duct tape or a thin layer of white glue pressed onto the area and peeled off can also pull out very fine, shallow splinters that are barely under the surface.
What grit sandpaper stops wood from splintering?
Start at 80 grit on any freshly cut or rough-sawn edge to remove the torn fibers, then move to 120 grit and finish at 220 grit for anything that will be handled by hand. Stopping at a single fine grit without the earlier coarse passes just flattens sharp fibers instead of removing them.
Is it safe to leave a small, shallow splinter in your skin?
A very shallow, tiny splinter that isn’t painful sometimes works its own way out within a few days as skin sheds. Because wood carries bacteria, it’s still safer to remove it as soon as you can reach it rather than wait, and any splinter that’s deep, painful, or shows redness should be removed right away or checked by a doctor.
Conclusion
Wood splinters come from disrupted grain, whether that’s a fresh cut, a weathered deck board, or a softer species like cedar and redwood. Sand cut edges through a full 80-to-220-grit progression, keep outdoor wood sealed, and if a splinter does get you, pull it out at the same angle it entered rather than squeezing it. Most come out clean at home in under a minute — save the doctor visit for the ones that are deep, near the eye, or showing signs of infection.
Sponsored / affiliate links. As an Amazon Associate I earn from qualifying purchases. I may earn additional commission from eligible campaigns.