Staining Plywood Floors: Gel Stain vs Liquid (No Blotching)
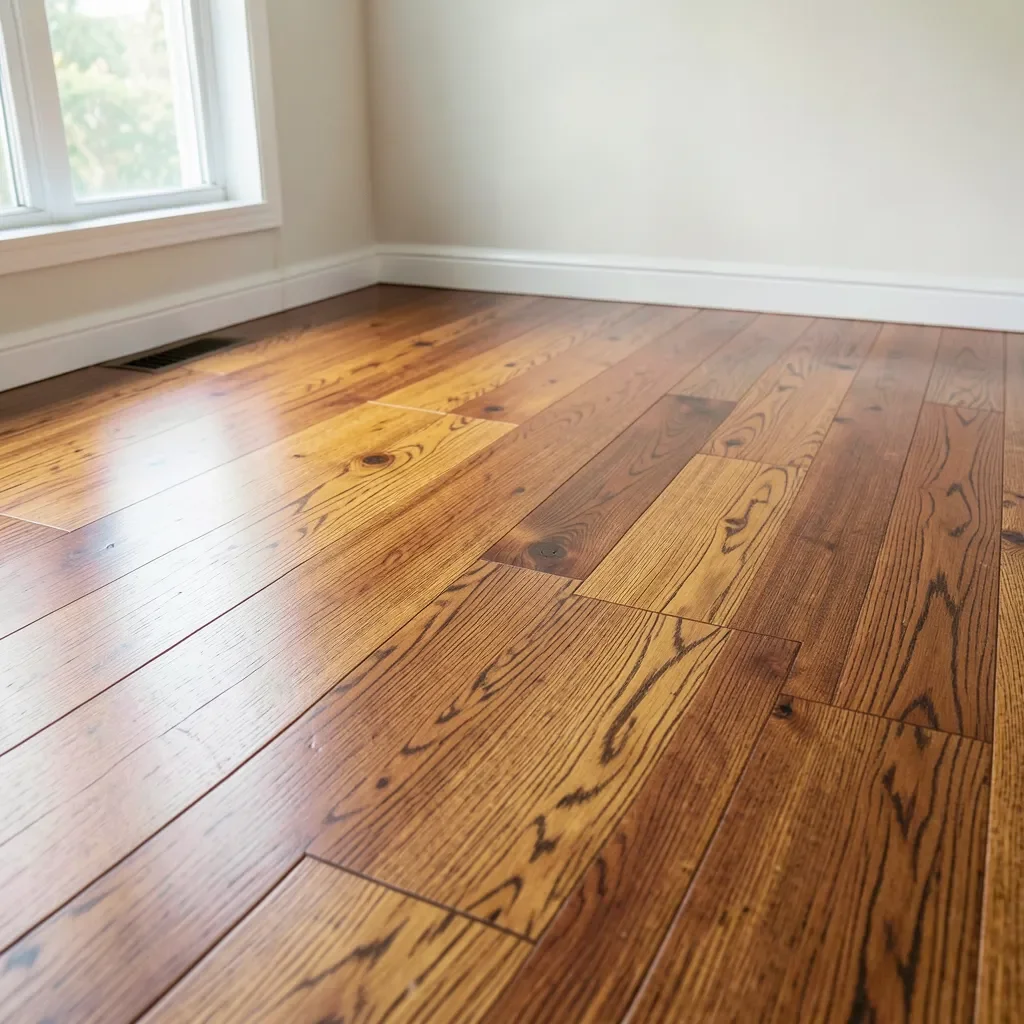
Plywood floors stain best with a gel stain, not a liquid penetrating stain — the thin veneer top layer on plywood absorbs liquid stain unevenly and blotches, while gel stain sits on the surface and colors evenly. Skipping a pre-stain conditioner is the single biggest cause of blotchy plywood floors. This guide covers sanding grit progression, gel vs. liquid stain, and the topcoat that survives foot traffic.
Quick Answer
Sand plywood floors up to 220-grit, apply a pre-stain conditioner, then use a gel stain (not a liquid penetrating stain) for even color on the thin face veneer. Finish with 2-3 coats of oil-based polyurethane for a floor that survives foot traffic.
Choosing the Right Stain for Plywood Floors
Best Plywood Floor Stain Pick
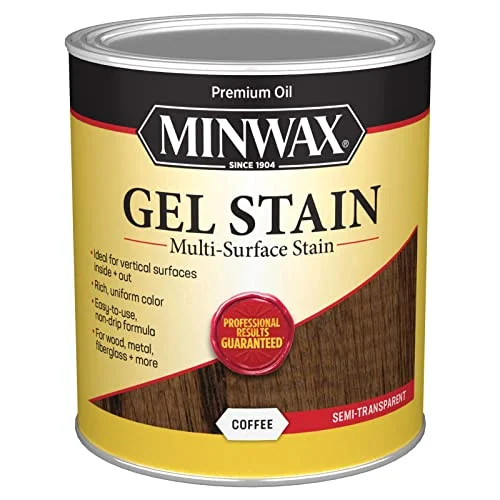 |
Minwax Gel Stain for Interior Wood Surfaces, Coffee – $19.99 The gel-stain format this guide recommends over liquid stain, since it sits on plywood’s thin veneer instead of soaking in unevenly.
|
Plywood’s face veneer is often only 1/40 to 1/32 inch thick, and it’s usually a softer, more porous wood species than solid hardwood flooring. That thin, porous layer absorbs a standard liquid penetrating stain unevenly, which is why plywood floors blotch far more often than solid wood floors.
- Gel stain sits on top of the wood rather than soaking in unevenly, which makes it the most reliable choice for plywood’s thin veneer.
- Oil-based liquid stain can still work if you apply a pre-stain wood conditioner first — skipping the conditioner is the most common cause of blotchy results.
- Water-based stain dries fast and has low odor, but it raises the wood grain on plywood more than oil-based products, adding an extra sanding step.
If your plywood floor already has burn marks, water stains, or old finish residue, deal with those first — see our guide on fixing burned plywood flooring before you start the staining process.
Preparing the Plywood for Staining
Preparation determines whether the stain goes on evenly more than any other step in the process.
Sanding and Cleaning
Start with 120-grit sandpaper to remove the factory coating and any surface imperfections, then move to 150-grit and finish with 220-grit for a smooth surface that accepts stain evenly. Sand in the direction of the grain — cross-grain scratches show clearly once stain is applied. For full technique details, see our guide on how to sand plywood without cutting through the thin face veneer.
After sanding, vacuum thoroughly and wipe the entire floor with a tack cloth. Any dust left behind gets trapped under the stain and shows as a rough, gritty texture in the finished floor.
Applying Pre-Stain Conditioner
Apply a pre-stain wood conditioner and let it absorb for the time listed on the can — typically 5 to 15 minutes — then wipe off any excess before it dries. This partially seals the wood’s pores so the stain that follows absorbs at a more even rate across the whole floor, which is what prevents the dark blotches common on plywood and other soft, porous woods like pine.
Application Techniques
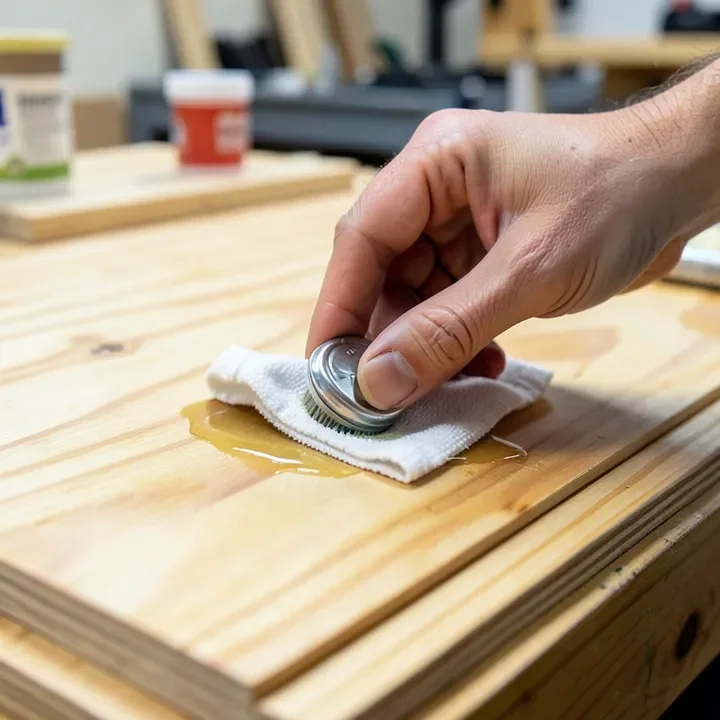
Work in manageable sections and always follow the wood grain, the same way you would when finishing a hardwood grain pattern — going against the grain leaves visible brush or wipe marks once the stain dries.
- Test first: Apply the stain to a scrap piece of the same plywood or an inconspicuous closet corner to confirm the color before committing to the whole floor.
- Work from the far corner to the exit: Stain yourself into a corner near the door so you never have to walk back across wet stain.
- Apply with a brush, roller, or cloth: Work the stain into the grain, then wipe off excess with a clean cloth 5-15 minutes after application for even color.
- Let it dry fully: Oil-based stains typically need 24 hours before topcoating; check the product label since dry times vary by brand and humidity.
- Apply a protective topcoat: 2-3 coats of oil-based polyurethane give the floor the durability to handle daily foot traffic.
Can you stain or paint plywood floors instead?
Yes — if you’d rather paint than stain, our guide on painting plywood floors covers leveling, sealing, and using a wood-grain painting technique to mimic hardwood without staining at all.
📊 Plywood face veneer typically measures between 1/40″ and 1/32″ thick — thin enough that aggressive sanding can cut through it entirely, exposing the core layer underneath. — Source: APA – The Engineered Wood Association
Troubleshooting and Maintenance
Preventing a Blotchy Appearance
A pre-stain conditioner is the single most effective fix for blotching. If a section still comes out uneven after conditioning, gel stain over the blotchy area usually evens it out better than trying to sand the stain back out, which risks going through the thin veneer.
Maintaining Stained Plywood Floors
- Sweep or vacuum regularly to remove grit that scratches the topcoat.
- Damp-mop only — standing water can swell plywood at the seams.
- Use felt pads under furniture legs to prevent gouges.
- Recoat with polyurethane every few years in high-traffic areas as the topcoat wears.
Achieving Different Effects
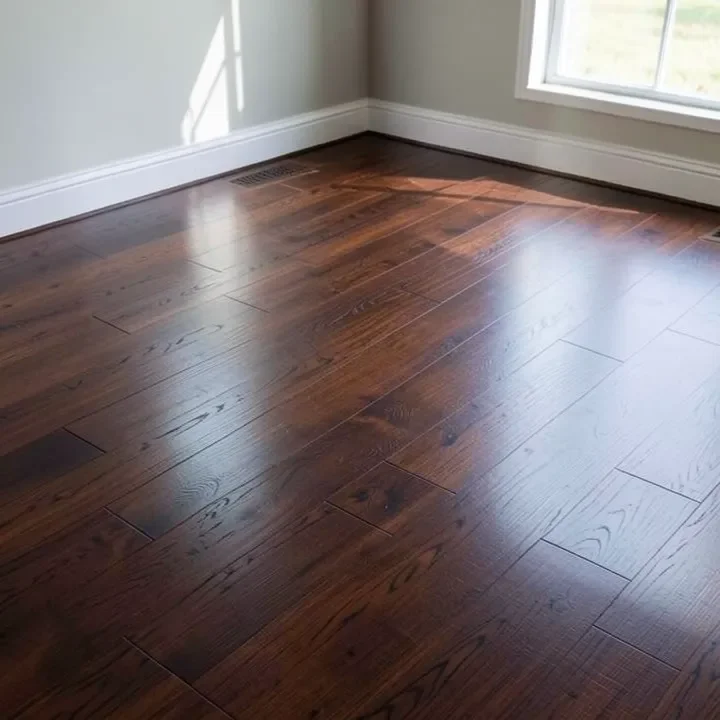
Darker stains like walnut or espresso replicate the depth of mahogany, while lighter stains mimic maple or white oak. For a more rustic look without staining at all, a wood-grain painting technique works well too — see more plywood flooring pattern ideas for other finish directions.
Frequently Asked Questions
What is the best stain for plywood floors?
Gel stain is generally the best choice because it sits on the surface instead of soaking unevenly into plywood’s thin, porous face veneer. If you prefer a liquid stain, apply a pre-stain conditioner first to prevent blotching, and choose oil-based stain for any floor exposed to moisture or heavy wear.
Does plywood need to be sanded before staining?
Yes. Plywood typically has a factory coating or mill glaze that blocks stain absorption, and sanding through 120, 150, and 220-grit removes it while smoothing the surface for even color.
How do you stain a sheet of plywood evenly?
Sand through progressively finer grits, apply a pre-stain conditioner, then apply gel stain or conditioned liquid stain with a brush or cloth, wiping off excess after 5 to 15 minutes. Seal with a clear topcoat once the stain is fully dry.
Can you sand plywood floors more than once without ruining them?
Only carefully — plywood face veneer is thin enough (often 1/40″ to 1/32″) that a second full refinishing sand can cut through it and expose the core layer. Light scuff-sanding between coats is fine; a full strip-and-resand is not something plywood floors can take more than once, if at all.
Staining plywood floors comes down to two decisions: sand through the right grits without cutting through the thin veneer, and choose gel stain (or a conditioned liquid stain) so the color goes on evenly. Get those two right and a plywood floor can pass for hardwood at a fraction of the material cost.
Sponsored / affiliate links. As an Amazon Associate I earn from qualifying purchases. I may earn additional commission from eligible campaigns.