Subfloor Screw Spacing: Expert Tips for Stronger Floors
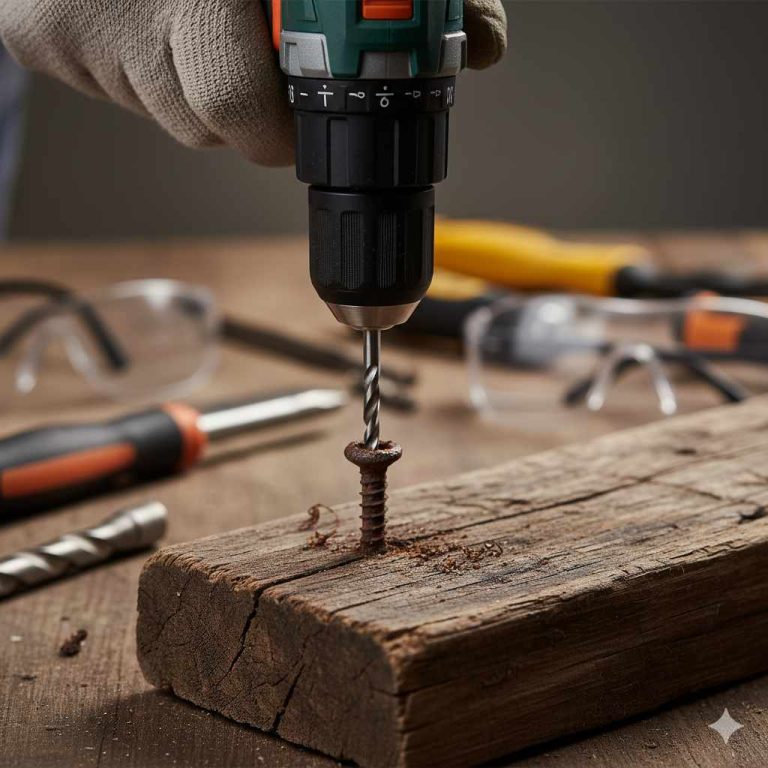
For subfloor screw spacing, place screws every 6–8 inches along the panel edges and every 12 inches in the field (the interior area away from edges). This spacing keeps the subfloor securely anchored and prevents the squeaking or movement that comes from loose panels. Use screws long enough to penetrate the joists by at least 1 inch, and drive them flush — not below the surface — so they hold at full strength.
Importance Of Subfloor Screw Spacing
The spacing of subfloor screws is crucial in ensuring stability and safety. Incorrect spacing can lead to loose or squeaky subfloors, which can cause serious damage over time. Proper spacing will also ensure a smooth and sturdy surface for the finished flooring.
Impact Of Screw Spacing On Floor Strength
The strength of a subfloor depends largely on the number and placement of screws. When the screws are spaced too far apart, the subfloor may not be able to bear the load of the finished flooring. This can lead to sagging, flexing, and even eventual failure of the floor. On the other hand, if the screws are too close together, they may split the joists or beams, reducing their load-bearing capacity. Therefore, it is crucial to follow the recommended screw spacing guidelines as per the subfloor material and thickness, joist spacing, and other relevant factors.
Benefits Of Proper Screw Spacing
Ensuring the correct subfloor screw spacing comes with multiple benefits, including:
- Enhanced load-carrying capacity: The optimal screw spacing enhances the ability of the subfloor to support the weight of the finished flooring, furniture, and occupants.
- Reduced creaking and movement: Properly spaced screws prevent the subfloor from moving and rubbing against the framing, which eliminates creaking and reduces movement of the finished flooring.
- Minimized subfloor damage: The right screw spacing avoids overdriving or underdriving of screws that may cause damage to the subfloor or joists.
- Improved durability: A subfloor with optimal screw spacing is less likely to deteriorate or develop structural issues over time, ensuring long-term durability and stability of the floor.
Overall, subfloor screw spacing plays a critical role in the strength, stability, and durability of a flooring system. It is important to follow the manufacturer’s recommendations for optimal screw spacing to avoid common problems and ensure the best results.
Types Of Screws For Subflooring
Proper screw spacing is crucial for subflooring. Categories of screws for subfloors include galvanized, steel, and cement board screws. Follow manufacturer guidelines for screw spacing, typically between 6 and 12 inches apart, to ensure a strong and durable subfloor.
When it comes to installing subflooring, choosing the right type of screws is crucial to ensure a strong and stable subfloor. The main categories of screws designed for subfloors include galvanized screws, steel screws and cement board screws.
Galvanized Screws
Galvanized screws are named for their manufacturing process, which gives these screws a special coating that protects them against deterioration and rust. These screws are perfect for subflooring since they are resistant to corrosion and can hold up against moisture, which is important for a durable subfloor.
Steel Screws
Steel screws are another popular choice for subflooring due to their strength and durability. They come in a variety of sizes and lengths, making it easy to find the right size for your specific subfloor installation. Steel screws are recommended for dense subflooring materials like hardwood or engineered wood.
Cement Board Screws
Cement board screws are specifically designed for attaching cement board underlayment. These screws are coated with an anti-friction agent to make the installation easier and are available in a variety of lengths to accommodate different underlayment thicknesses. These screws are also resistant to rust, making them a good choice for in-house subflooring purposes.
In addition to using the right type of screws, it is important to consider proper subfloor screw spacing to ensure a stable subfloor. The general rule is to space screws every 6 inches along the edges of the subfloor and every 12 inches in the middle areas. This spacing ensures a strong hold and prevents the subfloor from creaking or shifting over time.
Overall, choosing the right screws and ensuring proper subfloor screw spacing are important factors to consider for a successful subfloor installation.
Factors Affecting Screw Spacing
The spacing between screws for subfloor installation depends on factors such as the thickness of the subfloor, joist spacing, and intended use of the floor. A commonly recommended spacing is every 6-8 inches along the edges and every 12 inches throughout the rest of the subfloor.
Proper screw spacing ensures better stability and reduces the risk of squeaky floors.
Subfloor Material
One of the main factors that determine screw spacing is the type of subfloor material. Plywood is the most common subfloor material and requires screw spacing that is no greater than six inches along the edges and eight inches along the center. However, if you are working with thicker subfloor materials, you may need to space screws even closer together, around four inches.
Floor Joist Spacing
Another factor that affects screw spacing is the distance between floor joists. The closer together the joists are, the closer together the screws should be. For example, if you have floor joists that are spaced at 16 inches apart, you should have screws spaced no more than six inches. If you have floor joists that are spaced at 24 inches apart, you should have screws spaced no more than eight inches.
Panel Size
The size of your subfloor panels also affects screw spacing. Smaller panels require more screws and closer spacing between them. On the other hand, larger panels may require fewer screws and a wider spacing. Be sure to follow the manufacturer’s recommendations for screw spacing based on the panel size you are working with.
Conclusion
In summary, subfloor screw spacing is determined by the type of subfloor material, floor joist spacing, and panel size. Proper screw spacing is crucial to ensure a solid and secure subfloor that will last for years. By following manufacturer’s recommendations and considering these factors, you can install a subfloor with optimal screw spacing for your specific project.
Tips For Proper Subfloor Screw Spacing
Proper subfloor screw spacing is important for a sturdy and stable subfloor. Generally, screws should be spaced 6 to 8 inches apart along the edges and at least 12 inches apart in the field, with no more than 2 inches from the edges of the subfloor to prevent splitting.
Calculating Screw Spacing
Calculating the proper spacing for subfloor screws is essential to ensure that the subfloor remains flat, level, and securely attached to the joists underneath. A good rule of thumb is to place screws every eight inches along the edges of the panel and every 12 inches in the field of the panel. However, this rule may vary depending on the thickness of the subfloor panel and the spacing of the joists. A general guideline is to use screws that penetrate the subfloor by at least 1 inch while leaving enough space between screws to prevent the panel from bowing or cupping.
Importance Of Consistent Rhythm
When installing subfloor screws, it’s important to establish and maintain a consistent rhythm. This means placing the screws at regular intervals and with the same amount of force and depth. Consistent screw spacing and pattern will ensure the subfloor remains level and prevents squeaky floors from uneven subfloor movement.
Using Fastening Tools
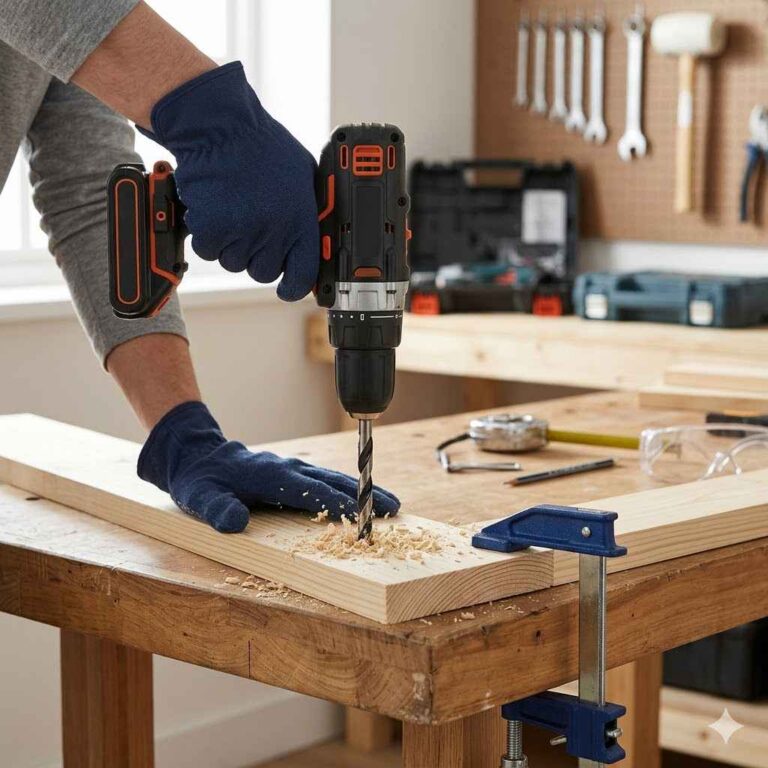
Using reliable fastening tools such as a screw gun, drilling machine, or collated screw system will improve the speed and precision of subfloor screw installation. These tools can help achieve consistent screw spacing and prevent fatigue or injury from manual screw placement.
Gluing Panels In Addition To Screws
In some cases, it may be necessary to use glues in addition to screws to secure the subfloor to the joists. Gluing the subfloor panels can help provide additional stability, reduce squeaks and prolong the life of the subfloor. However, it’s important to ensure that the glue does not interfere with the screw placement, and it is applied consistently across the entire subfloor.
In conclusion, properly spacing subfloor screws is crucial to the stability and performance of your subflooring. Ensure to use consistent rhythms, reliable fastening tools, and consider gluing panels in addition to screws. By taking these factors into account, you can be confident in your subfloor installation and create a solid base for your flooring.
Screw Length And Quantity
When it comes to subfloor screw spacing, it’s important to install screws at the right length and quantity. Proper spacing with the correct amount of screws ensures a secure and stable subfloor that prevents squeaks and movement. Choosing the right type of screw and following best practices during installation can also help achieve a long-lasting subfloor.
When it comes to subfloor screw spacing, it’s essential to determine the right screw length and quantity to ensure your subfloor is sturdy and secure. Using the correct screws in the right amount will prevent squeaky and bouncy floors that can be annoying and compromise the structural integrity of your home.
Determining Screw Length
The ideal screw length for subfloor installation should be at least two-thirds of the thickness of the subfloor. This ensures that the screws penetrate deep enough into the joist to provide enough holding power. For instance, if you have a 3/4-inch subfloor, use a screw that is at least 1 1/2-inch long.
Number Of Screws Necessary
The number of screws you’ll need depends on the size of the subfloor and the spacing between the joists. The general rule of thumb is to use a minimum of two screws per joist, and the screws should be no more than 8 inches apart. For example, if your subfloor is 4′ x 8′, you would need 64 screws (minimum two per joist).
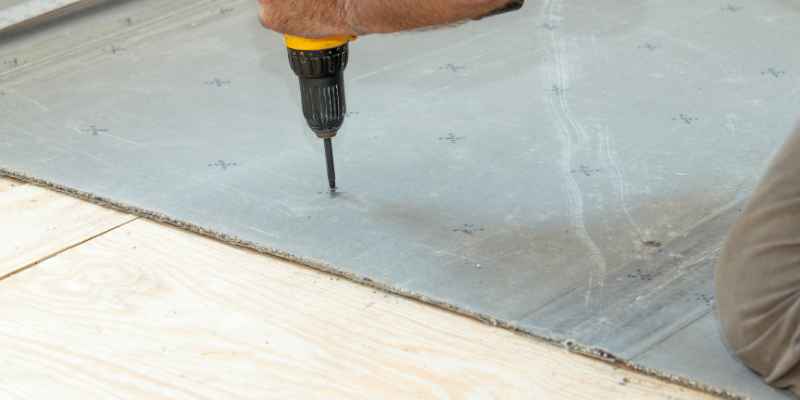
Spacing For Plywood Underlayment
If you’re installing a plywood underlayment for a finished floor, the screw spacing should be closer together than for standard subfloor installation. Typically, the screws’ spacing should be no more than 6 inches apart around the perimeter and 8 inches in the field of the panel. Additionally, screws should be set at least 3/8-inch from the edge of the panel and 2 inches from the panel’s corners to prevent the wood from splitting.
In Conclusion
By following the right screw length and quantity for your subfloor installation, you’ll ensure that your floors are sturdy and secure. Remember to spread out the screws for maximum holding power and to use the correct spacing when installing a plywood underlayment. This will prevent any unwanted squeaks, bounces, or structural issues down the line.
Installation Steps For Subflooring
Proper subfloor screw spacing is crucial for a successful installation. It is recommended to place screws every 6-8 inches along the joists, and to have a gap of 1/8 inch between the panels to allow them to expand and contract.
Failure to follow proper screw spacing guidelines can result in squeaky, uneven subfloors.
When it comes to constructing a strong and stable floor, the importance of having a properly installed subflooring cannot be overstated. While there are different types of subfloorings available, the use of plywood or OSB (oriented strand board) is a popular choice for many construction projects. When installing plywood or OSB subflooring, it is essential to follow proper installation steps to ensure a reliable and long-lasting structure. This blog post focuses on the installation steps for subflooring with a subheading of Subfloor Screw Spacing.
Inspecting Floor Joists
Before adding any subflooring, it is vital to inspect the floor joists to determine if they are level and strong enough to support the subflooring material. Any damaged or weakened floor joists should be repaired or replaced before installing the subflooring. The floor joists should also be checked for any gaps between them, and these gaps should be tightly nailed or screwed to avoid squeaking and movement of the subflooring.
Adding Perimeter Blocks
After inspecting and repairing the floor joists, it is time to install the perimeter blocks. Perimeter blocks are used to provide additional support and stability to the subflooring around the edges of the room. These blocks are installed perpendicular to the floor joists and should be spaced no more than 24 inches apart. The perimeter blocks should also be secured with nails or screws.
Floor Sheathing Layout
The next step is to layout the floor sheathing. The floor sheathing layout involves determining the size and positioning of the individual subflooring panels. The panels should be placed perpendicular to the floor joists to ensure maximum support and stability. The layout should also take into account the location of any seams and joints and ensure that they are staggered to avoid weak spots.
Installing Floor Sheathing
Once the floor sheathing layout is complete, it is time to install the subflooring panels. When installing the panels, it is essential to ensure that they are properly spaced, and screws are evenly distributed. The recommended screw spacing is 6 inches along the panel edges and 12 inches in the field of the panel. The screws should be driven perpendicular to the subflooring, and their heads should be slightly countersunk to avoid any hindrance to the installation of the finished flooring.
Conclusion
The proper installation of subflooring is essential to achieving a stable and long-lasting floor structure. By following the above installation steps, you can ensure that your subflooring is installed correctly and can withstand the weight and foot traffic upon it. For more information on subflooring and other construction-related topics, keep visiting our blog.
Common Installation Mistakes To Avoid
Proper spacing of subfloor screws is crucial for a successful installation. Avoid overcrowding or leaving gaps between screws to ensure the subflooring remains sturdy and stable over time. Seek advice from professionals or research guidelines to achieve accurate screw spacing.
Incorrect Screw Spacing
One of the most common mistakes during subfloor installation is incorrect screw spacing. Fasteners should be spaced no more than 6 inches apart along the edges and no more than 12 inches apart on intermediate joists or blocking. When screws are spaced too far apart, it can lead to squeaky, bouncy floors that may require repair or replacement.
Skipping Or Inconsistent Gluing
It’s crucial to ensure that each panel has adequate glue applied. Skipping or inconsistent gluing can lead to creaky floors and affect the overall strength and stability of subflooring. The glue should be applied in a continuous and consistent bead and cover at least 90% of the surface area of each panel and joint area.
Not Staggering Joints Or Panels
Another mistake that is often made is not staggering the joints or panels. A critical aspect of subfloor installation is staggering the seams or joints of each panel. This means that the seams of adjacent rows of plywood should not be lined up with each other. Staggering helps distribute the weight of the floor more evenly across the entire subfloor and reduces the chance of vertical movement or expansion of flooring, leading to fewer gaps and squeaks.
Poor Planning
Poor planning can also lead to significant problems during subfloor installation. Make sure to measure and plan each step of the installation process carefully. This includes calculating the amount of material needed, ordering the correct materials, and determining the layout of the subfloor. Poor planning can lead to unnecessary costs and errors that can be difficult and timely to rectify once the installation process has begun.
By avoiding these common installation mistakes, you can ensure a strong, stable, and durable subfloor that will last for years to come.
Tools And Products For Subfloor Screw Spacing
Installing subflooring is an essential part of any construction project, and using the correct tools and products is crucial. Proper screw spacing is necessary to ensure a sturdy, long-lasting subfloor. Here are some tools and products recommended for subfloor screw spacing:
Senco Duraspin Collated Screws
Best Subfloor Screws

Senco DuraSpin Collated Screws
Strip-collated screws load into a screw gun in seconds, letting you hold consistent 8-12 inch spacing along the joist without stopping to hand-feed each screw.
- Best for: Fast, consistent screw spacing on large subfloor jobs
- Why we picked it: Higher holding power reduces squeaky-floor callbacks
- Main drawback: Requires a compatible auto-feed screw gun
Speed and accuracy tools
 Option 1 Quik Drive Project Pro Tool
|
 Option 2 AMES 48″ T-Square
|
As an Amazon Associate we earn from qualifying purchases.
Senco DuraSpin Collated Screws provide a quick and efficient way to install subflooring. These collated screws come in strip or coil form, making it easy to load them into a screw gun without the need for individual screw handling. The Senco DuraSpin Collated Screws have increased holding power, reducing the risk of squeaky floors and subfloor movement. The screw spacing should be approximately 8 to 12 inches apart along the joist, ensuring the screws penetrate at a depth of 1 to 1.5 inches into the joist.
Quik Drive Fasteners
Quik Drive Fasteners are another popular choice for subfloor screw spacing. They save time and effort while maintaining accuracy and consistency. Quik Drive systems are known for their speed and precision, capable of driving thousands of screws per day. The Quik Drive Fasteners should be spaced approximately 6 to 8 inches along the joist, penetrating at a depth of 1 to 1.5 inches into the joist.
Drywall T-squares
Drywall T-Squares serve as guides to ensure consistent screw spacing. They can also be used to ensure straight, square panels. Proper alignment of the subfloor panels is essential to achieve an even subfloor surface. The Heavy Duty Drywall T-Square is a suitable option that can withstand long periods of use on a construction site.
If you plan to install subflooring, keep in mind the importance of using the right tools and products. Senco DuraSpin Collated Screws, Quik Drive Fasteners, and Drywall T-Squares can make your job more efficient and accurate. Keep screw spacing in mind and follow manufacturer instructions for optimal results.
Frequently Asked Questions On Subfloor Screw Spacing
How Far Apart Should Screws Be On Tile Subfloor?
When installing a tile subfloor, screws should be spaced 6 inches to 8 inches apart. This spacing provides optimal support for the tile while preventing the subfloor from warping or buckling over time. Use screws that are at least 1 1/4 inches in length, and make sure they are rated for use with subflooring.
What Is The Best Screw Length For 3 4 Subfloor?
For a 3/4 subfloor, the best screw length is 1 5/8 inches. Galvanized screws, steel screws, and cement board screws are code-approved best screws for subfloors. The screws should be spaced 6 inches apart around the perimeter and 8 inches apart over the field in all directions.
This screw spacing ensures a stable and secure subfloor installation.
What Is The Spacing For Plywood Underlayment Fasteners?
The spacing for plywood underlayment fasteners depends on the thickness of the underlayment material. Usually, screws must be spaced between 6-8 inches apart along the edges and between 10-12 inches apart in the center. It is best to refer to the manufacturer’s guidelines for specific recommendations.
What Are Code Approved Screws For Subfloor?
Code approved screws for subfloor include galvanized, steel, and cement board screws. Galvanized screws have a protective coating that prevents deterioration and rust. The spacing for subfloor screws can vary based on factors like panel thickness and joist spacing, but a general rule of thumb is to place screws every 6 inches along panel edges and every 12 inches in the field of the panel.
Conclusion
Remember that the proper spacing of screws is a crucial factor in ensuring the stability and durability of your subfloor. Careful planning and preparation, including choosing the right screws and following the guidelines for spacing and rhythm, can result in a smooth and sturdy base for your flooring.
Taking the time to properly install your subfloor with the appropriate screw spacing can save you headaches and expenses in the long run. Keep these tips in mind for your next subflooring project and ensure a successful installation.