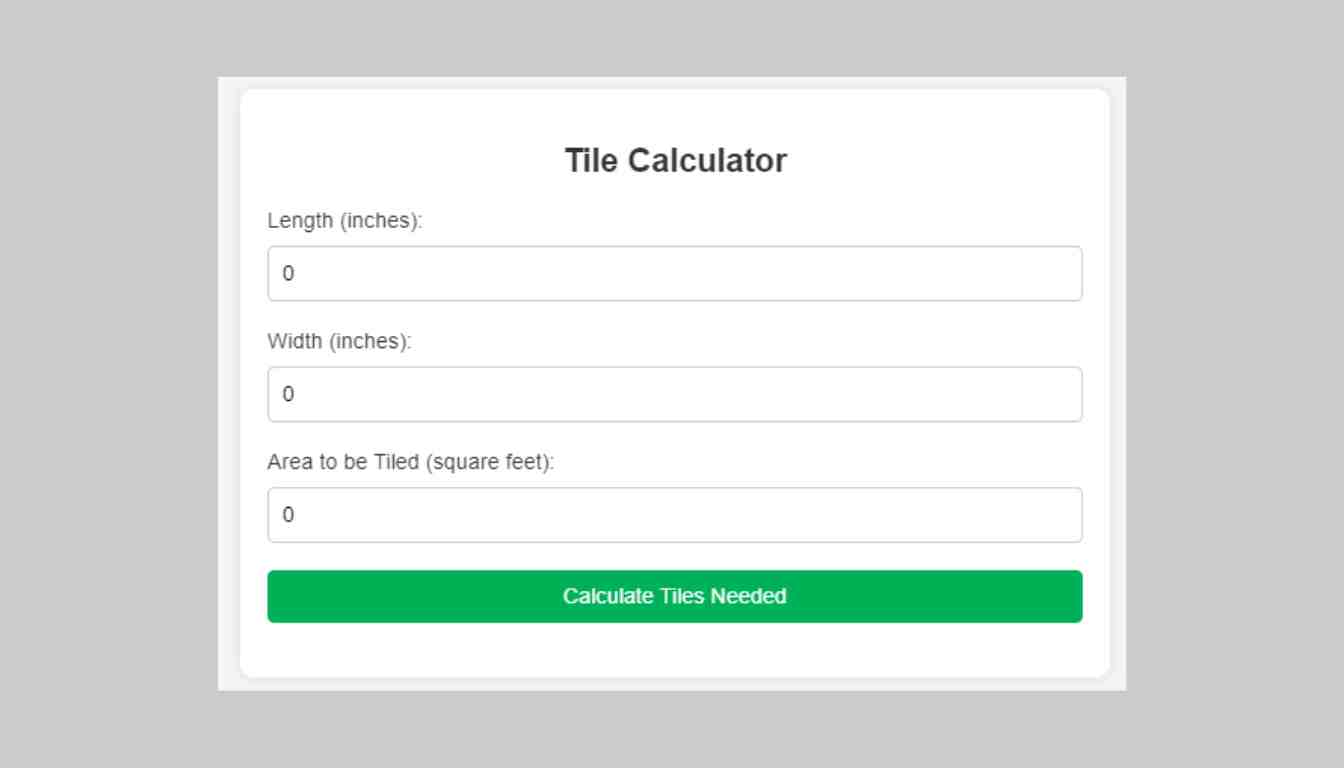
A Tile Calculator estimates the number of tiles needed to cover a floor or wall. Users input the area dimensions and tile size for accurate results.
Tile Calculator
Embarking on a home renovation or a DIY tile project requires precise planning, especially when it comes to materials. One crucial aspect is determining the quantity of tiles necessary to avoid wastage or shortfall. A Tile Calculator is an essential tool that streamlines this process.
By providing the dimensions of the space and the desired tile size, homeowners and contractors can quickly acquire an estimate of the tiles required. This ensures cost-effectiveness and efficiency, enabling a smoother completion of tiling projects. The use of a Tile Calculator also aids in budgeting, allowing a clear understanding of the material costs involved before purchasing tiles.

Credit: download.cnet.com
Introduction To Tile Calculators
Embarking on a tiling project comes with its set of challenges. One essential tool to streamline the process is a tile calculator. It is a smart solution to determine exactly how many tiles you need for your space. No more guesswork or wasted money on excess tiles!
What Is A Tile Calculator?
A tile calculator is a digital tool that helps DIY enthusiasts and professionals alike. It calculates the exact number of tiles required for any given area. Input your room’s dimensions and it does the rest!
Benefits Of Using One
- Accuracy: Ensures you get the quantity right.
- Savings: Buy only what you need, save money.
- Time Efficient: Quick calculations, faster project completion.
- Convenience: Calculate from anywhere, at any time.
- Planning: Help in efficient project planning.
Measuring Your Space
Getting the right measurements for your space is crucial before purchasing tiles. Whether you’re tiling a floor, a kitchen backsplash, or a bathroom wall, knowing the surface area determines how much material you’ll need. This task can be simple, cut-and-dry, with the right approach and tools. Let’s ensure you measure accurately and make smart purchases for your project.
A few basic tools will help you get precise measurements:
- Measuring tape – to measure the length and width of the area.
- Notebook and pencil – to record your numbers.
- Calculator – to crunch those numbers!
- Graph paper – for sketching the space; handy for complex areas.
- Clear the space. Remove rugs, furniture, and any obstructions.
- With your measuring tape, measure the room’s length. Record it.
- Measure the room’s width. Jot this down next to the length.
- For irregular shapes, divide the space into smaller squares or rectangles. Measure each one separately. Add all the areas together.
- Use your calculator to multiply the length by the width. This gives you the total square footage.
- Write all measurements into your notebook, or sketch them on graph paper.
Types Of Tiles And Their Coverage
Embarking on a tiling project requires knowing the types of tiles and their coverage. Different tiles cover areas differently, and understanding this is key to buying the correct quantity. Let’s explore common tile materials and how their sizes affect the amount you’ll need.
Common Tile Materials And Sizes
Tile materials vary widely, each offering unique benefits. The size of each tile also plays a crucial role in coverage calculations. Here’s a quick rundown:
- Ceramic: Popular for its durability and variety of designs.
- Porcelain: Known for its moisture resistance and strength.
- Stone: Such as marble, granite, and slate, adds natural beauty.
- Glass: Offers a reflective surface and comes in various colors.
Each of these materials comes in different sizes, typically measured in inches. Here are some standard tile sizes:
| Material | Common Sizes (inches) |
|---|---|
| Ceramic | 4×4, 12×12, 18×18 |
| Porcelain | 12×24, 24×24, 6×24 |
| Stone | 12×12, 16×16, 24×24 |
| Glass | 3×6, 4×12, 12×12 |
How Tile Size Affects Quantity
The size of your tiles significantly impacts the number you need. Smaller tiles may require more pieces to cover an area, while larger tiles need fewer pieces. Here’s why:
- More Grout Lines: Smaller tiles mean more grout lines, which can impact the overall count.
- Less Cutting: Larger tiles often require less cutting, ideal for big, open spaces.
- Room Dimensions: The room’s shape and size can determine if larger or smaller tiles are more efficient.
For exact coverage, use a tile calculator with your specific room dimensions and tile size choice. The calculator will help you purchase just the right amount of tiles, reducing waste and saving money.
Factoring In Waste And Extras
Begin your tile project by thinking ahead. ‘Factoring in Waste and Extras’ is a crucial step. Whether it’s a kitchen backsplash or a bathroom floor, not every tile makes it onto your walls or under your feet. Breakage, cutting, and future repairs mean you’ll need more than just the exact number. Let’s explore why and HOW MUCH more you should consider.
Why Allowance For Waste Is Necessary
Errors happen, tiles break, cuts go wrong. It’s all part of the process. Planning for waste ensures you won’t run out of tiles mid-project. Most experts suggest adding 5% to 10% more tiles to your order. This extra amount tackles unexpected surprises during installation. Keep these factors in mind:
- Tile Size and Shape: Larger or more complex shapes have higher waste.
- Room Dimensions: Irregular rooms require more cuts and waste.
- Pattern Complexity: Unique designs often lead to more offcuts.
Calculating Extra Tiles For Future Repairs
Damage and wear are realities of life. Keep extra tiles on hand for future fixes. This foresight saves you from hunting down matching tiles years later. Tile designs can discontinue, making it tough to find replacements. Aim for an additional 5% to 10% on top of your waste allowance. Use this simple guide:
| Project Size | Waste Allowance (%) | Repair Allowance (%) | Total Extra Tiles Needed |
|---|---|---|---|
| Small (up to 10m2) | 10 | 10 | 20% |
| Medium (10m2 – 25m2) | 10 | 5 | 15% |
| Large (over 25m2) | 10 | 5 | 15% |
Remember, rounded-up numbers ensure you stay covered for any scenario. Check with tile specialists if in doubt. They will help calculate the right extras for your project.
Using The Tile Calculator
Embarking on a DIY tile project? A tile calculator is your best friend. It helps you buy the right amount of tiles. No waste, no shortage. Just perfect planning. Let’s learn to use it!
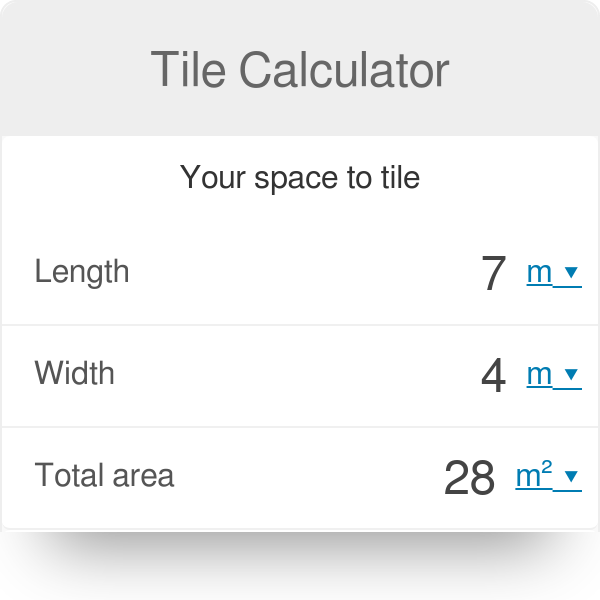
Inputting Your Measurements
Start by measuring your space. Measure length and width in feet or meters. Are you tiling a wall or a floor? Measure accurately. Errors can cost you. Measure once more, to be sure.
- Length – the longer side of your area.
- Width – the shorter side of your area.
Input these numbers into the calculator. It’s easy!
Understanding The Output
The calculator gives you a total tile count. It also accounts for extras. Extras cover breaks and cuts. You get a number you can trust. No surprises later on!
| Total Area | Tiles Needed | Extra Tiles |
|---|---|---|
| 20 sq ft | 23 tiles | 3 tiles |
Check the output against your project size. Make sure it makes sense. Use it to shop for tiles. Enjoy your project!
Advanced Features
Our Tile Calculator is not just a simple tool; it’s a master craftsman’s aide. It brings to the table a myriad of advanced features that transform ordinary projects into extraordinary ones. Let’s dive into the capabilities that set this calculator apart from the crowd, ensuring precise calculations with a dose of creativity.
Accounting For Pattern And Design
Every tile project has its unique flair. The Tile Calculator acknowledges this through its pattern and design features. Users can:
- Select from various tile patterns like herringbone, chevron, or basket weave.
- Automatically adjust tile counts for intricate designs.
- Preview layouts before making any cuts or purchases.
These features eliminate guesswork and ensure your creative vision is perfectly translated into reality.
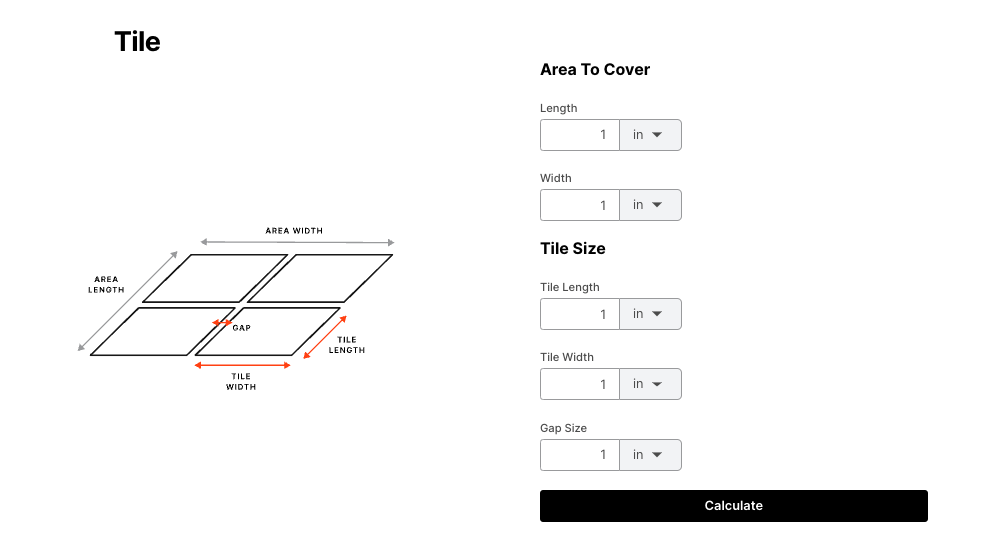
Incorporating Grout And Spacing
Grout lines and spacing play a crucial role in the final look and feel of your tiled space. With our calculator:
- Input your desired grout width and let the calculator do the rest.
- Adjust tile spacing to accommodate different grout types.
- Get a grout quantity estimate, saving you time and money.
The precise spacing and grout calculations address all aspects of the tiling process, ensuring a flawless finish.
Using the advanced features of our Tile Calculator sets your project on the path to perfection. From intricate patterns to precise grouting, every detail is accounted for, promising exceptional results every time.
Practical Examples
Welcome to our practical examples section, where we guide you through real-life scenarios using a tile calculator. Understanding how to compute the tile needs for various home projects simplifies renovations. Our step-by-step examples illustrate the process.
Tiling A Bathroom Floor
Imagine you’re renovating a bathroom with a floor measuring 10 feet by 12 feet. Your chosen tiles are 12-inch squares. Let’s calculate how many tiles you need:
- Identify the total area: 10 feet x 12 feet = 120 square feet.
- Each tile covers 1 square foot (12 inches x 12 inches).
- Simply put, you need 120 tiles for the project.
Don’t forget to add 10% extra for cuts and waste, bringing your total to 132 tiles.
Backsplash Tile For Kitchens
Your kitchen backsplash is a 20-foot wide space with a height of 18 inches. You select a 6-inch by 6-inch tile. Here’s the method:
- Convert 18 inches to 1.5 feet for easy calculation.
- Multiply width by height: 20 feet x 1.5 feet = 30 square feet.
- Each tile covers 0.25 square feet (6 inches x 6 inches).
- Divide the total area by single tile area: 30 square feet / 0.25 square feet = 120 tiles.
Again, add 10% more tiles to cover any unexpected issues. Aim for 132 tiles in total.
| Item | Dimension | Total Area | Tiles Needed (with 10% extra) |
|---|---|---|---|
| Bathroom Floor | 10×12 | 120 sq ft | 132 |
| Kitchen Backsplash | 20×1.5 | 30 sq ft | 132 |

Credit: www.omnicalculator.com
Tips And Tricks
Embarking on a tiling project? Excellent! Whether for floors or walls, knowing the right amount of tiles is critical. Smart planning saves time, money, and materials. Here are some insider tips to nail your calculations with precision.
Optimizing Material Usage
Never waste tiles again! Consider these points to use tiles wisely:
- Measure the area twice, buy once. Accuracy is key.
- Create a detailed layout plan. Visuals guide perfect cuts.
- Buy 5-10% extra for cuts and future repairs.
- Choose sizes that minimize cuts and fit well.
Tile size matters. Larger ones cover more space with fewer pieces. This means less grout and a cleaner look.
Avoiding Common Measurement Mistakes
Steer clear of recalculations and frustration:
- Use the same units throughout. Mixing inches and centimeters? Trouble awaits.
- Account for grout lines. Don’t forget these small spaces.
- Factor in obstructions like cabinets or toilets. Work around them.
- Round up figures. Precise numbers ensure enough tiles.
Remember doors and windows in wall measurements. They take up space where tiles don’t go. Always subtract their area from your total.

Credit: www.procore.com
Frequently Asked Questions On Tile Calculator
How Much Tile Do I Need For My Project?
To estimate the amount of tile needed, measure the length and width of your area in feet. Multiply those to get square footage. Add 10% for waste and cuts.
What Is The Best Online Tile Calculator?
Several online tile calculators can help, like Home Depot or Lowe’s tools. Choose one that offers options for different tile sizes and shapes for the best estimate.
Can Tile Calculators Include Grout Lines?
Yes, most tile calculators allow you to include grout line width. Input the desired grout line thickness to get a more accurate tile quantity estimate.
How To Calculate Tiles For An Irregular Room?
For irregular shapes, split the room into geometric shapes. Calculate the area of each and sum these up. Add 10% extra for cuts and waste.
Conclusion
Wrapping up, our Tile Calculator streamlines your renovation projects. It ensures precision, saving time and resources. Whether tackling a DIY backsplash or a professional flooring job, this tool is indispensable. Embrace efficiency and accuracy on your next tiling adventure!


