How to Carve a Wooden Cat: Basswood Pattern & 7 Steps
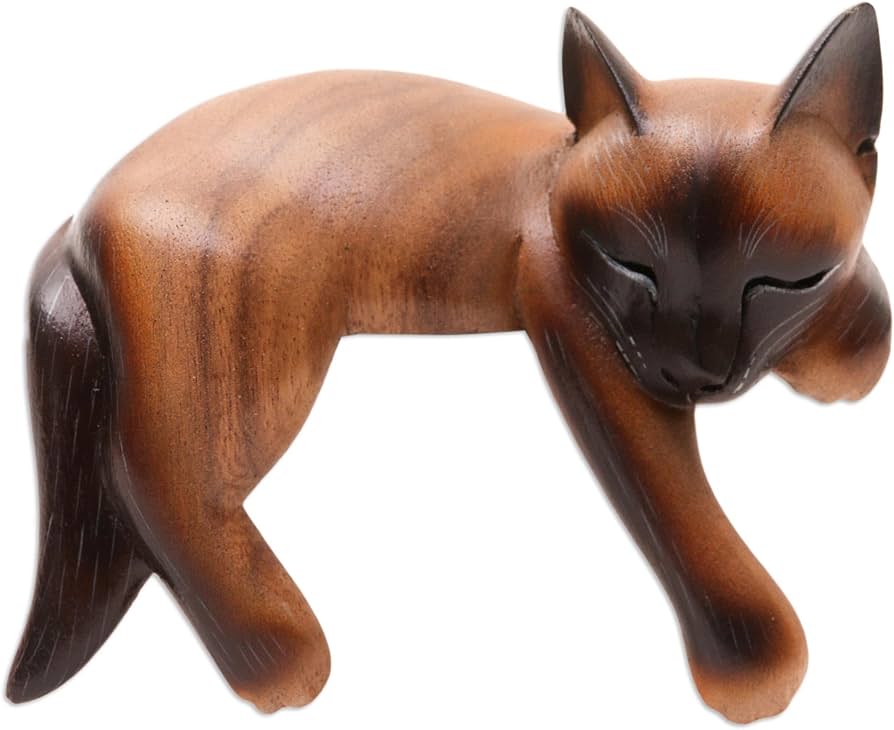
Basswood is the best wood for carving a cat: it’s soft, even-grained, and forgiving of the thin ears and tail that snap in oak or maple. Carve against the grain on a 4-6 inch ear and it splits before you finish the cut. This guide covers the wood and knife to start with, a 7-step carving process, and the 3 mistakes that ruin a beginner’s first cat.
Insert your Affiliate Disclosure reusable block here
What’s the Best Wood for Carving a Cat?
Best Wood Carving Knife Kit Pick
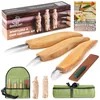
BeaverCraft Wood Carving Knife Kit S15
A sloyd knife and detail chip knife in one kit, with a leather strop and polishing compound included so you can re-sharpen mid-project.
- Best for: beginners who want two knives that cover an entire cat carving
- Why we picked it: the strop and compound mean you’re not buying a separate sharpening setup on day one
- Main drawback: ships without a basswood blank, so budget for wood separately
Compare more wood carving kit options
 Option 1 Deluxe Wood Carving Kit with Leather Case
|
 Option 2 23pc Wood Carving Tool Set
|
 Option 3 24pc Kit with Templates & Basswood Blocks
|
As an Amazon Associate we earn from qualifying purchases.
Basswood is a soft, fine-grained hardwood that carves cleanly in almost any direction, which is exactly why it’s the standard choice for a first wood carving cat project. It won’t test your patience the way oak or maple will on small, thin details like ears and a raised tail.
| Wood | Carving Difficulty | Best For |
|---|---|---|
| Basswood | Easy — soft, even grain | First cat carving, thin ears/tail |
| Pine (white) | Easy-moderate — softer but knots snag detail cuts | Practice blanks, larger blocky shapes |
| Butternut | Moderate — slightly harder, richer grain figure | A cat you plan to display unpainted |
| Oak / Maple | Hard — dense, grain fights small cuts | Advanced carvers only; avoid for a first cat |
For a first project, buy a basswood carving blank sized 4-6 inches tall — big enough to hold the head, body, and tail as one connected piece, small enough to finish in an afternoon. Oak becomes a realistic option once you’ve carved a few basswood pieces and understand how to read grain direction before every cut.
Tools You Need to Carve a Cat Out of Wood
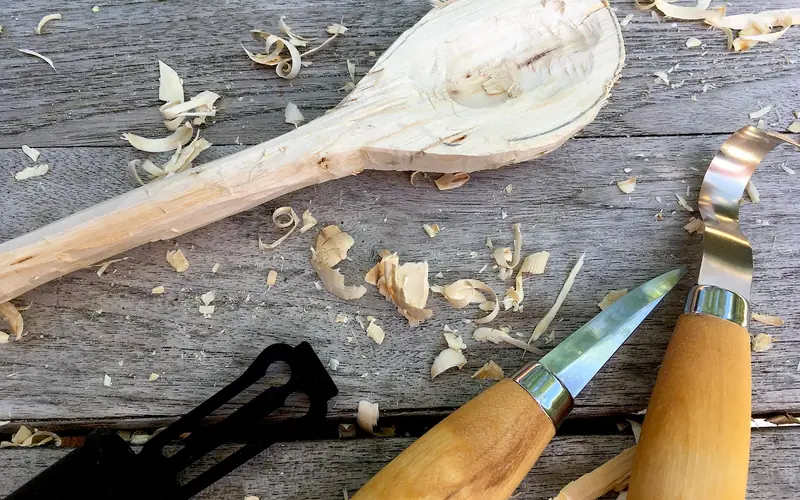
- Sloyd knife — the main roughing and shaping knife, used for 80% of the cuts
- Detail knife (shorter, narrower blade) — for the ears, whiskers area, and tail curve
- Pencil and carbon paper — to transfer the pattern onto the block
- Sandpaper — 80, 150, 220 grit (see the finishing section below)
- Cut-resistant glove for your non-cutting hand — a sloyd knife slips more on basswood’s soft fibers than on hardwood
A dedicated starter kit is the fastest way to get all of this in one box instead of ordering knives, blocks, and a strop separately. If you haven’t picked up a knife before, our beginner’s guide to carving wood covers grip, cut direction, and safe-cut basics before you touch the cat pattern.
How to Carve a Wooden Cat Step by Step
A simple, 4-6 inch seated cat takes most beginners 2-4 hours of actual carving time, spread across a couple of sessions. Work slowly on the first two steps — that’s where most of the shape gets decided.
- Pick and mark your blank: Start with a basswood block roughly 5″ x 2″ x 2″. Trace or transfer a simple seated-cat side profile onto two adjacent faces with carbon paper.
- Rough out the block: Use the sloyd knife to remove the four corners in long, shallow strokes until you have an octagonal blank that roughly follows the side and front profiles.
- Separate the head from the body with a stop cut: Make a straight knife cut down to about 1/4″ depth where the neck meets the shoulders, then carve up to that cut from both sides to create the neckline.
- Round the body and taper the tail: Work the shoulders, back, and haunches into rounded forms. Leave the tail thicker than it looks like it should be — you’ll thin it last, after the rest of the shape is set.
- Shape the ears last, and always uphill: Carve toward the top of each ear, never down into it, and stop thinning as soon as the edge goes translucent when held to light. This is the single step where basswood over pine matters most.
- Add the face and paw lines: Use the detail knife for shallow V-cuts marking the eyes, nose, and the line separating the front paws. Keep these cuts shallow — deep face cuts are the hardest mistake to sand out.
- Sand, then seal: Work through the grit progression below, then finish with oil, wax, or a matte spray sealer.
Sanding and Finishing a Wood Carving Cat
Move through the grits in order — skipping straight to a fine grit just polishes over knife-mark ridges instead of removing them.
- 80-grit: only on any spots where the knife left a visible ridge or flat facet you want fully rounded
- 150-grit: the main pass over the entire piece — this is what removes tool marks
- 220-grit: final smoothing pass before finish; go with the grain, not across it, near the ears and tail
📊 A basswood carving absorbs roughly 3-4x more oil finish per coat than a hardwood piece the same size — apply Danish oil or beeswax in thin coats and wipe off the excess after 5-10 minutes, or the ears and tail will feel tacky for days.
Common Mistakes When Whittling a Cat
Carving the ears before the body is roughed out is the single most common way a first cat carving fails — thin ears have no wood left to brace against, so any slip during body work snaps them off. Rough out and round the whole body first, and save the ears for last.
Cutting downhill into an ear tip instead of uphill toward it splits the grain right where the ear is thinnest. Always carve from the base of the ear toward the tip, never the reverse.
Thinning the tail too early removes the extra wood you need to brace your grip while carving the body. Leave the tail oversized until step 6, then thin it in the final detail pass.
“The ear break almost always traces back to one thing: the carver went downhill into the tip instead of uphill from the base. Once you carve every ear uphill, the breakage basically stops.”
A Brief History of Wood Carving Cats
Carved cat figures appear across cultures with real historical depth: ancient Egyptian artisans carved and cast cat forms as protective, sacred symbols tied to the goddess Bastet, and cat figures carved from wood have long appeared in folk-art traditions across Europe and Asia as symbols of luck, independence, and household protection. That symbolism is part of why the cat remains one of the most-carved animal subjects in beginner whittling today — it’s a recognizable, meaningful shape that also happens to be a manageable size for a first project.
If you enjoy carving animal subjects, a seated cat is a natural stepping stone into other simple animal wood carvings — the same roughing, stop-cut, and detail sequence used here applies to birds, rabbits, and other small figures.
Frequently Asked Questions
How do you whittle a cat step by step?
Rough out a basswood block into the cat’s side profile, use a stop cut to separate the head from the body, round the body and haunches, then carve the ears uphill (base to tip) and last so there’s no thin, unsupported wood while you’re still working the body. Sand through 80, 150, then 220 grit, and finish with oil or wax.
Is sycamore good for carving?
Yes. Sycamore has a fine, even texture that holds small details well and takes a clean finish, making it a solid alternative to basswood once you want a slightly denser, more durable piece.
Is alder good for carving?
Yes. Alder is soft and easy to cut with hand tools, similar in workability to basswood, though its grain is slightly less uniform on thin details like ears.
How do you carve wood for beginners?
Start with a soft wood like basswood and a basic sloyd knife rather than a full carving set. Practice long, shallow roughing cuts before attempting any detail work, always cut away from your body and off-hand, and work with the grain direction rather than against it. A basic pattern like the seated cat above is a good first subject because it’s small and forgiving.
Why do the ears keep breaking on my wood carving cat?
Ears break for two reasons: carving them before the body is roughed out (no wood left to brace against) or cutting downhill into the tip instead of uphill from the base, which splits the thin cross-grain section. Fix both and breakage largely stops.
How long does it take to carve a wooden cat?
A simple 4-6 inch seated cat takes most beginners 2-4 hours of carving time in basswood, plus sanding and finishing. A more detailed relief-style piece or a larger block can take several sessions across multiple days.
Conclusion
A wood carving cat is one of the most forgiving animal subjects for a first project as long as you pick basswood, carve the ears last and uphill, and leave the tail thick until the final detail pass. Follow the 7 steps above and the grit progression, and a simple seated cat is realistically a one-afternoon project.
Sponsored / affiliate links. As an Amazon Associate I earn from qualifying purchases. I may earn additional commission from eligible campaigns.