Wood Conditioner Before Stain: Do You Actually Need It?
Wood conditioner before stain is worth using on pine, fir, maple, birch, and alder, and optional on oak and ash. Those woods blotch because their density varies from one patch of grain to the next, not simply because they are soft. Skip the step on the wrong board and you get dark patches that a second coat makes worse. This guide gives a wood-by-wood answer, a test-board check, three alternatives, and the 2-hour timing rule.
Do You Need Wood Conditioner Before Staining?
Best Oil-Based Pre-Stain Pick
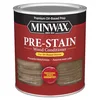 |
Minwax Pre-Stain Wood Conditioner, 1 Quart, $19.96 This is the oil-based conditioner the 2-hour window, wipe-off step, and coverage numbers in this guide are based on. A quart is the better buy here because it covers several projects instead of one small table.
|
As an Amazon Associate we earn from qualifying purchases.
It depends on the wood and the stain, not on habit. Wood conditioner is a thin pre-treatment, not a finish. It adds no color and no protection. Its only job is to slow down how quickly the most absorbent parts of the board drink stain, so every part of the surface ends up holding a similar amount of pigment.
Use it when you are applying an oil-based stain to a blotch-prone species. Skip it, or swap in a different fix, when the stain is thick (gel stain), opaque (solid color), or when the wood has open pores that already take color evenly (oak and ash). If you want to mix your own, our guide to homemade pre-stain conditioner recipes covers the two versions that actually work. This page is about the earlier question: whether you need one at all.
Which Woods Blotch Without Conditioner
The common rule says softwoods blotch and hardwoods do not. That rule is wrong in a way that costs people projects. Maple and birch are hardwoods, and Minwax lists both next to pine and alder as woods where its conditioner is especially necessary. What matters is how evenly the grain absorbs liquid, not the hardness label.
| Wood | Conditioner before oil-based stain? | Why |
|---|---|---|
| Pine, fir, spruce | Yes | Soft earlywood and dense latewood bands absorb at very different speeds |
| Maple | Yes | Tight, uneven grain takes stain in patches, especially on curly or figured boards |
| Birch (including birch plywood faces) | Yes | Fine grain with uneven absorption; one of the most common blotchers |
| Alder, aspen | Yes | Soft, porous, and very uneven across the board |
| Cherry | Test first | Often blotchy on flat-sawn faces, so check a scrap before committing |
| Oak, ash | Optional | Open pores take stain evenly, so blotching is rare |
| Walnut, mahogany | Rarely needed | Dark, open-grained woods that usually stain evenly |
Minwax’s own wording is that the conditioner can be used over any wood but is most needed on pine, alder, birch, and maple, with fir and aspen also recommended. The cherry, oak, ash, walnut, and mahogany rows are general finishing experience rather than manufacturer guidance, which is exactly why the test board in the next section matters.
Why Pine Blotches
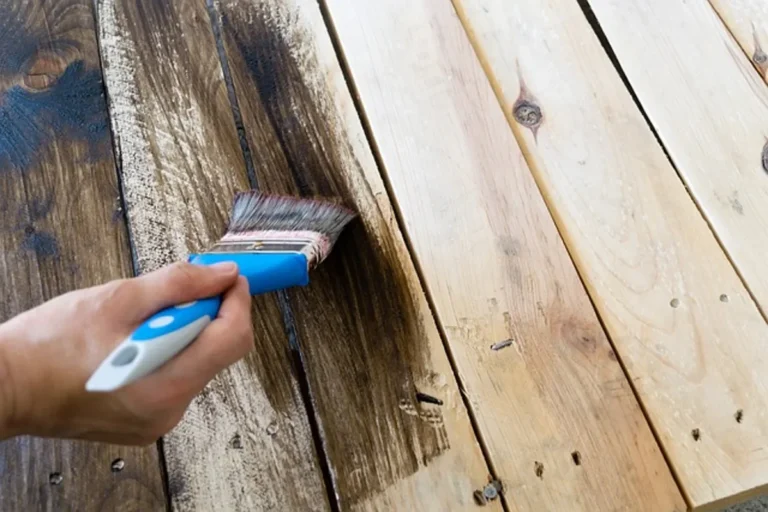
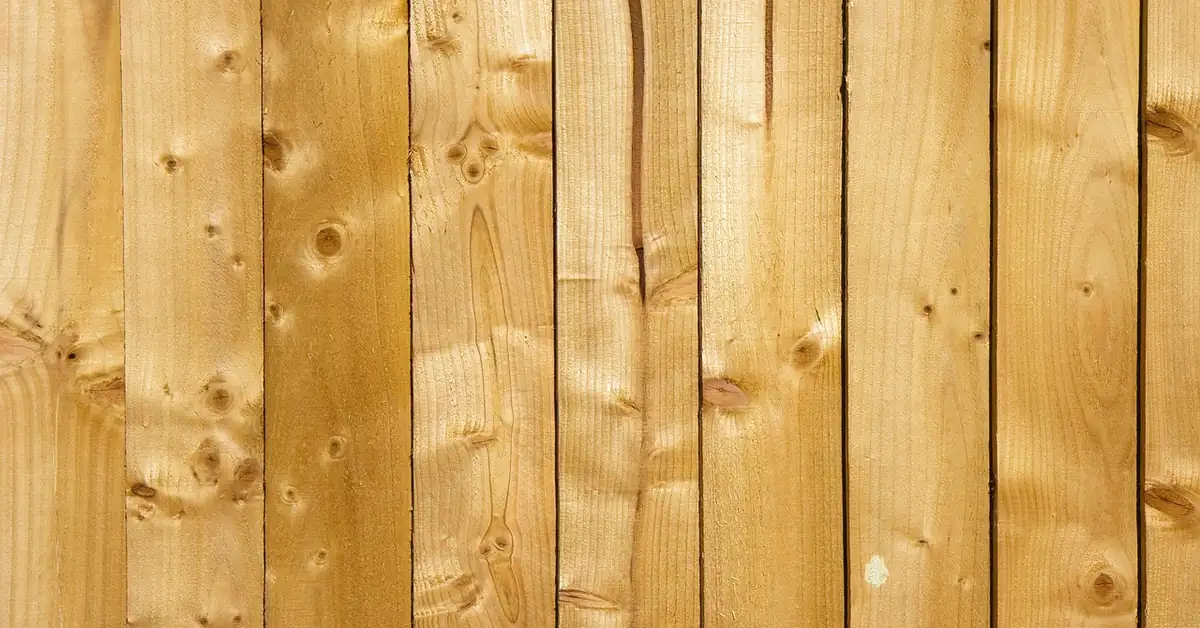
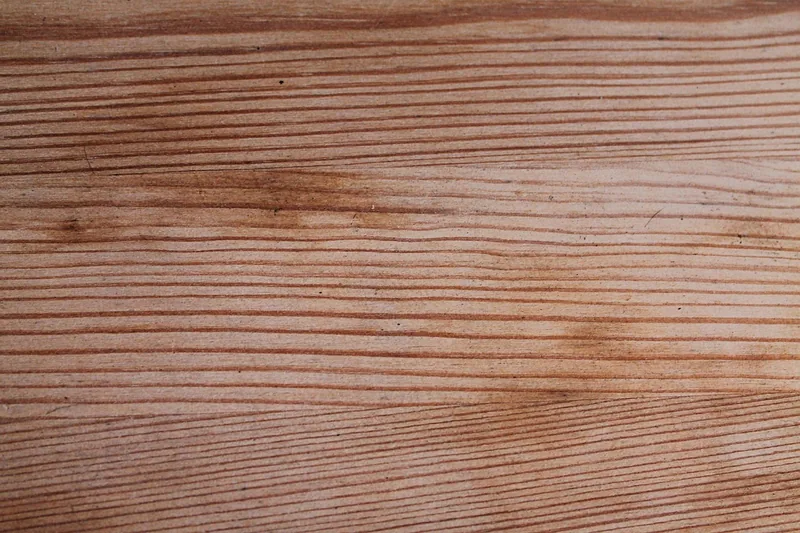
A pine board is a stack of alternating bands. The pale earlywood grew in spring and is soft and absorbent. The darker latewood grew later in the season and is dense. Brushed-on stain races into the soft bands and barely enters the dense ones, so the grain pattern turns into stripes and the areas around knots go dark. Conditioner narrows that gap in absorption. For more on how pine takes color, see why stain colors on pine never match the can and the best finish for pine.
The same logic explains why veneered birch plywood is a classic trouble spot, which we cover in our guide to the best plywood for staining. A thin birch face has nowhere to hide uneven absorption.
The Scrap Test That Settles It in One Afternoon
No chart replaces a test on your actual board, and the test costs one offcut. Cut a piece from the same board you are using and sand it exactly as you will sand the project. Mark three strips with painter’s tape.
- Strip 1: bare wood, stain only.
- Strip 2: conditioner, wiped off after the soak time on the label, then stain within 2 hours.
- Strip 3: your alternative, such as a thin shellac washcoat or gel stain.
Let all three dry fully and judge them in the light the piece will live in. If strip 1 looks even, you just saved a step. If strip 1 is blotchy, compare strips 2 and 3 for evenness and for color. The color comparison is the part the can’s color chip will never show you.
Expect a Lighter Color
Conditioned wood takes up less pigment than bare wood, so the finished color usually comes out lighter than a stain applied directly. This is general finishing behavior, not a number from a label, and it is the reason to judge color on your own scrap rather than on the chip. If the result is too light, a second coat of stain on the conditioned surface deepens it far more evenly than a second coat on bare, blotchy wood.
Cost and Coverage: How Far Does It Go?
Wood conditioner is cheap insurance next to a ruined project. The quart in the box above was $19.96 on the day we checked.
Minwax lists coverage of 100 to 125 square feet per quart and a 15 minute dry time for its Pre-Stain Wood Conditioner. Source: Minwax product page
Treat the coverage number as a range, because the Amazon listing for the same quart says about 75 square feet while the manufacturer page says 100 to 125. Porous end grain and rough sanded softwood drink more. Using the manufacturer range, a half-pint can covers roughly 25 to 31 square feet (one quarter of a quart), which is a bookshelf or a small tabletop and not much more. A quart handles a dresser, a table, and some trim with room to spare.
Conditioner vs Washcoat vs Gel Stain
Conditioner is one of three common ways to control blotching. The right pick depends on the stain you already own and the look you want.
| Method | Works best with | Key rule | Trade-off |
|---|---|---|---|
| Oil-based pre-stain conditioner | Oil-based wiping stain on pine, maple, birch | Soak 5 to 15 minutes, wipe off, stain within 2 hours | Lightens color; wrong for water-based stain |
| Thin shellac washcoat | Tight-grained blotchers like maple, birch, cherry | Apply a thin coat, let it dry, scuff lightly, then stain | Easy to overdo, which makes color pale and muddy |
| Gel stain | Pine and other uneven woods, especially large projects | Wipe on thick and wipe off; no conditioner step | Sits on the surface, so it hides grain more than a wiping stain |
A washcoat is simply shellac thinned until it only partly seals the surface. If you want to mix one, our shellac cut ratio calculator shows the dilution math, and sanding sealer vs shellac explains how the products differ. To see how gel behaves against a traditional wiping stain, read our gel stain vs oil stain comparison. If color depth matters more than grain contrast, dye vs stain for wood is worth a look too.
How to Apply Wood Conditioner Step by Step
- Sand first: finish with 150 to 180 grit for most wiping stains. Going much finer closes the pores and cuts down how much stain the wood accepts.
- Remove dust: vacuum, then wipe with a tack cloth or a cloth lightly dampened with mineral spirits. Dust mixes with conditioner and leaves a gritty film.
- Stir well: stir before and during use so the resin does not settle.
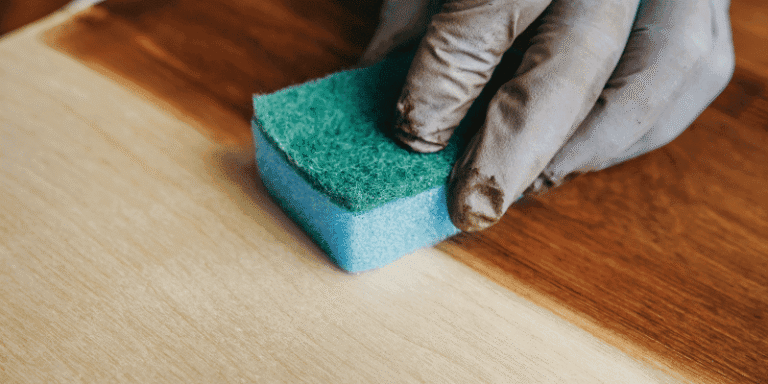
- Apply generously: brush or wipe on, moving with the grain, and cover the entire surface so no patch is missed.
- Let it soak: leave it for 5 to 15 minutes. The surface should look wet but not pooled.
- Wipe off the excess: use a clean, dry cloth. Anything left on the surface blocks stain in that spot.
- Stain on time: apply stain within 2 hours of the conditioner, and ideally within the first hour while the wood is still receptive.
The Minwax instructions end with one short line: apply stain within 2 hours. It is the manufacturer’s own rule, and it is the single step most people miss.
Rag Safety
Oil-based conditioner and stain rags can heat up as the oil cures and may ignite on their own if balled up. Minwax’s warning on the conditioner says rags, steel wool, and sanding residue soaked with it can spontaneously catch fire, and it tells you to place them in a sealed, water-filled metal container. Work with open windows or a fan, and never leave oily rags in a pile.
Mistakes That Ruin the Result
Waiting Past the 2-Hour Window
After about 2 hours the conditioner has cured and acts as a sealer, so stain barely penetrates and the color turns out much lighter than expected. If you miss the window, let the surface dry, scuff it lightly, and re-condition before staining. Overnight is far too long.
Using the Wrong Base for Your Stain
The Minwax conditioner is made to promote even acceptance of oil-based stain. Under water-based stain you need a conditioner made for water-based finishes, or a different method altogether. Check both labels before you buy either.
Applying Conditioner After the Stain
Conditioner works by controlling absorption into bare wood. Once stain is already in the grain, it cannot even anything out and may lift or streak color. We cover the details in can you apply wood conditioner after stain.
Leaving a Heavy Coat on the Surface
More conditioner is not better. A wet film left to dry on the surface blocks stain in patches, creating a new kind of blotching. Wipe it off every time.
Forgetting End Grain
End grain absorbs liquid faster than any face and tends to stain darker even on conditioned wood. Expect it to be the darkest part of a project, and wipe stain off end grain a little sooner than the faces.
For where staining fits in the bigger finishing sequence, our wood finishing guide has the full order of steps.
Wood Conditioner FAQ
Do you really need wood conditioner before staining?
Only on woods that blotch: pine, fir, spruce, maple, birch, alder, and aspen. On oak and ash the open pores take stain evenly, so conditioner is optional. If you are unsure, stain a scrap piece from the same board with and without conditioner and compare.
What happens if you stain wood without conditioner?
On blotch-prone woods the stain soaks in unevenly, leaving dark patches around knots and grain transitions and pale streaks between them. A second coat deepens the dark spots as well, so the unevenness usually gets worse rather than better.
How long after wood conditioner can you stain?
Stain after the 5 to 15 minute soak and wipe-off, and no later than 2 hours after application, per the Minwax instructions. After about 2 hours the conditioner cures into a sealer that blocks stain from penetrating, which leaves the color much lighter than the can.
Can you use wood conditioner with water-based stain?
Not the oil-based Minwax formula, which is made for oil-based stains. For water-based stain, use a conditioner labeled for water-based finishes, or a thin dewaxed shellac washcoat, and always follow the stain label.
Is wood conditioner the same as a shellac washcoat?
No. Conditioner is a thin oil and resin treatment in mineral spirits that slows absorption. A washcoat is a very diluted shellac that seals the surface more firmly. Both even out stain, but a washcoat usually lightens color more and takes more care to apply evenly.
Bottom Line
Use wood conditioner when you are putting an oil-based stain on pine, fir, maple, birch, or alder, and test first on cherry. Skip it on oak and ash, and swap it for gel stain or a washcoat where those fit your project better. Whichever route you take, a scrap test and the 2-hour rule do more for the finish than any product.
Sponsored / affiliate links. As an Amazon Associate I earn from qualifying purchases. I may earn additional commission from eligible campaigns.