After Staining Wood, Seal It for Ultimate Protection: Expert Tips
Yes, it is necessary to seal the wood after staining to protect it from damage and enhance its appearance. After staining wood, sealing it helps to prevent moisture damage, fading, and discoloration, providing long-lasting protection and durability.
Introducing the right finish to your stained wood is crucial for maintaining its beauty and safeguarding it from wear and tear. Sealing wood after staining is an essential step that ensures the longevity and preservation of the wood’s appearance. By sealing the wood, you create a protective barrier against moisture, fading, and discoloration caused by sunlight or everyday use.
This protective layer also enhances the wood’s natural color and aesthetics, making it more visually appealing. Whether you’re working on furniture, flooring, or any other wooden project, sealing is a vital part of the staining process that shouldn’t be overlooked. We’ll further explore the reasons why sealing is necessary after staining wood and the different sealant options available.
Why Staining Wood Is Important
Staining wood is important as it enhances the natural beauty of the wood while protecting it from moisture and sunlight. After staining, it is recommended to seal the wood to provide an additional layer of protection and preserve the finish for a longer duration.
Enhances The Appearance
Staining wood is a crucial step in the finishing process that offers numerous benefits. One of the primary reasons why staining wood is important is that it enhances its appearance. When you stain wood, you can achieve a wide range of colors and shades, allowing you to match the wood to your desired aesthetic. The stain penetrates the wood, highlighting the natural grains and patterns, resulting in a more vibrant and visually appealing look. By enhancing the appearance of the wood, staining can transform an ordinary piece of furniture or surface into a stunning focal point that adds character and charm to any space.
Protects Against Damage
Another significant reason why staining wood is important is that it provides protection against damage. Wood is susceptible to various forms of damage, including moisture, sunlight, and wear and tear. However, when you stain wood, you create a protective barrier on the surface that safeguards it from these potential hazards. The stain seeps into the wood fibers, sealing them and preventing moisture from seeping in. This helps to minimize the effects of humidity, reducing the risk of warping, swelling, or rotting. Moreover, staining also provides protection against harmful UV rays, which can fade and degrade the wood over time. By adding a layer of stain, you can prolong the lifespan of the wood and keep it looking fresh and beautiful for years to come.

Choosing The Right Wood Stain
After staining wood, it is crucial to seal it to protect it from damage and wear. But before sealing, you need to choose the right wood stain for your project. Understanding the different types of wood stains available and considering the wood species you are working with are key factors in achieving the best results.
Understanding The Different Types
There are three main types of wood stains: water-based, oil-based, and gel. Each type has its own unique characteristics and advantages, so it’s important to choose the one that suits your needs.
In a water-based wood stain, the pigment is suspended in water rather than oil. These stains are quick-drying, easy to clean up and produce less odor than oil-based stains. They are also ideal for projects that require a lighter color or for use on softwoods like pine or cedar.
Oil-based stains, on the other hand, provide a rich, deep color and enhanced grain definition. They penetrate the wood deeply, providing excellent protection against moisture and wear. However, they do require longer drying times and produce more fumes, so adequate ventilation is essential.
Gel stains offer a thicker consistency, making them perfect for vertical surfaces or projects where precision is necessary. They are especially useful for achieving an even color on woods with an uneven grain pattern, such as oak or birch.
Considering The Wood Species
Before selecting a wood stain, take into consideration the wood species you are working with. Different woods absorb stains differently, resulting in varying levels of color intensity. For example, hardwoods, like oak or mahogany, tend to have a more uniform appearance when stained, while softwoods, such as pine or fir, may exhibit blotchiness if not properly prepared.
To avoid uneven staining, it’s recommended to use a wood conditioner or pre-stain sealer on porous wood before applying the stain. This helps to promote a more even absorption of the stain and prevent blotching.
Additionally, certain wood species naturally have a high content of tannins or oils, which can affect the stain’s color and drying time. It’s important to research and consider these factors when selecting a wood stain to achieve the desired results.
Preparing The Wood Surface
Preparing the wood surface is essential after staining to ensure a durable and long-lasting finish. Sealing the wood helps protect it from moisture, UV rays, and daily wear and tear, preserving its beauty and enhancing its lifespan.
Sanding And Cleaning
To prepare the wood surface before staining, sanding is essential. Sanding helps in removing any rough spots, imperfections, or old finishes that might interfere with the staining process. Start by using coarse-grit sandpaper for rough sanding, then gradually switch to finer-grit sandpaper for a smoother finish.
Make sure to clean the wood thoroughly after sanding. Use a soft cloth or a vacuum cleaner to remove all the dust and debris. Cleaning the wood surface is crucial as it ensures a clean canvas for the stain to adhere to properly.
Applying Pre-stain Conditioner
After sanding and cleaning the wood, applying a pre-stain conditioner is highly recommended. A pre-stain conditioner is an important step, especially if you’re working with porous wood species like pine or oak. It helps to achieve an even and consistent stain color by preventing the wood from absorbing the stain too quickly.
To apply the pre-stain conditioner, follow the manufacturer’s instructions. Usually, you’ll need to use a brush or a clean cloth and evenly apply a generous coat of the conditioner onto the wood surface. Allow it to penetrate the wood for a few minutes, then wipe off any excess with a clean cloth.
Remember, by properly preparing the wood surface through sanding, cleaning, and applying a pre-stain conditioner, you’ll ensure that the stain adheres smoothly to the wood, resulting in a more attractive and long-lasting finish.
Applying Wood Stain Effectively
When it comes to staining wood, applying the stain effectively is crucial to achieving the desired results. Whether you are staining a new piece of furniture or refinishing an old one, the application process can make all the difference. In this section, we will discuss two key factors to consider when applying wood stain: using the right application method and achieving even coverage. By following these tips, you can ensure that your stained wood looks professional and lasts for years to come.
Choosing the right application method for your wood stain can greatly impact the final outcome. There are three common methods: using a brush, using a cloth, or spraying. Each method has its own advantages and techniques.
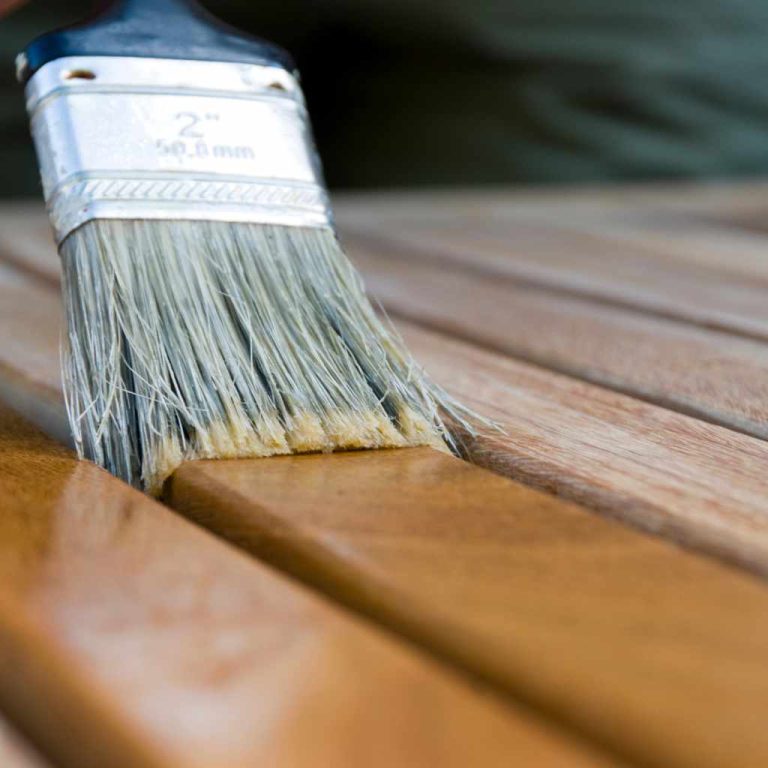
Brush: Using a brush is the most traditional and versatile method for applying wood stain. It allows for greater control and precision, especially in hard-to-reach areas and detailed surfaces. To achieve a smooth finish, use a high-quality brush with natural bristles. Apply the stain with long, even strokes, following the wood grain.
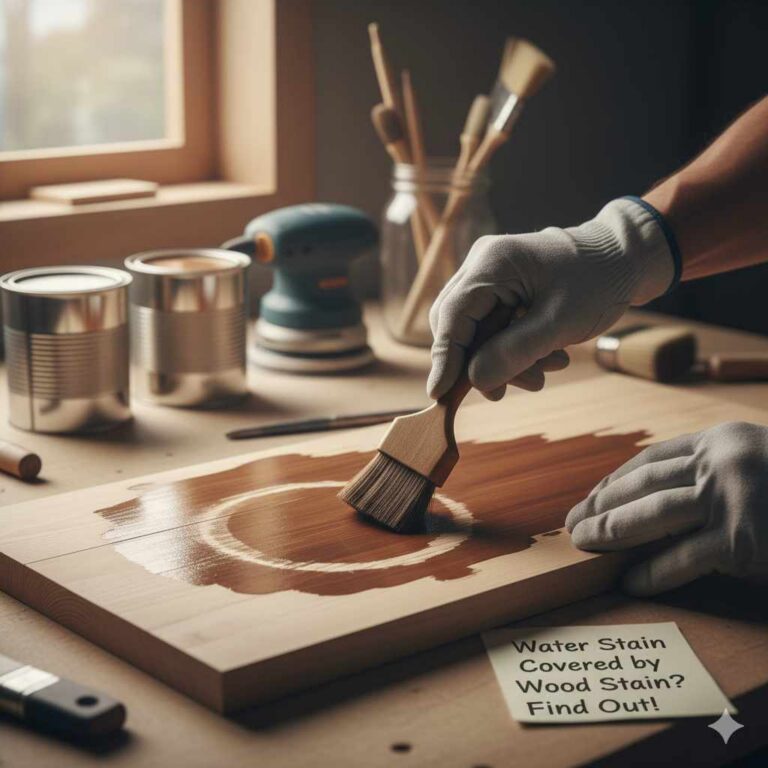
Cloth: Applying wood stain with a cloth is another popular method, particularly for larger surfaces or intricate projects. This method offers a more forgiving application process and allows you to easily control the amount of stain applied. To apply, fold a soft, lint-free cloth and dip it into the stain. Wipe the stain onto the wood in a circular motion, working with the grain.
Spray: Spraying the wood stain can provide an even and efficient application, especially for larger projects or when working with uneven surfaces. This method requires specialized equipment such as a paint sprayer, which can be rented or purchased. Follow the manufacturer’s instructions for the specific sprayer you are using to achieve the desired results.
Once you have chosen the right application method for your wood stain, it’s important to focus on achieving even coverage to ensure a consistent and professional finish. Uneven coverage can result in splotchy or patchy staining, detracting from the overall appearance of the wood.
To achieve even coverage, follow these tips:
- Prepare the wood surface by sanding it smooth and removing any previous finishes or imperfections.
- Apply a pre-stain conditioner, especially if you are working with a softwood or porous wood species, to help the wood absorb the stain more evenly.
- Stir the wood stain thoroughly before application to ensure that the color pigments are evenly distributed.
- Apply the stain in thin, even coats, rather than applying a heavy layer all at once. This allows for better control and minimizes the risk of drips or runs.
- Work with the wood grain, following the natural direction of the wood fibers. This helps to enhance the wood’s natural beauty and avoid streaking.
- Wipe off any excess stain immediately with a clean cloth to prevent pooling or uneven drying.
- Allow each coat to dry completely before applying additional coats for a deeper color or richer finish.
By using the right application method and achieving even coverage, you can ensure a beautifully stained wood surface that enhances the overall aesthetic of your space. Take the time to prepare and follow these tips to achieve the desired look and protect your stained wood for years to come.

Sealing The Stained Wood
Sealing stained wood is a crucial step to protect it from damage and preserve its beauty. It helps to repel water, prevent fading, and ensure longevity, making it necessary after staining wood for optimal results.
Understanding The Importance Of Sealer
After staining wood, applying a sealer is an essential step to protect and enhance the beauty of the stain. The sealer creates a barrier that seals the wood, preventing moisture from penetrating and causing damage. It also helps to prevent the stain from fading or wearing off over time. Additionally, a sealer can help to accentuate the color of the stain, making it appear more vibrant and rich.
Selecting The Appropriate Sealant
Choosing the right sealer for your stained wood is crucial to ensuring long-lasting protection and a professional finish. There are various types of sealants available, each with its own properties and benefits. Here are a few options to consider:
In conclusion:
- Polyurethane: This is a durable and versatile sealant that provides excellent protection against moisture, scratches, and UV damage. It comes in both water-based and oil-based formulas, with the water-based option being more eco-friendly and easier to clean up. Polyurethane gives a glossy finish, which can enhance the depth and richness of the stained wood.
- Lacquer: Lacquer is another popular choice for sealing stained wood. It dries quickly, allowing for faster project completion. Lacquer provides a protective coating that is resistant to water, chemicals, and temperature changes. It typically comes in a clear or colored finish, allowing you to achieve the desired look.
- Shellac: Shellac is a natural sealant derived from the resin secreted by the lac bug. It is well-known for its quick-drying properties and offers good protection against moisture and mildew. Shellac is available in different shades, and it gives a warm and glossy finish to the stained wood. Keep in mind that shellac is not as durable as polyurethane or lacquer, so it may require more frequent maintenance.
Before selecting a sealant, consider the type of wood you are working with, the intended use of the stained wood, and your personal preferences for the finish. It’s also a good idea to test the sealant on a small, inconspicuous area before applying it to the entire surface, to ensure compatibility and achieve the desired result.
Conclusion
To recap, after staining wood, it is highly recommended to seal it. This essential step not only provides a protective barrier against moisture and other elements but also enhances the aesthetic appeal of the wood. By sealing the stain, you can ensure the longevity and durability of your project.
So, don’t skip this important final touch and enjoy the beauty and longevity of your stained wood for years to come.