DIY Basement Finishing: Order of Work, Code and Moisture
Yes, you can finish a basement yourself, but the order matters more than the finishes: test for water and radon first, then frame, insulate and cover. The most common failure is a plastic vapor barrier over fiberglass against concrete, which Building America guidance says can trap moisture in the wall. This guide gives the order of work, the code numbers that decide your layout, and the wall assemblies to use and avoid.
Can You Finish a Basement Yourself?
Best Radon Test Kit Pick | |
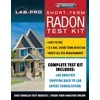 |
LABPRO Short-Term Radon Test Kit A mail-in short-term detector for the first check you should run in an unfinished basement, before any framing goes up.
|
As an Amazon Associate we earn from qualifying purchases. | |
For most homeowners the answer is yes for the visible trades and no for the hidden ones. Framing, insulating, hanging drywall and laying floor are all realistic weekend-by-weekend work. Wiring, gas lines, plumbing rough-in and anything that changes the structure usually call for a licensed trade or at least a permit and inspection, and the rules are set locally. Call your building department before you buy materials and ask which of these need a permit.
The rest of this guide follows the order that avoids rework. If you are also weighing a smaller job, our notes on when doubled 2x4s can stand in for a 4×4 post cover one common basement framing shortcut.
Test Before You Build: Moisture and Radon
Everything you attach to the walls and floor is only as dry as the concrete behind it. Run these checks on the lowest level you plan to finish, and fix any source of water before you close a wall.
| Check | How to do it | What the result means |
|---|---|---|
| Plastic sheet test (ASTM D4263) | Tape an 18 x 18 inch plastic sheet to the slab, seal all edges and leave it for at least 24 hours | Moisture under the sheet points to moisture moving up through the concrete. Moisture on the room side points to humid air condensing |
| Humidity reading | Leave a hygrometer in the space for a few days | The EPA recommends keeping indoor humidity below 60 percent, ideally 30 to 50 percent |
| Radon test | Run a short-term test kit in the lowest level you will use | The EPA action level is 4 pCi/L. It says to consider fixing between 2 and 4 pCi/L |
| Exterior water check | Look at gutters, downspouts and grading, and at the wall after heavy rain | Water entering from outside needs a fix outside, not a coat of masonry paint inside |
Radon deserves its own line because a finished basement changes how you use the space. The EPA estimates radon causes about 21,000 lung cancer deaths a year in the United States, based on its 2003 assessment, and it recommends fixing a home at 4 pCi/L or higher (EPA health risks of radon). A test kit costs little next to the walls you are about to build, so it belongs before framing, not after. If the number is high, plan for mitigation while the slab is still accessible.
Code Numbers That Decide Your Layout
These figures come from the International Residential Code (IRC), which most local codes are based on. Your jurisdiction may amend them, so treat this table as a planning aid and confirm it with your building department.
| Item | IRC requirement | Why it matters for the plan |
|---|---|---|
| Ceiling height | 7 ft in habitable space and hallways. Beams, girders and ducts may drop to 6 ft 4 in | Measure from slab to the lowest duct or beam before you decide on a drywall or drop ceiling. A few inches can decide the ceiling type |
| Escape opening | Basement sleeping rooms need an emergency escape and rescue opening: 5.7 sq ft net clear, 24 in clear height, 20 in clear width, sill no higher than 44 in | Plan a bedroom only where an egress window can be cut in. A window well may be needed |
| Smoke alarms | Required in each sleeping room, outside sleeping areas and on each story including basements | Plan alarm locations before the ceiling is closed |
| Carbon monoxide alarms | Required in new construction where the home has a fuel-fired appliance or an attached garage that opens into it | A furnace or water heater in the basement usually triggers this |
| Wood on concrete | Sills and sleepers on a slab in direct contact with the ground need decay protection unless separated by an impervious moisture barrier | Use preservative-treated plates where a wall sits on the slab |
The last row is easy to misread. The code language covers sills and sleepers on a slab. It does not let you skip treated wood where framing rests on an exterior foundation wall within 8 inches of the exposed ground. Ask your inspector which plate material they expect at the slab.
The Order of Work, Step by Step
- Fix water first. Gutters, downspout extensions, grading and any active leak.
- Test moisture and radon. Use the table above and write down the numbers.
- Get the permit. Ask what your building department wants to see for framing, electrical and egress.
- Lay out the plan. Mark ceiling height, egress, alarm locations and where the furnace, panel and water shutoff need to stay reachable.
- Put foam on the concrete. Rigid foam goes on the wall first, with seams sealed. The next section covers what to use.
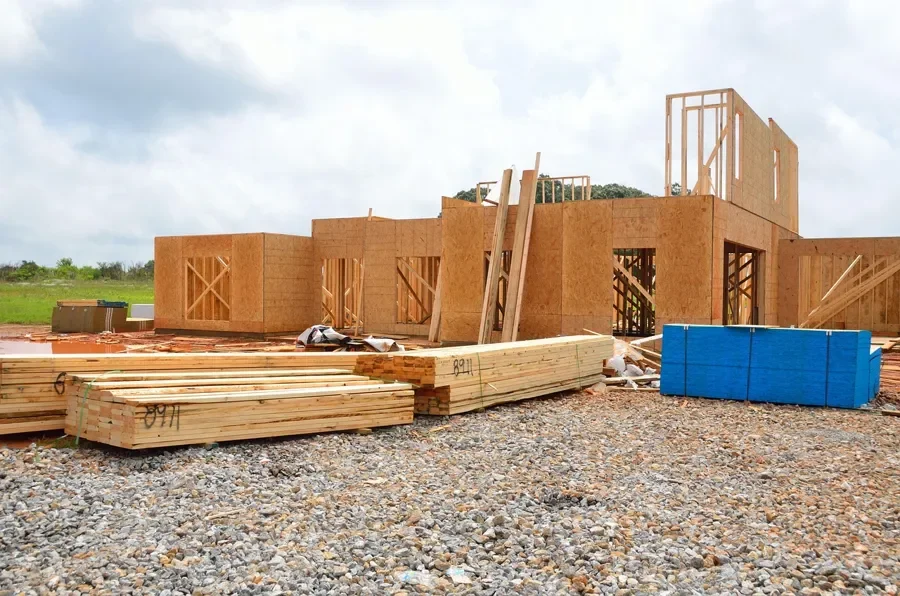
- Frame the walls. Build the stud wall in front of the foam, using treated bottom plates where the code calls for them.
- Rough in wiring and plumbing. Have the inspection done before insulation and drywall cover it.
- Insulate the cavity, hang and finish drywall. Drywall also serves as the fire barrier over foam.
- Floor, trim and paint last. Only after the slab passes the moisture test.
Insulation and the Vapor Barrier Myth
The most widely repeated basement advice is also the most damaging: staple a plastic sheet over the fiberglass to keep moisture out of the room. Building America guidance describes the opposite result. Polyethylene is a Class I vapor retarder, and over fiberglass it can trap water vapor moving out of the concrete, letting it condense in the wall cavity where mold and rot can develop (Building America guidance on vapor retarders).
The alternative in that guidance is to keep foam against the concrete and let the room side of the wall dry. Basement walls cannot dry to the outside below grade, so they need to dry inward.
| Wall assembly | Verdict | Reason |
|---|---|---|
| Rigid foam (1 inch or more) on the concrete, stud wall in front, fiberglass in the cavity, drywall and latex paint | Recommended | Foam breaks the contact between cold concrete and room air, and the drywall and paint layers still let the wall dry inward |
| Closed-cell spray foam on the concrete, then framing and drywall | Recommended | Works when the foam is not a very tight vapor barrier on the room side (guidance cites a perm rating above 0.1) |
| Foam between concrete and wood framing, seams sealed, cavity filled with fibrous insulation | Recommended | Keeps wood off the concrete and reduces condensation on it |
| Fiberglass batts pressed against bare concrete, covered with 6-mil polyethylene | Avoid | Traps moisture in the cavity, the failure that guidance describes |
Two more points from the same body of guidance. Foam that goes against the wall should cover the exposed concrete so room air cannot reach it, and its seams should be sealed. Most codes also require a thermal barrier over foam, typically 1/2 inch gypsum board, or an ignition barrier, typically 3/8 inch gypsum board. Confirm which one your inspector applies, since it can differ by foam product and location.
If your plan uses metal instead of wood studs, read our comparison of metal studs versus wood studs on cost, and see our page on framing with metal studs for the assembly details.
Framing the Walls and Ceiling
Build walls slightly off the foundation so foam and any sealant have room, and keep the framing plumb against a wall that is rarely straight. Fasten the bottom plate to the slab with concrete fasteners, and see our guide to the best way to fasten wood to concrete for the options. Where treated lumber is used, our page on ground-contact treated lumber explains the ratings.
Keep the following reachable behind removable panels or a drop ceiling: water shutoff, cleanouts, junction boxes, the electrical panel and any valve. Framing around them permanently is a common regret.
Drywall, Ceilings and Lighting
Hang drywall on the walls after inspection. The Building America wall assembly above names moisture-resistant drywall with latex paint over the foam and fiberglass layers. Ceilings can be drywall or a drop ceiling. A drop ceiling costs headroom, so check the 7 ft rule from the code table first, but it keeps pipes and wires accessible.
If you plan recessed lights, size the holes to the fixture, and our page on the hole saw size for a 6-inch recessed light gives the number. Plan the alarm locations from the code table before the ceiling is closed.
Flooring Options for a Basement Slab
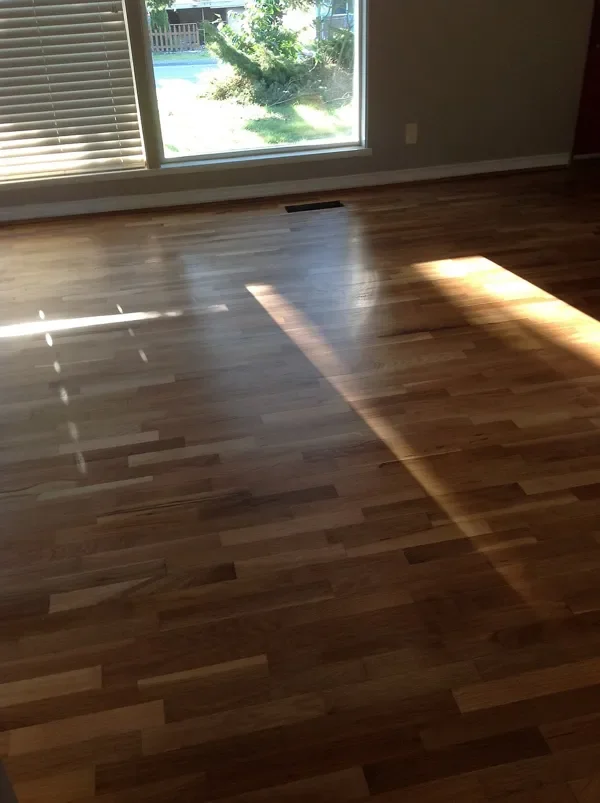
Flooring is where a wet slab shows up. Do the plastic sheet test first, and choose a floor that tolerates some moisture if the slab is not perfectly dry. Solid wood is the riskiest choice over concrete. Engineered or vinyl products are more common there, and our pages on engineered hardwood in a basement and whether engineered hardwood is waterproof cover the trade-offs. For vinyl, see which way to lay vinyl plank.
Mistakes That Cost the Most
- Framing before testing. Radon and moisture are much easier to deal with while the slab and walls are open.
- Polyethylene over fiberglass on a concrete wall. The vapor barrier myth described above.
- Guessing at ceiling height. Measure to the lowest duct or beam, then compare with the code numbers.
- Adding a bedroom with no escape route. A sleeping room needs the egress opening before you frame it.
- Covering access points. Water shutoffs, cleanouts and junction boxes should stay reachable.
- Skipping the permit. Unpermitted work can complicate a later sale or an insurance claim, and rules vary by town.
Frequently Asked Questions
Can you finish a basement yourself?
Yes, most of the work is within DIY reach: framing, insulation, drywall and flooring. Electrical, plumbing and gas work often need a licensed trade or a permit, and the moisture and radon checks come before any of it. Ask your local building department which parts need a permit.
What should you do first when finishing a basement?
Test before you build. Check the walls and slab for moisture, test for radon, and fix water sources such as gutters and grading. Framing over a wet wall or an unmeasured radon problem is the most expensive mistake on this list.
Do you need a vapor barrier when finishing a basement?
Not a polyethylene sheet on the room side of the wall. Building America guidance says polyethylene over fiberglass in a basement wall can trap moisture that moves through the concrete. The recommended approach puts foam board against the concrete and keeps the room-side layers, such as drywall and latex paint, able to dry.
How high does a finished basement ceiling need to be?
The IRC calls for 7 feet in habitable space and hallways, with beams, girders and ducts allowed to drop to 6 feet 4 inches. Local codes can differ, so confirm the number with your building department before you frame the ceiling.
Does a finished basement bedroom need a window?
Under the IRC, a basement with a sleeping room needs an emergency escape and rescue opening in that room. The opening must have a net clear area of at least 5.7 square feet, a clear height of 24 inches, a clear width of 20 inches and a sill no higher than 44 inches. Check for local changes to those numbers.
Conclusion
Finishing a basement is manageable when you take it in order: test for moisture and radon, get the permit, put foam on the concrete, frame in front of it, and let the room side of the wall dry. Check the ceiling height and egress numbers with your building department before you frame, and leave flooring for last.
Sponsored / affiliate links. As an Amazon Associate I earn from qualifying purchases. I may earn additional commission from eligible campaigns.