Which Way to Lay Vinyl Plank Flooring? (Room-by-Room Rules)
Run vinyl plank flooring parallel to the room’s longest wall or its main light source — but in hallways and open floor plans, keep one continuous direction through every doorway instead. Get it wrong and stagger lines break at each threshold, wasting cuts on 20-mil-plus wear-layer planks. This guide covers room-by-room direction rules, diagonal and herringbone patterns, and the acclimation and expansion-gap steps that keep floating floors flat.
Understanding Vinyl Plank Flooring
Best Vinyl Plank Installation Kit Pick

REXBETI Laminate Wood Flooring Installation Kit (LVP/Vinyl)
A tapping block, pull bar, and spacer set covers the three tools this guide’s installation steps actually call for.
- Best for: first-time click-lock vinyl plank installs
- Why we picked it: includes spacers sized for a standard 1/4-inch expansion gap
- Main drawback: tapping block is plastic, not metal-faced
Compare more installation kit options
 Option 1 Goldblatt Professional Wood/LVP Installation Kit
|
 Option 2 NACCOO 5-in-1 Floor Installation Kit for Vinyl Plank
|
 Option 3 49-Piece Vinyl/Laminate Flooring Installation Kit
|
As an Amazon Associate we earn from qualifying purchases.
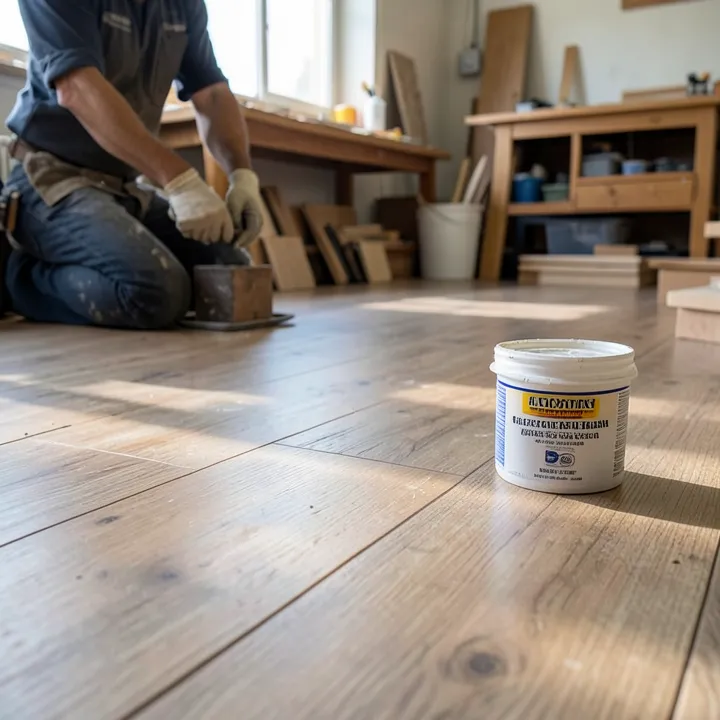
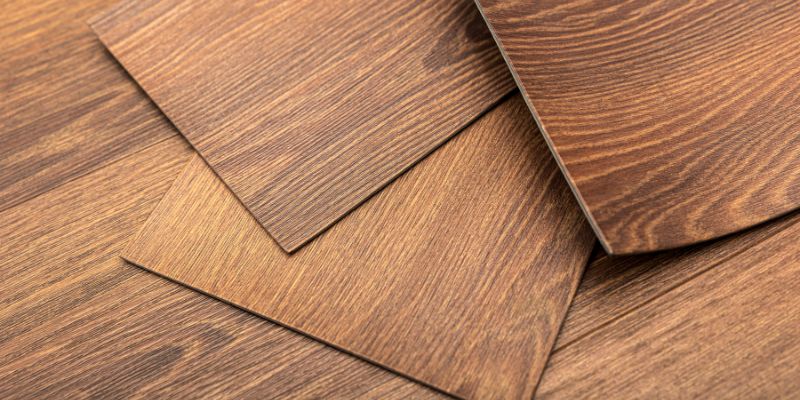
Vinyl plank flooring is a synthetic, waterproof flooring made to mimic hardwood, built from a wear layer, a printed design layer, and a rigid or flexible waterproof core. It costs a fraction of solid hardwood and installs faster, which is why it now outsells laminate in most U.S. home centers.
Types of Vinyl Plank Flooring
| Type | Core | Best For |
|---|---|---|
| Luxury Vinyl Plank (LVP) | Flexible vinyl | Most rooms; easiest to cut and fit |
| Rigid Core (SPC) | Stone-plastic composite | Uneven subfloors, high traffic |
| WPC | Wood-plastic composite | Softer underfoot, quieter |
This guide is part of our full vinyl plank flooring installation series, which also covers buying, cutting, and finishing planks around real obstacles.
How to Decide Which Direction to Lay Vinyl Plank Flooring
Three things settle the direction question for most rooms: the room’s shape, the traffic pattern through it, and where the light comes from. Work through them in this order.
1. Room Shape and the Longest Wall
Lay planks parallel to the longest wall in the room. This is the single most-used rule in flooring because it stretches the visual length of the space and, in a rectangular room, it also means fewer short end-cuts — you only trim planks at the shorter walls instead of both.
2. Natural Light Direction
Planks laid parallel to the main light source (usually the biggest window wall) show fewer visible seams, because sunlight raking across a floor highlights every joint that runs perpendicular to it. If the light direction and the longest-wall direction disagree, most installers favor light direction in living rooms and longest-wall in bedrooms and hallways.
3. Traffic Flow and Existing Patterns
Where furniture and doorways funnel foot traffic, running planks in that same direction reads more natural underfoot and holds up better at pivot points like a kitchen island. If your planks have a visible wood-grain pattern, keep that pattern aligned with the same rule you settle on for direction.
Best Direction for Vinyl Plank Flooring by Room
The longest-wall rule is a starting point, not a law — some rooms have a better default because of how they’re used.
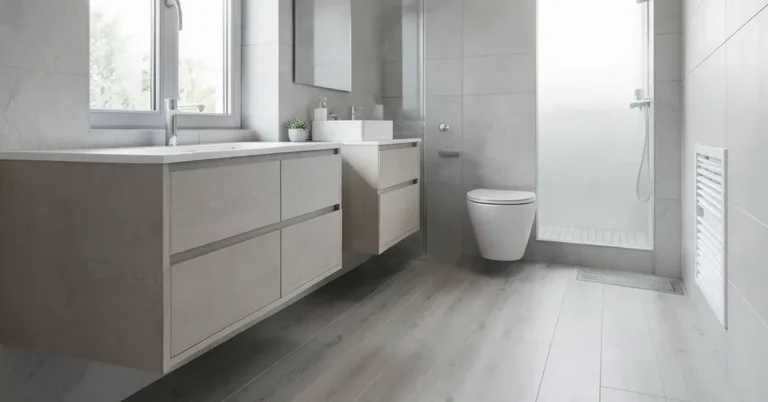
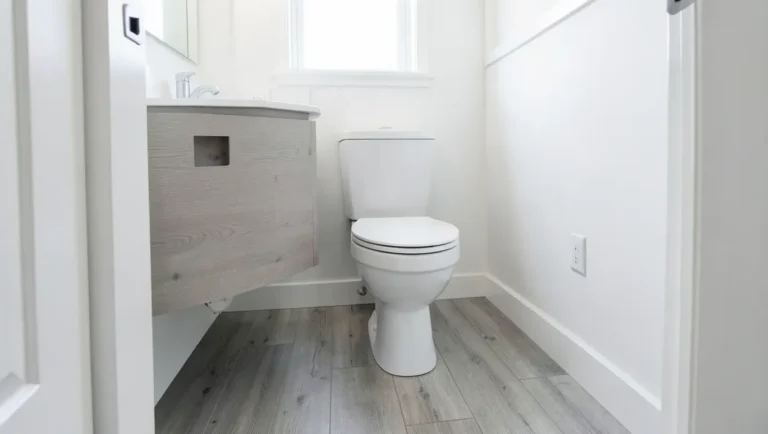
- Bathrooms: run planks lengthwise along the longest wall to stretch a typically small room; see our dedicated small-bathroom direction guide for tight-layout cut math.
- Bedrooms: align with the longest wall or the direction you enter the room — eyes track toward the bed, so planks running that way read as calmer.
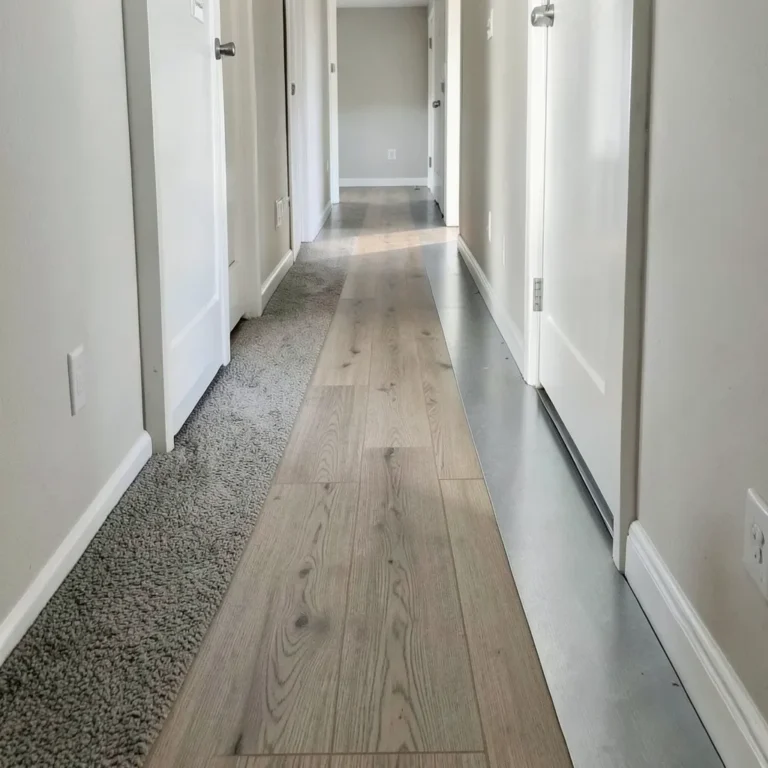
- Hallways: always run lengthwise down the hallway, and carry that same direction through every doorway it connects to. A hallway is the one room where light direction should lose to hallway length every time.
- Kitchens: match the direction of the adjoining living or dining room whenever the spaces are open to each other; in a closed kitchen, follow the longest run of cabinets.
Handling Doorways and Room-to-Room Transitions
Open floor plans are where direction rules get complicated, because a living room, dining room, and kitchen combined rarely share one longest wall. The fix: pick the direction of the largest connected space and carry it through the smaller rooms attached to it, even if that means the smaller room no longer runs parallel to its own longest wall. Consistency across the sightline matters more than any single room’s ideal direction.
Where vinyl plank meets a different flooring material — tile, carpet, or hardwood — direction no longer needs to match across the threshold, but the transition itself needs a proper strip. See our guide on transitioning vinyl flooring to tile for T-molding, reducer, and threshold options.
Does the Installation Method Change the Direction Rule?
Most guides treat direction as independent of how the planks are attached — it isn’t entirely. The installation method changes how forgiving a direction mistake is and how much the floor can move once it’s down.
| Method | Effect of Direction Choice | Best For |
|---|---|---|
| Click-lock floating | Whole floor expands/contracts as one sheet in the plank direction — leave a full 1/4-inch gap on every wall the planks run toward | Most rooms, DIY installs |
| Glue-down | Bonded to the subfloor, so direction is purely visual with almost no expansion risk | Large open areas, commercial-style spaces |
| Loose-lay | Held by friction and weight; works best run in the longer room dimension so fewer seams take foot traffic | Rentals, rooms needing future removal |
Best for: if you can’t decide, a floating click-lock floor is the safest default — why we picked it: it’s the most common DIY method and forgives small direction changes if you plan the layout before the second row — main drawback: it needs that expansion gap respected on every wall, not just two.
📊 Before you commit to a direction: let boxed planks acclimate in the room for 24–48 hours at normal room temperature, and plan a continuous 1/4-inch expansion gap along every wall the floating floor runs toward. Skipping either step is the most common cause of buckling, not the direction you chose.
Proper Techniques for Installing Vinyl Plank Flooring
Direction only pays off if the subfloor and layout underneath it are done right. Here’s the order that avoids the most common installation failures.
Preparing the Subfloor
- Remove existing flooring and clean the subfloor completely — leftover dirt or debris telegraphs through vinyl planks over time.
- Inspect for cracks, holes, or uneven spots. Fill holes and cracks and sand down high spots — most manufacturers cap subfloor flatness at 3/16 inch over a 10-foot span.
- Check subfloor moisture with a moisture meter before laying vinyl in a basement, bathroom, or over concrete; exceeding the manufacturer’s limit voids most warranties.
Choosing the Starting Point
- Start from the main entrance so the first full row is the one guests see first.
- In a square or rectangular room, start against the longest wall you’ve already chosen as your direction.
- In an irregular room, start from the most visible focal point — a fireplace wall or the largest window — and work outward.
- Leave the 1/4-inch expansion gap on the starting wall too; it gets covered by baseboard or quarter-round later.
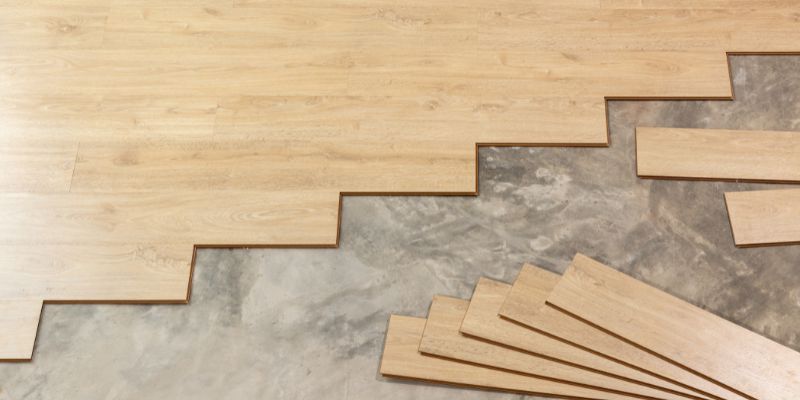
Laying the Planks
- Follow the manufacturer’s installation method — click-lock, glue-down, or loose-lay all handle direction slightly differently (see the comparison above).
- Lay the first row along the starting wall with spacers holding the expansion gap.
- Stagger the short-end seams between rows by at least 6 inches so no two joints line up — this is as important to the finished look as the overall direction.
- Use a tapping block and rubber mallet to seat each plank tight without damaging the locking edge.
- Remove spacers once the floor is complete and install baseboard or quarter-round to hide the gap.
Can You Lay Vinyl Plank Flooring Diagonally or in a Herringbone Pattern?
Yes. A diagonal layout runs planks at a 45-degree angle to the walls instead of parallel to one — it disguises an out-of-square room and adds visual interest, but it also increases waste because almost every edge plank needs an angled cut. A herringbone pattern is different from diagonal: short plank segments are set perpendicular to each other in a zigzag, not run at an angle, and it needs planks rated for herringbone installation (check the box — not every LVP line supports it). Both patterns take noticeably longer to install than a straight run and are worth hiring out unless you’ve done one before.
Common Direction Mistakes to Avoid
- Changing direction mid-open-plan. Switching direction at an imaginary line between kitchen and living room (rather than at an actual wall or transition strip) is the single most common DIY layout mistake.
- Skipping acclimation. Planks installed straight out of a cold garage or truck can expand after installation regardless of which direction they run, causing peaking at the seams.
- Ignoring the expansion gap on the “far” wall. Installers often remember the gap on the starting wall and forget it on the wall the planks run toward.
- Not checking subfloor moisture first. No direction choice fixes a moisture problem underneath — test before you commit to a layout.
Frequently Asked Questions
Which direction should vinyl plank flooring be laid?
Run vinyl plank flooring parallel to the room’s longest wall or its main light source in most rooms. The exception is hallways and open floor plans, where keeping one continuous direction through every doorway matters more than matching either rule.
Should vinyl plank flooring run the same direction in every room?
No, not room by room – but it should stay consistent within any space that’s visually connected. In an open floor plan, pick the direction of the largest connected room and carry it through the smaller rooms attached to it rather than optimizing each room separately.
Can you lay vinyl plank flooring diagonally?
Yes. A diagonal layout runs planks at a 45-degree angle to the walls, which disguises an out-of-square room but increases waste since most edge planks need an angled cut. It takes longer to install than a straight run and is worth hiring out unless you’ve done one before.
Is there a right or wrong way to lay vinyl plank flooring?
There’s no single correct direction, but there is a correct process: measure and prep the space, confirm the subfloor is clean, level, and within moisture limits, acclimate the planks 24-48 hours, then lay and lock the planks with a full expansion gap on every wall. Getting the process wrong causes more failures than picking the “wrong” direction ever does.
Should the tongue or groove go against the wall?
The tongue side should face the starting wall so the groove side is exposed to receive the next plank as you work across the room.
What is the best direction to lay laminate flooring?
Laminate follows the same longest-wall and light-direction rules as vinyl plank, though many installers run it perpendicular to floor joists for extra stability on wood-frame subfloors – a consideration that doesn’t apply to vinyl plank over concrete.
Conclusion
Start with the longest-wall rule, adjust for natural light, and override both in hallways and open floor plans where one continuous direction through every doorway matters most. Get the subfloor, acclimation, and expansion gap right underneath that decision, and the direction you picked will still look right in five years.
Sponsored / affiliate links. As an Amazon Associate I earn from qualifying purchases. I may earn additional commission from eligible campaigns.