Can You Use a Soldering Iron to Burn Wood? Yes (With Real Limits)
Yes, a standard electronics soldering iron can burn basic designs into wood – it’s a real, commonly-practiced budget alternative to a dedicated pyrography tool. But it comes with real limits: less tip variety, a lower and less stable temperature ceiling, and none of the safety features built into a wood-burning tool designed for the job.
Plenty of woodworkers start exactly this way, scorching a test line into scrap pine with the soldering iron already sitting in a drawer before ever buying a dedicated tool. Below is what actually works, what a soldering iron can’t do as well, and the safety rules that matter most – including one that a lot of “just try it” guides skip entirely.
Can You Really Burn Wood With a Soldering Iron?
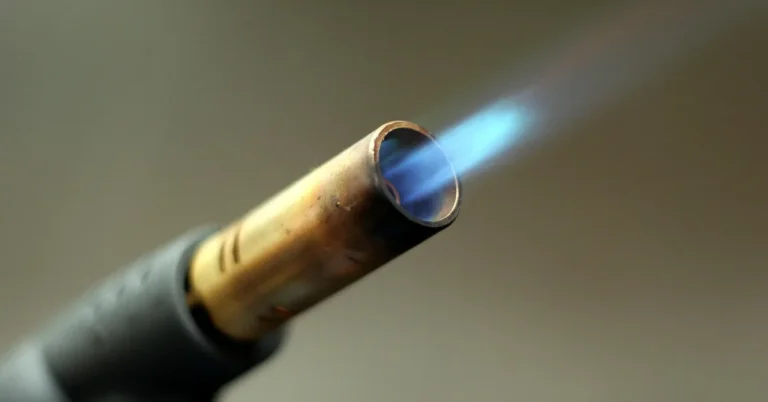
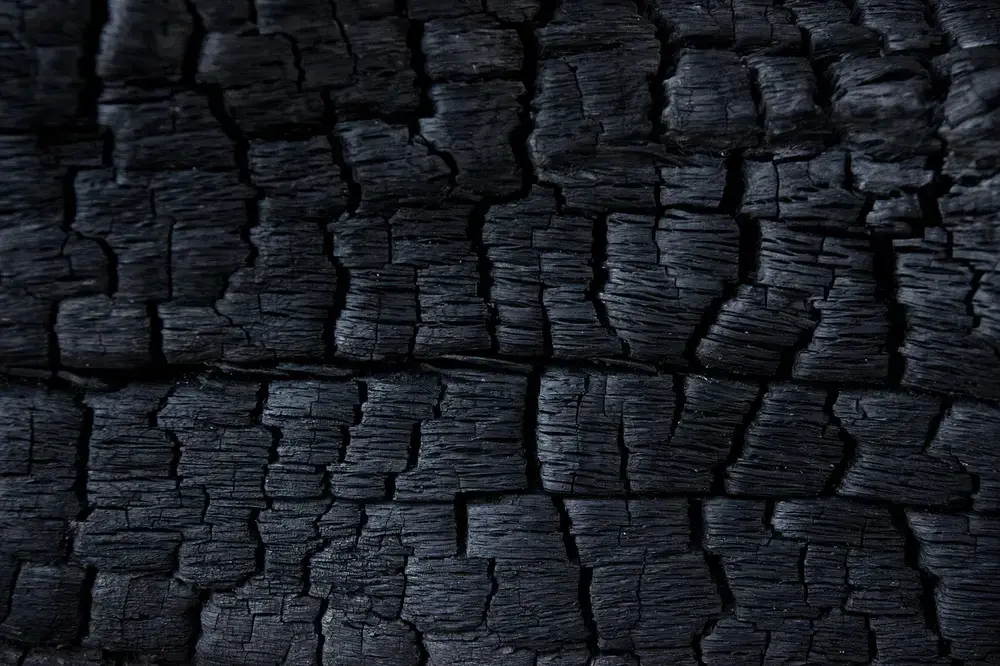
Yes. A soldering iron’s tip gets hot enough (typically 500-800°F, with some models reaching up to 900°F) to scorch and darken wood fibers on contact, the same basic mechanism a dedicated wood-burning pen uses. Most pyrography burning actually happens in the 400-750°F range, so a soldering iron’s heat output overlaps that range just fine for simple line work, lettering, and light shading.
Natural Upgrade Pick
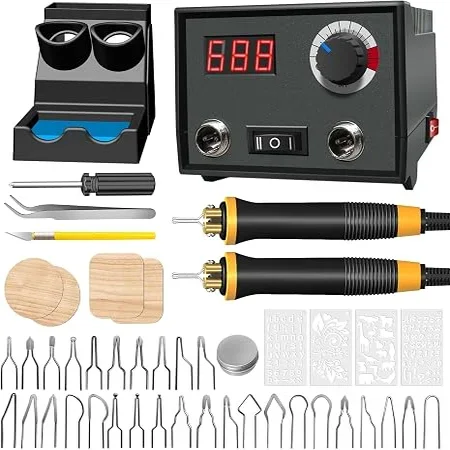 |
FIRElood Digital 2-Pen Wood Burning Kit – $39.99 If a soldering iron’s single fixed tip and hand-me-down heat control start to feel limiting, this is the natural next step up.
|
That said, “it works” and “it works as well as a real wood-burning tool” are different claims. The rest of this guide covers exactly where a soldering iron falls short, how to get the best results anyway, and the safety rules that actually matter – not just the generic “be careful” advice most articles repeat.
Where a Soldering Iron Falls Short of a Real Pyrography Tool
A soldering iron was engineered to melt solder onto metal joints, not to hold a controlled burn line for minutes at a time, and that shows up in three concrete ways once you start working on wood:
- Lower, less stable ceiling temperature. A soldering iron tops out around 800-900°F versus up to 900°F+ on a dial-adjustable wood burner, and because solder melts well below wood-burning temperatures, most soldering iron heating elements are tuned to hold steady in a lower range – not the higher, more stable range that produces dark, consistent lines.
- No “stamp and hold” control. Pyrography artists often press a heated tip into the wood and hold it to darken a specific spot (stamping). A soldering iron’s lower thermal ceiling and slower heat recovery make that technique inconsistent – the tip cools faster than it can be replenished, so you get uneven, patchy dark spots instead of a clean stamp.
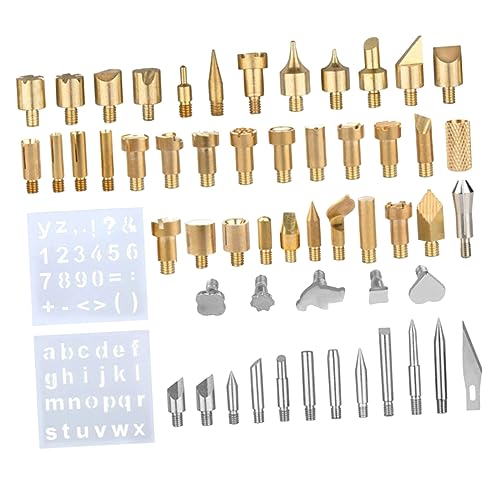
- One fixed tip shape. A wood-burning pen swaps between a dozen or more interchangeable nibs – skew, shading, calligraphy, writing tips. A standard soldering iron has one conical tip (or maybe two if you own spares), which limits you to thin, uniform lines. Fine detail work and broad shading both suffer.
None of that makes a soldering iron useless for wood burning – plenty of decorative lettering, simple outlines, and branding marks come out looking great with one. It just means don’t expect gallery-quality shading or the crisp stamped textures you see in dedicated pyrography work.
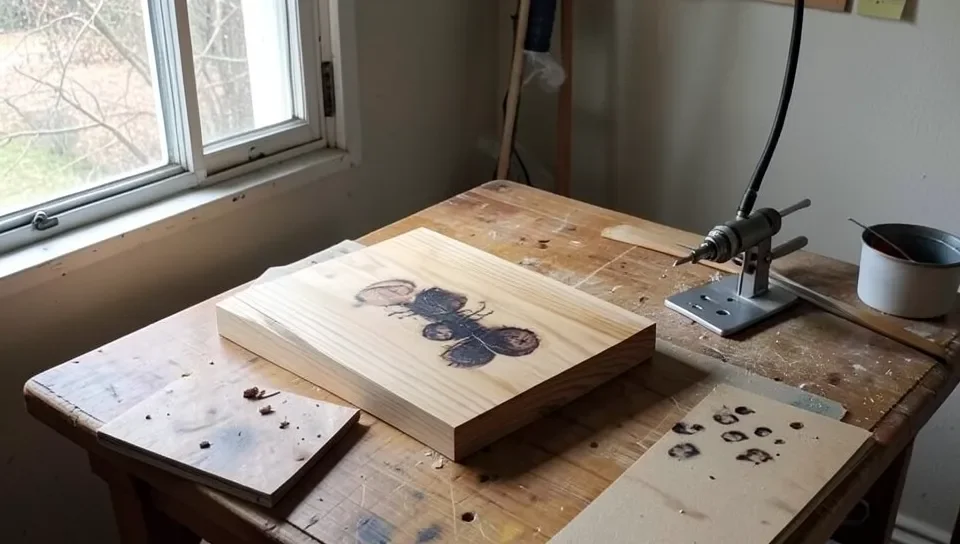
Which Soldering Iron Works Best for Wood Burning
If you’re using what you already own rather than buying a dedicated kit, a few features make a real difference in results:
- Adjustable temperature. A fixed-wattage iron will work, but you’ll be controlling burn depth entirely through contact time and pressure. An adjustable-temperature iron gives you a second variable to dial in, closer to how a real wood burner behaves.
- A chisel or knife-shaped tip. The default conical soldering tip works for thin lines, but a chisel or knife tip (sold as a spare tip for most iron brands) lets you vary line width by rotating the tip, which is the closest a soldering iron gets to a shading nib.
- A stable, insulated grip. You’ll be holding this tool at a shallow angle for extended stretches. A soldering iron built for electronics work is usually lighter and better balanced for this than a bulky heat gun or multi-tool.
Safety Rules That Actually Matter
Most “can you use a soldering iron on wood” articles repeat the same generic “be careful” line and move on. These four points are the ones that actually change the outcome:
- Work in a ventilated space. Burning wood, even bare, untreated wood, produces real smoke: fine particulates and volatile organic compounds from combustion, not just a “woodsy smell.” Open a window, run a fan pointed away from your face, or work at a bench near an exterior door. This is the same basic ventilation principle that applies to laser engraving wood – a different tool, same combustion byproduct.
- Never leave a hot iron resting on or near the workpiece. A soldering iron left unattended on wood, sawdust, or any other combustible surface is a genuine fire risk – the tip stays hot enough to ignite material for a while after you set it down. Use a proper iron stand, and unplug it any time you step away, even briefly.
- Bare, untreated wood only – never painted, stained, or pressure-treated wood. This is the rule most guides skip. Pressure-treated lumber has preservative chemicals (historically compounds containing copper, chromium, and arsenic) bound into the wood fibers; heat vaporizes them into inhalable smoke, and sanding or cleaning the surface first does not remove what’s soaked into the wood below it. Paint and stain don’t seal those chemicals in either – the coating itself just adds its own toxic combustion byproducts on top. Burning bare pine, basswood, or birch is a very different exposure than burning anything that’s been treated or finished.
- Protect your hands and the surface under the wood. Basic as it sounds, a heat-resistant mat under the workpiece and keeping your free hand well clear of the tip path prevents most of the actual burn injuries that happen with this technique.
How to Burn Wood With a Soldering Iron: Step by Step
- Choose bare softwood. Pine, basswood, or poplar burn more predictably than dense hardwoods for a first attempt – less resistance means more consistent line depth.
- Sand the surface smooth. Rough grain catches the tip unevenly and produces jagged, inconsistent lines.
- Test on scrap first. Every soldering iron behaves a little differently. Burn a few practice lines on an offcut to find the contact time and pressure that gives you the darkness you want before touching your actual project.
- Sketch your design lightly in pencil. The iron tip will burn over pencil lines without a problem, and it keeps your lines where you intend them.
- Work in short, steady passes. Drag the tip slowly and evenly rather than pressing hard and stopping – consistent speed produces a more even line than variable pressure does.
- Let the iron cool completely before storing it. Wood residue on a still-hot tip can smoke or char further after you’ve finished.
For a full comparison of dedicated tools if you want to go beyond what a soldering iron can do, see our wood burning kit comparison for adults. And if your goal is precise, repeatable designs rather than freehand work, wood engraving with rotary tools or a diode laser is a genuinely different upgrade path worth knowing about – it trades hand control for repeatability in a way a soldering iron or wood-burning pen never will.
Frequently Asked Questions
Can I burn wood with a soldering iron?
Yes. A soldering iron’s tip gets hot enough to scorch and darken wood on contact, making it usable for basic lines, lettering, and simple designs. It won’t match the tip variety or steady heat of a dedicated wood-burning tool, but it’s a real, workable starting point.
What’s the difference between a wood burner and a soldering iron?
Both apply heat through a metal tip, but a wood-burning pen is built for it: interchangeable tip shapes, a dial or digital control for a wider adjustable temperature range, and steadier heat retention during long strokes. A soldering iron is built to melt solder onto metal joints and only borrows that same heat mechanism for wood.
Can you engrave wood with a soldering iron?
Yes, for simple designs. A soldering iron can trace outlines, lettering, and basic patterns into bare wood. For finer detail, shading, or repeatable designs, a dedicated wood-burning pen or a rotary/laser engraving tool will get more consistent results.
Is it safe to burn wood with a soldering iron?
It can be, if you follow real precautions: work in a ventilated area, never leave the hot iron resting on or near the wood or other combustible material unattended, and only burn bare, untreated wood – never anything painted, stained, or pressure-treated, since burning those coatings and preservative chemicals releases far more hazardous fumes than burning bare wood.
Can you use a soldering iron on treated or painted wood?
No. Burning pressure-treated, painted, or stained wood releases the preservative or coating chemicals into the smoke you’re breathing – sanding or cleaning the surface first doesn’t remove what’s absorbed into the wood fibers below it. Stick to bare, untreated softwood.
Bottom Line
A soldering iron is a genuine, budget-friendly way to try basic wood burning – it’s the same scorch-on-contact mechanism a dedicated pen uses, just with a lower thermal ceiling, no tip variety, and none of the built-in safety features. Work ventilated, never leave it resting on the wood, and keep it to bare, untreated softwood. If you find yourself wanting more control or repeatable shading, that’s the point to look at a dedicated wood-burning kit.
Sponsored / affiliate links. As an Amazon Associate I earn from qualifying purchases. I may earn additional commission from eligible campaigns.