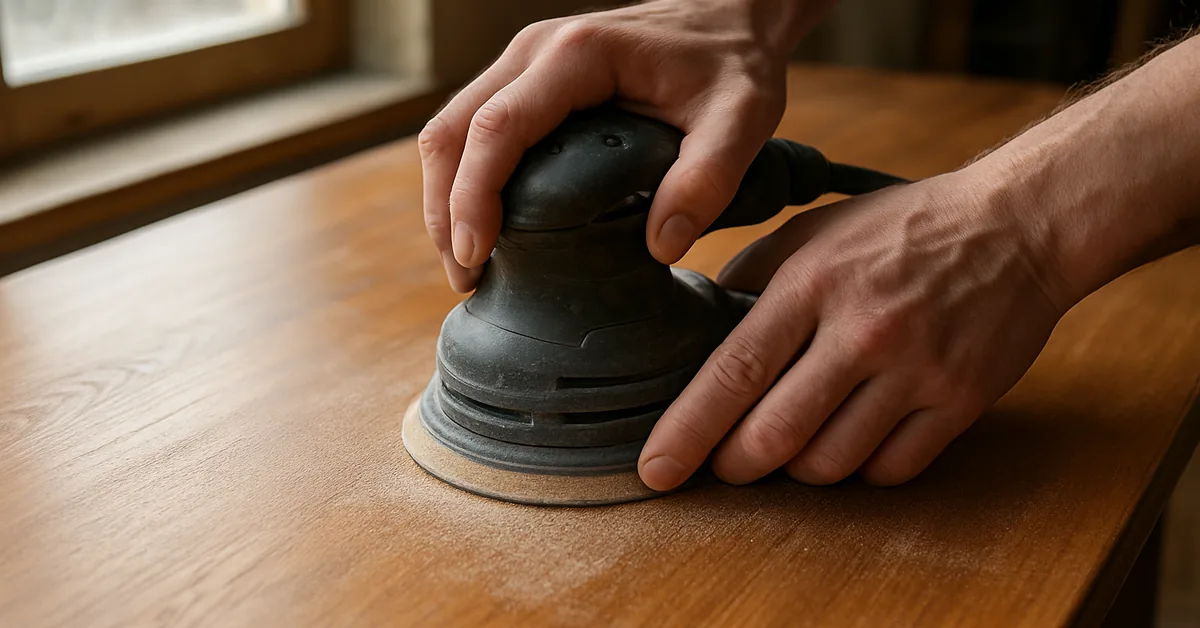
Can You Use an Orbital Sander Between Coats of Polyurethane?
Yes, an orbital sander works between coats of polyurethane — but only with 220 to 320-grit paper, light pressure, and a fully cured coat, never a tacky one. Push too hard or start sanding early and you’ll cut through the finish at edges, corners, and thin spots, leaving swirl marks the next coat won’t hide. This guide covers the correct grit progression, drying time before sanding, the dust-and-tack-cloth process, and when hand-sanding beats the sander.
What Grit Sandpaper to Use Between Coats of Polyurethane
Best Between-Coat Sanding Pick
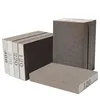
8-Pack Hand Sanding Sponge Set (120/220/320/400 Grit)
A washable, reusable sponge in every grit this guide calls for, so you always have 220 and 320-grit on hand without cutting a fresh sheet of sandpaper.
- Best for: hand-finishing edges, corners, and small pieces without a sander
- Why we picked it: covers the full 220-320 grit range this guide recommends in one washable pack
- Main drawback: too slow for sanding an entire floor or large tabletop by hand
Compare more between-coat sanding options
 Option 1 5″ Hook-and-Loop Sanding Discs, 40–320 Grit Assortment
|
 Option 2 Tack Cloth, 6-Pack
|
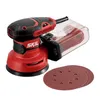 Option 3 5″ Random Orbital Sander with Dust Box
|
As an Amazon Associate we earn from qualifying purchases.
Use 220-grit for the first scuff-sand and move to 320-grit on later coats. Coarser paper — 150-grit or below — removes too much material and leaves scratches deep enough to show through the next coat. The goal isn’t to strip anything off; it’s to knock down dust nibs and brush marks and rough up the surface just enough for the next coat to grip.
Never go finer than 320-grit between coats. Anything higher (400, 600, 1000+) polishes the surface so smooth that the next coat has nothing to bite into, which can cause peeling or fisheyes later. Save the ultra-fine grits for the final coat, after the last layer of finish has fully cured.
📊 Minwax’s technical data sheet for its Fast-Drying Polyurethane specifies 220-grit sandpaper between coats, and states no sanding is needed at all if you recoat within 12 hours. — Source: Minwax Fast-Drying Polyurethane Technical Data Sheet
How Long to Wait Before Sanding Between Coats
Wait until the coat is fully dry — not just dry to the touch. Fast-drying water-based polyurethane is typically ready to sand in 4 to 6 hours; standard oil-based polyurethane needs 24 hours, longer in cool or humid shops. Sanding a coat that’s dry on the surface but still soft underneath gums up the paper instantly and drags gray streaks across the finish instead of a clean scuff.
Test it before you sand: press a fingernail into an inconspicuous spot, like the underside of an edge. If it dents, feels tacky, or the paper clogs after a couple of passes, give it more time. Humidity and cool temperatures slow curing more than most people expect — a coat that’s ready in 4 hours at 70°F can still be soft at 12 hours in a damp basement.
Orbital Sander or Hand Sanding? Floors vs. Furniture
The right tool depends on the size and shape of what you’re sanding, not just the product you’re using. Most of the “avoid an orbital sander” advice floating around online is really about edges and small pieces, not the sander itself — on a flat floor, manufacturers specifically recommend one.
| Surface | Recommended Tool | Grit | Why |
|---|---|---|---|
| Large flat floor | Square-buff orbital or disc floor sander | 220-grit | Manufacturer-approved for big flat runs where hand-sanding isn’t practical |
| Tabletop or flat panel | Random orbital sander, kept moving | 220–320-grit | Fast and even as long as it stays flat and never sits in one spot |
| Edges, corners, carved detail | Hand with a fine sanding sponge | 220–320-grit | An orbital sander rounds over the profile and cuts through the finish fast on thin or uneven areas |
“For floor applications, use a square buff orbital or disk-type sander with 220-grit sandpaper… Do not use a belt or drum-type sander for sanding between coats.”
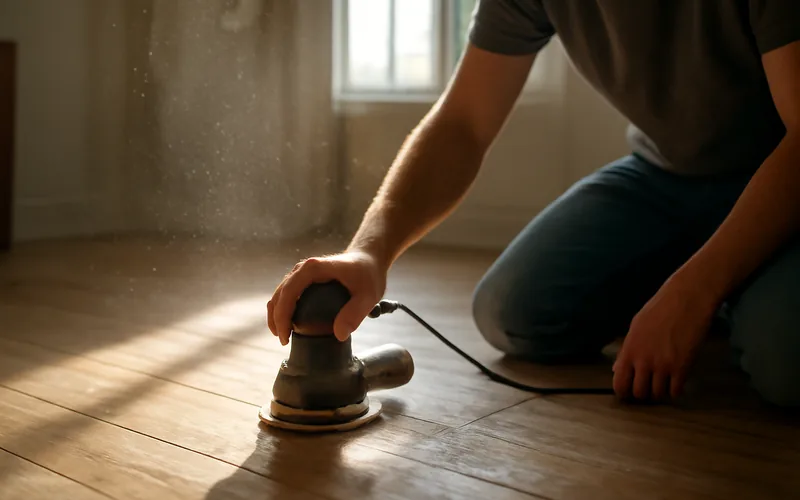
How to Scuff-Sand Between Coats With an Orbital Sander
- Confirm the coat is fully dry: Press a fingernail into an inconspicuous edge — if it dents or feels tacky, wait longer (4 to 6 hours for fast-drying formulas, up to 24 hours for standard oil-based).
- Load 220-grit paper, or 320-grit on later coats: Attach a fresh hook-and-loop disc — never go coarser than 220 or you risk cutting through the coat.
- Sand flat areas with light pressure: Keep the sander moving in slow, overlapping passes and let its own weight do the work — pressing down causes swirl marks and sand-through.
- Finish edges and corners by hand: Switch to a folded sanding sponge at edges, corners, and carved detail, where an orbital sander rounds over the profile and cuts through the finish fast.
- Vacuum the surface: Use a brush attachment to lift the bulk of the sanding dust — never use compressed air, which just puts the dust back into the air around your project.
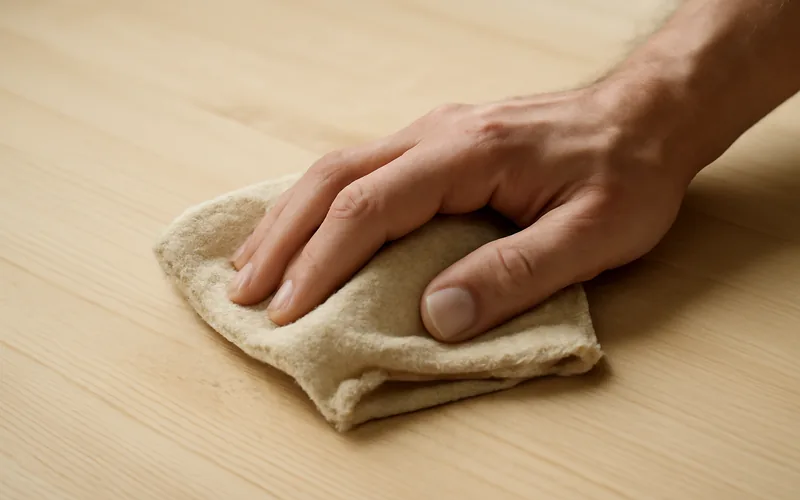
- Wipe with a tack cloth: For oil-based polyurethane, wipe first with a cloth barely dampened in mineral spirits; for water-based, use a barely damp cloth with water, then follow with a dry tack cloth.
- Recoat within the product’s window: Apply the next coat once the surface is dust-free and dry — check your product’s label for its specific recoat time.
Removing Sanding Dust Before the Next Coat
Sanding dust left on the surface gets sealed into the next coat, showing up as a rough, cloudy texture once the finish dries. Vacuum first with a brush attachment, then wipe with a cloth dampened in mineral spirits (oil-based polyurethane) or water (water-based polyurethane), and finish with a dry tack cloth. Let the surface dry completely before recoating — a damp spot under fresh polyurethane turns cloudy and won’t cure right.
Common Mistakes That Ruin the Finish
- Sanding a tacky coat: polyurethane that’s dry on top but soft underneath gums up the paper and drags gray streaks across the finish instead of scuffing it clean.
- Pressing too hard or using coarse grit: anything below 220-grit, or heavy hand pressure, cuts through thin spots and leaves swirl marks the next coat won’t fully hide.
- Skipping the tack cloth: a vacuum alone leaves fine dust behind that gets sealed under the next coat, leaving a rough, cloudy texture.
- Running the orbital sander over edges and corners: the machine rounds over crisp edges and sands through the coat fast on thin or uneven wood — finish those spots by hand instead.
- Reusing a loaded, dull sanding disc: a clogged disc glazes the surface instead of scuffing it, so the next coat has nothing to grip.
Frequently Asked Questions
Do You Have to Sand Between Every Coat of Polyurethane?
Not always. Oil-based polyurethane needs sanding between coats for adhesion. Most water-based polyurethanes skip it entirely if you recoat within the product’s window — often 2 to 4 hours — since each coat chemically bonds to the last one. Once you exceed that window, or the surface feels rough, sand lightly with 220-grit before the next coat.
What Grit Sandpaper Should You Use Between Coats of Polyurethane?
Use 220-grit for the first sanding and 320-grit for later coats — coarser grit removes too much material and leaves visible scratches. Minwax’s technical data sheet specifies 220-grit for its fast-drying polyurethane between coats, moving to 320-grit as the surface gets smoother with each layer.
How Long Should Polyurethane Dry Before You Sand It?
Wait until the coat is fully dry, not just dry to the touch — typically 4 to 6 hours for fast-drying formulas, and up to 24 hours for standard oil-based polyurethane in cool or humid conditions. Press a fingernail into an inconspicuous spot; if it dents or feels tacky, wait longer before sanding.
Can You Use Steel Wool Instead of an Orbital Sander Between Coats?
Yes, fine steel wool (0000 grade) works for hand-scuffing small areas and tight corners, but avoid it under water-based polyurethane — tiny steel fibers can embed in the finish and rust, leaving small orange specks. For water-based coats, use a fine synthetic sanding pad or 320-grit sanding sponge instead.
Will an Orbital Sander Leave Swirl Marks in Polyurethane?
It can, if you use worn sandpaper, press too hard, or hold the sander in one spot too long. Keep the sander moving at all times, use fresh 220 to 320-grit paper, and let the pad’s own weight do the work. Light swirl marks that do show up usually sand out with the next coat’s pass.
Conclusion
An orbital sander is safe between coats of polyurethane on flat surfaces — floors, tabletops, panels — as long as you stick to 220-320 grit, keep the sander moving, and let each coat fully cure first. Save the hand-sanding for edges, corners, and carved detail, where the machine does more harm than good. Get the grit, timing, and dust removal right, and the recoat window becomes the easiest part of the whole finishing job.
Sponsored / affiliate links. As an Amazon Associate I earn from qualifying purchases. I may earn additional commission from eligible campaigns.