Can You Glue Stained Wood? Find out the Best Techniques
Yes, but with a real caveat: wood glue bonds to wood fibers, and stain sits as a film on top of those fibers, so gluing over stain gives a noticeably weaker joint than gluing bare wood. The fix depends on which side of the project you’re on – if you haven’t stained yet, glue the joint first and stain the assembled piece afterward. If you’re repairing something already stained, sand through the stain at the glue surface down to bare wood, or switch to epoxy, which bonds differently and tolerates a stained surface better than PVA wood glue does.
Why Stain Weakens a Glue Joint
Best Glue For Bare-Wood Joints You’ll Stain After
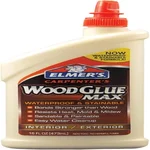 |
Elmer’s Carpenter’s Wood Glue Max, 16 oz – $9.30 A stainable, waterproof PVA formula for the glue-first-then-stain sequence this article recommends – it takes stain evenly at the glue line once cured and sanded flush.
|
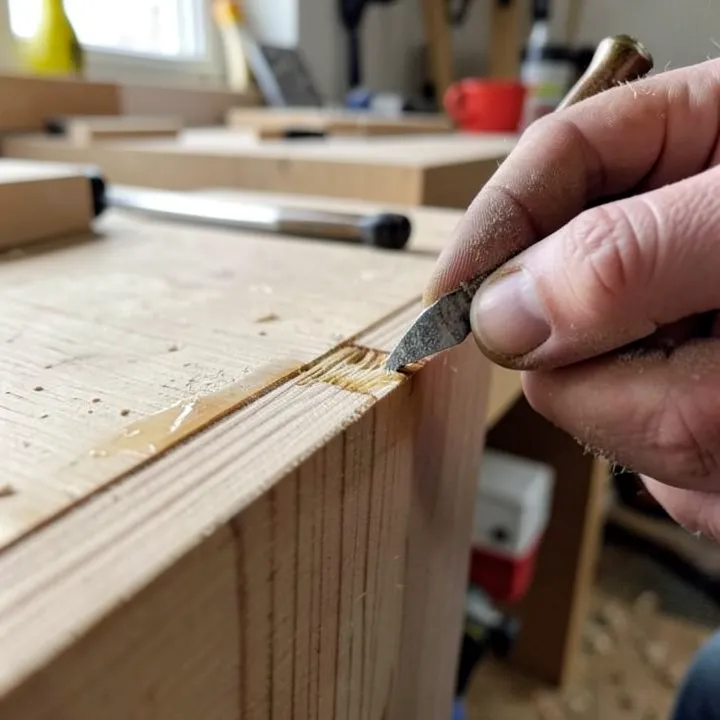
Wood glue (PVA, the standard yellow or white “carpenter’s glue”) works by soaking into the open pores of the wood and curing around the fibers – the bond is partly mechanical, not just surface adhesion. A pigmented stain fills those pores with color and binder before the glue ever touches the wood, so there’s nothing left for the glue to grip onto except the thin stain film itself. Peel a poorly-bonded stained joint apart and you’ll usually see the stain layer separate cleanly from the wood underneath – the glue held fine, but the stain film it was stuck to let go.
Not all stains create the same problem. The type and how it was applied both matter:
- Oil-based pigmented stains leave the thickest film and block glue penetration the most.
- Gel stains sit almost entirely on the surface rather than penetrating, so they leave a similarly thick barrier.
- Water- or alcohol-based dyes (not pigmented stains) mostly evaporate and leave far less film behind, so a joint glued over a dye finish bonds noticeably better than one glued over a heavy pigmented stain.
- Clear or very lightly tinted stains leave less film than a dark, heavily pigmented one, simply because there’s less pigment and binder sitting on the surface.
The Right Sequence: Glue Before You Stain
If the project is still in progress, this solves the whole problem: assemble and glue the joint on bare wood, let it cure fully, sand any squeeze-out flush, and stain the completed piece afterward. This is standard practice for a reason – it gives you a full-strength joint and even stain absorption across the whole piece, including right up to the glue line.
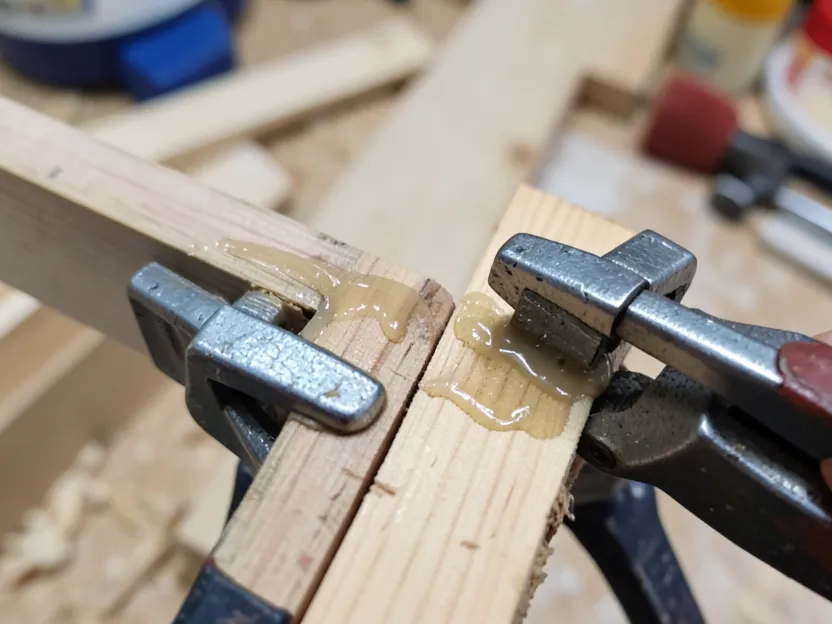
One thing to watch for: dried glue squeeze-out left on the surface will seal the wood underneath it, and stain won’t take evenly over dried PVA glue. Wipe squeeze-out away with a damp cloth while it’s still wet, or scrape and sand it off completely before staining – a light haze of dried glue left behind shows up as a pale blotch once stain goes on.
Gluing Wood That’s Already Stained
Repairs are the real-world case where you don’t get to choose the sequence – the piece is already stained and something needs to be re-glued. Two approaches actually work:
Sand Through to Bare Wood
Sand the glue surfaces specifically (not the whole visible piece) down through the stain to bare wood, using a fine grit once you’re through the film. This restores a normal PVA bond because the glue is now soaking into real wood fibers again, not stuck to a stain layer. It’s the better option when the glue surface will be hidden after assembly – the inside of a mortise-and-tenon joint, the underside of a repaired chair rail – since the sanded patch doesn’t need to match the surrounding finish.
Use Epoxy Instead of PVA Glue
This is the option most gluing guides skip, and it’s the one that actually solves the “can’t sand it without ruining the finish” problem. Epoxy cures by a chemical reaction, not by soaking into wood fibers the way PVA does, and it forms its own rigid film that mechanically keys into anything with enough surface texture – including a lightly scuffed, still-stained surface. Scuff the stained glue surface with fine sandpaper just enough to knock off any sheen (you’re roughing up the film, not sanding through it), clean off the dust, and apply a two-part wood epoxy. It won’t out-bond a PVA joint on bare wood, but on a stained surface where sanding through isn’t practical, it reliably outperforms wood glue applied straight over the stain.
Dyed Wood Is a Different Situation
Wood dye (as opposed to pigmented stain) is dissolved in water or alcohol and colors the wood fibers themselves rather than sitting on top as a film. Once the carrier evaporates, there’s little to no barrier layer left, so PVA glue bonds to dyed wood close to as well as it bonds to bare wood. If you’re not sure whether a piece was dyed or stained, a quick sand test on scrap or an inconspicuous spot tells you fast – dye colors the sanding dust the same shade throughout, while pigmented stain leaves color concentrated right at the surface with lighter wood immediately underneath.
Testing Before You Commit
Whichever approach you use, test it on a scrap piece finished the same way before gluing the actual project. Glue a sample joint, let it cure fully per the label, then try to break it apart. A joint that fails should split the wood itself, not peel cleanly along the glue line – if it separates cleanly at the glue, the surface prep wasn’t enough and you need to sand further or switch to epoxy.
Frequently Asked Questions
What is the best glue for stained wood?
A stainable, waterproof PVA wood glue works if you sand the glue surface down to bare wood first. If sanding through isn’t practical – a visible repair on a finished piece – a two-part wood epoxy bonds more reliably directly over a lightly scuffed stained surface.
Will wood glue work after staining?
It works, but weaker, because stain leaves a film that blocks the glue from soaking into the wood fibers. Sand through the stain at the glue surface for a normal-strength bond, or use epoxy if sanding through isn’t an option.
Does wood glue work on dyed wood?
Yes, close to as well as on bare wood. Dye colors the wood fibers themselves rather than sitting on top as a film, so it doesn’t create the same barrier a pigmented stain does.
Does wood need to be sanded before gluing?
Bare wood generally doesn’t need sanding just for gluing. Stained wood does – sand through the stain film at the glue surface so the glue reaches actual wood fibers instead of bonding to the stain layer.
Conclusion
Glue before you stain whenever the project lets you – it’s the strongest, simplest option. For a repair on an already-stained piece, sand the glue surface down to bare wood if it’ll be hidden, or use epoxy over a lightly scuffed (not sanded-through) surface if it won’t. Either way, test on scrap first: a joint that peels cleanly at the glue line means the surface prep wasn’t enough yet.
Sponsored / affiliate links. As an Amazon Associate I earn from qualifying purchases. I may earn additional commission from eligible campaigns.