How to Remove Finish from Wood: Strip, Sand or Heat Gun?
Wood finish comes off with a gel stripper, sanding, a solvent wipe or a heat gun, and the right one depends on two things: what the finish is and whether the piece is solid wood or thin veneer. Pick wrong and you either gouge the wood or spend a weekend on a finish that barely moves. This guide gives a decision table, the order to test solvents in, a grit sequence, and the safety limits that matter most.
Which Method Removes Finish From Your Piece Fastest?
Best Gel Stripper Pick | |
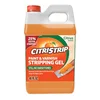 | Citristrip Stripping Gel, Citrus Stripper Paint Remover, 40 oz: $16.85 The gel in the stripping steps below. The listing says it removes oil-based and latex paint, varnish, lacquer, polyurethane and shellac, and contains no methylene chloride or NMP.
|
As an Amazon Associate we earn from qualifying purchases. | |
Match the method to the object first, then to the finish. The table below is the short version, and the sections after it explain each row.
| Your situation | Best method | Why | Avoid |
|---|---|---|---|
| Carved, turned or curved furniture | Gel stripper | Reaches profiles that sandpaper rounds over | Aggressive sanding |
| Thin veneer top or panels | Solvent wipe or gel stripper, then light hand sanding | Raw veneer is about 0.024 inch thick, so there is little margin | Power sanding, heat |
| Flat, thick solid-wood tabletop | Sanding, or stripper plus sanding | Fast, and the wood can spare a thin layer | Skipping dust control |
| Finish dissolves in denatured alcohol or lacquer thinner | Solvent wipe | Shellac and lacquer re-dissolve in their own solvents | Heavy stripper coats |
| Built before 1978 and painted | Lead test first, then wet methods | Lead dust and fumes are the main hazard | Dry sanding, torches, hot heat guns |
| Many stacked coats on a sturdy piece | Gel stripper, then scrape | One long dwell beats many sanding passes | Heat gun on a wet surface |
Two older pages cover single finishes in more depth: our varnish removal guide and our lacquer removal guide. This page is the starting point when you are not sure which situation you are in, or when the object matters more than the finish.
Identify the Finish Before You Choose a Method
A five-minute solvent test is the cheapest way to avoid the wrong method. Work on a hidden spot such as the underside of a tabletop, and run the tests in this order:
- Denatured alcohol: rub a dampened rag on the spot for 10 to 20 seconds. If the surface turns tacky or color transfers to the rag, the finish is shellac.
- Lacquer thinner: only if alcohol did nothing. If the surface softens, it is lacquer. Do not run this test first, because lacquer thinner also dissolves shellac and would give a false lacquer result.
- Neither reacts: the finish is most likely a cured varnish or polyurethane, or a catalyzed finish. These do not re-dissolve and need a stripper or abrasion.
Our full finish identification guide also covers wax, oil and paint, which behave differently. If the stain is the problem rather than the finish, see wood stain remover first. Acetone is a common suggestion, but it ruins many finishes in uneven patches, which is why we cover what acetone really does to wood separately.
Safety Rules That Change How You Work
Three rules matter more than technique, and the first two have a real regulator behind them.
- No methylene chloride at home. EPA banned its use in consumer paint and coating removers after November 22, 2019, citing deaths from exposure. If a stripper in a garage predates that, do not use it.
- Test pre-1978 paint for lead. EPA’s lead renovation rule applies to homes and child-occupied facilities built before 1978 and prohibits open-flame burning and power sanding without HEPA collection, plus heat guns above 1100 degrees F.
- Treat solvents as fire hazards. Denatured alcohol and lacquer thinner are flammable. Keep them away from heat guns, pilot lights and sparks, and let the room air out before you plug anything in.
Methylene chloride was banned from consumer paint removers after November 22, 2019. Source: U.S. EPA, final rule on methylene chloride in paint and coating removal
Work outdoors or with cross ventilation. A paper dust mask stops dust but not solvent vapor, so for strippers and thinners use a respirator rated for organic vapors, plus chemical-resistant gloves and eye protection. For the lead rules in detail, see EPA’s work practices page.
Method 1: Solvent Wipe for Shellac and Lacquer
If the test showed shellac or lacquer, skip the stripper. Both finishes stay soluble in their own solvent, so a rag wetted with denatured alcohol (shellac) or lacquer thinner (lacquer) softens the film and lifts it off. Work a small section at a time, wipe in the direction of the grain, and swap rags often so you are not pushing dissolved finish back into the pores. Finish with a clean rag and fresh solvent.
This is the gentlest method for veneer, because it removes finish without removing wood. It is also the one most guides skip, since it only works on two finish types.
Method 2: Gel Stripper for Carvings, Veneer and Stacked Coats
A gel stripper clings to vertical and curved surfaces and does the work while you wait. Test it on a hidden spot first, because dwell time varies with finish age and thickness, and follow the label for the exact time and cleanup solvent.
- Prep: move the piece to a ventilated area, lay down plastic, and wear gloves and eye protection.
- Apply thick: brush on a coat about as thick as frosting, in one direction, without over-brushing.
- Wait: let the finish wrinkle or bubble. The product listing says this gel stays wet and active for up to 24 hours, so a long dwell is allowed for stubborn coats.
- Scrape: lift the softened finish with a plastic scraper along the grain, and use a brass brush or fine steel wool in carved detail.
- Repeat and clean: reapply to any remaining spots, then wipe down with the cleanup solvent the label names (see how to clean off Citristrip residue for the full wipe-down steps) and let the wood dry fully.
Method 3: Sanding, and the Veneer Problem Nobody Mentions
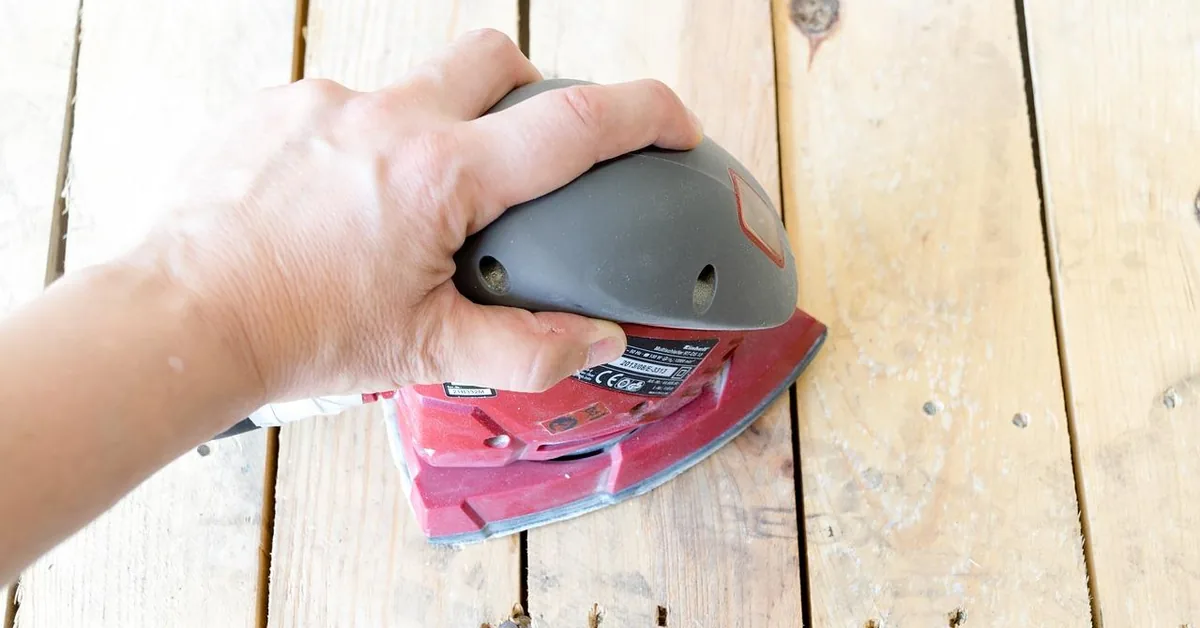
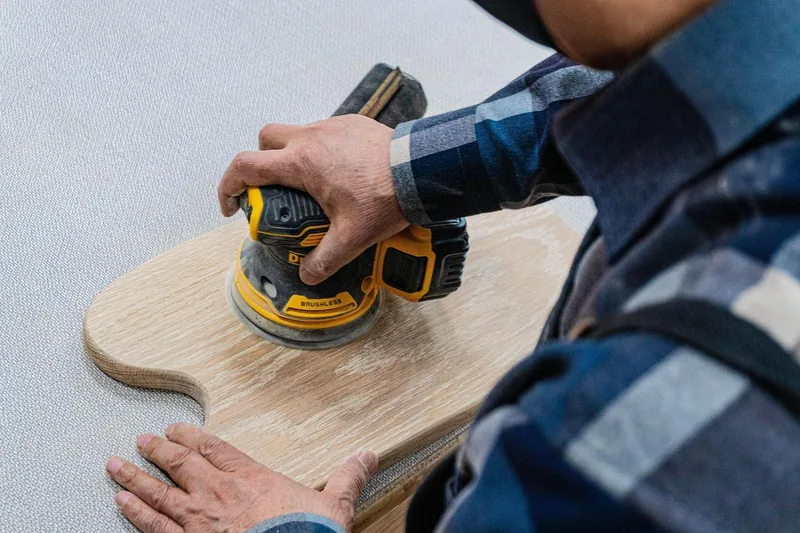
Sanding is the fastest way to bare wood on flat, thick solid wood, and the riskiest on veneer. The US industry standard for raw veneer is 1/42 inch, or 0.024 inch, so a few aggressive passes can cut through to the core or glue line. Face veneers on modern plywood and furniture often run thinner still.
Raw veneer is 1/42 inch (0.024 inch) thick by US industry standard. Source: WoodWeb knowledge base
To tell veneer from solid wood, look at the edges and corners. Solid wood shows the grain running over the edge in one continuous pattern. Veneer shows a thin line or a different grain on the edge band, and the pattern stops at the corner. If you see veneer, strip chemically or with solvent and finish with hand sanding only.
| Grit | Use it for | Note |
|---|---|---|
| 60-80 | Heavy stock removal on rough, thick solid wood | Skip entirely on veneer |
| 100-120 | Removing remaining finish film after stripping | Use light pressure and keep the sander moving |
| 150 | Erasing the scratches from the grit before it | Check under a raking light |
| 180-220 | Final prep for stain or clear finish | Stop at 220 for most stains, since finer grits can block stain uptake |
Work through the grits in order and do not skip more than one step, since each grit only removes the scratches of the one before it. Vacuum between grits, and for any pre-1978 painted surface use wet methods or a sander with HEPA collection instead of dry sanding.
Method 4: Heat Gun, and When Not to Use It
A heat gun softens thick paint and some old varnish so it scrapes off in ribbons. It is a poor first choice for clear finishes on furniture, because heat can scorch wood, release the glue under veneer and ignite solvent residue. Keep it for sturdy solid wood, on the low setting, held moving and a few inches away, and scrape as the surface softens.
The legal limit applies if lead may be present: EPA prohibits operating a heat gun above 1100 degrees F under its lead renovation rule, and HUD goes further and prohibits any heat gun setting that chars the paint. If you have not tested for lead, use a stripper instead.
Strip, Sand or Heat: How They Compare
| Method | Works on | Biggest risk | Dust or fumes |
|---|---|---|---|
| Solvent wipe | Shellac and lacquer only | Flammable vapor, wrong finish identified | Vapor |
| Gel stripper | Most finishes, including polyurethane | Residue that hurts the new finish if not cleaned | Low vapor, messy |
| Sanding | Flat thick solid wood | Sanding through veneer, lead dust | Heavy dust |
| Heat gun | Thick paint and some varnish | Scorching, lead fumes, fire | Fumes |
None of these is best everywhere. The usual professional shortcut is stripper for the bulk and light sanding for the last film, since that spends the least wood.
After the Finish Is Off: Check Before You Refinish
Leftover finish in the grain is the most common reason a new stain goes blotchy or patchy. Wipe the bare wood with mineral spirits, which temporarily shows what the wood will look like under a clear coat. Any shiny or dark patches that do not match the rest are finish still in the pores, so strip or sand those spots again before staining.
Let the wood dry fully after any wet stripper, then sand to 180-220 grit and vacuum or tack-wipe the dust. When the surface looks even under the mineral spirits, move on to staining or finishing with our furniture refinishing guide.
Common Mistakes When Removing Wood Finish
- Running the lacquer thinner test before the alcohol test, which mislabels shellac as lacquer.
- Power sanding a veneer top to bare wood in one session.
- Using a heat gun on a surface that still has stripper or solvent on it.
- Skipping the lead test on paint from a pre-1978 house.
- Staining before checking the grain for leftover finish.
Frequently Asked Questions
Can you remove a wood finish without chemicals?
Yes, by sanding or scraping, but only on solid wood that can spare the thickness. Sanding trades chemicals for dust and for lost wood, and it is the wrong choice on thin veneer or on pre-1978 painted surfaces where dry sanding can spread lead dust. For carved or veneered pieces, a citrus gel stripper is the gentler route.
What is the easiest way to remove old varnish from wood furniture?
For most furniture, a gel stripper is the easiest: brush it on thick, wait for the finish to wrinkle, and lift it with a plastic scraper along the grain. Finish with a light sanding to clear the last film. If a denatured alcohol test dissolves the finish, it is shellac and a solvent wipe is faster than any stripper.
Should I sand or strip furniture to remove the finish?
Strip first when the piece has carvings, curves, spindles or a veneer top, because sanding rounds over detail and can cut through a veneer that is often only about 0.024 inch thick. Sand directly only on flat, thick, solid wood. Many jobs use both: stripper for the bulk, then 120 to 220 grit to finish.
How do you take a shiny finish off wood without stripping it?
If the goal is only to dull the gloss before recoating, scuff-sand the surface with 180 to 220 grit or rub with fine steel wool until the sheen is even. That removes shine but not the finish. If you want bare wood or a different stain color, the finish has to come off completely.
Is it safe to use a heat gun to remove old finish?
Only on finish you know is lead-free. EPA’s lead rule for pre-1978 homes prohibits open-flame burning and heat guns operated above 1100 degrees F, and heating lead paint creates fumes. Never use a heat gun on a surface still wet with stripper or solvent, because both are flammable.
Conclusion
Identify the finish with the alcohol-then-thinner test, check whether the piece is veneer, and let those two answers choose the method. Solvent wipes suit shellac and lacquer, gel strippers suit carvings and veneer, sanding suits thick flat solid wood, and a heat gun is the last resort with a lead test behind it.
Sponsored / affiliate links. As an Amazon Associate I earn from qualifying purchases. I may earn additional commission from eligible campaigns.