How to Apply Water-Based Polyurethane to Wood Floors (No Bubbles)
Water-based polyurethane protects wood floors best in 3 to 4 thin coats applied with a synthetic T-bar or foam applicator, not a natural bristle brush or lambswool pad. Finishing over wood above 9% moisture content, or recoating too soon, causes edge-lifting and cloudy bubble clusters that surface weeks later. This guide covers surface prep, the right applicator, coat-by-coat application, and how long to wait before walking, adding furniture, and laying rugs.
Preparing the Wood Floors
Best Water-Based Floor Polyurethane Pick
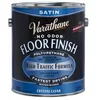
Varathane Diamond Water-Based Floor Polyurethane, Satin – $86.68
A single-component water-based floor finish in the satin sheen this guide recommends for everyday rooms — ready to use straight from the can with no mixing step.
- Best for: living rooms, hallways, and bedrooms getting the 3-to-4-coat application in this guide
- Why we picked it: satin sheen hides scuffs better than gloss while still reading as a finished floor
- Main drawback: one gallon covers roughly 400–500 sq ft per coat, so larger rooms need a second can
Compare more application tools
 Option 1 Duratool 18″ T-Bar Applicator – $49.95
|
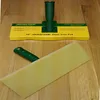 Option 2 Duratool Durafoam 10″ Pad – $18.99
|
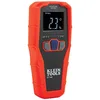 Option 3 Klein Tools Pinless Moisture Meter – $49.97
|
As an Amazon Associate we earn from qualifying purchases.
A flawless water-based finish starts before the first coat ever touches the floor. Sanding, cleaning, and checking the wood’s moisture content set up everything that follows — and if the boards have gaps or splits, deal with those first, since polyurethane won’t fill cracks in a wood floor on its own.
Sanding the Floors
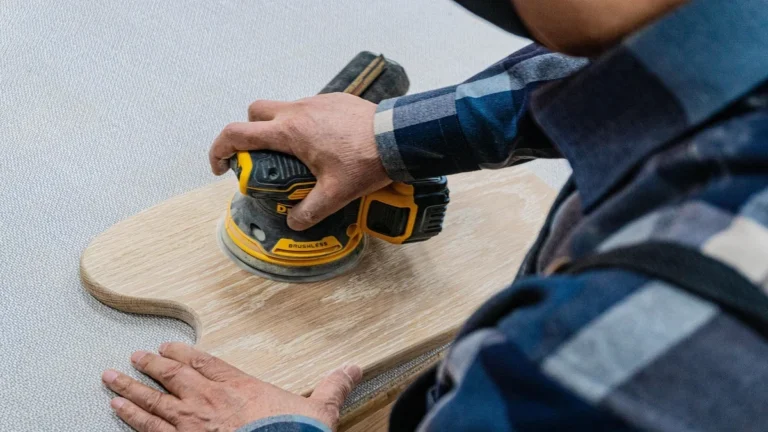
Sand the floor with a drum or orbital sander, starting with 36-grit to remove the old finish and working up to 80-grit for a smooth, even surface. Always sand with the wood grain, and use a hand sander or sanding block for edges and corners the machine can’t reach.
Cleaning the Floors
Vacuum with a brush attachment to pull dust out of the seams, then go over the floor with a barely-damp mop or a mild wood floor cleaner. Let the floor dry completely — any trapped moisture on the surface will show up as a cloudy spot under the finish.
Check the Wood’s Moisture Content First
Before opening the can, check the floor’s moisture content with a moisture meter — this is the step most application guides skip entirely, and it’s the one that decides whether the finish lasts. Wood flooring should read between 6% and 9% moisture content before it’s finished. A pinless meter is the easier option since it reads through the existing finish without leaving holes.
📊 Wood finished at 11% moisture content can look perfectly cured on day one, then develop edge-lifting and cloudy bubble clusters 60 to 90 days later as the trapped moisture works its way out through the film. — Source: Wagner Meters, Acceptable Moisture Levels in Wood
Choosing the Right Water-Based Polyurethane
There are three common types of water-based polyurethane — see our full polyurethane guides for product-specific comparisons. Single-component is ready to use straight from the can, two-component mixes a base and activator for a harder, more traffic-resistant finish, and moisture-cured is fast-drying and chemical-resistant, mostly used in commercial spaces.
Sheen is the other decision. Gloss shows the most shine but also every scratch; satin and semi-gloss are the most forgiving for everyday floors; matte hides wear best but shows footprints in direct light. Pick the sheen based on foot traffic and lighting, not just looks — a high-gloss finish in a busy hallway will show scuffs within months.
Applying the Water-Based Polyurethane
Gathering the Right Applicator and Materials
You’ll need painter’s tape, a stir stick, a lint-free cloth, and the finish itself — but the applicator is the choice that matters most for a water-based product specifically.
- Synthetic T-bar applicator or synthetic foam pad (for open floor area)
- Synthetic-bristle brush (for edges, corners, and against baseboards)
- Painter’s tape (to protect walls and baseboards)
- Stir stick (never a paint mixer attachment — it whips in air bubbles)
- Lint-free cloth or tack cloth for a final wipe-down before coating
The Best Applicator for Water-Based Polyurethane
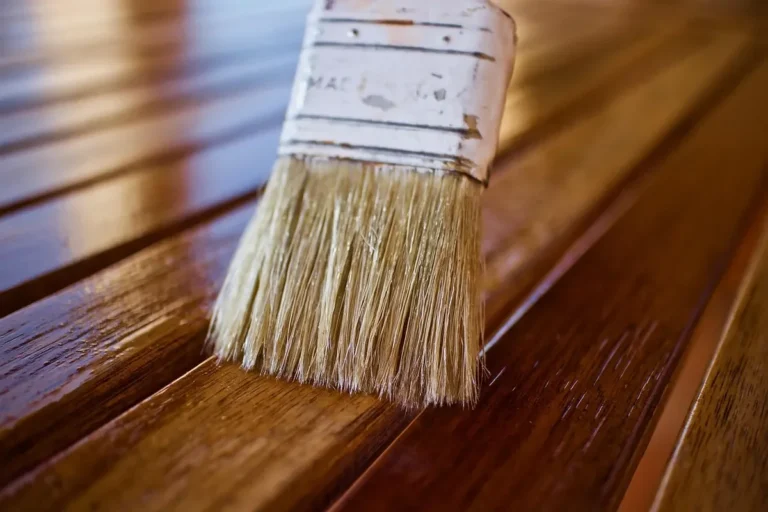
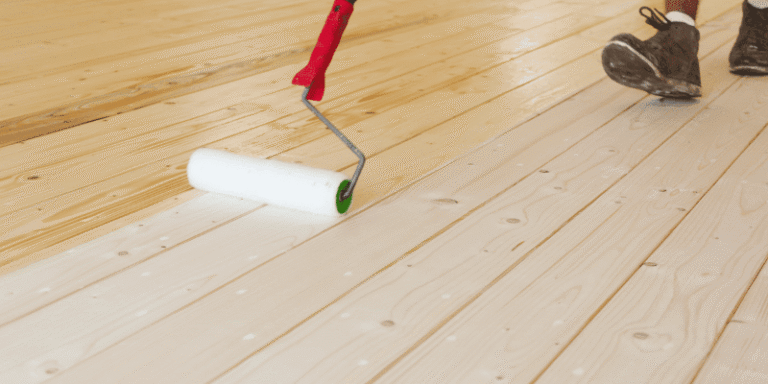
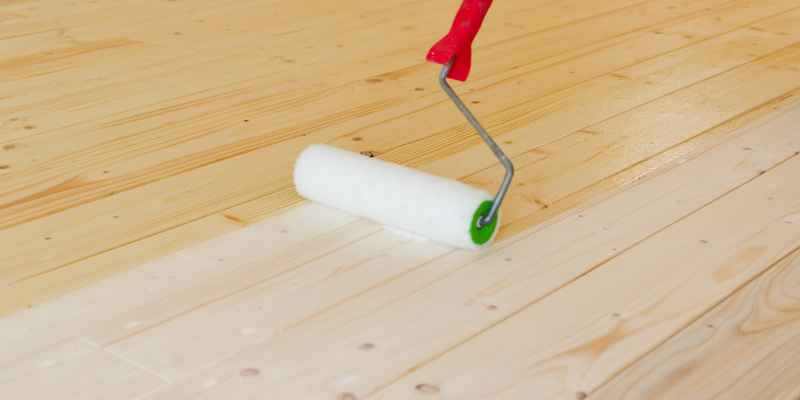
Use a synthetic T-bar applicator or foam pad, not a natural China-bristle brush or pure lambswool pad. Natural lambswool is built for oil-based finishes — it holds far more liquid than water-based polyurethane is designed to go down in, and that excess volume is the single biggest cause of bubbling and streaking on a water-based job. If you prefer a roller instead of a T-bar, a synthetic microfiber or foam roller cover works the same way — short nap, thin coat, no natural fibers.
How Many Coats Do You Need?
Most wood floors need 3 to 4 thin coats of water-based polyurethane for a durable, even finish. The first coat acts as a sealer and often looks patchy or dull — that’s normal, and later coats even it out. Adding more thin coats always beats fewer thick ones, since thick coats are what trap bubbles and take far longer to cure all the way through.
How Long to Wait Between Coats?
Wait 2 to 4 hours between coats of water-based polyurethane, checking that the surface is dry and not tacky to the touch before recoating. If you recoat within about 24 hours, most water-based finishes don’t need sanding between coats — but if more than a day passes, lightly scuff-sand between coats with a fine abrasive pad so the next layer bonds instead of sitting on top.
Step-by-Step Application
- Clean the floor: vacuum or sweep away every trace of dust and debris so nothing gets trapped under the finish.
- Tape off the edges: run painter’s tape along baseboards and walls to catch drips.
- Stir, don’t shake: stir the polyurethane gently with a stir stick — shaking whips in bubbles you can’t brush back out.
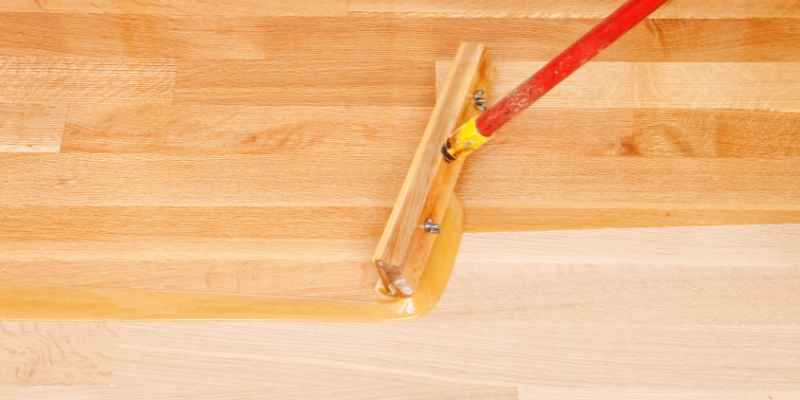
- Load the applicator lightly: dip the T-bar, foam pad, or brush and tap off the excess so you’re laying down a thin film, not a puddle.
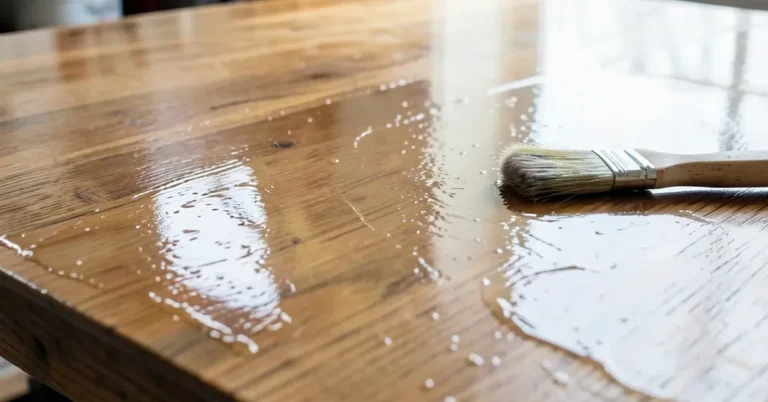
- Apply with the grain: work in 3-to-4-foot sections, pulling the applicator in long strokes along the wood grain and overlapping each pass slightly.
- Let the first coat dry: follow the product label’s recoat window — most water-based finishes are ready for coat two in 2 to 4 hours.
- Scuff-sand if needed: if more than 24 hours passed since the last coat, scuff the surface with a fine abrasive pad before recoating.
- Repeat for 3 to 4 total coats: apply each additional coat the same way, letting every layer dry before the next.
How to Avoid Bubbles and Streaks
Bubbles and streaks account for almost every ruined water-based floor finish, and nearly all of them trace back to one of these four habits.
- Shaking the can instead of stirring — shaking whips air into the finish that shows up as bubbles once it dries.
- Using a natural-bristle or lambswool applicator, which holds too much finish for a water-based product.
- Applying too thick a coat — a heavy, glossy-looking wet coat is the most common cause of both bubbles and drips.
- Re-brushing over a tacky coat — going back over finish that’s already started to set drags and streaks it instead of smoothing it.
Curing and Drying Timeline
Water-based polyurethane dries to the touch fast, but “dry” and “fully cured” are two different things — the finish keeps hardening beneath the surface for weeks after the last coat looks finished. If you’re finishing over a floor you just stained, confirm the stain is fully dry first; the timing works the same way for how long to let stain dry before polyurethane.
| Stage | Wait Time | Why It Matters |
|---|---|---|
| Recoat | 2–4 hours | Surface must be dry, not tacky, before the next coat |
| Walk in socks | 6–24 hours | Avoid shoes and bare feet — grit and oils mark soft finish |
| Light furniture back | 24–48 hours | Use felt pads — the finish still marks under sustained weight |
| Rugs and heavy furniture | 7–10 days | Trapping the surface too soon can seal in uncured solvent |
| Full chemical cure | 21–30 days | Maximum hardness and chemical resistance is reached here |
Times are typical ranges for water-based floor polyurethane — always check your specific product’s label, since formulations vary.
Maintaining Flawless Wood Floors
Sweep or vacuum with a soft-bristle attachment regularly, and skip the beater bar — it scratches cured finish over time. For mopping, use a well-wrung microfiber mop or a cleaner made for hard floors, never a soaking-wet one; standing water works into seams and dulls the finish from underneath.
Skip anything with ammonia, bleach, or vinegar — all three strip the protective polyurethane layer and leave the wood exposed. A soft microfiber pad handles daily cleaning; scrub brushes and abrasive pads will scratch the surface.
Reapply polyurethane every 3 to 5 years depending on foot traffic. Lightly sand the existing finish first so the new coat bonds, then apply it the same way as the original job — thin coats with a synthetic applicator, never a natural lambswool pad.
FAQ: Applying Water-Based Polyurethane to Wood Floors
How many coats of water-based polyurethane does a wood floor need?
Most wood floors need 3 to 4 thin coats of water-based polyurethane. The first coat acts as a sealer and can look patchy, which later coats even out. Thin, multiple coats always outperform one or two thick ones.
How long should you wait between coats of water-based polyurethane?
Wait 2 to 4 hours between coats, and confirm the surface is dry and not tacky before recoating. Recoating within about 24 hours usually skips the need for sanding between coats; wait longer and you’ll need to scuff-sand first.
Can you use a natural bristle or lambswool brush with water-based polyurethane?
No. Natural China-bristle brushes and pure lambswool pads hold too much finish for a water-based product and are the leading cause of bubbling and streaking. Use a synthetic T-bar, foam pad, or synthetic-bristle brush instead.
How long before you can walk on or put furniture back on the floor?
You can usually walk on the floor in socks after 6 to 24 hours. Wait 24 to 48 hours before setting light furniture back with felt pads, and 7 to 10 days before adding rugs or heavy furniture, since the finish is still curing beneath the surface.
Why is my water-based polyurethane finish bubbling or turning cloudy?
Bubbling usually comes from shaking the can, using a natural-bristle or lambswool applicator, or applying coats too thick. Cloudiness that shows up weeks later is often a sign the wood was above 9% moisture content when it was finished.
“The floors that come back with edge-lifting a few months later almost never failed because of the polyurethane — they failed because nobody checked the wood’s moisture content before the first coat went down. A cheap pinless meter and two minutes of patience prevents most of the callbacks I’ve seen.”
Conclusion
Applying water-based polyurethane to wood floors comes down to three things: prep the surface properly (including checking moisture content), use a synthetic applicator instead of natural bristle or lambswool, and respect the timeline — both between coats and before the floor takes real weight. Get those three right and 3 to 4 thin coats will outlast the shortcuts every time. If you’d rather change the floor’s color first, see our guide on painting a wood floor before finishing.
Sponsored / affiliate links. As an Amazon Associate I earn from qualifying purchases. I may earn additional commission from eligible campaigns.