Can You Sand Latex Paint? Grit, Dry Time & the Powder Test
Yes, you can sand latex paint — but only once it is dry to the touch (1–2 hours) for a light scuff, or fully cured (21–30 days) before wet sanding with 800–1200 grit. Sand too early and the soft film smears and clogs your paper instead of cutting it. This guide covers the right grit sequence, the “powder test” for checking cure, and when a liquid deglosser beats sanding altogether.
Insert your Affiliate Disclosure reusable block here
Why Latex Paint Sands Differently Than Oil-Based Paint
Best Latex Paint Sanding Kit Pick
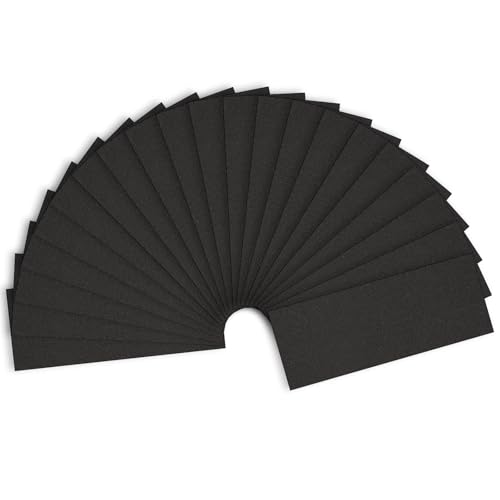
4-Pack Sanding Sponge Set (120/220/320/400 Grit) – $4.59
Covers the exact grit sequence this guide walks through — 120 for knocking down texture, 220 for leveling, 320 and 400 for the final pre-recoat pass — in one washable, reusable set.
- Best for: Working through the full 120→400 sequence without buying four separate sheets
- Why we picked it: Flexible sponge body follows trim profiles and corners better than flat sandpaper
- Main drawback: Sponges wear out faster than paper on large flat wall areas
Compare more sanding & prep options
 Option 1 3M 320-Grit X-Fine Sponge – $9.99
|
 Option 2 Liquid Deglosser (No Sanding) – $9.99
|
 Option 3 P100 Dust Respirator – $38.95
|
As an Amazon Associate we earn from qualifying purchases.
Latex paint is a water-based acrylic coating that dries mainly by water evaporation rather than a chemical cure. That is why it stays slightly soft and rubbery long after it feels dry, and why sanding it too soon gums up the paper instead of cutting it. Oil-based (alkyd) paint cures through oxidation into a harder, more brittle film that sands to a fine powder much sooner — so a technique that works the same day on an oil-painted door trim can smear on a latex-painted wall or cabinet.
That distinction matters for prep, too. If you are working on a raw MDF panel rather than an already-painted surface, the substrate itself needs different handling — see should you sand MDF before painting for that step. This guide is specifically about sanding the cured or curing latex paint layer itself, covered in more depth across our paints category.
How Long Does Latex Paint Need to Dry Before You Sand It?
Latex paint is dry to the touch in about 1–2 hours and safe for a light scuff-sand between coats after roughly 4 hours, but it does not reach full cure — the point where the film is hard enough for wet sanding or aggressive leveling — for 21 to 30 days. On absorbent wood substrates, full cure can run toward the longer end of that range.
| Cure Stage | Typical Time | What You Can Safely Do |
|---|---|---|
| Dry to the touch | 1–2 hours | Handle gently — too soon to sand |
| Recoat / scuff-sand ready | ≈4 hours | 220–320 grit light scuff between coats |
| Fully cured | 21–30 days | Wet sanding, deglossing, heavy leveling |
If you are not sure a coat has cured enough, run the powder test: make three or four light strokes with 320-grit sandpaper in an inconspicuous spot. If the residue comes off as a dry powder, it is ready to sand fully. If it balls up, smears, or gums the paper, give it more time before continuing.
This same wait-and-test logic carries over to primer, not just topcoat — see sanding between primer coats for the same technique applied earlier in the job.
The Right Grit Sequence for Sanding Latex Paint
Start with 120–150 grit to knock down drips, brush marks, or heavy texture, move to 220 grit to level the surface evenly, then finish with 320–400 grit right before the next coat so you do not leave visible scratch marks telegraphing under the new paint. Save coarser 80–120 grit only for noticeably rough or textured paint film; anything finer than that on a rough surface just wastes paper without removing the high spots.
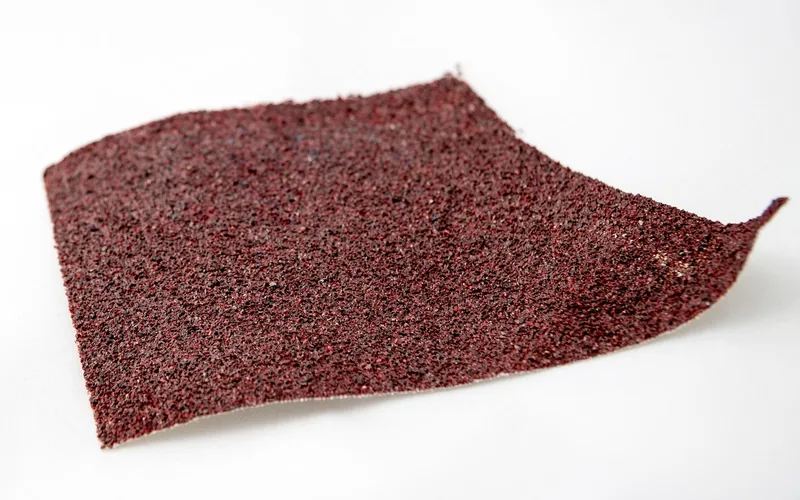
Power sanders speed up larger areas, but let the tool’s weight do the work rather than pressing down — excess pressure on soft, undercured latex removes paint unevenly instead of just leveling it. Always start coarser and step up gradually; jumping straight to a fine grit on a rough surface wastes time, and jumping to a coarse grit on an already-smooth coat risks sanding through to the primer or substrate. For the same grit-progression logic applied to bare wood, stain, and clear coats rather than paint, see our full how to sand wood grit-sequence guide.
Can You Wet Sand Latex Paint?
Yes, but only after the latex paint has fully cured (21–30 days) — wet sanding fresh latex just softens and lifts it instead of leveling it. Once cured, 800–1200 grit wet/dry paper used with water knocks down brush marks and orange peel without generating airborne dust, which matters if the paint might contain lead. Keep the surface wet throughout, wipe with a damp (not soaking) rag between passes, and let the surface dry completely before priming or recoating.
How to Sand Latex Paint: Step-by-Step
- Confirm the stage: wait for dry-to-touch (1–2 hours) for a light scuff between coats, or full cure (21–30 days) before wet sanding or heavy leveling.
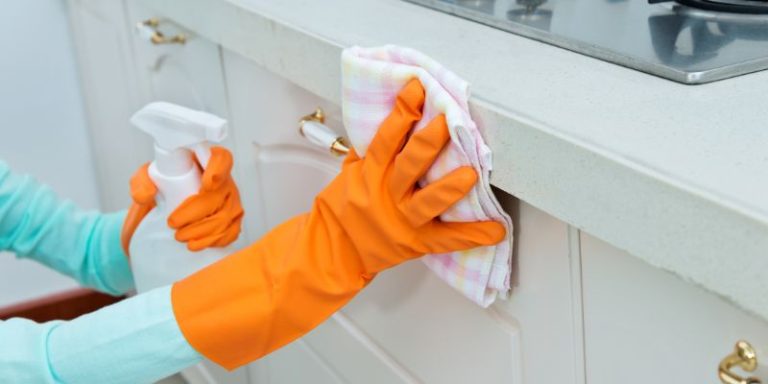
- Clean the surface: wipe away dust, grease, and debris with a damp cloth, then let it dry completely.
- Mask and protect: tape off trim, outlets, and light switches, and lay drop cloths to catch dust.
- Sand in sequence: start at 120–150 grit for texture, move to 220, then finish at 320–400 grit using light, even pressure.
- Run the powder test: if you are unsure a coat has cured enough, check an inconspicuous spot before sanding the whole surface.
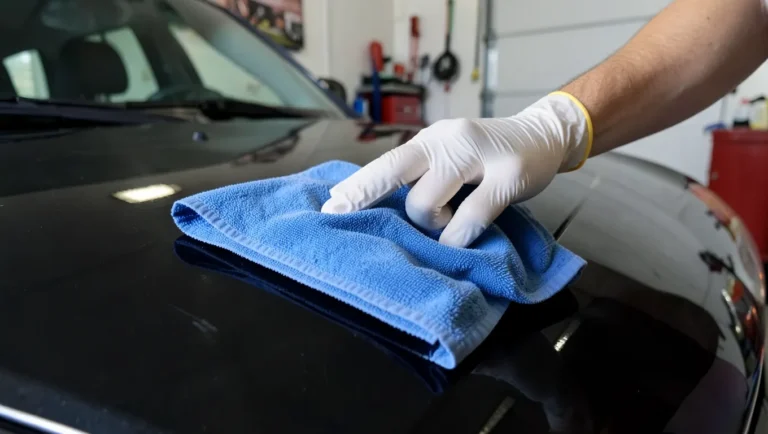
- Clear the dust: wipe with a tack cloth or barely damp rag before priming or repainting.
Safety Precautions When Sanding Latex Paint
Wear safety goggles, a properly rated dust mask or respirator, and gloves before you start. Dry sanding any painted surface throws fine particles into the air, and if the paint underneath is older than the latex topcoat, you cannot assume the whole system is lead-free just because the newest coat is latex.
📊 Homes built before 1978 may contain lead-based paint, and EPA’s RRP Rule treats any interior job disturbing more than 6 sq. ft. of painted surface (20 sq. ft. exterior) as a lead-safe job. Test old paint before dry-sanding it. — Source: EPA, Lead-Safe Renovations for DIYers
If you test positive or are unsure, skip dry sanding: use wet sanding (which keeps dust down, once the paint is fully cured) or a HEPA-filtered sander, contain the area with plastic sheeting, and clean up with a HEPA vacuum and damp cloths rather than a dry broom.
Post-Sanding: Priming and Repainting Over Sanded Latex Paint
Vacuum the loose dust first, then wipe the surface with a damp cloth and let it dry completely — any leftover moisture affects how well primer grips. Apply a quality primer suited to the surface, let it dry fully per the can’s instructions, then apply your new latex paint in even coats, following the same dry-time and cure-time table above between each one.

“Hard, glossy finishes shall be sanded lightly between coats, dusted and cleaned before recoating.”
Skip Sanding? When a Liquid Deglosser Works Better
A liquid deglosser (sometimes labeled a liquid sander or gloss-off cleaner) dulls the surface chemically so new paint can grip, without generating any sanding dust. It is a genuine time-saver on large wall areas, in a room where dust containment is hard, or when you are not confident about testing for lead. The tradeoff: it only removes gloss for adhesion — it will not level drips, brush marks, or physical texture the way sandpaper does, so a rough surface still needs at least a light manual sand first.
The same logic applies to other finished surfaces beyond latex-painted walls — see can you paint over stained wood without sanding for when a deglosser or the right primer can replace sanding entirely on stained wood.
Frequently Asked Questions
What’s the best way to sand latex paint?
Sand latex paint using 120–150 grit sandpaper on a sanding block or electric sander, moving in smooth, even strokes with the grain or direction of the brush strokes. Wipe away dust with a damp cloth or vacuum before finishing with a finer 220–320 grit.
How do you smooth a latex paint finish?
Lightly sand the surface with fine-grit (220–320) sandpaper, clean away the dust, then apply a thin coat of paint with a high-quality brush or roller and let it dry completely. Sand again with the same fine grit and repeat if the surface still shows texture.
How long does latex paint need to dry before you sand it?
Latex paint is dry to the touch in 1–2 hours, which is enough for a very light scuff. Wait about 4 hours before a full scuff-sand between coats, and 21–30 days for full cure before wet sanding or aggressive leveling.
Can you sand runs out of latex paint?
Yes. Use fine-grit (220–320) sandpaper and gently sand the raised run until it is level with the surrounding surface, checking often so you do not sand through to the primer or substrate underneath.
Can you wet sand latex paint?
Yes, once it has fully cured (21–30 days). Use 800–1200 grit wet/dry paper with water to knock down brush marks and orange peel with far less dust than dry sanding — do not wet sand fresh, uncured latex, since moisture and abrasion together will lift it.
Do you need to sand between every coat of latex paint?
For most smooth, brushed-out coats, a light 220–320 grit scuff between coats improves adhesion and removes dust nibs, but it is not always mandatory if the previous coat is smooth, was recoated within the paint’s recoat window, and has no contamination. Hard, glossy finishes should always be scuffed before recoating.
How do you know when latex paint is dry enough to sand?
Use the powder test: make three or four light strokes with 320-grit sandpaper in an inconspicuous spot. If the residue comes off as a dry powder, the coat is ready to sand. If it smears, balls up, or gums the paper, it needs more drying or curing time first.
Conclusion
Sanding latex paint works well once you match the technique to the cure stage: a light scuff at the 4-hour recoat mark, or full 120-to-400 grit leveling and wet sanding only after the 21–30 day cure. Test old paint for lead before dry sanding, and reach for a liquid deglosser instead when dust containment or a rough test result makes sanding the wrong tool for the job.
Sponsored / affiliate links. As an Amazon Associate I earn from qualifying purchases. I may earn additional commission from eligible campaigns.