Can You Sandblast Wood? Media, PSI and Silica Safety
Yes, you can sandblast wood, and on softwoods it is the fastest way to get a deep, weathered, rustic grain. The catch is that it is a texturing method, not a smoothing one, and the dust is a genuine health hazard. Silica sand should not be your medium, and a paper dust mask is not adequate protection.
This guide covers what blasting actually does to wood, the safe media to choose, realistic PSI and nozzle settings, a step-by-step method for texturing a board, and the safety rules worth getting right before you touch a trigger. If you only need a coating removed, compare the options in our guide to stripping old paint from wood first.
Can You Sandblast Wood? What Blasting Really Does
Best Enclosed Blast Cabinet
 |
VEVOR 25 Gallon Benchtop Sandblasting Cabinet (40-120 PSI) A steel benchtop cabinet with a lit acrylic window, blasting gun and four ceramic nozzles, so the media and dust stay inside a sealed box.
|
Abrasive blasting fires media at the surface with compressed air. On wood, that removes material unevenly, and the unevenness is the whole point. Blasting does not gently smooth or restore the grain: it erodes the softer wood faster than the harder wood, so the surface ends up rougher and more three-dimensional than it started.
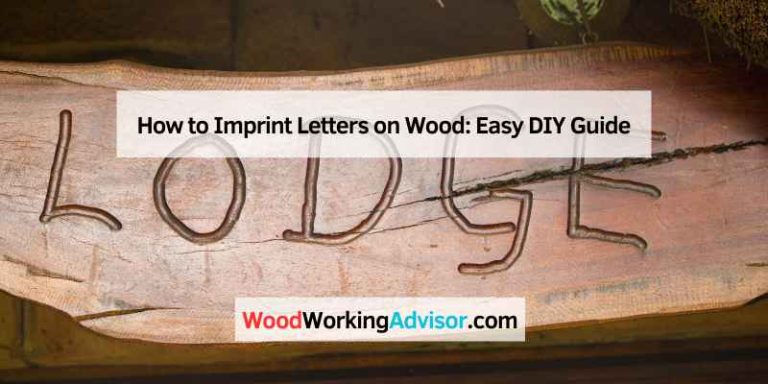
That makes blasting a good match for signs with carved-look lettering, exposed beams, barn-style accent walls and furniture meant to look aged. It is a poor match for anything you want flat, such as a tabletop. For flat and smooth, sanding is the right tool, and our wood sanding guide covers grit order.
Why Softwood Blasts Into a Rustic Texture
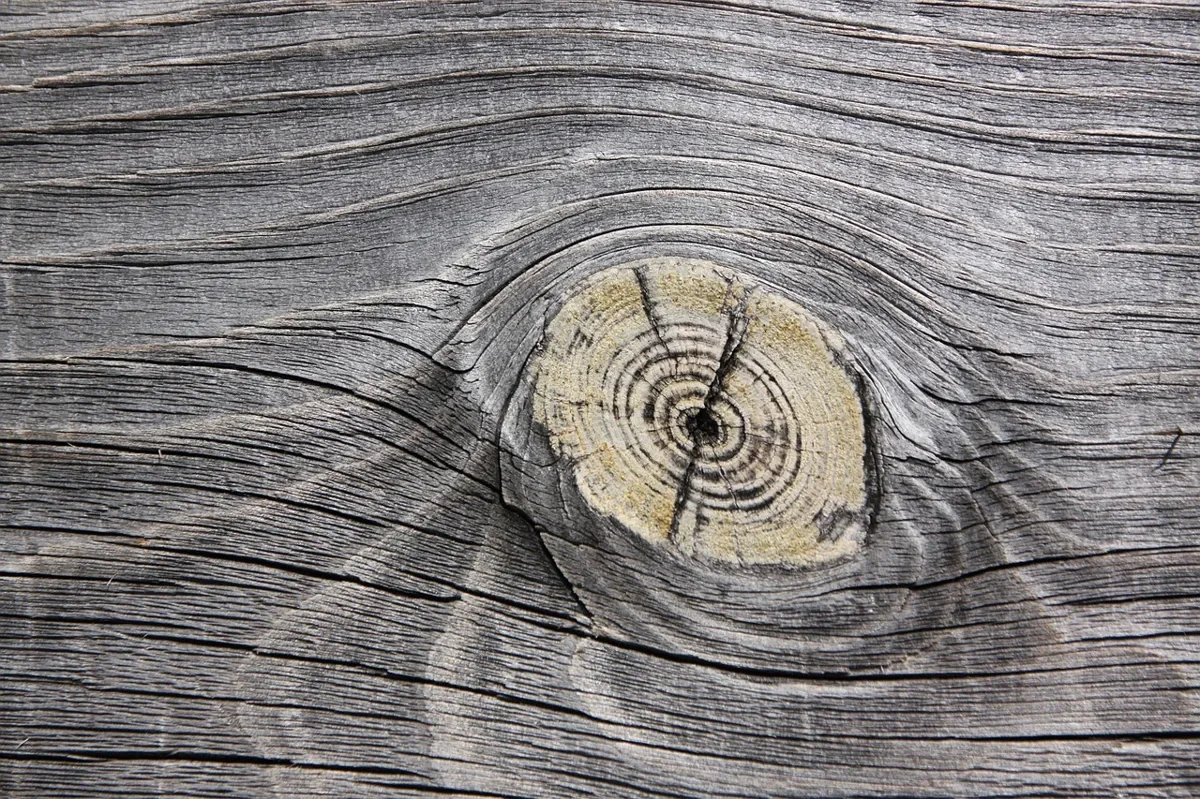
Each growth ring in a softwood has two parts: softer earlywood grown in spring and denser latewood grown in summer. Blasting removes the soft earlywood faster, leaving the harder latewood standing in low ridges. Sources on wood blasting consistently name cedar, pine and fir (especially southern pines) as good choices for this reason, because the hardness gap between the two bands is large.
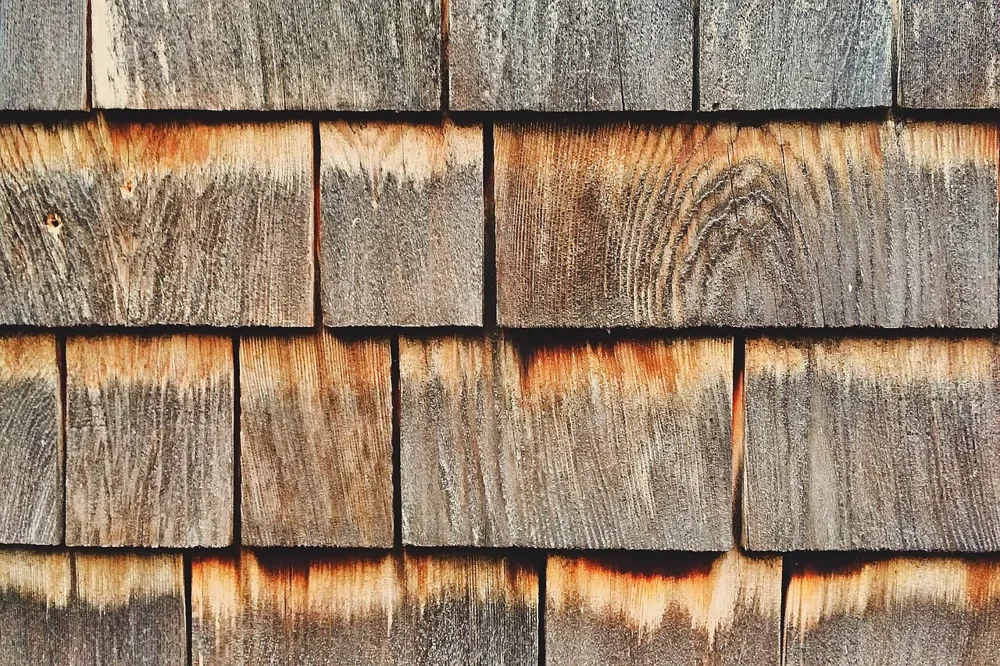
Hardwoods such as oak and maple have a smaller contrast between bands and dense structure, so they texture less dramatically and usually need somewhat higher pressure. Knots are the other trouble spot: they are hard and dense, so they stand proud of the surrounding wood after blasting. Some people like that look, but decide before you start.
Silica Sand and Dust: Safety Comes Before Technique
The old “sand” in sandblasting is the problem. NIOSH states that respirable dust from silica sand and other abrasives poses a risk to the lungs, and silicosis is the disease associated with sandblasting. NIOSH recommends that silica sand not be used as an abrasive, and points to non-silica options such as garnet, olivine, staurolite and slags, which produced nondetectable or lower airborne crystalline silica in its research.
- Do not use silica sand. Check the bag: play sand, “silica sand” and some cheap blasting sand are all crystalline silica. Some blast-cabinet listings say they accept silicon sand; that does not make it safe.
- A dust mask is not enough. NIOSH-certified Type CE abrasive-blast supplied-air respirators are, per NIOSH guidance, the only respirators suitable for abrasive-blasting work. Its notice says the pressure-demand type must be worn whenever silica sand is used, and continuous-flow types only where the abrasive contains no silica sand.
- Prefer an enclosed cabinet. OSHA lists local exhaust ventilation and enclosed blasting cabinets among the controls that limit airborne dust. A cabinet also keeps expensive media in one place. Still wear eye protection and take care when you empty the dust bin.
- Know what is on the wood. OSHA warns that abrasive blasting can generate hazardous dust from coatings containing lead and other toxic materials. Painted furniture or siding of unknown age is a risk; do not blast it in the open until you know what the coating is.
- Protect your ears and skin. Blasting is loud, and thick gloves, overalls, safety shoes and a face shield are commonly recommended.
- Keep bystanders and pets away, and do not blast in a closed room with no exhaust path.
Wood dust from the blasted surface is added to the abrasive dust, so even a non-silica medium still needs respiratory protection and containment. The safest choice for small work is a cabinet; for beams, walls or decks, hire a professional blaster who has the supplied-air equipment instead of improvising.
Best Blasting Media for Wood
There is no single best medium, and the sources that name gentle options do not agree on a strict hardness ranking, so treat this table as a starting point and test on a scrap of the same wood.
| Medium | Typical use on wood | Notes |
|---|---|---|
| Baking soda | Very light cleaning and coating removal | Described as the gentlest common option; will barely texture wood |
| Walnut shell | Coating removal with little damage to wood; grain effects | Organic and biodegradable; nut-allergy exposure is a concern (see our corn cob vs walnut media comparison) |
| Crushed glass | Grain texturing on softwood | Commonly suggested for texture; cuts faster than shell |
| Garnet | General wood blasting and heavier texture | A mineral abrasive NIOSH names as a non-silica alternative; easy to overcut, so keep pressure low |
| Aluminum oxide | Tough coatings, harder woods | Aggressive; risk of gouging softwood |
| Silica sand | Do not use | Crystalline silica; NIOSH recommends against it as an abrasive |
PSI, Nozzle and Distance: Numbers to Start With
Published guidance varies with equipment, media and the look you want, so use these as starting points for a test board rather than fixed rules. One source suggests starting a general blast at 60-90 PSI, which is higher than most wood-specific advice; for wood, start low.
| Setting | Starting point | Source basis |
|---|---|---|
| Softwood pressure | 30-40 PSI | Wood-blasting guidance summarized from several sources |
| Hardwood pressure | 40-60 PSI | Same; above about 60 PSI is not recommended for wood |
| Adjustment step | Raise 10 PSI at a time | One wood-blasting guide, which also cites about 35 PSI as a typical starting setting |
| Nozzle distance | About 8 in from the surface | Same guide; move farther away if the wood starts to gouge |
| Nozzle size | 1/8 to 1/4 in for control | Smaller nozzles give finer detail; ceramic or tungsten carbide nozzles last longer |
How to Texture a Softwood Board, Step by Step
- Pick the wood. Cedar, pine or fir boards with visible growth rings give the strongest relief. Avoid heavily knotted boards unless you want that look.
- Choose a non-silica medium such as walnut shell, crushed glass or garnet, and set up the cabinet or professional booth.
- Test on scrap from the same board at the low end of the range (about 30-40 PSI for softwood).
- Hold the nozzle about 8 in away and sweep with steady, overlapping passes along the grain direction, so the ridges come out even.
- Raise pressure in 10 PSI steps or move closer only if the scrap looks too shallow. If the wood gouges, back off.
- Blow off and vacuum with your respirator still on, then brush lightly to remove loose fibers.
- Seal it. Blasted wood has far more surface area and absorbs finish quickly, so plan on extra finish and test on scrap. Our wood finish texture guide explains how sheen shows on rough surfaces.
Which Wood Projects Suit Blasting, and Which Do Not
- Good fits: routed or carved signs, cedar fence boards and beams for a weathered look, and rustic furniture fronts.
- Risky fits: plywood and other thin-veneer sheet goods, because the face layer is thin and can be cut through quickly; and fine antiques where lost detail cannot be replaced.
- Poor fits: tabletops, cutting boards and any surface you want smooth. Blasting an old deck or cabinet just to strip finish is also usually overkill; see our deck texture guide and the paint-stripping comparison above.
Alternatives to Blasting
If you want texture without a compressor and respiratory setup, a wire or nylon brush used by hand or on a drill can raise grain by scrubbing away softer fibers, though results vary by species. For coatings, chemical strippers and careful sanding avoid airborne abrasive, and a good shop dust collector helps with sanding dust (see our home dust collector guide). For metal parts, see sandblasting metal, where different pressures apply and the wood advice above does not.
Frequently Asked Questions
Can you sandblast wood?
Yes. Softwoods such as cedar, pine and fir respond best because the soft and hard parts of each growth ring wear at different rates, which leaves a raised, weathered-looking grain. Use a non-silica medium and low pressure, and test on scrap first.
What PSI should I use to sandblast wood?
Sources vary, but a common recommendation is about 30-40 PSI for softwood and 40-60 PSI for hardwood, and pressure above about 60 PSI is not recommended for wood. Start low and raise it in small steps on a scrap piece.
Is it safe to sandblast wood with silica sand?
No. NIOSH recommends that silica sand not be used as an abrasive because respirable crystalline silica dust can cause silicosis. Choose a non-silica medium and use an enclosed cabinet or proper blast respiratory protection.
Can I sandblast painted or stained wood?
You can, but the old coating turns into dust you will breathe. OSHA notes that blasting coatings that contain lead can generate hazardous dust, so identify the coating first and do not blast it in an open, unprotected setup.
The Bottom Line
You can sandblast wood, and softwoods reward it with a deep rustic grain, but treat it as a texturing tool that removes soft wood first, not a gentle restoration method. Use a non-silica medium, keep pressure low, test on scrap, and work in an enclosed cabinet or hire a professional with supplied-air protection. If you cannot do it safely, brush or sand instead.
Sponsored / affiliate links. As an Amazon Associate I earn from qualifying purchases. I may earn additional commission from eligible campaigns.