Can You Stain Over Wood Glue? Why It Fails (And What Actually Works)
No. Once wood glue cures, it dries into a plastic-like film that seals the wood’s pores shut, so stain can’t soak in through it. Any spot with dried glue on it — a drip, a smear, leftover squeeze-out — will stay lighter than the surrounding wood after staining, no matter which brand or “stainable” formula you used.
This trips up a lot of woodworkers because the labeling is confusing. Some glues are marketed as “stainable,” and reviewers online swear a certain brand “took the stain fine.” Neither of those things means the glue itself absorbed color the way wood does. Here’s what’s actually happening chemically, why the confusion exists, and the three ways pros actually deal with it.
Why Wood Glue Blocks Stain (the Real Mechanism)
Best For Preventing Blotchy Glue Spots
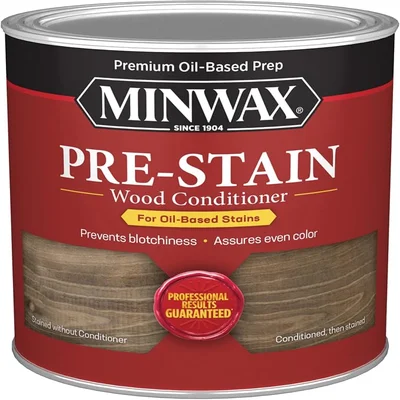 |
Minwax Pre-Stain Wood Conditioner, 1 Quart – $22.94 Won’t remove existing glue film, but on properly scraped and sanded joints it narrows the color contrast by evening out how the surrounding wood absorbs stain.
|
Wood stain isn’t paint — it doesn’t sit on top of a surface and add color that way. It works by soaking into the open, porous cell structure of wood and depositing pigment or dye inside those cells. That’s why end grain drinks up stain and gets darker, while dense face grain takes less.
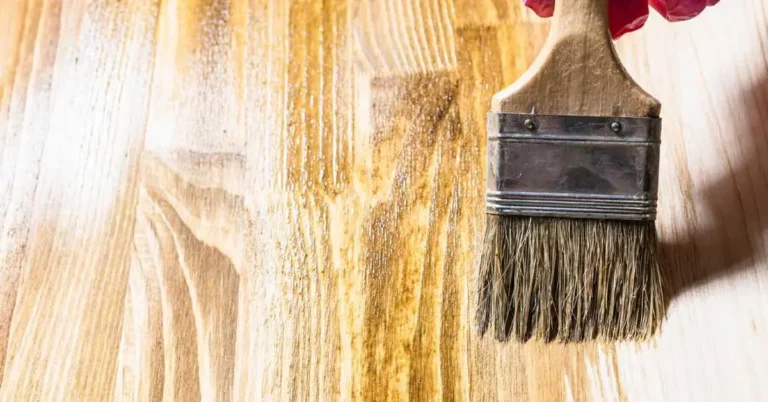
PVA wood glue (the yellow or white glue in Titebond, Gorilla Wood Glue, and most bottled carpenter’s glue) is a polymer emulsion. As it cures, the water evaporates out and the polymer particles fuse into a continuous, semi-rigid film. That film has essentially no open pore structure — there’s nothing for stain to soak into. So wherever that film sits on the wood surface, stain either beads up, gets wiped away with the excess, or penetrates just enough to leave a hazy, uneven patch instead of a clean, even tone.
This is true across brands. Titebond Original, Titebond II/III, Gorilla Wood Glue, and generic PVA glue are all the same basic chemistry with different additives for water resistance or open time — none of them are designed to take stain color, and none of them will if enough of the film is left on the surface.
So What Does “Stainable Wood Glue” Actually Mean?
A few glue lines advertise themselves as more stain-friendly. What that actually buys you is a thinner, more translucent dried film — not a film that chemically accepts pigment. Under a light stain or a gel stain applied heavy enough to build color on the surface rather than penetrate deeply, that thin film is less noticeable. Under a dark, deeply penetrating oil stain on open-pore wood like oak or ash, the same “stainable” glue can still leave a visible pale line if you didn’t clean the joint properly.
In other words: a thinner glue line hides the problem better. It doesn’t eliminate it. The only reliable fix is controlling how much glue residue ends up on show-face surfaces in the first place, and removing what’s left before finishing.
How to Actually Get an Even Stain Over a Glued Joint
These are the methods that work, in order of how often woodworkers actually use them:
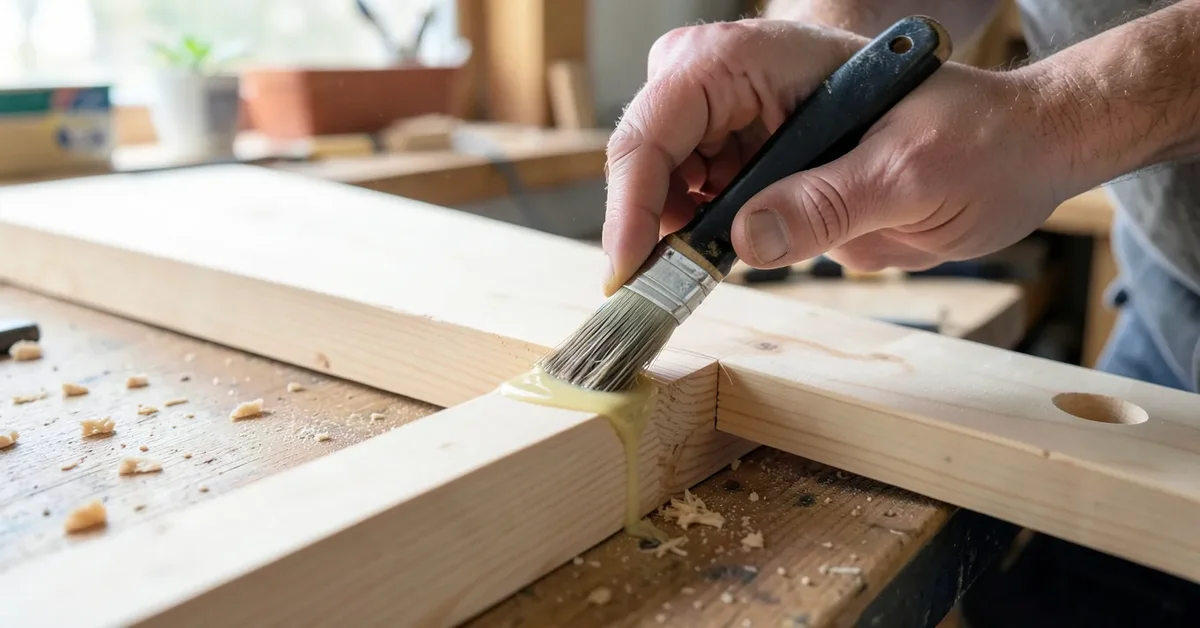
- Wipe squeeze-out while it’s still wet. A damp rag run along the joint within a few minutes of clamping removes almost all surface glue before it cures. This is the single biggest factor in whether staining goes evenly — catching it wet beats scraping it dry every time.
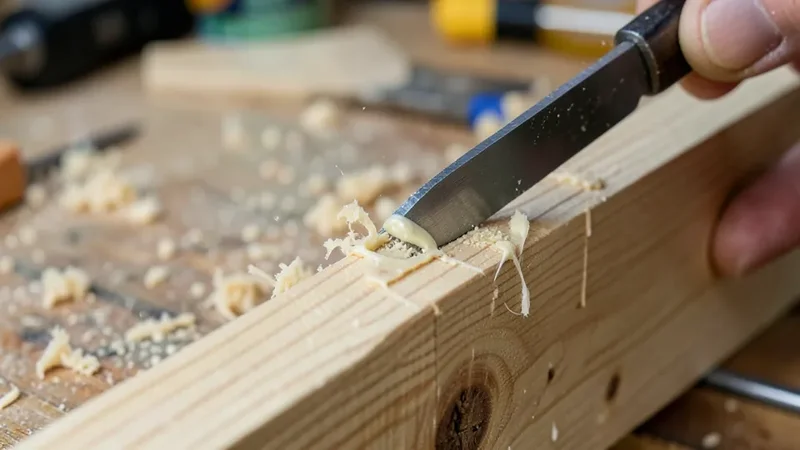
- Scrape and sand any glue that did dry. A sharp chisel or card scraper held flat will pop off a dried glue bead without gouging the wood. Follow with 120- then 220-grit sandpaper across the whole glue line, not just the visible bead, since a thin film can extend further than it looks.
- Use a pre-stain wood conditioner before staining. Conditioner soaks into the surrounding wood and partially evens out how much stain the fibers absorb, which narrows the contrast between a slightly glue-contaminated spot and clean wood. It won’t rescue a joint with heavy glue residue still on it, but on a properly scraped and sanded joint it noticeably smooths out the transition, especially on blotch-prone woods like pine, birch, and maple.
- Stain before you glue up, on tight-fitting joints. Pre-finishing show faces and masking only the actual glue surfaces (painter’s tape works) sidesteps the whole problem for panel glue-ups and box joints where the joint doesn’t need to flex or take stress from later staining.
Can You Fix It After the Fact?
If you’ve already stained over a glue spot and it’s showing up pale or blotchy, you have two realistic options. First, sand the affected area back below the glue film — this usually means going deeper than you’d expect, since PVA film can telegraph a few thousandths into the surrounding fibers — then re-stain just that section, feathering the edge so it blends. Second, if sanding isn’t practical (already-assembled furniture, a tight corner), a gel stain or toner applied in light coats over the whole surface can even out the color difference by building surface color rather than relying on penetration.
What doesn’t work: applying more of the original stain directly onto the glue spot alone. Since the problem is that the surface won’t absorb stain, adding more stain just sits there and wipes off, or dries tacky. You have to either remove the barrier (sanding) or cover it with something that doesn’t rely on absorption (gel stain, toner, or paint).
A Different Approach: Coloring the Glue Itself
For visible glue lines you can’t avoid — a bent lamination, a butcher block with contrasting wood species, an intentionally exposed joint — some woodworkers tint the glue instead of trying to stain over it afterward. This gets you a consistent, predictable color rather than gambling on how the cured film reacts to stain later.
- Water-soluble dye in the glue: A few drops of a concentrated wood dye (TransTint is the common one) or even food coloring, mixed thoroughly into PVA glue before applying it, tints the glue line itself so it reads closer to the surrounding wood tone once dry.
- Wood flour or fine sanding dust: Mixing sanding dust from the same wood species into glue creates a paste that dries closer to the wood’s natural color and grain texture — a trick furniture restorers use for filling and disguising glue lines on the same project.
- Tinted epoxy for feature joints: On live-edge or river-table style work where the glue line is a design element, pigmented epoxy is used instead of PVA specifically because it can be dyed any color and doesn’t have PVA’s stain-blocking problem — but it’s a different adhesive system, not a wood glue substitute for structural joints.
Mix tinted glue in a disposable container, and always test the color on scrap of the same wood species first — dye concentration and glue color both shift lighter or darker once fully cured.
Does Staining Over Glue Weaken the Joint?
Stain itself, applied to bare wood next to a joint, doesn’t weaken PVA glue bonds — the joint’s strength comes from the glue penetrating the wood fibers before it cured, and that bond is already set. The risk runs the other direction: if you stain or seal over glue that hasn’t fully cured (PVA typically needs 24 hours to reach a workable bond and up to a week for full cure), solvents in an oil-based stain or finish can soften the still-curing glue film and interfere with adhesion. Wait for full cure time on the glue before staining or finishing over or near a joint, and you won’t have a strength problem either way.
Frequently Asked Questions
Can you stain over dried wood glue?
No. Dried wood glue forms a sealed film that blocks stain from penetrating, leaving a lighter or blotchy patch. Scrape and sand the glue off down to bare wood before staining that area.
Is “stainable” wood glue actually different from regular PVA glue?
Not chemically. “Stainable” PVA glues dry to a thinner, more translucent film than standard PVA, which makes glue lines less visible under stain — but the glue still doesn’t absorb pigment the way wood does, and heavy squeeze-out will still show.
Can you stain Gorilla Wood Glue?
No, Gorilla Wood Glue (the PVA formula, not original Gorilla Glue polyurethane) behaves like any other PVA adhesive under stain — it seals the surface rather than absorbing color. Remove any residue by sanding before staining.
What’s the best way to avoid glue spots showing up under stain?
Wipe squeeze-out with a damp rag within a few minutes of clamping, before it cures. That single habit prevents more visible glue spots than any amount of sanding or conditioning after the fact.
Bottom Line
Wood glue and stain absorption work against each other by design — one seals, the other needs open pores to soak into. Control squeeze-out while it’s wet, sand out anything that dries, and use a pre-stain conditioner on blotch-prone wood to narrow the contrast on the joints you can’t fully avoid. That combination, not a specific glue brand, is what actually produces an even stain finish.
Sponsored / affiliate links. As an Amazon Associate I earn from qualifying purchases. I may earn additional commission from eligible campaigns.