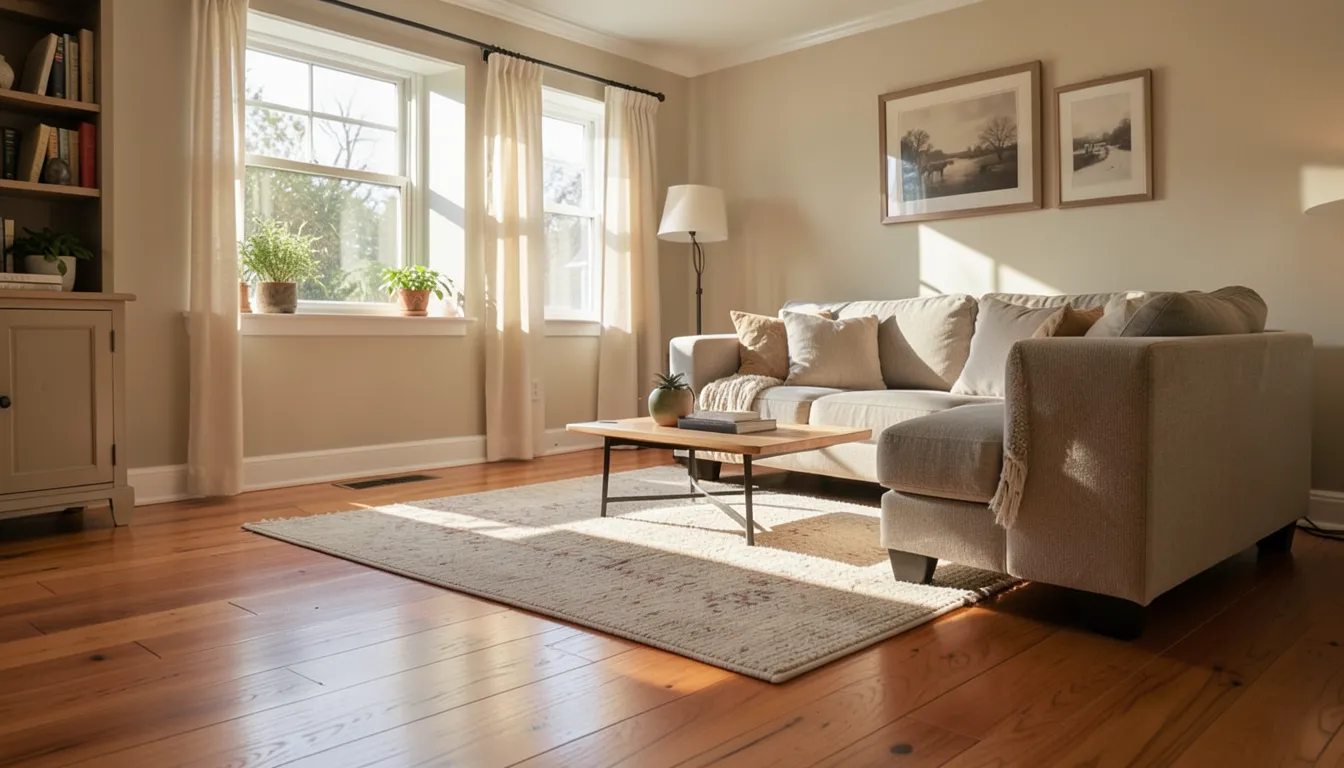
How to Care for Hardwood Floors So They Last Decades
Caring for hardwood floors comes down to three habits: sweep or dust-mop grit off before it scratches the finish, clean spills within minutes instead of letting them sit, and keep indoor humidity between 30-50% so the boards don’t gap or cup. Get those three right and everything else — cleaner choice, furniture pads, occasional recoating — is just fine-tuning.
Know Your Floor’s Finish First
Best Way To Catch Humidity Problems Before They Show
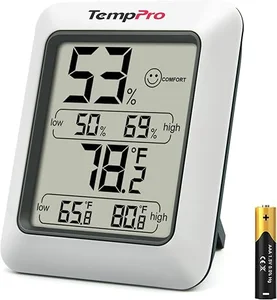 |
TempPro TP50 Digital Hygrometer – $10.99 Gaps and cupping are humidity problems, not cleaning problems — this tells you where your home actually sits before boards start moving.
|
Before picking a cleaning routine, figure out what’s actually protecting your floor. Nearly all modern hardwood has a factory-applied polyurethane topcoat (oil-based, which is durable but slower-drying and stronger-smelling, or water-based, which dries faster and is lower-odor) that acts as a sacrificial shield — you’re cleaning and protecting that layer, not the bare wood underneath. Older homes sometimes have a wax finish instead, which needs entirely different care: wax cleaners or a mild soap solution, periodic re-waxing, and never a polyurethane-style cleaner, which can gum up on a waxed surface. If you’re not sure which one you have, a hidden test spot with mineral spirits tells you fast — it won’t affect polyurethane but will dull and lift a wax finish.
Daily and Weekly Cleaning
Grit is the real enemy of a hardwood finish — not moisture, not sunlight, but the small, sharp particles that get ground into the finish underfoot like sandpaper. Sweep with a soft-bristle broom or dust mop daily or every other day, and if you vacuum, use a hardwood-safe attachment (no beater bar, which can scratch the finish) and go slowly enough to actually lift dust from corners and edges rather than just skating over them. Microfiber dust mops pick up fine particles a broom leaves behind, and working in the direction of the grain catches more debris than working across it. For an actual spill rather than routine dust, a shop-style wet/dry vacuum can pull up standing liquid fast — see are wet/dry vacuums safe for hardwood floors for the attachments and drying steps that keep it from doing more harm than good.
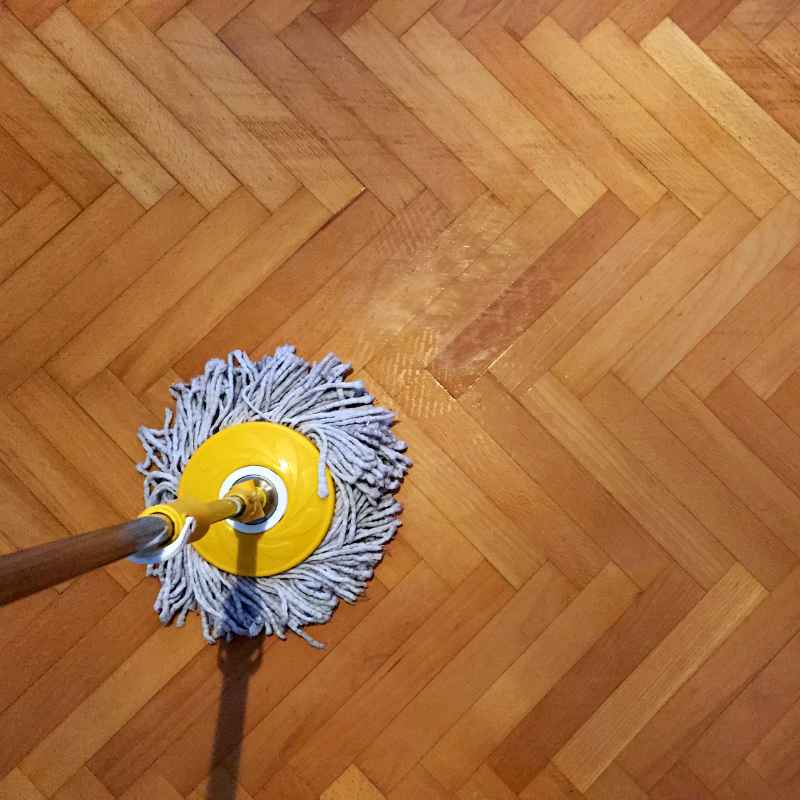
Weekly (or as needed), follow up with a damp — not wet — mop using a pH-neutral hardwood cleaner. Spray the cleaner onto the mop head rather than pouring it directly on the floor, work in small sections in the direction of the grain, and dry each section with a clean cloth right behind the mop rather than letting it air-dry — that’s what prevents moisture from working into seams between boards. If you’d rather combine the mop-and-dry step into one pass, a dedicated wet vacuum for hardwood floors applies solution and pulls it back up immediately, though it’s still a wet-cleaning method, not a dry one.
See our full breakdown on whether you can use a steam cleaner on a wood floor for the full explanation, but the short version: skip steam mops entirely — the steam forces moisture into seams and under the finish in a way a damp cloth never will, and it’s one of the more common causes of avoidable water damage on an otherwise well-cared-for floor. A diluted white vinegar solution (about 1/4 cup per gallon of water) is sometimes recommended as a DIY cleaner, but vinegar is acidic and repeated use gradually dulls a polyurethane finish — fine occasionally, not as a routine replacement for a real pH-neutral cleaner.
If a finish has already failed and water actually got underneath it, cleaning habits alone will not fix it. See our guide on how to waterproof wood floors for how to check the wood is dry before resealing and which finish actually holds up to standing water.
Spills: Speed Matters More Than Technique
Blot spills with a soft cloth immediately rather than letting them sit — standing liquid is what causes black stains, discoloration, and eventually warping, and none of that happens in the first few minutes. For sticky residue like tape residue, a barely damp cloth works better than a dry one, but always finish by drying the spot completely. Pet accidents need faster action and often a cleaner specifically formulated to break down the enzymes in urine, not just wipe up the liquid — a generic cleaner can leave residual odor that regular cleaning won’t fully remove.
Preventing Damage Before It Happens
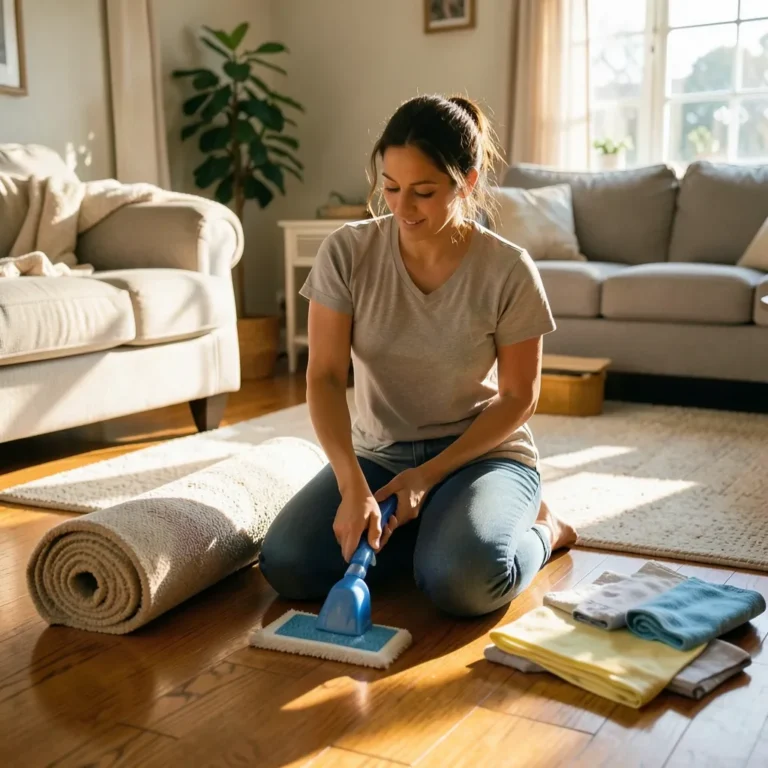
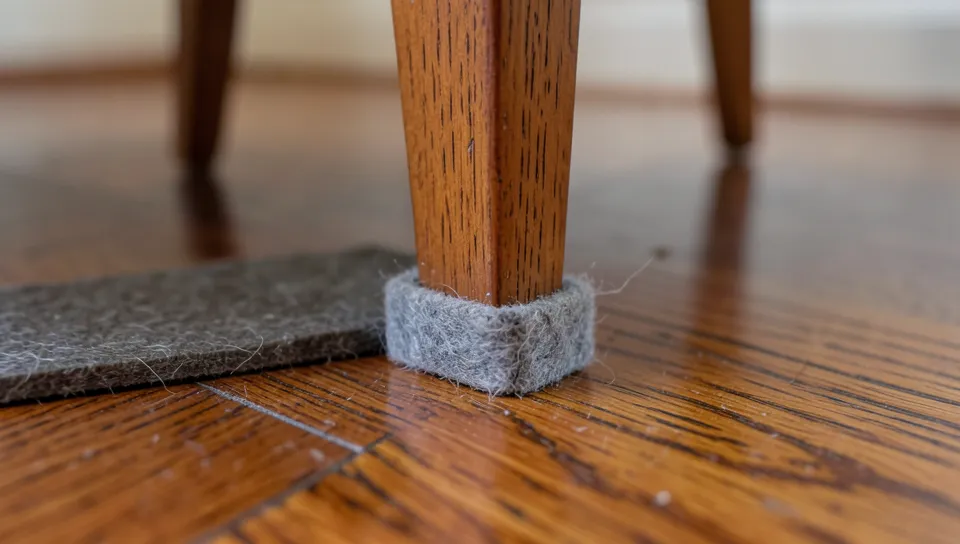
Felt pads on every piece of furniture stop the single most common source of scratches, but they only work if you check them — a pad that’s collected grit becomes sandpaper itself, so replace worn ones rather than trusting them indefinitely. Doormats inside and outside every exterior door catch grit before it ever reaches the floor, and a shoe-free household rule prevents the deeper damage that heels, cleats, and gritty soles cause. In high-traffic areas, an area rug with a colorfast, hardwood-safe backing adds a real layer of protection — but clean under it periodically, since trapped grit under a rug grinds into the finish just as effectively as grit on open floor, and some rubber/latex backings can discolor a floor if left in place for a long time. As a bonus, a thick area rug also cuts down on the echo that bare hardwood floors are prone to — see our guide on how to reduce echo in a room with hardwood floors for the full breakdown.
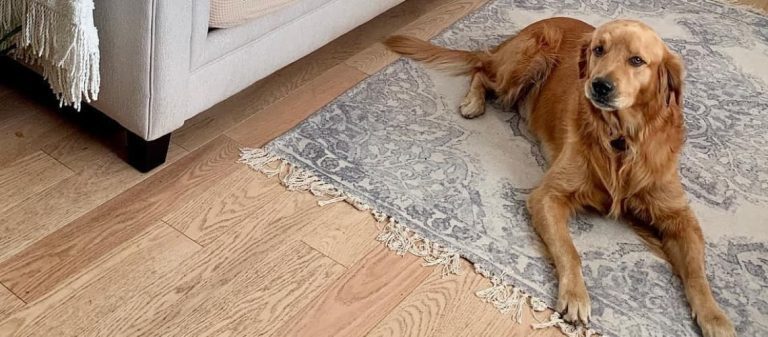
Keep pet nails trimmed, since long nails scratch a finish with normal walking, and add rugs in spots where a dog tends to slide for traction as much as protection. Already dealing with marks from this? Our guide to fixing dog scratches on hardwood floors breaks down which repairs need sanding and which don’t. If you’re curious whether it’s safe to steam-clean a rug sitting on your hardwood, check our guide on steam cleaning a rug on hardwood floors first — steam can reach the boards underneath even through a rug pad, and trapped moisture from that (or from any poorly ventilated spill) is also the most common trigger behind mold on hardwood floors.
Fixing Scratches, Dents, and Worn Spots
Damage, Matched to the Right Fix
Light surface scratches (finish only): A buff-out, a scratch-repair kit, or a color-matched touch-up marker usually resolves these.
Small dents: A damp cloth and a hot iron can raise compressed wood fibers back out — see our full guide to removing dents from finished hardwood floors for the exact method.
Deeper gouges (into the wood): A color-matched wood filler, followed by light sanding and a matching finish coat once it’s cured.
Widespread wear or dullness: Recoating (see our full guide to making wood floors look new again) — a light scuff-sand plus one or two fresh finish coats — extends the floor’s life without a full refinish.
Structural damage (major cupping, buckling, extensive gouging): A full sand-and-refinish, best left to a professional.
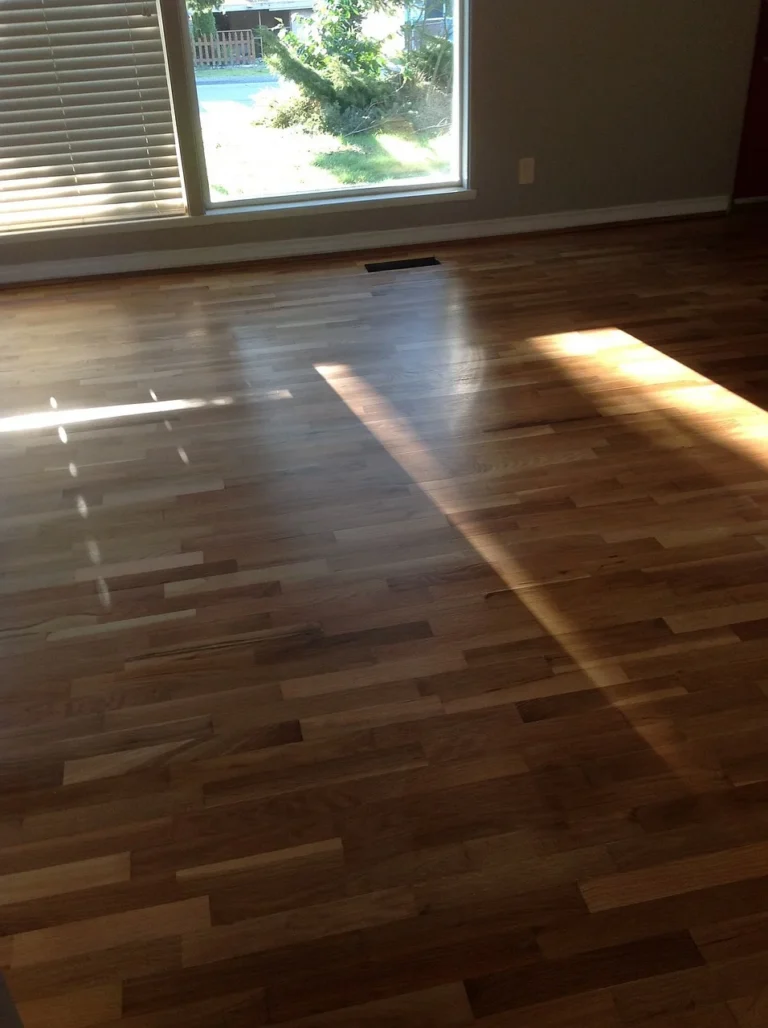
A few light scratches and some gradual dulling in high-traffic paths are completely normal wear, not a defect — hardwood is a living material, and chasing total perfection is a losing, expensive battle. Reserve real concern for deep gouges into the wood itself, finish that’s peeling or flaking across a wide area, or boards that are visibly cupping (edges higher than centers) or crowning (centers higher than edges), all of which point to a moisture or structural issue worth addressing at the source rather than just resurfacing over.
Humidity: The Cause Behind Gaps and Cupping
Wood expands when it absorbs moisture and contracts as it dries out, and that’s completely normal in small amounts — problems start when the swing is extreme or sudden. Winter heating dries indoor air and can pull boards apart into visible gaps; a humid summer with no AC or dehumidification can push boards to expand enough to cup or even buckle if they have nowhere to go. Keeping indoor humidity in the 30-50% range — a humidifier in dry winter months, a dehumidifier in humid summer ones, and a hygrometer to actually track it rather than guess — is the single highest-leverage thing you can do for long-term floor stability, more so than any cleaning product choice. Keep vents from blowing directly onto floor areas, and avoid parking a heavy rug directly over a floor heating vent, which traps heat and moisture in one spot.
Deep Cleaning and When to Recoat
Beyond routine mopping, a deeper clean once or twice a year (more with heavy pet or kid traffic) tackles the grime buildup a weekly damp mop doesn’t fully remove — use a hardwood-specific deep cleaner and follow its instructions on dwell time and rinsing. Watch the finish itself over time: if it looks dull or worn in traffic paths even right after cleaning, that’s a sign to recoat rather than clean harder. Recoating — a light scuff-sand to help the new layer bond, then one or two fresh coats of finish — is far less invasive than a full refinish and can meaningfully extend a floor’s life before a full sand-down is ever needed.
Frequently Asked Questions About Hardwood Floor Care
Can I use a regular household cleaner on my hardwood floors?
It’s not recommended. Most all-purpose household cleaners are too harsh for a hardwood finish and can strip it, leave a dull residue, or damage the wood underneath. Use a pH-neutral cleaner made for hardwood, or plain water on a damp microfiber mop for light cleaning. If you already have something like Mr. Clean on hand, see our breakdown on whether and how to dilute Mr. Clean for wood floors safely.
How often should I deep clean my hardwood floors?
Once or twice a year is typical for most homes; more often with heavy pet or kid traffic. Let how the floor actually looks — dull or grimy despite regular mopping — guide the timing rather than a fixed calendar.
What’s the best way to clean pet messes on hardwood floors?
Blot up as much liquid as possible immediately, then use a cleaner formulated for pet stains and odors on hardwood — plain water often isn’t enough to fully neutralize urine odor. Dry the area completely afterward. See our full guide to removing black urine stains from hardwood floors or our general stain-removal guide for water, oil, food, and ink stains.
Should I wax my hardwood floors?
Only if they already have a traditional wax finish. Waxing a modern polyurethane-finished floor creates a sticky residue that’s hard to remove and attracts dirt. If you’re not sure which finish you have, test a hidden spot with mineral spirits or ask a flooring professional before applying anything.
Why are my hardwood floors gapping or cupping?
Both are usually humidity-driven. Gaps appear when dry winter air pulls moisture out of the boards; cupping (edges higher than the center) happens when boards absorb too much moisture, often from high humidity or a spill/leak. Keeping indoor humidity between 30-50% year-round, tracked with a hygrometer, prevents most cases. If the gaps themselves are the problem rather than cupping, see our guide on how to seal gaps in wood floors for the DIY fix. If the moisture exposure is severe enough, cupping can progress into full buckling, where boards actually lift away from the subfloor – see our guide on why hardwood floors buckle and how to fix it if your boards are already lifting rather than just cupping at the edges.
Bottom Line
Grit management, fast spill cleanup, and stable indoor humidity do more for a hardwood floor‘s lifespan than any cleaning product on the market. Get those three habits consistent, address scratches and dullness with the right fix for their severity rather than jumping straight to a full refinish, and a well-installed hardwood floor will genuinely outlast most of the furniture sitting on it.
Sponsored / affiliate links. As an Amazon Associate I earn from qualifying purchases. I may earn additional commission from eligible campaigns.