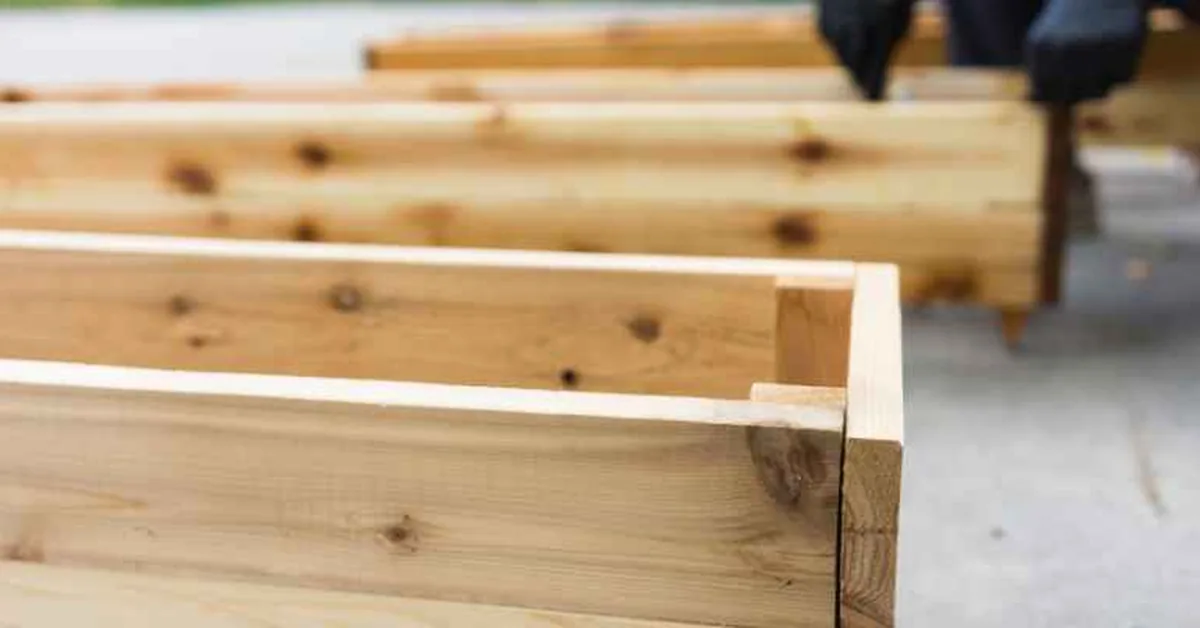
Cedar Planter Box Plans: Free Cut List for 3 Sizes
Western red cedar planter boxes need 5/4-inch-thick boards and 1/2-inch drainage holes spaced every 4-6 inches — skip the holes and roots sit in standing water within a season. Left unsealed, even naturally rot-resistant cedar turns gray within a year outdoors. This guide gives a cut list for three box sizes, the exact tools list, drainage spacing, and step-by-step assembly so you can build one this weekend for under $40 in lumber.
Cedar Planter Box Cut List (3 Sizes)
Best Fastener Pick
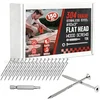
#10 x 3″ 304 Stainless Steel Deck Screws (150-pack)
304 stainless resists rust in wet soil contact where a planter box lives permanently.
- Best for: corner joints and leg attachment on medium/large boxes
- Why we picked it: won’t leave black rust streaks down painted or stained cedar the way carbon-steel screws do
- Main drawback: costs more per screw than coated exterior screws
Compare more build essentials
 Option 1 Minwax Helmsman Spar Urethane (Gloss)
|
 Option 2 Gorilla Ultimate Waterproof Wood Glue
|
 Option 3 BLACK+DECKER 20V Cordless Drill Driver Kit
|
As an Amazon Associate we earn from qualifying purchases.
Every plan online gives you one size. Here’s a cut list for three, built from standard 1×6 (5/4×6 actual) western red cedar boards so you can size the box to the spot you actually have — a narrow porch box, a mid-size raised bed, or a full deck-rail planter.
| Size | Finished Dimensions (L x W x H) | Boards Needed | Approx. Lumber Cost |
|---|---|---|---|
| Small (window box) | 24″ x 8″ x 8″ | 3 × 1x6x8′ cedar boards | $18–$22 |
| Medium (patio planter) | 36″ x 12″ x 12″ | 5 × 1x6x8′ cedar boards + 4 × 2×2 legs | $32–$38 |
| Large (raised bed) | 48″ x 18″ x 18″ | 8 × 1x6x8′ cedar boards + 4 × 2×2 legs | $55–$65 |
Prices reflect western red cedar at big-box lumber pricing as of 2026 and will vary by region. Cedar isn’t the only rot-resistant option out there — browse our full cedar buying and care guides if you want the wider picture before committing to a species.
Materials and Tools You’ll Need
- Cedar boards — 1×6 (nominal) western red cedar, per the cut list above. Fence pickets work as a budget substitute but check for warp before buying.
- 2×2 cedar legs — medium and large boxes only, for corner support and to lift the box off wet ground.
- Corrosion-resistant deck screws — #8 or #10 stainless or coated exterior screws, 1-5/8″ to 2-1/2″ depending on board thickness.
- Exterior wood glue — waterproof formula, applied to every joint before screwing for extra strength.
- Miter saw or circular saw — for square, repeatable crosscuts on the boards.
- Cordless drill/driver — for pilot holes, driving screws, and boring drainage holes.
- 1/2″ spade or Forstner bit — specifically for drainage holes.
- Tape measure, square, and pencil — for marking accurate cuts.
- Landscape fabric or hardware cloth — optional liner to keep soil from washing out the drainage holes.
How to Build a Cedar Planter Box
These steps build the medium (36″ x 12″ x 12″) box from the cut list above. Scale the cut lengths up or down for the small or large size — the sequence stays the same.
- Cut the sides to length: Crosscut two 36″ boards and two 12″ boards per layer, for however many stacked layers reach your target height.
- Cut the legs: Cut four 2×2 cedar legs to 14″ — 12″ of finished box height plus 2″ of ground clearance.
- Glue and screw the first layer: Align a long and short board against a leg, apply exterior wood glue to the joint, then drive two screws through the board into the leg. Repeat for all four corners of the layer.
- Stack and repeat: Add each subsequent layer directly on top, gluing and screwing into the same leg posts until you reach the target height.
- Attach the bottom slats: Cut cedar slats to fit inside the base, leaving a 1/4″ gap between each slat for water to escape.
- Drill drainage holes: Bore 1/2″ holes every 4–6 inches along the bottom slats (see spacing detail below).
- Sand all edges: Work through 80, then 120 grit to knock down rough edges and splinters, especially anywhere hands or plant stems will touch.
- Line if desired: Staple landscape fabric or hardware cloth inside the bottom, folded up the sides a few inches, to keep soil from washing through the drainage gaps.
- Apply finish: Brush on two coats of spar urethane, letting each coat dry fully, to slow graying and UV damage.
- Fill and plant: Add a layer of coarse gravel or broken pottery over the drainage slats before adding potting soil, to keep soil from clogging the gaps.
In our shop, the single most common mistake we see on this build is driving a screw within 1/2 inch of a board’s end without a pilot hole — cedar splits almost every time at that distance. Always pre-drill within 1 inch of any edge, even though cedar feels soft enough to skip it.
How Many Drainage Holes Does a Cedar Planter Box Need?
Drill 1/2-inch holes spaced every 4 to 6 inches across the bottom of the box, not just one or two in the center. A 36-inch-long bottom needs roughly six to eight holes in that spacing to drain evenly across the whole footprint — a single center hole lets the corners stay waterlogged while the middle drains fine.
📊 A planter box with inadequate drainage can stay waterlogged for 48+ hours after a heavy rain, long enough for most container plant roots to start showing rot damage — the gap-and-slat method in Step 5 above solves this more reliably than holes drilled through a solid bottom panel.
Choosing the Right Cedar for Planters
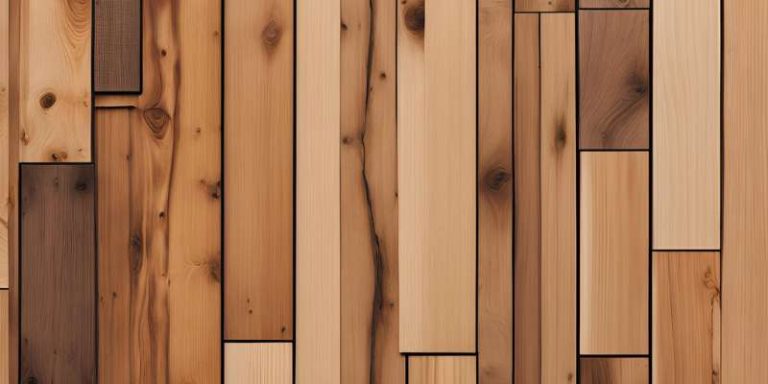
Not all cedar is the same. Western red cedar and eastern white cedar are the two you’ll find at most lumberyards, and they’re not interchangeable for outdoor boxes.
Western Red Cedar
Western red cedar is a straight-grained softwood that resists rot and insects thanks to natural thujaplicin oils, which is why it’s the standard choice for outdoor furniture and structures. It costs more than eastern white cedar but holds up longer in direct ground or soil contact, which matters for a planter that sits full of wet soil year-round.
Eastern White Cedar
Eastern white cedar is lighter in color, finer-textured, and less expensive than western red cedar. It’s still naturally decay-resistant, but not to the same degree — expect a somewhat shorter service life in a planter box that stays wet, so it suits boxes you plan to replace or refinish more often.
Whichever species you choose, buy boards individually rather than by the bundle so you can sight down each one for warp, and skip anything with knots near the edge — those are the spots most likely to split when you drive a screw. For a broader species comparison, see cedar vs. pine.
Best Finish for a Cedar Planter Box
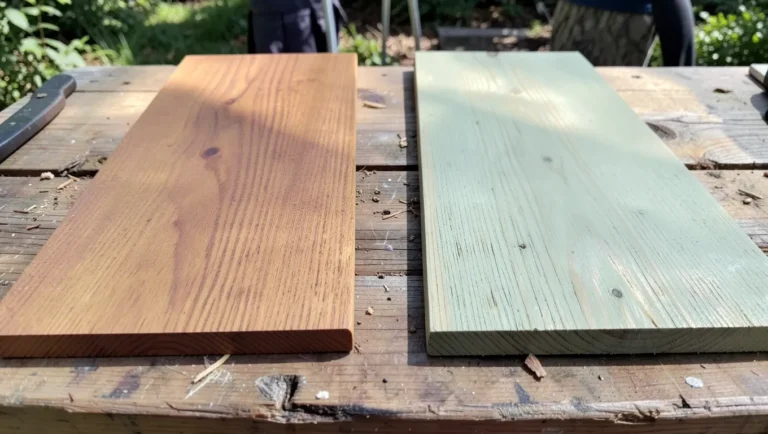
Cedar doesn’t need a finish to survive outdoors, but it needs one to keep its color. Unsealed cedar weathers to a silver-gray within about a year of sun and rain exposure — the wood itself is fine, it’s just cosmetic. A spar urethane or exterior oil finish, reapplied every one to two years, keeps the warm reddish-brown tone.
Skip interior polyurethane. It doesn’t flex with outdoor wood movement and will crack and peel within a season. For the full breakdown of finish options and how to apply them, see how to finish cedar for outdoor use. Whatever finish you choose, apply it before you add soil — finishing an already-planted box means masking off live plants.
Cedar Planter Box Design Ideas
Once you’ve built the basic box, a few design variations change how it functions and looks without changing the core joinery.
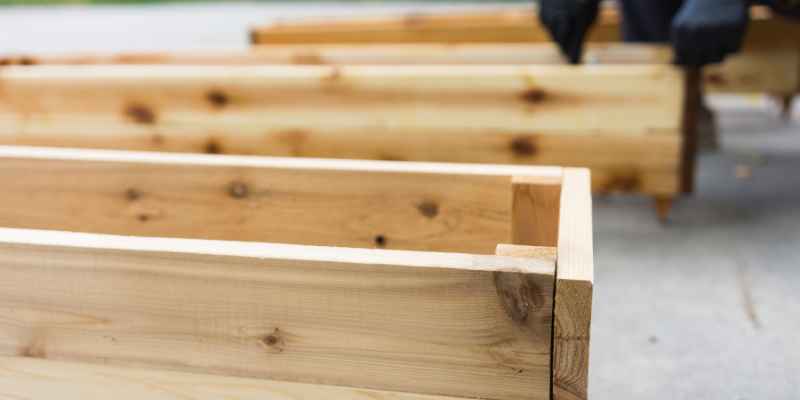
Angled (Tapered) Planter Box
Cutting the side boards at a slight angle instead of square gives the box a tapered, modern profile that reads as more intentional than a plain rectangle. It works especially well for smaller planters holding herbs or shrubs, where the narrower base doesn’t sacrifice much soil volume.
Planter Box with a Built-In Bench
Adding a wide top cap across two facing planter boxes turns them into a bench, giving you seating and planting space in the same footprint — a good option for a small patio where every square foot has to do double duty.
Raised Planter Box on Legs
Extending the legs to 18–24 inches lifts the planting surface to standing height, which is easier on your back and keeps the box further from ground moisture — worth the extra lumber if rot prevention is your main concern for a box that will stay outside year-round.
For glue and fastener choices specific to outdoor cedar joints, our exterior wood glue comparison for cedar projects covers which formulas actually hold up to repeated wet-dry cycles, and plugging screw holes covers how to hide fastener heads on a more finished-looking build.
Common Mistakes to Avoid
- Drilling too close to an edge without a pilot hole — splits the board almost every time; stay at least 1 inch from any edge or pre-drill closer than that.
- Using a solid bottom panel with one drain hole — the slatted-bottom method with holes every 4–6 inches drains far more evenly.
- Skipping the finish because “cedar doesn’t need it” — true for rot resistance, false for color; unsealed cedar grays within a year.
- Filling with garden soil instead of potting mix — garden soil compacts in a container and drains poorly compared to a bagged potting mix.
- Skipping the gravel layer over drainage slats — without it, soil washes through the gaps and clogs them within a season.
Frequently Asked Questions
Does cedar make good planters?
Yes. Cedar’s natural oils resist insects and rot, so it doesn’t need a finish to survive outdoors and it carries a pleasant aroma. It doesn’t have to be lined, though a liner made for gardening containers extends its life if you use one.
Do cedar planter boxes need drainage holes?
Yes. Without drainage, excess water pools around the roots and causes rot within days of a heavy watering or rainstorm. Space 1/2-inch holes every 4 to 6 inches across the bottom rather than relying on one or two center holes.
Is cedar or pressure-treated wood better for planters?
Cedar is the better choice for planters holding edible plants, since it resists rot naturally and doesn’t rely on chemical preservatives that can leach into soil. Pressure-treated wood costs less and lasts longer structurally, but modern ACQ treatment still carries soil-contact caveats worth reading before you plant food in it — see our full treated wood for raised beds breakdown.
How long do cedar planter boxes last without sealing?
Unsealed western red cedar typically lasts 10 to 15 years outdoors before structural failure, even though it visually grays to silver within the first year. Sealing doesn’t add much structural lifespan — its main job is keeping the reddish-brown color instead of letting it weather gray.
Do cedar planter boxes need to be lined?
Not for the wood’s sake — cedar resists rot and insects on its own. A liner is worth adding mainly to keep soil from washing out through drainage gaps; use a liner made for gardening containers that still allows air and water through, not solid plastic sheeting.
What size should drainage holes be in a planter box?
1/2 inch is the standard size for a wood planter box this size. Smaller holes clog easily with wet soil; larger holes let too much potting mix wash out with every watering.
Conclusion
A cedar planter box comes down to four things: an accurate cut list, drainage holes spaced correctly rather than centered, a finish if you want to keep the color, and pilot holes near every edge. Pick a size from the cut list above, work through the ten build steps, and you’ll have a box that outlasts most store-bought planters at a fraction of the cost.
Sponsored / affiliate links. As an Amazon Associate I earn from qualifying purchases. I may earn additional commission from eligible campaigns.