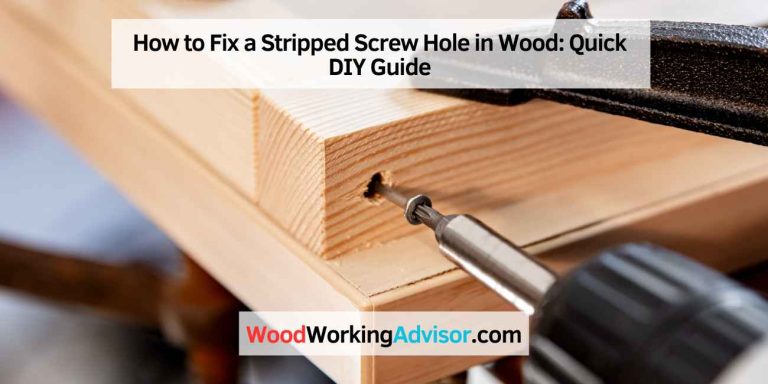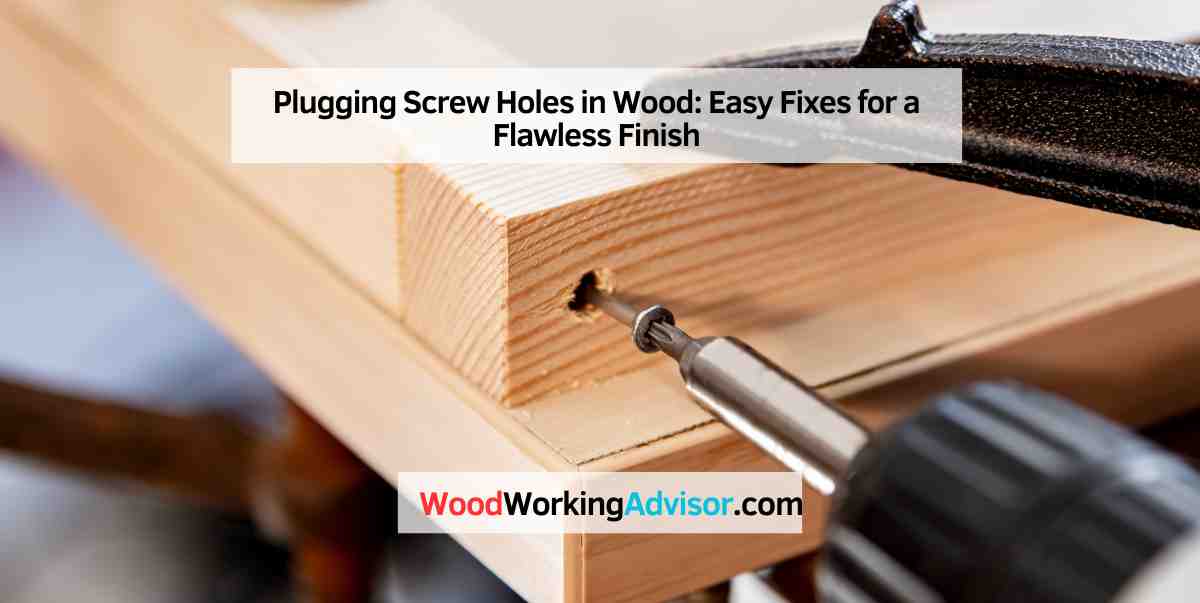
Plugging Screw Holes in Wood: Easy Fixes for a Flawless Finish
To plug screw holes in wood, use wood filler or dowels and glue for a seamless finish. A well-filled screw hole is important for the structural integrity and visual appeal of wooden furniture and fixtures.
Whether you’re working on a DIY project or making repairs, knowing how to properly plug screw holes is essential for a professional outcome. Properly plugging screw holes in wood is essential for maintaining the structural integrity and appearance of wooden items.
Whether you’re a woodworking enthusiast or a homeowner making repairs, the process is straightforward and can be easily accomplished with the right materials and techniques. We’ll discuss the methods for plugging screw holes in wood, the tools and materials required, and provide step-by-step instructions for achieving a flawless finish.
The Importance Of Plugging Screw Holes
When working with wood, especially for visible surfaces, ensuring a clean and polished appearance is crucial. One of the key aspects of achieving this is through plugging screw holes. This process not only protects the wood surface but also enhances the visual appeal, making it an essential step in any woodworking project.
Protecting The Wood Surface
Plugging screw holes helps in preventing moisture, dust, and other debris from seeping into the wood. This serves as a protective barrier, ultimately extending the lifespan of the wood and reducing the risk of decay or damage.
Enhancing The Visual Appeal
By concealing unsightly screw holes, the overall appearance and aesthetic value of the wood surface are significantly improved. It creates a seamless and professional finish, adding to the attractiveness of the completed project.
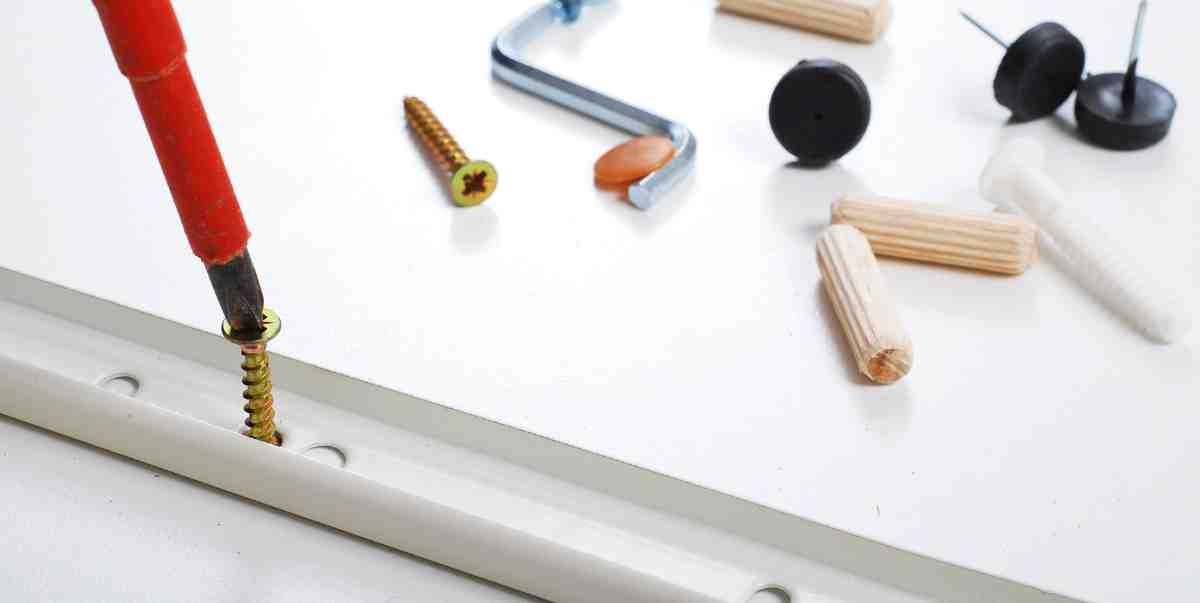
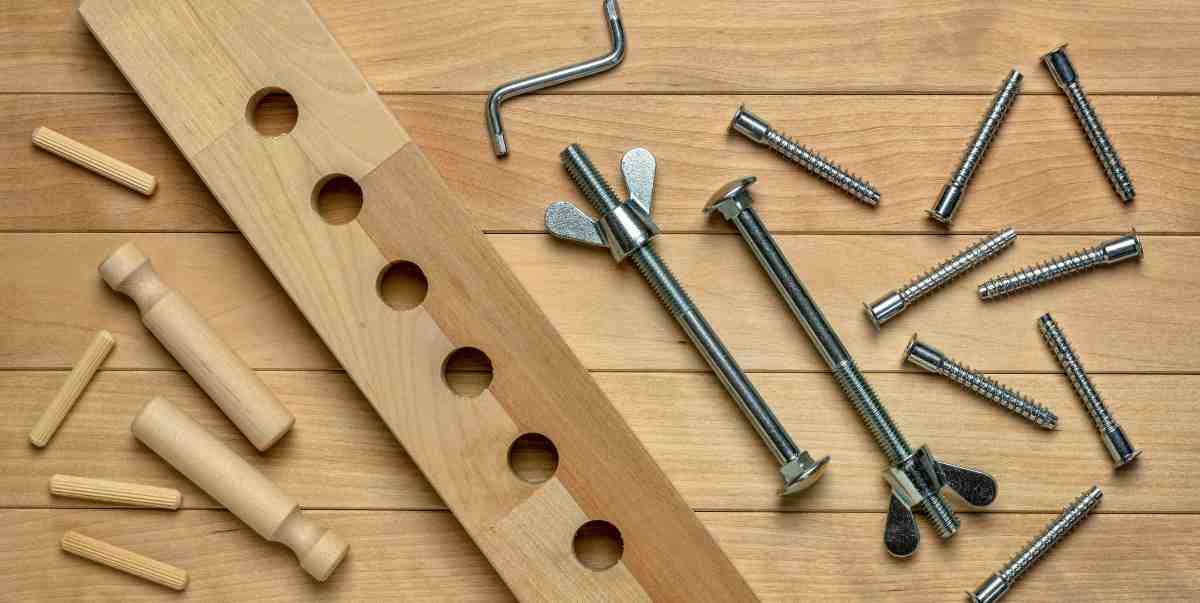
Identifying The Right Materials
Before plugging screw holes in wood, it’s crucial to identify the right materials for the task.
Choosing The Appropriate Wood Filler:
When selecting a wood filler, consider the type of wood and the size of the hole for a seamless repair.
- Look for wood fillers that closely match the color and grain of your wood for a natural finish.
- Ensure the filler is compatible with the material of the wood to prevent future cracking or shrinking.
Selecting The Suitable Finish For The Wood:
After filling the screw holes, choosing the right finish is essential to blend in the repair with the rest of the wood seamlessly.
- Opt for a finish that matches the existing wood tone to maintain uniformity.
- Consider a clear finish to highlight the beauty of the wood while protecting it from external elements.
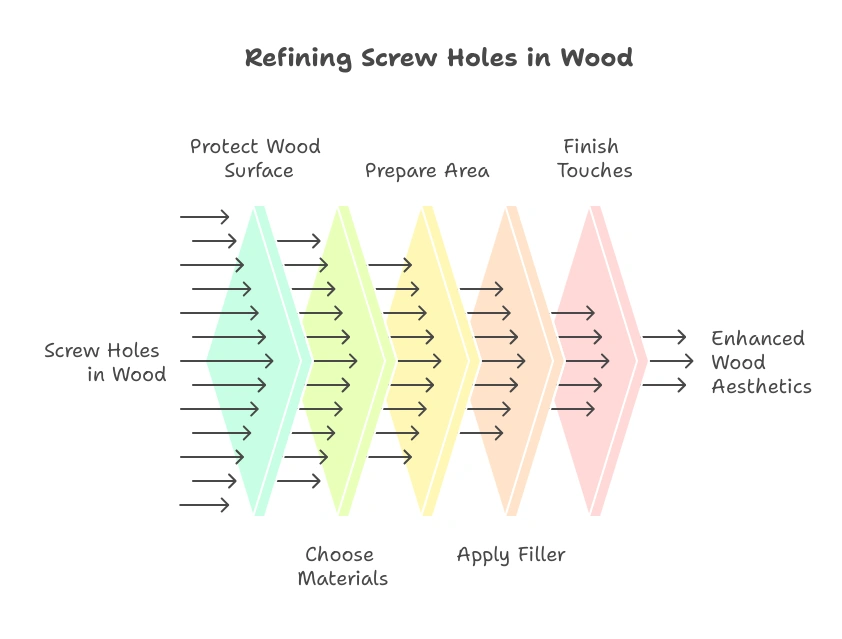
Preparing The Work Area
Before plugging screw holes in wood, it’s essential to prepare the work area properly. This involves gathering the necessary tools and equipment, as well as cleaning and sanding the wood surface. By following these steps, you can ensure a smooth and successful repair.
Gathering Necessary Tools And Equipment
Begin by collecting all the tools and equipment you will need for the task at hand. Here are some essential items to have on hand:
- Screw hole plugs
- Wood filler or putty
- Screwdriver or drill
- Sandpaper (various grits)
- Sanding block or electric sander
- Clean cloth
- Paint or stain (optional)
- Paintbrush or sponge applicator (if using paint or stain)
Having these tools readily available will save you time and make the process more efficient.
Cleaning And Sanding The Wood Surface
Once you have gathered your tools, the next step is to prepare the wood surface. Start by cleaning the area around the screw holes with a clean cloth to remove any dirt, dust, or debris. This will ensure a smooth and even finish.
Next, use sandpaper to gently sand the wood surface surrounding the screw holes. The purpose of sanding is to create a rough texture for the filler or putty to adhere to. Start with a coarse-grit sandpaper to remove any rough edges or splinters, and then gradually move to a finer-grit sandpaper for a smoother finish.
Pro tip: When sanding, always follow the direction of the wood grain to prevent scratching or damaging the surface.
After sanding, use a clean cloth to remove any sawdust or particles from the wood surface. This will ensure a clean canvas for the repair process.
By following these steps to prepare the work area, you are ready to move on to the next phase: filling and plugging the screw holes in the wood. Stay tuned for the next section to learn how to achieve seamless results!
Applying The Wood Filler
Once the screw holes in your wood surface have been prepped, it’s time to apply the wood filler. This step is crucial for achieving a smooth and seamless finish. By filling the holes with precision and removing any excess filler, you’ll be able to create a surface that looks as good as new.
Filling The Screw Holes With Precision
To start the process, gather your wood filler and a putty knife. Choose a filler that matches the color of the wood to ensure a seamless blend. Using the putty knife, apply the filler to each screw hole, making sure to fill it completely.
For better control and precision, use your finger or a small tool to press the filler firmly into the hole. This will help prevent air bubbles and ensure that the filler adheres securely to the wood.
Remember not to overfill the holes. It’s always better to slightly underfill them and then add more filler if needed. Overfilled holes may cause the filler to rise above the wood’s surface, which can be difficult to fix later on.
Removing Excess Filler For A Smooth Surface
Once you have filled all the screw holes, it’s important to remove any excess filler to achieve a smooth surface. Wait for the filler to dry completely, following the instructions provided by the manufacturer. Usually, it takes about 15-20 minutes for the filler to dry.
Once dry, take a fine-grit sandpaper and gently sand the area with circular motions. This will help level out the surface and remove any excess filler. Be careful not to sand too aggressively, as this can damage the wood. A light touch is all you need to create a seamless finish.
After sanding, wipe away the dust with a clean cloth or a tack cloth. This will ensure that the surface is free from any debris or loose particles. You can also lightly dampen the cloth with water for more effective cleaning.
Now you’re ready to move on to the next step, whether it’s painting, staining, or simply enjoying your newly repaired wood surface. The filled screw holes should now be virtually invisible, giving your woodwork a polished and flawless appearance.
Finishing Touches
Congratulations! You’ve successfully plugged the screw holes in your wood project, bringing it one step closer to completion. But before you call it a day, there are a couple of final touches you’ll want to consider. Matching the filler to the wood’s color and applying the final protective finish are crucial steps that will ensure a seamless, polished look. Let’s dive into these aspects in more detail.
Matching The Filler To The Wood’s Color
When it comes to plugging screw holes in wood, achieving a seamless finish involves carefully selecting a filler that matches the natural color of the wood. This can be easily achieved by either utilizing ready-made wood fillers available in various shades or mixing your own custom color combination. Here’s how you can ensure a perfect match:
- Begin by identifying the undertones and dominant hues present in the wood. Is it a warm-toned oak or a rich mahogany?
- Select a filler shade that closely resembles the color of the wood. Test the filler on an inconspicuous area to ensure it blends in seamlessly.
- Adjust the filler’s color, if necessary, by adding a small amount of wood stain or dye until the desired match is achieved.
By taking the time to match the filler to the wood’s color, you’ll ensure that the filled screw holes become virtually invisible, resulting in a professional-looking finish.
Applying The Final Protective Finish
Once the screw holes are expertly filled and blended, it’s time to apply the final protective finish to your wood project. This step not only enhances the overall appearance but also guards against potential damage from moisture, UV rays, and everyday wear and tear. Follow these steps to apply the protective finish:
- Clean the surface of the wood to remove any dust or debris.
- Select an appropriate protective finish based on the type of wood and its intended use. This could include varnish, polyurethane, shellac, or wax.
- Apply the protective finish using a brush, foam applicator, or cloth, following the manufacturer’s instructions.
- Allow the first coat to dry completely, then lightly sand the surface for a smooth finish.
- Apply additional coats as needed, ensuring each layer is dry before proceeding.
By adhering to these steps and applying a protective finish to your wood project, you’ll not only enhance its durability but also provide a stunning final shine that will make your hard work stand out for years to come.
Alternative Techniques
When plugging screw holes in wood, using wooden plugs is often the preferred method for achieving a seamless and natural look. However, there are alternative techniques that can also be effective in concealing screw holes and adding a unique touch to your woodworking projects.
Using Wooden Plugs For A Seamless Look
One technique for plugging screw holes in wood is to use wooden plugs, creating a seamless look that blends in with the natural grain of the wood. With the use of a plug cutter, wooden plugs can be cut from the same type of wood and then glued into the screw holes. This method not only provides a secure hold but also maintains the aesthetic appeal of the wood.
Exploring Other Creative Solutions
- Wood filler and sawdust mixture
- Decorative metal screws
- Using epoxy putty
Alternatively, exploring other creative solutions can also yield interesting results. Mixing wood filler with sawdust from the same wood type can be used to blend into the surface, concealing the screw holes effectively. Moreover, decorative metal screws can be used as an embellishment, adding visual interest to the wood. Additionally, epoxy putty can be shaped and colored to seamlessly integrate with the wood, providing a durable and aesthetically pleasing solution.
Common Mistakes To Avoid
When plugging screw holes in wood, there are common mistakes that should be avoided to ensure a clean and professional finish. By steering clear of these errors, you can achieve a polished and flawless result that enhances the visual appeal of the wood.
Overfilling The Screw Holes
While it may be tempting to overfill a screw hole to ensure it is completely covered, this can lead to unsightly bulging and uneven surfaces. Applying excessive filler will make it difficult to achieve a smooth and flush finish once sanded, resulting in a messy appearance. It’s crucial to use the right amount of filler to avoid this issue and create a seamless look.
Neglecting Proper Sanding And Finishing
Failing to sand and finish properly after plugging screw holes can detract from the overall appearance of the wood. Without adequate sanding, the filled areas may stand out, appearing rough and unfinished. Additionally, neglecting the finishing process can lead to inconsistent coloring and sheen, marring the wood’s aesthetic. Attention to detail during sanding and finishing is essential to achieve a professional outcome.
Tips For Maintenance
Regularly inspect your wood for screw holes and touch up the fillings.
Regular Inspection And Touch-ups
Use a screwdriver to check the integrity of the filled holes.
- Make sure the filling is secure and has not loosened.
- Reapply wood filler as needed to maintain a smooth surface.
Protecting The Filled Screw Holes From Damage
Apply a protective finish over the filled screw holes to prevent wear.
- Choose a finish that matches the surrounding wood for a seamless look.
- Keep the filled holes away from heavy objects to avoid impact damage.
Frequently Asked Questions On Plugging Screw Holes In Wood
How To Effectively Plug Screw Holes In Wood?
Plugging screw holes in wood involves using wood filler or plugs to fill the hole, then sanding and finishing for a seamless look. Ensure proper color matching for a professional finish.
What Are The Best Materials For Filling Screw Holes In Wood?
For plugging screw holes in wood, consider using wood filler, wooden plugs, or a combination for durability and aesthetic appeal. Choose materials matching the wood type and finish.
Can You Reuse A Screw Hole In Wood After Plugging It?
Yes, you can reuse a screw hole in wood after plugging it by simply drilling a new hole. Ensure proper alignment and size to prevent splitting or weakening the wood.
How Long Does It Take For Wood Filler To Dry In Screw Holes?
The drying time for wood filler in screw holes varies based on the product used. Typically, it takes 2-6 hours to dry completely. Follow the manufacturer’s instructions for best results.
Conclusion
Repairing screw holes in wood is a simple process that can be done with common household items. By following the steps outlined in this guide, you can easily restore the appearance of your furniture or woodwork. Remember, a little DIY can go a long way!