Cedar Wood Plank Wall: Cost, Installation & Design Ideas
A cedar wood plank wall costs $8 to $18 per square foot installed and takes a weekend to DIY — but only if you nail through pre-drilled pilot holes near the plank ends, since cedar splits easily without them. Skip that step and you’ll crack your best boards. This guide covers material selection, the exact installation sequence, pattern options, and why cedar checks rather than warps in humid rooms.
What Is a Cedar Wood Plank Wall?
Best Cedar Plank Wall Kit Pick
Western Red Cedar Wall Planks, 3.5in Accent Wall Kit
Pre-cut tongue-and-groove Western Red Cedar boards sized for a standard accent wall.
- Best for: a first accent-wall project in a dry room (living room, bedroom, office)
- Why we picked it: tongue-and-groove edges hide seams without a nail set, and boards are pre-sorted for color match
- Main drawback: standard 1/4in profile — upgrade to a thicker board for bathrooms or humid rooms
Compare more installation essentials
 Option 1 BESSEY Wood Plank Spacers
|
 Option 2 BOSTITCH 18GA Brad Nailer Kit
|
 Option 3 Ready Seal Natural Cedar Stain & Sealer
|
As an Amazon Associate we earn from qualifying purchases.
A cedar wood plank wall is an interior wall surface built from narrow cedar wood boards — typically 3.5 to 6 inches wide — installed directly over drywall or furring strips instead of paint or wallpaper. It’s usually done as a single accent wall rather than a whole room, since cedar’s natural oils and reddish-brown grain read as a strong focal point. Western Red Cedar is the species used in nearly every plank kit sold for this purpose because it resists decay and insects without chemical treatment.
Cedar plank walls work in both dry living spaces and higher-humidity rooms like bathrooms, provided the boards are sealed and the room is ventilated. Cedar’s natural resistance to mold is real but conditional — it slows growth, it doesn’t stop it in a room that never dries out.
How Much Does a Cedar Plank Wall Cost?
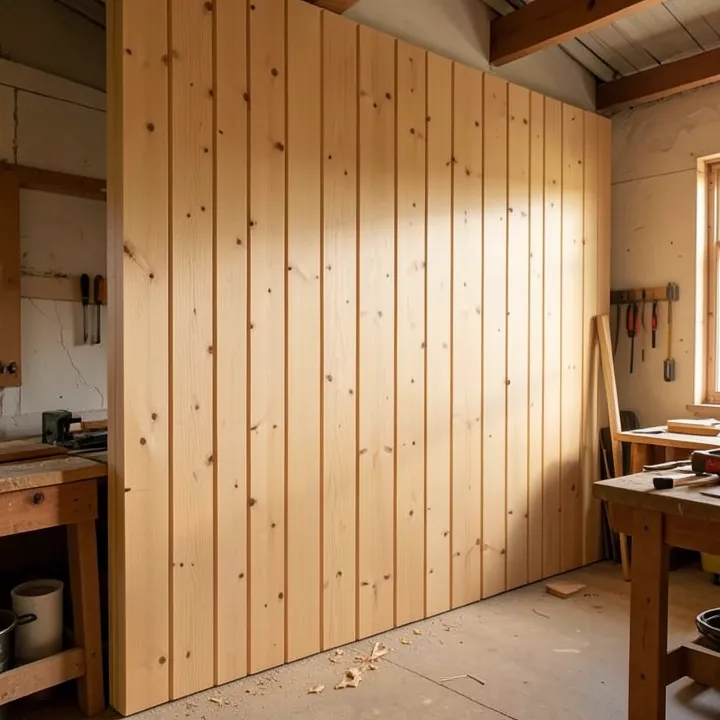
A DIY cedar plank accent wall runs $8 to $18 per square foot installed, including boards, fasteners, and finish. Materials alone run $2.50 to $7.50 per board depending on length and grade; labor, if you hire it out, adds another $3 to $10 per square foot. A single 8-by-10-foot accent wall (80 sq ft) typically lands between $650 and $1,450 all-in — a full-room installation multiplies that fast, which is why almost every cedar plank project on this list is a single wall, not a whole room.
📊 An 80 sq ft accent wall (8 ft x 10 ft) costs roughly $650–$1,450 installed, materials plus fasteners and finish. Source: cost breakdown compiled from current 2026 remodeling-cost guides (Blackhawk Floors, LatestCost).
Choosing the Right Cedar Boards
Cedar plank kits are sold in a few different species and cuts, and the differences affect both price and how the wall holds up over time.
- Western Red Cedar — the most common choice for wall planks; rich reddish-brown color, strong natural oils, widely available in tongue-and-groove profiles.
- Eastern White Cedar — lighter, softer wood, lower cost, less durable in high-traffic areas.
- Northern White Cedar — very decay-resistant, often used where the wall will see moisture.
- Alaskan Yellow Cedar — denser and stronger than Western Red, with a distinct pale yellow tone; costs more.
Board thickness matters more than most buying guides mention. Standard plank kits ship at 1/4 inch (6–8mm) thick. That’s fine for a dry living room, but in a bathroom or anywhere humidity swings, thicker 1/2-inch (12mm) boards hold their shape better and take nails and staples without splitting. If the wall is going anywhere near steady moisture, the extra cost per board is worth it.
For a wider comparison of species and pricing, see our guide to cedar wood cost by grade and cut, and check cedar’s real drawbacks before committing to a full room.
Everything above is specific to cedar. If you’re still weighing cedar against other species, or want layout ideas beyond straight vertical or horizontal planking, our broader wood accent wall ideas guide covers shiplap, board-and-batten, herringbone, and reclaimed wood in pine, MDF, and plywood as well. If you are working with leftover hardwood or engineered flooring instead of dedicated panel stock, our guide to mounting flooring on a wall covers the different adhesive and hardware that flooring needs for its extra weight.
How to Install a Cedar Plank Wall
Let the boards acclimate in the room for 48–72 hours before you start — real wood expands and contracts with humidity, and skipping this step is the single most common cause of gaps opening up a few weeks after installation.
- Clear and clean the wall: remove outlet covers, patch holes with spackle, and wipe down dust so the planks sit flush.
- Find and mark the studs: use a stud finder and mark stud lines in pencil the full height of the wall — you’ll nail into these every 16 inches.
- Measure and dry-fit the first row: lay out enough boards to cover the wall width and plan your cut so the last board isn’t a sliver.
- Start at the bottom, working up: set the first plank level with a spacer against the baseboard, then work upward one row at a time.
- Pre-drill near plank ends: drill a small pilot hole about 3/4 inch from each end before nailing — cedar splits at the ends without one.
- Nail through the tongue at each stud: a brad nailer at a slight angle keeps fasteners hidden once the next board’s groove slides over it.
- Stagger the seams: keep board-end joints at least 12 inches apart row to row so the pattern doesn’t line up in a visible column.
- Fill, sand, and finish: fill any gaps with wood filler, sand rough edges, then apply your sealer or stain once the last row is up.
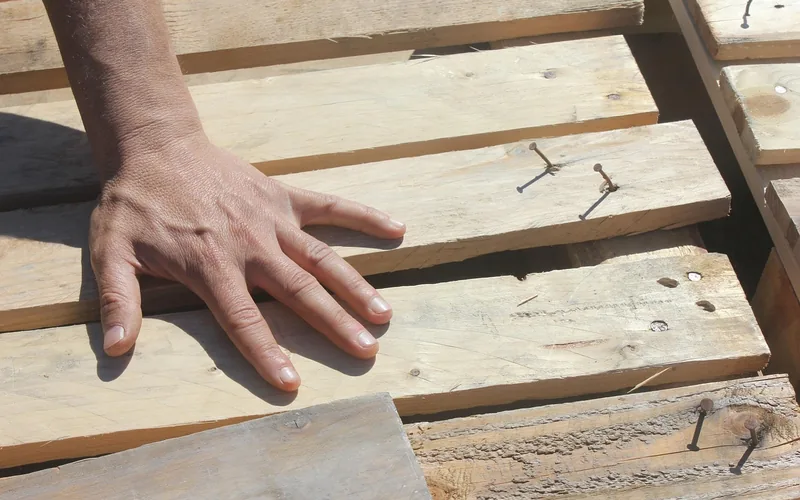
A full video walkthrough of a similar low-cost wood wall build is below if you want to see the nailing and spacing technique in motion.
Plank Patterns: Horizontal, Vertical, Herringbone & More
The layout pattern changes both the visual effect and the amount of cutting involved.
| Pattern | Effect | Best For |
|---|---|---|
| Horizontal | Makes the room feel wider; simplest to install | First-time DIYers, behind a sofa or bed |
| Vertical | Draws the eye upward, adds perceived ceiling height | Low-ceiling rooms, entryways |
| Herringbone | Zigzag pattern, high visual interest | Statement walls, more cutting and waste |
| Chevron | V-shaped, angled cuts meet at a center line | Feature walls with a focal point (fireplace, TV) |
| Staggered | Randomized seams for a rustic, reclaimed look | Cabins, farmhouse-style rooms |
Does a Cedar Plank Wall Warp in Humid Rooms?
No — cedar rarely warps, but it does “check.” Warping is the board bending or bowing; checking is small surface cracks that run parallel to the grain, caused by the outer layer of the board losing moisture faster than the inner layer during seasonal humidity swings. Cedar’s natural oils make true warping uncommon compared to pine or fir, but checking still happens, especially on thin 1/4-inch boards. See our full breakdown of cedar warping causes if you’re installing in a bathroom or another humid room.
Two things reduce checking on a plank wall: letting boards acclimate before install (above), and using 1/2-inch boards instead of 1/4-inch in any room with regular humidity swings — the thicker board has more mass to buffer moisture changes between its outer and inner layers.
Cedar also adds a thin amount of insulating value compared to bare drywall — wood is a poor heat conductor — but a 1/4- or 1/2-inch plank layer is not a substitute for wall insulation and won’t meaningfully change a room’s heating or cooling bill.
Maintenance and Sealing
Clean a cedar plank wall with a soft cloth and mild soap and water — skip harsh chemicals, which strip the wood’s natural oils. Check for mold or mildew periodically in bathrooms or other humid rooms; a light mix of water and vinegar handles minor spotting. Reapply a clear sealer or stain every two to three years, sooner in direct sunlight, since UV exposure fades cedar’s color faster than moisture damages it.
Keep the wall out of direct, sustained sunlight where possible, and run a humidifier in winter if your climate runs dry indoors — low humidity is what causes the surface checking described above, not high humidity.
Interior cedar paneling has different finish requirements than exterior cedar siding or shingles. A plank wall inside your home isn’t exposed to rain, direct sun, or freeze-thaw cycles the way exterior siding is, so it’s genuinely fine to leave interior cedar unfinished or give it just a light coat of clear wax or oil – enough to bring out the grain and, if you want it, preserve the aroma longer. Exterior cedar needs an actual protective sealant reapplied every one to two years to stand up to weather; skipping that step outdoors causes real deterioration, while skipping it on an interior wall just means the wood mellows to a soft gray patina over years instead of failing. See our full breakdown of whether cedar needs to be sealed for sealer types by application.
Common Mistakes to Avoid
- Skipping acclimation: installing boards straight out of the packaging leads to gaps opening within a few weeks as the wood adjusts to room humidity.
- Nailing without pilot holes near ends: this is the top cause of split boards on a first cedar wall project — a 1/16-inch pilot hole takes ten seconds and prevents it.
- Not staggering seams: lining up end joints in a column reads as a mistake even when the installation itself is solid.
- Ignoring stud lines: nailing only into drywall instead of studs means the wall won’t hold weight and can loosen over time.
- Using 1/4-inch boards in a steam-heavy bathroom: thin boards check faster in a room with big daily humidity swings — upgrade to 1/2-inch stock there.
- Installing too close to a fireplace or wood stove: cedar planks are combustible like any wood wall covering. Keep the stove manufacturer’s rated clearance (commonly 36 inches for a standard wood stove unless it’s UL-listed for a reduced distance) between planks and the appliance, and keep combustible trim at least 6 inches from a masonry fireplace opening. The same underlying fire-risk consideration applies to cedar shingles used on exterior walls – it’s a wood-combustibility issue, not something unique to one application.
Frequently Asked Questions
How do you put cedar planks on a wall?
Let the boards acclimate 48–72 hours, then mark your studs, start the first row level at the bottom, pre-drill near each plank end, and nail through the tongue at every stud. Stagger the seams row to row and fill any gaps before finishing.
Is cedar good for interior walls?
Yes. Cedar naturally resists decay and insects, holds up well in both dry and humid rooms when sealed, and its grain and color work as a focal point without paint or wallpaper. It costs more than pine or MDF paneling, which is its main tradeoff.
How much does a cedar plank wall cost?
Expect $8 to $18 per square foot installed, including boards, fasteners, and finish. An 80 sq ft accent wall (8 ft by 10 ft) typically runs $650 to $1,450 total. Full-room installations cost proportionally more and are rarely done for that reason.
Does a cedar plank wall need to be sealed?
It’s not required, but sealing slows color fading from UV exposure and adds a moisture barrier in bathrooms or kitchens. Unsealed cedar will weather to a silvery-gray tone over time, which some homeowners want for a rustic look.
What’s the difference between pine and cedar plank walls?
Pine is lighter in color, has more prominent knots, and costs less, but lacks cedar’s natural decay and insect resistance. Cedar is more aromatic, holds up better untreated, and generally costs 30–50% more per board.
Can you install a cedar plank wall in a bathroom?
Yes, with two adjustments: use 1/2-inch boards instead of the standard 1/4-inch, and make sure the bathroom has working ventilation (a fan or window). Seal the boards, and check periodically for mildew the same way you would any bathroom surface.
Is a cedar plank wall a fire risk near a fireplace or wood stove?
Cedar planks are combustible like any wood wall covering, so treat them the same as other wood paneling near heat. Keep the stove manufacturer’s rated clearance (commonly 36 inches for a standard wood stove unless it’s UL-listed for less) between the wall and the appliance, and keep combustible trim at least 6 inches from a masonry fireplace opening.
Conclusion
A cedar wood plank wall is one of the few accent-wall projects that pays back its cost in both looks and durability — budget $8 to $18 per square foot, let the boards acclimate, pre-drill near the ends, and stagger your seams. Get those four things right and the wall will outlast most paint jobs by decades.
Sponsored / affiliate links. As an Amazon Associate I earn from qualifying purchases. I may earn additional commission from eligible campaigns.