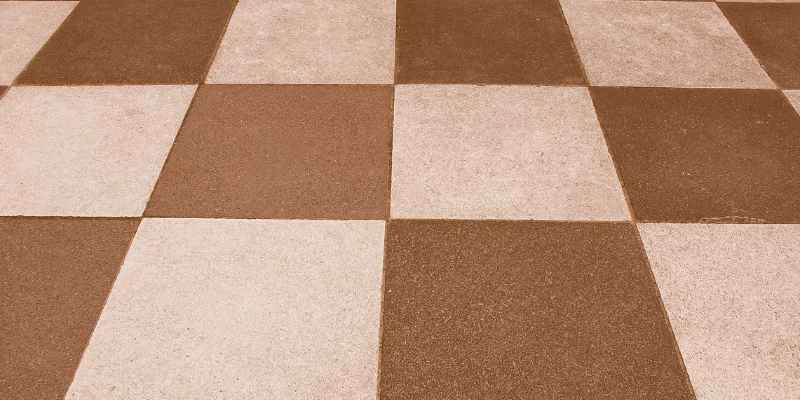
Checkered Hardwood Floor: How to Achieve the Perfect Checkerboard Look.
Checkered hardwood floors are a type of flooring that features a distinctive checkerboard pattern. They can be made using different types of wood, stains, and finishes to achieve a unique look.
Checkered hardwood flooring has been popular since the early 20th century and has recently made a comeback in modern interior designs. It adds a bold, playful, and elegant touch to any space, making it a favorite choice for both residential and commercial settings.
Checkered flooring is often used in kitchens, dining rooms, and entryways to create a visually interesting focal point. The design can be achieved by alternating wood species, using different colors of stain, or painting the floor in a black and white checkered pattern. With its timeless look and versatility, checkered hardwood flooring is sure to remain a classic choice for years to come.
What Are Checkered Floors
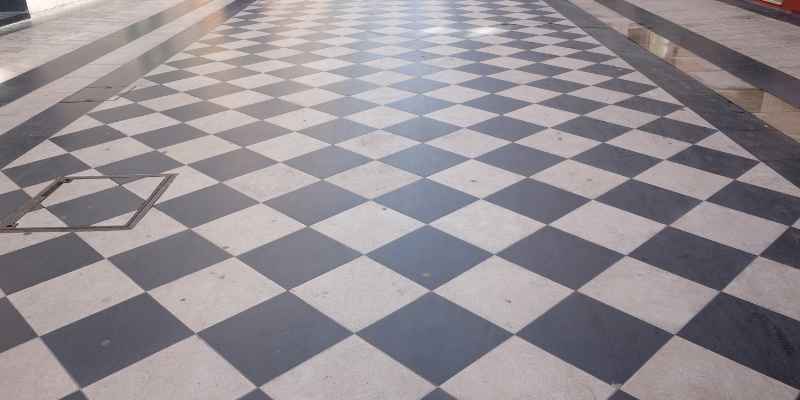
Checkered hardwood floors are a popular choice for homeowners looking for a classic and timeless style. This type of flooring features alternating squares of different colors, usually black and white, creating a checkerboard pattern. These floors can be achieved through painting or purchasing pre-finished checkered hardwood planks.
Types Of Checkered Floors
There are various types of checkered floors to choose from, depending on your preference and the overall style of your space. Some popular types of checkered floors include:
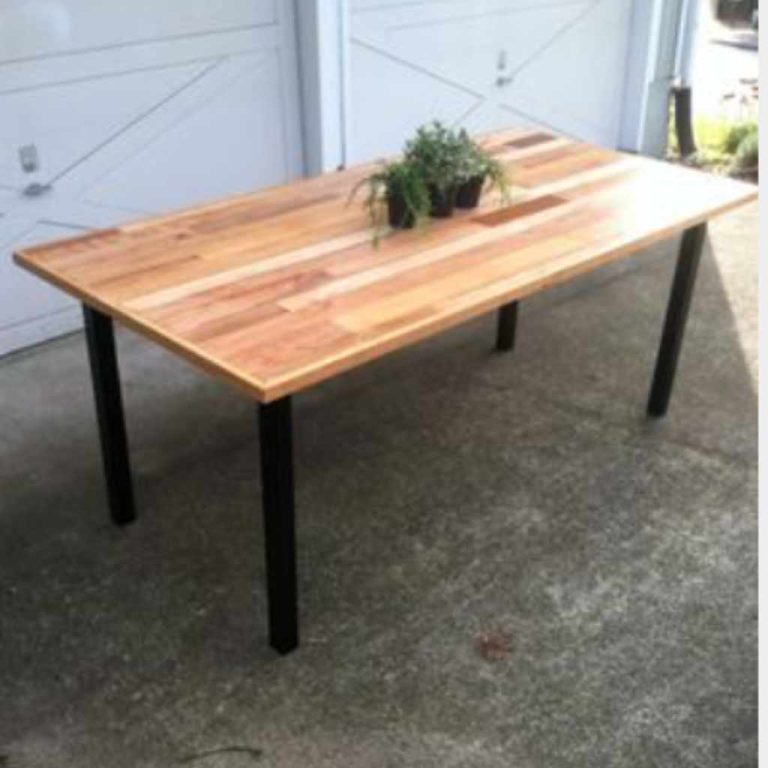
- Hardwood floors: Hardwood floors are the most popular option when it comes to checkered flooring. Installing hardwood checkered floors can give your space a vintage and chic look.
- Tiled floors: Tiled floors can provide a durable and long-lasting solution for checkered floors. You can choose from a wide variety of tiles such as marble, ceramic, or terrazzo.
- Painted floors: Painted floors can be a great option for those who want to achieve a checkerboard look at a lower cost. You can use floor paint to create the checkered pattern on any type of flooring.
History Of Checkered Floors
Checkered floors have been around for centuries and have been utilized in various ways. For instance, Masonic lodges often use checkered flooring called “mosaic pavement” for their rituals and lectures. Checkered floors became a popular trend in the 1920s, and in recent years they have made a comeback. Many people nowadays opt for a checkered hardwood floor to add a vintage charm to their homes.
In conclusion, checkered floors have a rich history, and there are various types to choose from, depending on your budget and style. Whether you prefer hardwood, tiles, or painted checkered floors, this flooring trend can add character and style to any space.
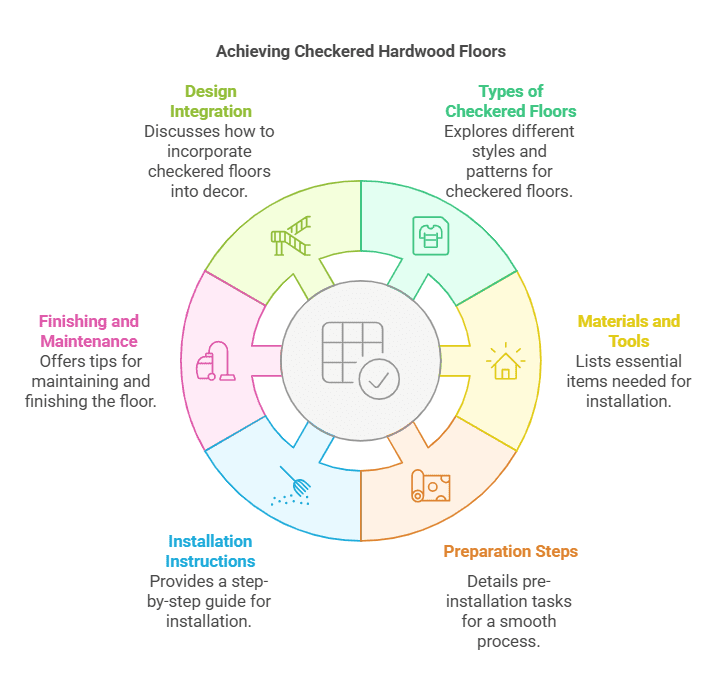
Materials And Tools Required To Achieve Checkered Hardwood Floors
Checkered hardwood floors are a classic and elegant addition to any room. They add depth and texture while making the space seem larger. The process of achieving checkered floors is simple and can be done with the right materials and tools. Here are the necessary materials and tools needed:
Types Of Hardwood
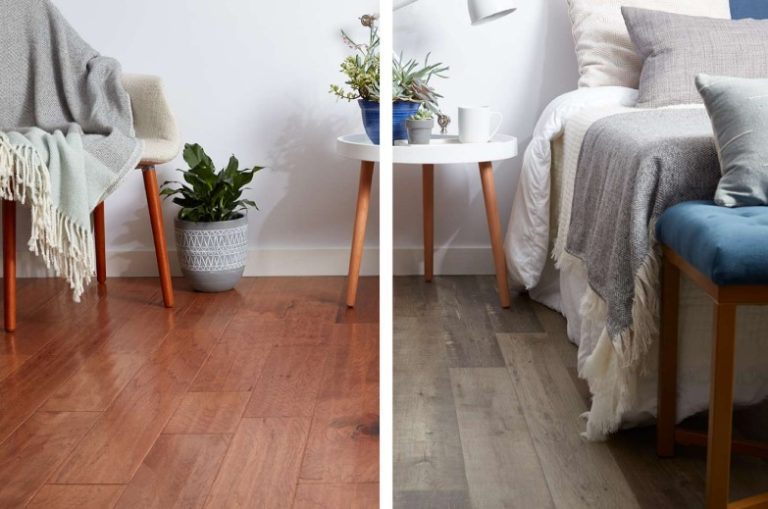
Choosing the right type of hardwood for your checkered floor is essential. Oak, maple, and cherry are popular choices for checkered floors due to their durability. It is important to consider the type of finish you want for your floor when choosing the hardwood. A matte finish will give your checkered floor a more rustic look, while a glossy finish will enhance the elegance of your checkered floor.
Paint And Stain
When painting or staining your checkered floor, it is important to choose a color that complements the surrounding décor. Black and white are standard colors for checkered floors, but you can choose any color combination that fits your style. When selecting paint or stain, ensure that it is suitable for hardwood floors and is water-resistant.
Measuring Tape
Precision is crucial when creating a checkered floor. A measuring tape is a necessary tool for measuring the dimensions of the room and calculating the size of each square of the checkered pattern. With accurate measurements, you can ensure that each square is the same size and spaced equally, giving your checkered floor a uniform look.
Painter’s Tape
The painter’s tape is an essential tool that helps create a clean, crisp checkered pattern. It is used to mark off the squares, preventing paint or stain from bleeding outside the marked area. Once you have marked off the squares with painter’s tape, you can paint or stain with confidence, knowing that each square will have a crisp, clean edge.
Paint Roller And Brushes
Paint rollers and brushes are necessary tools for painting or staining your checkered floor. A roller helps to cover large areas quickly, while a brush allows you to paint the edges and corners precisely. When choosing a roller and brushes, pick ones that are appropriate for the type of paint or stain you are using.
Protective Gear
Protective gear such as goggles, gloves, and a face mask are essential when painting and staining your checkered floor. These protect you from inhaling fumes and harmful chemicals, and also protect your skin and eyes from accidental splatters. Safety should always be a top priority when bringing new life to your floors.
Preparation Before Installation
Before installing checkered hardwood floors, it is important to prepare the area properly. This includes adequately cleaning and leveling the subfloor, acclimatizing the flooring material to the environment, and measuring the space for accurate installation. Proper preparation ensures a smooth, durable finished product.
Preparation Before Installation
Installing a checkered hardwood floor can be an excellent way to give your room a classic yet modern look. However, before you start installing the flooring, there are some essential preparations you must take to ensure a flawless outcome. Here are the four crucial steps to follow before installing a checkered hardwood floor:
Clearing The Room
Before you start installing the flooring, make sure to clear the room of all furniture, decor, and accessories. This step will make it easier for you to lay out the flooring and plan the pattern precisely. Ensure you have a clear workspace, free from any obstructions. This way, you can work more efficiently, and the installation will be quicker.
Cleaning The Floor
Once you have cleared the room, the next step is to clean the floor thoroughly. Ensure the floor is free of any dirt, debris, or dust by sweeping and mopping it. Cleaning the floor beforehand will eliminate any obstacles that may hinder the installation process, such as debris that could get stuck between the floor planks.
Measuring The Room
After cleaning the floor, the next crucial step is to measure the room. Measure the length and width of the room to determine the amount of flooring you’ll need. You can also use a laser measuring tool to get more precise measurements. Once you have the measurements, you can order the checkered hardwood flooring to meet the required dimension.
Planning The Pattern
Finally, plan the pattern you intend to use when laying the flooring. You can choose a traditional black and white checkered pattern or create your pattern. Ensure the pattern is proportional and fits well in the room’s dimensions. You can consult an experienced flooring contractor to help you choose an ideal pattern that matches your room’s interior.
In conclusion, the preparation phase is crucial when installing a checkered hardwood floor. Clearing the room, cleaning the floor, measuring the room, and planning the pattern are necessary steps that must be taken to ensure flawless and efficient installation. Follow these steps, and you’ll have a checkered hardwood floor that enhances your room’s beauty and elegance.
Step-by-step Instructions
If you want to update and add character to your hardwood floors, consider painting a checkered pattern. To do this, you’ll need to choose the right colors, measure and mark your floor, paint the squares with a primer and then paint the final coats, and add a sealant for added protection.
It’s a DIY project that can bring a fresh and fun vibe to your home.
Painted checkered hardwood floors are a creative and stylish way to add depth and dimension to any room. With the right tools and materials, creating your own checkered floor can be easy. In this section, we’ve laid out step-by-step instructions to assist you in painting your own eye-catching checkered hardwood floor.
Marking the Floor
Using a measuring tape, mark the center of the room and then draw out a grid pattern with a chalk line, measuring out each square to be the same size. Creating symmetrical squares is key in achieving a beautiful checkered pattern.
Painting the Base Color
Using a paint roller or a brush, apply a base layer of paint onto the entire floor, making sure to cover the entire surface area evenly. This will be the base color for the checkered pattern to follow. Allow the base coat to dry completely before moving on to the next step.
Placing the Painter’s Tape
Using wide painter’s tape, apply the tape from one corner of the room diagonally to the opposite corner, making sure that it is evenly placed. Continue to apply the tape across the entire room in the same diagonal pattern. This will create the first set of squares for your checkered pattern.
Painting the Checkerboard Pattern
Paint over the painter’s tape with the second color of your choice. Be sure to apply a minimum of two coats of paint per square evenly and remove the tape after the second coat. This will create the checkered pattern across the floor. Work slowly and methodically to ensure the lines are crisp and even, creating the perfect checkered pattern.
Removing the Tape
Remove each piece of tape immediately after painting to ensure that the lines are crisp and clean. Make sure that each section is completely dry before taping off the next section.
With your finished checkered hardwood floor, you have created a timeless and stylish addition to your space. Follow these step-by-step instructions, and you will be able to create a beautiful checkered hardwood floor that is sure to impress.
Finishing And Maintenance
Checkered hardwood floors are an elegant and timeless flooring option that can bring a lot of character to any room. However, to keep your floors looking their best and maintaining their integrity over time, it’s crucial to take good care of them and finish them properly.
Finishing Touches
The finishing touches on a checkered hardwood floor are essential to its overall look and feel. Typically, a clear, high-gloss polyurethane finish is applied to hardwood floors to protect them from everyday wear and tear, including scratches, stains, and discoloration.
To achieve the desired finish on your checkered hardwood floor, it’s crucial to work with an experienced installer that can help you choose the right finish and apply it expertly. The right finish will protect your floors and keep them looking good for many years to come.
Cleaning And Maintenance
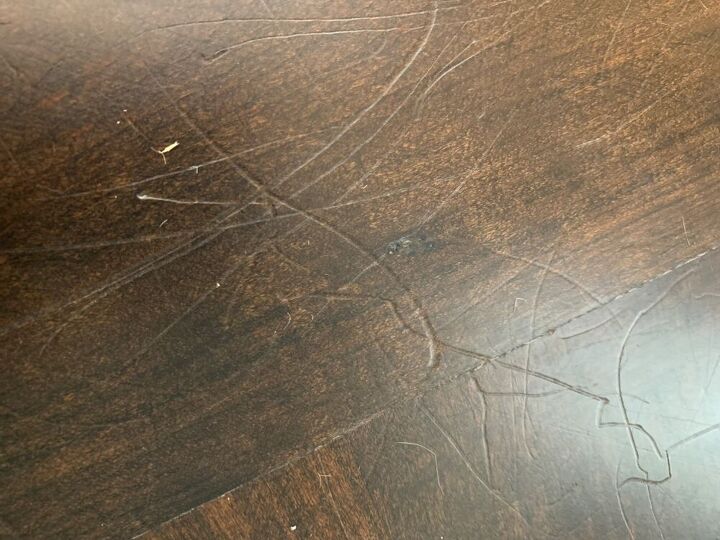
Cleaning and maintaining your checkered hardwood floors is easy, as long as you stay on top of it. Regular sweeping and vacuuming will keep dirt and debris at bay and prevent them from scratching the surface of your floors. Additionally, wiping up spills immediately will prevent them from seeping into your hardwood and causing permanent damage.
To maintain the shine and luster of your checkered hardwood floors, you can use a dedicated hardwood floor cleaner, which is specifically formulated to be gentle on your floors while still providing a thorough clean. When cleaning your floors, make sure to avoid using harsh chemicals or abrasive tools, which can cause damage and lead to unsightly scratches.
Conclusion
Overall, checkered hardwood floors can add a beautiful and dramatic element to any space. With proper finishing and maintenance, your hardwood floors can maintain their beauty and durability for years to come.
Checkerboard Floors In Modern Interior Design
If you’re looking for an elegant and modern twist for your home decor, consider installing checkered hardwood floors. This is an age-old flooring design that has been a staple in architectural designs since the 1920s, and it has been revived in recent years as a trendy and stylish interior design concept. Checkerboard floors, when used appropriately, can add a sense of boldness, playfulness, and uniqueness to your home decor while still keeping to a classic and timeless look.
Styling Tips
- Pair black and white checkered floors with muted wall colors for a sophisticated look
- Create a dramatic effect by pairing bold wall colors and checkered floors
- For a cohesive look, match the color of the checkered floor with accents such as curtains, throw pillows etc.
Incorporating Into Different Rooms
If you’re thinking of incorporating checkered hardwood floors into your home decor, know that it’s a great way to add character and personality to any room, including the following:
- Living Room: Make a bold statement by adding a checkered hardwood floor to your living room. This can create a contemporary and chic look that is perfect for entertaining guests.
- Bathroom: One of the most effective ways to add a touch of luxury to your bathroom is by installing checkered hardwood floors. This gives your bathroom a sophisticated and timeless appearance that never goes out of style.
- Kitchen: Kitchen is the best place where checkered floors can add considerable artistic appeal. Pair a black and white checkered floor with all-white cabinets for a classic and timeless look, and add bold accents for a pop of color.
Adding Accents
The best way to accentuate your checkered hardwood floor is by adding subtle decor pieces that complement its timeless design. Some accents that complement your checkered floors include:
- Rugs: add a bold and colorful rug to your checkered floor for a pop of color
- Throw Pillows: A great way to emphasize your checkered hardwood floor is by pairing it with throw pillows that match the floor accents
- Wall Art: When styling your room with checkered floors, use wall art and decor to add personality and character to the room.
Frequently Asked Questions On Checkered Hardwood Floor
What Are Checkered Floors Called?
Checkered floors are commonly referred to as mosaic pavement in Masonic lodges, where they use various flooring types such as tiling, parquetry, or carpeting. However, the design does not require the use of glass or ceramic tiles.
Are Checkerboard Floors In Style?
Checkerboard floors have become a revived retro trend in recent years. They are in style and can add a classic touch to any room. They were popular in the 1920s and are often used in Masonic lodges, known as mosaic pavement.
There are many DIY tutorials available online for achieving a checkerboard look on your hardwood floors.
When Were Checkered Floors Popular?
Checkered floors were popular in the 1920s.
What Is The Most Timeless Hardwood Floor Color?
White-washed wood floors are the most timeless hardwood floor color. They infuse elegance, tranquility, and light into living spaces and transform rooms into serene, airy sanctuaries. The classic choice of wood floor color has a timeless appeal that never goes out of style.
Conclusion
To sum it up, checkered hardwood floors are a classic and timeless design choice for any home or business. There are countless options for achieving this look, from painting to tiling to using pre-finished wood planks. With a bit of creativity and some DIY spirit, you can easily update your space with this distinctive pattern.
Whether you prefer a traditional black and white checkerboard or want to experiment with colors or wood stains, the possibilities are endless. Choose the style that suits your taste and budget, and enjoy the new life that a checkered hardwood floor can bring to a room.