DIY Wood Headboard: How to Build One That Actually Stays Secure
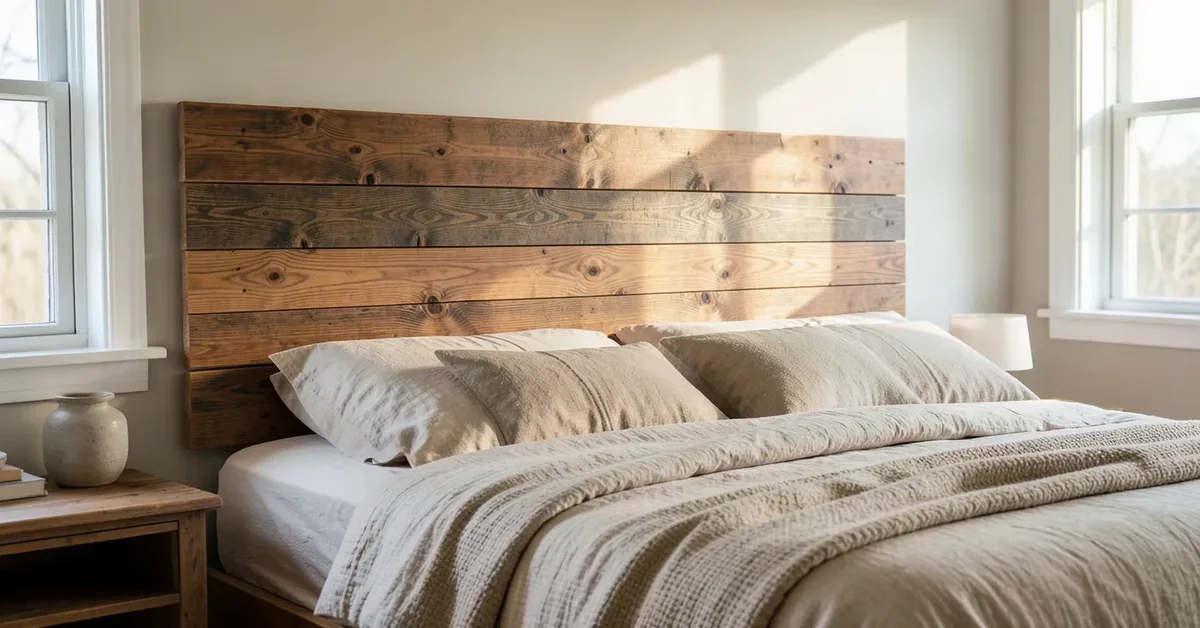
A DIY wood headboard is one of the cheapest ways to change how a bedroom looks, but the part most guides skip is how it actually stays on the bed. A headboard that just leans against the wall or rests against the bed frame can walk, tip, or fall – especially a heavy solid-wood build, and especially in a room where kids climb on the bed. Below are three real construction approaches (bracket-mounted plank, reclaimed pallet wood, and a plywood-panel-with-trim design), plus the attachment details that keep any of them from becoming a hazard.
Why Your Headboard Needs a Real Bracket Mount
Best Headboard Mounting Bracket Kit
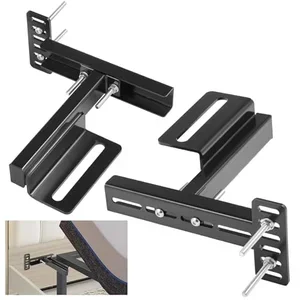 |
Colinktool Universal Adjustable Headboard Bracket Kit – $56.04 A heavy-duty steel bracket set for bolting a DIY headboard directly to a metal or wood bed frame instead of leaning it against the wall.
|
Most metal and wood bed frames have a set of pre-drilled holes or slots at the head end specifically for bolting on a headboard – commonly six to eight holes, spaced roughly 6 inches apart center-to-center, though this varies a lot by manufacturer. Universal brackets with slotted, adjustable channels are built around that variation: many will fit as-is if your frame’s mounting-hole gap is under about 10 inches, and you drill one or two extra holes in the headboard itself if it’s wider than that. Before you build anything, measure your own frame’s hole spacing (or check for existing headboard brackets already on it) so you know whether you’re building to bolt onto those holes or planning to add a separate bracket kit.
This matters more than it looks like it should. A headboard that’s just leaning against the wall, or resting against the frame without being bolted down, can slide or tip – and a solid-wood headboard is heavy enough that a fall is a real injury risk, particularly with kids using the bed as a climbing structure or bouncing against it. Bolting the headboard to the frame’s brackets (or building your own wood bed frame with matching hardware) is the difference between a piece of furniture and a leaning slab of wood.
Choosing the Right Wood
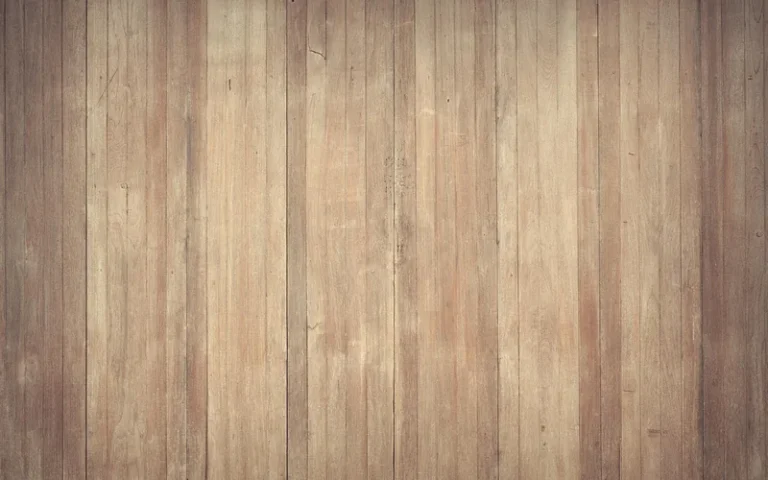
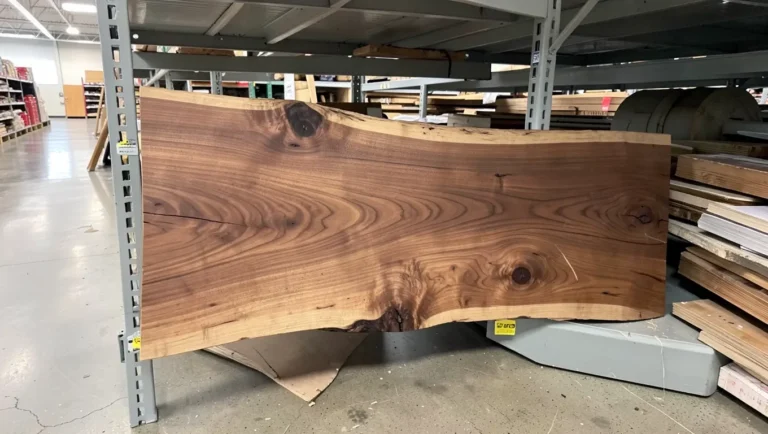
The wood you pick decides both the look and how much the project weighs once it’s finished – which circles back to the bracket-mounting point above, since a heavier headboard needs a sturdier attachment. Solid oak is durable and shows a strong grain pattern, but it’s heavy and pricier per board foot. Pine is lighter, inexpensive, and easy to cut and sand, though it dents more easily and takes stain unevenly unless you use a pre-stain conditioner. Maple gives a smoother, more uniform grain for a cleaner modern look but is harder to work by hand. Lighter woods read as more modern and Scandinavian; darker stains lean traditional or farmhouse. If weight and cost are a concern, pine or a plywood panel (covered below) is usually the more practical starting point than solid oak.
Reclaimed and Pallet Wood Plank Headboards
A horizontal-plank headboard built from reclaimed or pallet wood is one of the most popular DIY headboard styles, and it’s genuinely cheap if you can source the pallets for free. But it needs a real inspection pass before it goes anywhere near a bed:
- Check the stamp on the pallet block. An HT stamp means the wood was heat-treated; a pallet stamped MB was fumigated with methyl bromide and should not be used for furniture. No stamp at all means you can’t verify how it was treated – skip it.
- Pull every staple and nail, including any broken off flush with the surface – a metal detector or a strong magnet run over the board helps catch ones you can’t see.
- Look closely for mold, soft/spongy spots, or an oily chemical residue on the surface. Reject any board that fails this check rather than trying to seal over it.
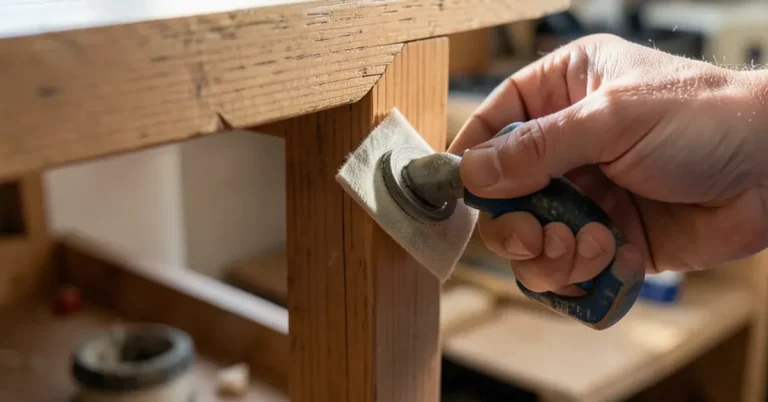
- Sand thoroughly before finishing – pallet wood picks up grime and splinters that a quick wipe-down won’t remove.
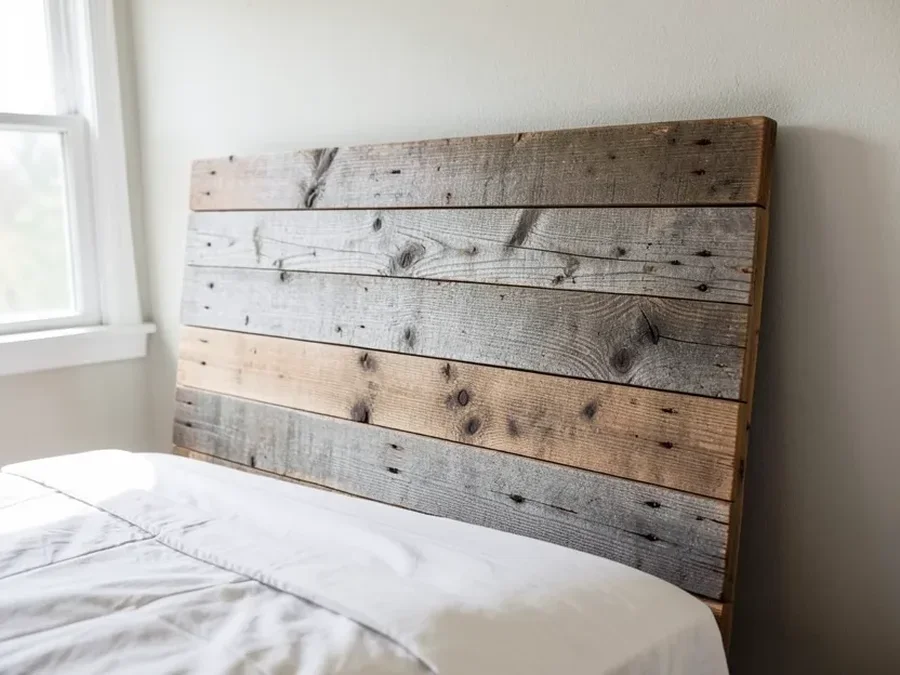
Once the boards pass inspection, the build itself is straightforward: cut planks to your headboard’s width, lay them out on two or three horizontal cleats (a simpler plywood backer works too), and screw them to the cleats from the back so no fasteners show on the face. Leave a small gap, even 1/16 to 1/8 inch, between boards so the wood has room to expand and contract with humidity instead of cupping or splitting.
A Cleaner Option: Plywood Panel With a Trim Frame
If the reclaimed-plank look feels too rustic for the room, a plywood-panel headboard with a mitered trim frame gives a cleaner, more modern result with less material variability to fight. Cut a sheet of 3/4-inch cabinet-grade plywood (birch or maple-faced plywood sands and stains much more evenly than construction-grade) to your target size, then wrap the edges in a picture-frame-style trim, mitered at the corners, to hide the plywood edge and add visual thickness. The panel can be left as stained wood for a warm modern look, or upholstered with batting and fabric over the plywood before the trim goes on for a padded headboard. Either way, the panel still needs to be through-bolted to the frame’s headboard brackets, not just set against the wall – the same attachment point covered above applies regardless of which style you build.
Building and Securing the Headboard
The build sequence is largely the same across all three styles above:
- Measure your bed’s width and decide how far above the mattress the headboard should sit – most fall between 6 and 12 inches above the top of the mattress once pillows are accounted for.
- Cut the wood (planks, panel, or trim) to size, and cut it precisely – a jagged edge on a board this close to where someone sleeps is a real scrape/injury risk, not just a cosmetic issue.
- Assemble the face (planks on cleats, or panel with trim) on a flat surface first and check for square before you drive final fasteners.
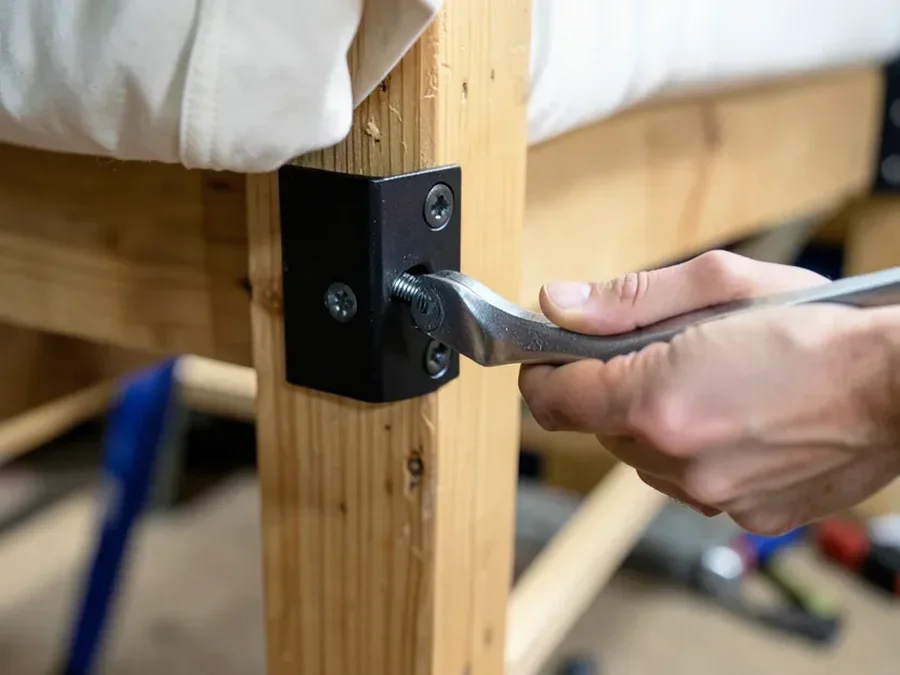
- Attach mounting legs or a cleat to the back that lines up with your bed frame’s existing headboard brackets, or install a separate bracket kit if your frame doesn’t already have one.
- Bolt – don’t just set – the headboard to the frame, and tighten every connection so there’s no wobble before you consider it done.
Staining and Finishing
Test any stain on a scrap piece of the same wood first – pine and reclaimed wood in particular can take stain unevenly, showing blotchy dark patches where the grain is more porous. A pre-stain wood conditioner on softwoods evens this out. Once the stain has dried, a wipe-on polyurethane or a wax finish protects the surface from the everyday contact a headboard gets – skin oils, hair products, and the occasional bump from a phone charger cord. Two thin coats, lightly sanded between with fine-grit sandpaper, hold up better than one heavy coat.
Frequently Asked Questions
Does a DIY wood headboard need to be bolted to the bed frame?
Yes, if it’s freestanding or leaning it can tip or slide, which is a real risk with a heavy solid-wood build, especially around kids. Bolt it to your frame’s existing headboard brackets, or add a universal bracket kit if the frame doesn’t have any.
How do I know if pallet wood is safe to use for a headboard?
Check the block stamp: HT means heat-treated and generally safe, MB means chemically fumigated and should be avoided. Remove every staple and nail, inspect for mold or soft spots, and sand thoroughly before finishing.
What’s the easiest wood headboard style to build for a beginner?
A plywood panel with a mitered trim frame is generally more forgiving than a plank build, since it’s one flat surface instead of multiple boards that all need to line up evenly, and cabinet-grade plywood stains more predictably than pallet wood.
How far apart are headboard bracket holes on a standard bed frame?
It varies by manufacturer, but many metal and wood frames space their pre-drilled headboard holes roughly 6 inches apart center-to-center. Universal adjustable brackets are designed to cover that variation, typically fitting gaps up to around 10 inches without extra drilling.
Conclusion
Whichever style you build – bracket-mounted planks, a reclaimed pallet-wood face, or a plywood panel with a trim frame – the part that actually matters for safety is the same: bolt it to the bed frame instead of leaning it against the wall. Get the attachment right first, then the wood choice and finish are just a matter of matching the rest of the room.
Sponsored / affiliate links. As an Amazon Associate I earn from qualifying purchases. I may earn additional commission from eligible campaigns.