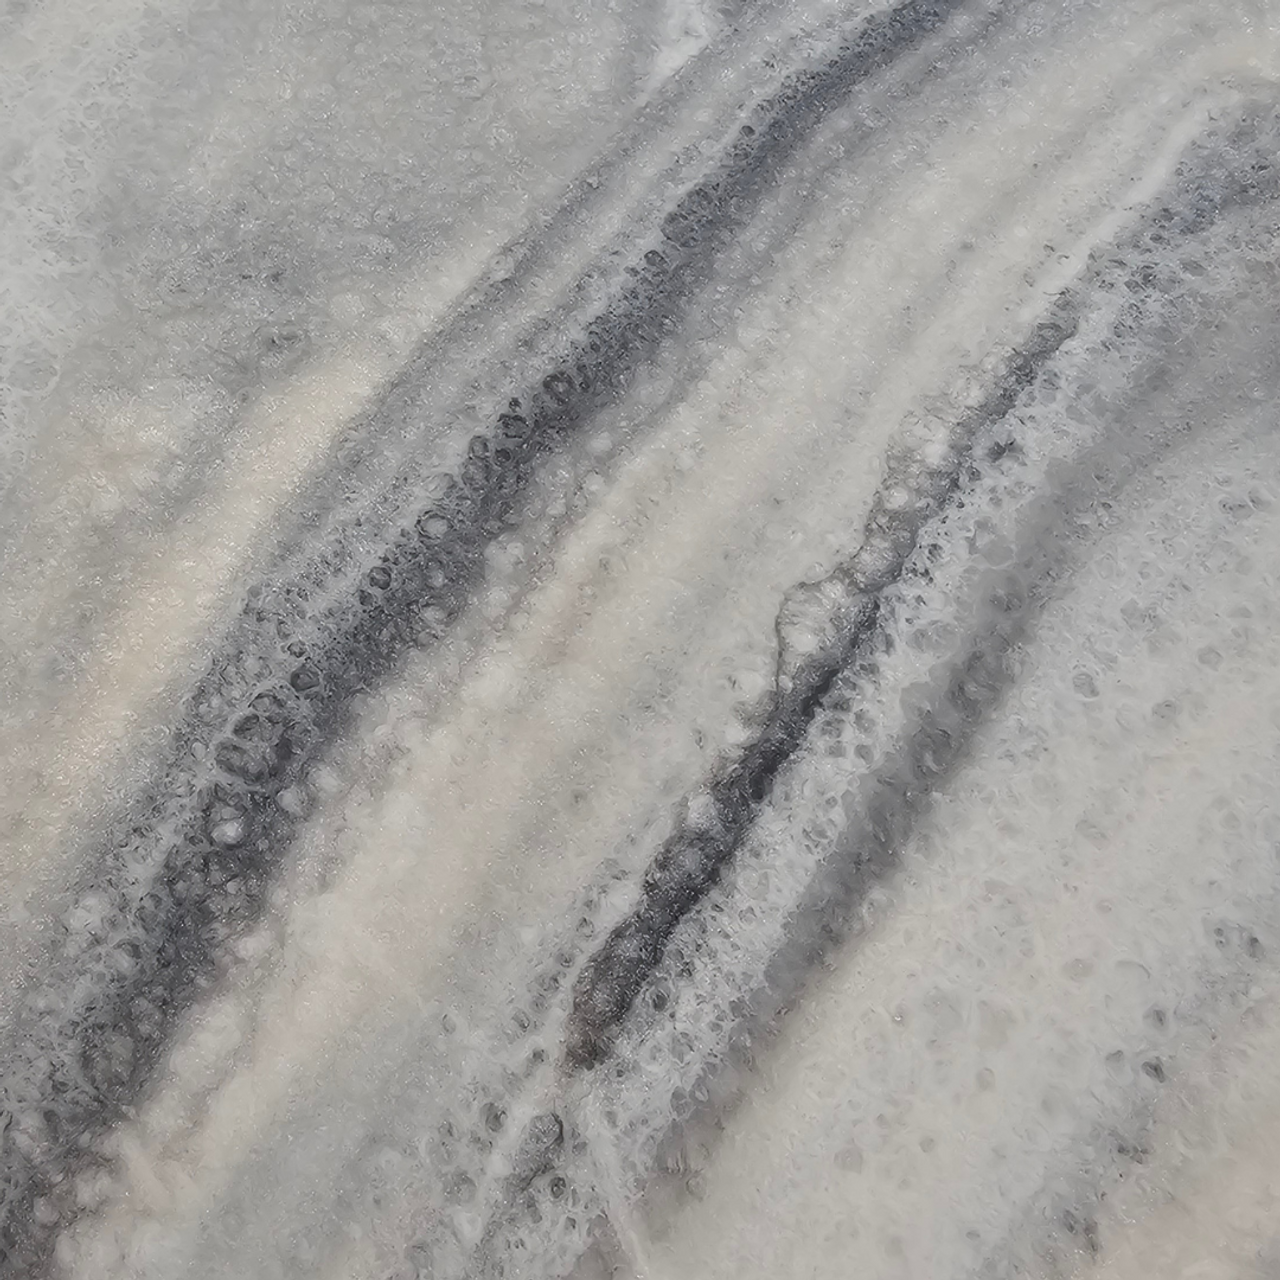
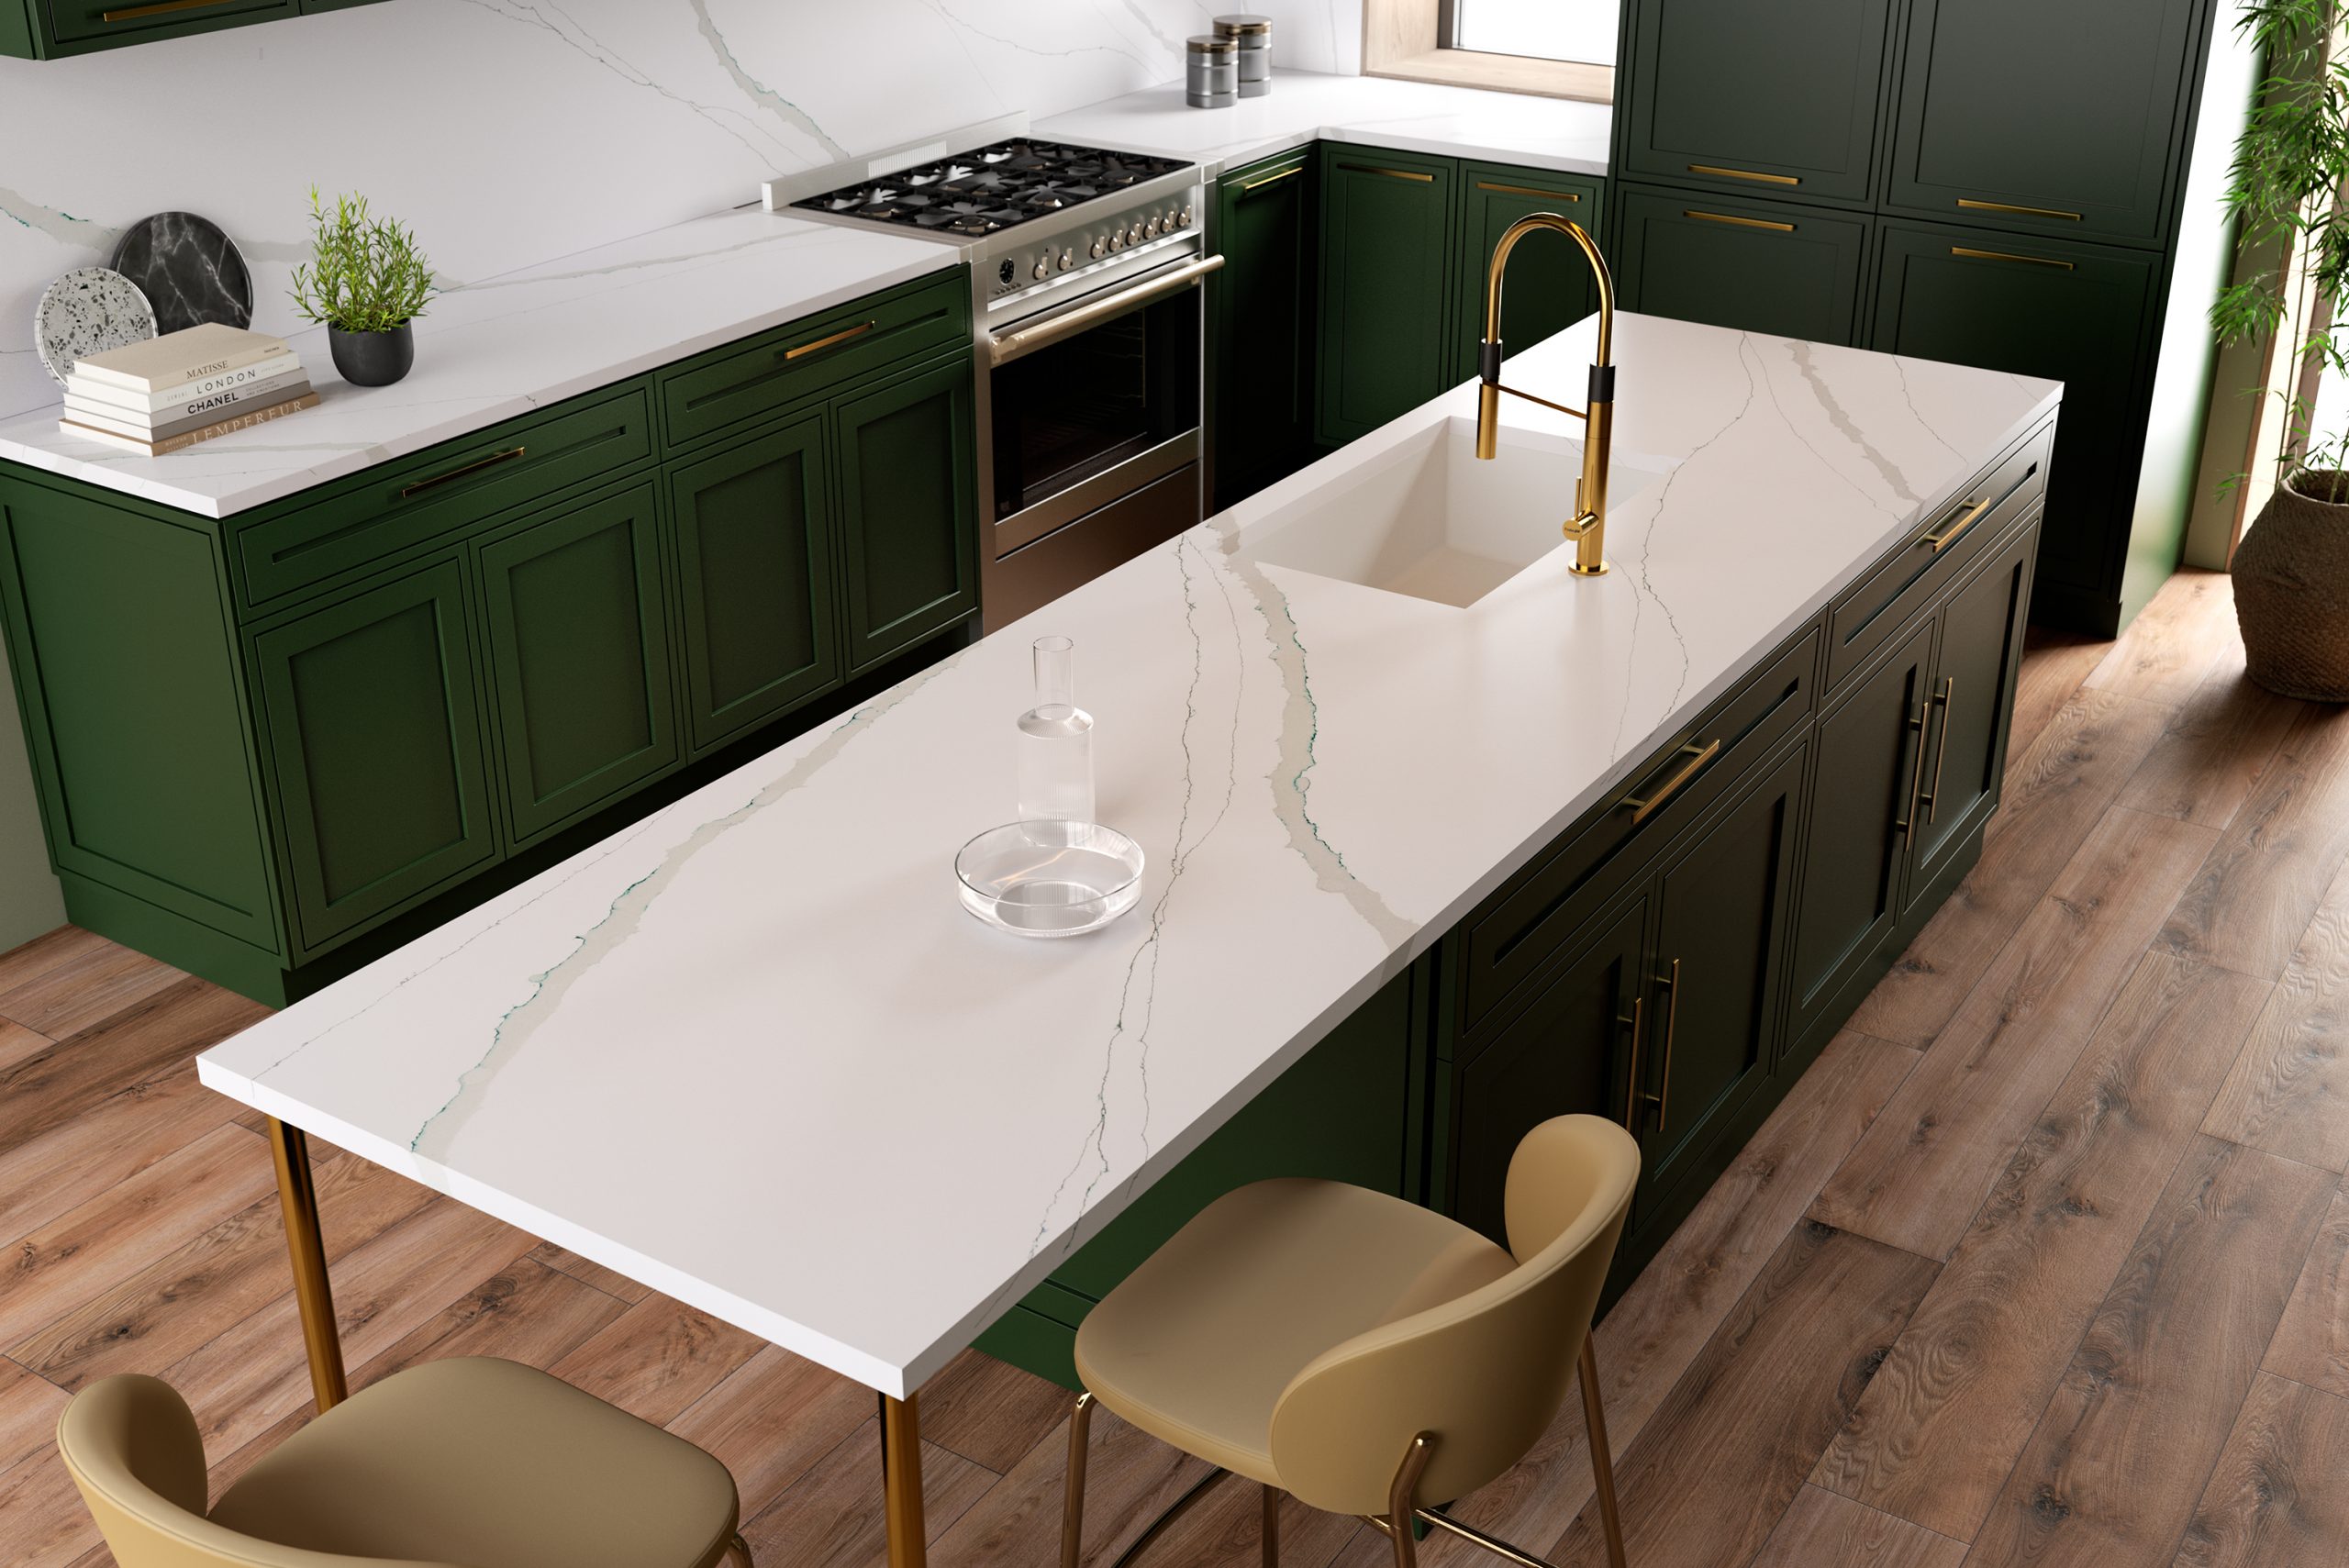
Epoxy live edge countertops provide a unique and stylish option for your kitchen or bathroom surfaces. The natural wood edge combined with epoxy resin creates a modern and elegant look while preserving the beauty of the raw wood.
This trendy design choice brings a touch of nature indoors, making a statement piece in any room. With their durability and customizable finishes, epoxy live edge countertops are a popular choice for homeowners looking to add a touch of sophistication to their space.
Whether you prefer a rustic or contemporary aesthetic, these countertops are sure to enhance the overall appeal of your home.

Credit: www.thepinnaclelist.com
Choosing The Right Wood
A crucial aspect of selecting a visually appealing and durable Epoxy Live Edge Countertop is choosing the right wood. The wood species and grain pattern play a significant role in the final aesthetics of the countertop.
Selecting The Live Edge Wood Slab
- Inspect the live edge wood slab for any cracks or imperfections.
- Ensure the wood slab is properly kiln-dried to prevent warping.
- Check for natural edges that complement the overall design of the countertop.
Considering Wood Species And Grain Pattern
- Choose a wood species that matches your desired aesthetic and durability.
- Consider the grain pattern for a unique and eye-catching appeal.
- Examine the wood color to ensure it complements your kitchen decor.
Preparing The Wood Slab
To prepare the wood slab for an epoxy live edge countertop, start by sanding the surface to remove any imperfections. Next, apply a sealant to protect the wood and ensure the epoxy adheres properly. This step is crucial for achieving a smooth and durable finish for your countertop.
Cutting And Shaping The Slab
Begin by cutting the live edge wood slab to the desired dimensions using a chainsaw or a circular saw.
Shape the edges carefully to maintain the natural live edge appearance of the wood.
Drying And Stabilizing The Wood
Once cut, allow the wood slab to air dry for several weeks to reduce moisture content.
To stabilize the wood further, apply a wood stabilizing resin to prevent warping or cracking.
Epoxy Resin Application
Welcome to our guide on Epoxy Live Edge Countertop, where we’ll delve into the captivating process of Epoxy Resin Application. This crucial step not only enhances the beauty of the live edge countertop but also adds durability and protection. Let’s explore the essential aspects of applying epoxy resin, from creating the mold to mixing and pouring the resin.
Creating An Epoxy Resin Mold
An essential preliminary step in the epoxy resin application process is creating the mold for your live edge countertop. Ensure that the mold is crafted to perfection, accurately mapping the contours and edges of the countertop. To accomplish this, securely place the live edge slab onto a flat surface and construct a barrier around its perimeter using melamine or plywood. Seal any gaps to prevent the resin from leaking and carefully align the mold with the natural shape of the live edge slab.
Mixing And Pouring The Epoxy Resin
Once the mold is prepared, it’s time to proceed with mixing and pouring the epoxy resin. Begin by meticulously following the manufacturer’s instructions for resin mixing. To ensure a flawless finish, it’s imperative to measure the resin and hardener accurately, providing the ideal ratio for optimal curing. After the components are thoroughly mixed, slowly and steadily pour the resin onto the prepared live edge slab within the mold, ensuring even coverage. Carefully spread the resin using a spreader or brush to eliminate any air bubbles and achieve a smooth, glossy surface.

Credit: www.stonecoatcountertops.com
Finishing And Sealing
When it comes to epoxy live edge countertops, the finishing and sealing process is crucial for both aesthetics and durability. Proper sanding, polishing, and sealing not only enhance the natural beauty of the wood but also provide protection against stains, scratches, and moisture.
Sanding And Polishing The Countertop Surface
Before applying any sealant, it is essential to prepare the countertop surface through thorough sanding and polishing. The aim is to create a smooth, even surface that brings out the natural grain and character of the live edge wood.
Start by using a coarse-grit sandpaper (around 80 to 100 grit) to remove any rough spots, blemishes, or irregularities on the surface. Sand with gentle, even strokes in the direction of the wood grain. Keep the pressure consistent to avoid creating uneven surfaces or deep gouges.
Once the surface is even, gradually move to finer-grit sandpapers (between 120 to 220 grit) to smooth out any remaining imperfections on the surface. This process will help achieve a polished and flawless appearance.
After sanding, remove any dust, debris, or leftover particles from the countertop surface. Wipe it clean using a damp cloth or vacuum it carefully using a soft brush attachment.
Applying A Protective Sealant
After achieving a smooth and polished surface, it’s time to protect your live edge countertop with a high-quality sealant. A protective sealant prevents moisture penetration, minimizes the risk of stains, and enhances the countertop’s overall longevity.
There are various sealant options available, including epoxy resin, polyurethane, and tung oil. Assess the specific needs and preferences of your countertop to choose the most suitable sealant. Follow the instructions provided by the manufacturer for application.
When applying the sealant, ensure that the countertop is clean and completely dry. Use a brush, roller, or cloth to apply a thin, even coat of sealant. Work in small sections and ensure that no areas are left untreated. Allow the sealant to dry as per the manufacturer’s recommendations.
Once the initial coat is dry, lightly sand the surface with a fine-grit sandpaper (between 220 to 320 grit) to smooth out any imperfections or bubbles in the sealant. Remove any dust, debris, or leftover particles before applying subsequent coats.
Repeat the application of sealant and sanding process until you achieve the desired finish and level of protection for your epoxy live edge countertop. Remember to follow the manufacturer’s instructions for drying and curing times between coats.
| Key Points: |
| – Sand the countertop surface gradually using coarse to fine-grit sandpapers. |
| – Clean the countertop surface thoroughly before applying any sealant. |
| – Choose a suitable sealant based on your countertop’s needs and preferences. |
| – Apply thin, even coats of sealant and allow sufficient drying time between coats. |
| – Sand the surface lightly between coats to achieve a smooth finish. |
| – Follow the manufacturer’s instructions for drying and curing times. |
Installation And Maintenance
Discover the seamless process of installing and maintaining an epoxy live edge countertop for a modern and stylish kitchen upgrade. Ensure long-lasting beauty with easy upkeep for a stunning focal point in your home.
Mounting The Live Edge Countertop
When it comes to installing your epoxy live edge countertop, it is essential to follow the proper procedure to ensure a seamless and long-lasting result. Here are some steps to guide you through the process:
- Prepare your workspace by clearing off the existing countertop and ensuring it is clean and level.
- Measure the dimensions of the area where the live edge countertop will be installed.
- Find the perfect location for the countertop and mark it accordingly.
- Using a level, ensure that the marked lines are perfectly straight.
- Apply a layer of adhesive or epoxy to the backside of the countertop and press it firmly against the marked area, ensuring it is aligned properly.
- Secure the countertop in place using clamps or heavy objects to allow the adhesive or epoxy to dry and bond effectively.
- Once the adhesive or epoxy has cured, remove the clamps or heavy objects and clean any excess material or residue.
- Inspect the installed live edge countertop to ensure it is securely mounted and level.
Tips For Long-term Care
Maintaining your epoxy live edge countertop is vital to preserving its beauty and functionality. Here are some tips to help you care for your countertop:
- Regularly clean the surface of your countertop using a mild soap or gentle cleaner. Avoid harsh chemicals that may damage the epoxy finish.
- Wipe spills immediately to prevent stains and discoloration. Epoxy is resistant to many stains, but prolonged exposure may cause fading or damage.
- Use cutting boards or mats when preparing food to prevent scratches or dents on the surface.
- Avoid placing hot pans or pots directly on the countertop, as extreme heat can damage the epoxy finish. Always use trivets or heat-resistant pads.
- Regularly inspect the countertop for any signs of damage or wear and address them promptly to prevent further issues.
- Consider reapplying a protective finish or sealant every few years to enhance durability and maintain its glossy appearance.

Credit: www.lxhausys.com
Frequently Asked Questions Of Epoxy Live Edge Countertop
What Are The Disadvantages Of Epoxy Countertops?
Disadvantages of epoxy countertops include susceptibility to heat damage, discoloration over time, and potential for scratches.
Does Epoxy Last On Countertops?
Yes, epoxy can last on countertops if properly applied and maintained. It provides a durable and waterproof surface that can withstand daily use. Regular cleaning and care can help prolong its lifespan.
How Do You Prepare Live Edge For Epoxy?
To prepare live edge for epoxy:
1. Sand the wood surface until smooth.
2. Clean the surface to remove any dust or debris.
3. Apply a wood sealer to prevent air bubbles and enhance epoxy adhesion.
4. Use masking tape or sealant to create a barrier around the edges.
5. Pour and spread epoxy resin evenly, following the manufacturer’s instructions.
Do Epoxy Countertops Crack?
Epoxy countertops can crack, particularly under heavy impact or extreme temperature changes. However, with proper installation and regular maintenance, the likelihood of cracks can be minimized. Regular sealing, avoiding hot pans, and using cutting boards can help extend the lifespan of epoxy countertops.
Conclusion
To sum up, an epoxy live edge countertop adds a touch of natural beauty and modern flair to any space. Its durability, unique design, and versatility make it a popular choice for homeowners. Whether used in kitchens, bathrooms, or commercial settings, this stunning countertop option is a great way to elevate the style and functionality of any space.


