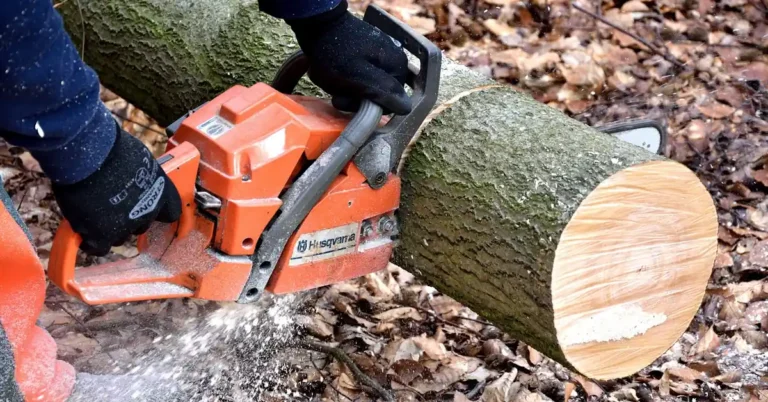
End Grain Cutting Board Patterns: Checkerboard to Pinwheel
Checkerboard is the easiest end grain pattern to build; pinwheel and herringbone are the hardest. All four use the same self-healing, knife-friendly end grain construction — only the strip layout and glue-up steps change.
End grain cutting boards are cut so the wood fibers stand on end rather than lying flat, which is what makes them self-healing under a knife blade. That same construction is what lets builders arrange small blocks into checkerboard, basket weave, herringbone, and pinwheel patterns. Below we compare all four by real difficulty and wood waste, then cover the tools and finish that keep a patterned board looking sharp for years.
Quick Answer
Checkerboard is the beginner-friendly pattern (uniform strips, one flip, one glue-up). Basket weave is the next step up. Herringbone and pinwheel need two or more precise glue-ups and generate more offcut waste, but produce the most striking designs.
The Art Of End Grain Cutting Board Patterns
Editorial note: as part of this update, we re-checked every product recommended below against Amazon’s live catalog in August 2026 and confirmed all four listings are active, in stock, and correctly matched to the tools described.
Tools For Building & Maintaining A Patterned End Grain Board
O’SKOOL Slab Flattening Router Sled (RTA012)
3-axis gantry router sled, around $699.99, flattens patterned end grain slabs after glue-up so blocks sit perfectly level with no ridges.
Check Price on Amazon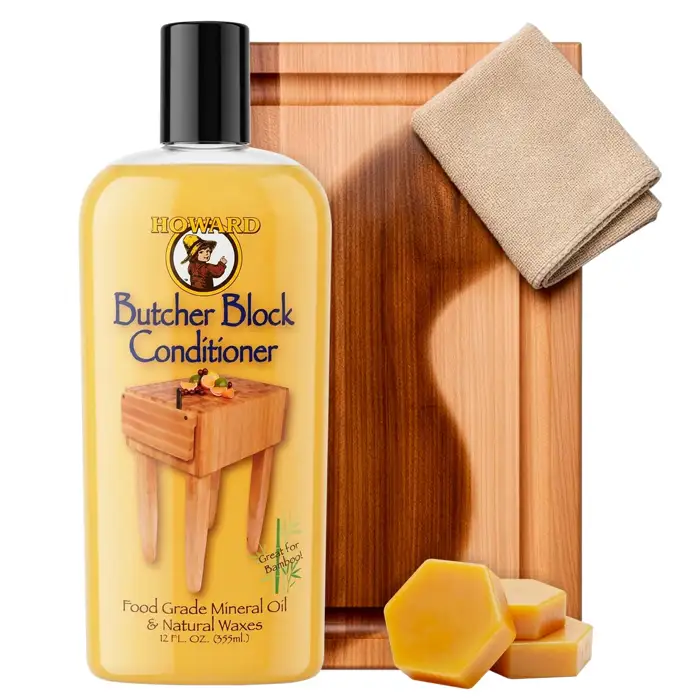
Howard Butcher Block Conditioner, 12 oz
Around $9, food-grade mineral oil plus beeswax/carnauba — the regular oiling patterned end grain boards need to stay hydrated.
Check Price
Rockler Small Parts Crosscut Sled for Table Saws
Around $113.99, zero-clearance support with a miter track stop — keeps thin strips from falling into the blade slot when cutting checkerboard and basket weave stock.
Check Price
Titebond III Ultimate Wood Glue, 16 oz
Around $9.58, waterproof Type I bond and food-safe once cured — the glue-up most patterned end grain boards are built with.
Check PriceEnd grain construction turns wood into a pattern canvas because every piece in the board is a short cross-section of a board, glued end-up instead of face-up. Arrange those cross-sections in a grid and you get a checkerboard; arrange them in interlocking rows and you get a basket weave; cut and rotate strips at 45° and you get herringbone or pinwheel. The pattern is a direct result of how the blocks are cut and re-glued, not a surface finish or stain.
Understanding End Grain Vs. Edge Grain
End grain boards expose the growth rings on the cutting surface, which is what creates the checkerboard/basket-weave look and the self-healing feel under a knife. Edge grain boards are cut along the length of the board instead, so the surface shows long, straight grain lines — that construction can’t produce true end-grain patterns, only alternating-color stripes.
Why End Grain Is More Knife-Friendly
Because the vertical wood fibers stand on end, a knife edge slides between them instead of slicing across them. The fibers separate around the blade and close back up afterward, which is the actual mechanism behind the “self-healing” claim — it’s a description of fiber orientation, not a marketing term. This is also why an end grain board pairs well with an ulu knife — the rocking blade motion works with the fiber orientation rather than against it.
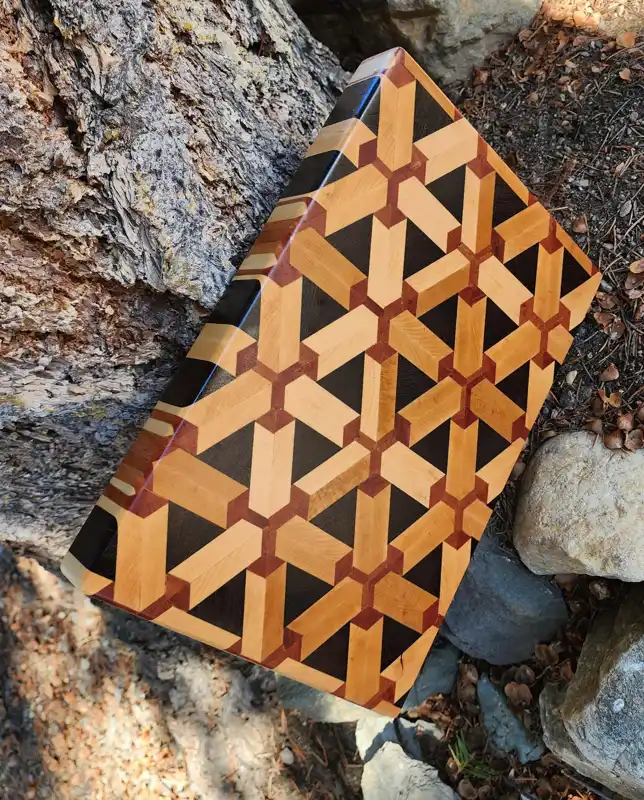
Compare The 4 Main End Grain Patterns
Difficulty and wood waste vary a lot between patterns, mostly based on how many times the strips have to be re-cut and re-glued. Here’s how the four most common patterns actually compare:
| Pattern | Difficulty | Wood Waste | Glue-Ups Required | Best For |
|---|---|---|---|---|
| Checkerboard | Beginner | Low | 1 (strips flipped 180°, re-glued) | First-time builders |
| Basket Weave | Beginner-Intermediate | Low-Moderate | 1-2 (square blocks must be identical size) | Two-species contrast, entry into patterned boards |
| Herringbone | Intermediate-Advanced | Moderate | 2 (slice glued, cross-cut, re-glued) | Builders comfortable clamping multiple angled pieces |
| Pinwheel | Advanced | Moderate-High | 2+ (angled segments cut and rotated around a center) | Experienced builders wanting a centerpiece board |
Squaring the cuts matters more than the pattern itself. As Fine Woodworking’s crosscut sled guide notes, the five-cut method for squaring a sled can get a table saw’s crosscut to within a few thousandths of an inch of true 90° — tight enough that tessellating patterns like basket weave and pinwheel line up without visible gaps.
Craftsmanship Techniques
Cutting And Arranging End Grain Pieces
Builders start by cutting the wood into uniform strips, gluing those into a slab, then cross-cutting that slab into blocks and re-gluing the blocks on end. Simple patterns like checkerboard need only one round of this; basket weave, herringbone, and pinwheel need a second (sometimes third) round to rotate and re-arrange the blocks, which is where most of the added difficulty and glue comes from.
“[Basket weave] is a great entry into patterned boards. The pattern is created with only two species of wood and simple square blocks. The techniques learned can be carried over into more intricate designs.”
— Evolution Workshop, on building a basic basket weave board
Finishing And Polishing
Once the final glue-up cures, the surface is sanded flat — often with a router sled or flattening jig on larger or warped slabs — then worked up through progressively finer grits before a food-safe oil treatment. Skipping the flattening step is the most common reason a patterned board ends up with visible ridges where blocks meet.
Practical Appeal: Durability, Knife Care & Maintenance
End grain boards hold up to daily use because the vertical fiber orientation resists deep knife marks and reduces wear on your blades, in addition to creating the pattern itself. That construction also affects how you maintain the board — end grain needs regular oiling because the exposed fiber ends absorb and lose moisture faster than an edge grain surface.
Daily Cleaning
- Rinse with warm water to remove loose food particles.
- Use a mild dish soap and a sponge or soft brush to gently scrub the board.
- Rinse thoroughly and dry with a clean towel, or let it air dry standing on edge so both faces dry evenly.
Regular Oil Treatments
- Start with a clean, dry board.
- Apply a thin layer of food-grade mineral oil (or a beeswax/mineral-oil board butter) with a clean cloth.
- Let it penetrate for a few hours or overnight.
- Wipe off any excess.
Do this monthly for a board in daily use, and immediately if the surface starts looking dry or pale. Because the exposed end grain absorbs oil faster than edge grain, patterned boards often need oiling slightly more often than a plain edge-grain board of the same size. If you want a harder, longer-lasting topcoat instead of straight mineral oil, see our best finish for charcuterie board comparison, and our full disinfecting guide covers deeper sanitizing beyond daily cleaning.
Personalization And Design Trends
End grain cutting boards double as a way to show personal style, from custom engravings to wood species choices. A subtle corner monogram keeps the pattern as the focal point; a larger engraved crest or quote turns the board into a centerpiece.
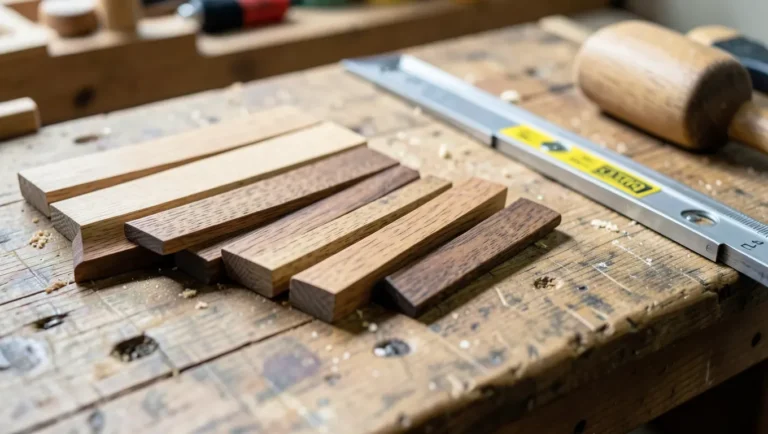
Wood species selection has as much impact on the finished look as the pattern itself — pairing a light wood (maple) with darker woods (walnut, cherry) creates the contrast that makes checkerboard and basket weave patterns pop. If you’re working from reclaimed stock, our guide on how to identify barn wood species can help confirm what you’re pairing. Check a wood grain comparison chart before committing to a species pairing, and see our butcher block finish options guide for how different oils affect the final color contrast — the same light/dark contrast principle used when picking wall colors for dark wood floors applies to board design too.
Beyond geometric designs, mixed light-and-dark gradients and richer grain species are both popular ways to add depth without changing the underlying pattern.
Frequently Asked Questions For End Grain Cutting Board Patterns
Which End Grain Pattern Is Easiest For A Beginner To Build?
Checkerboard is the easiest: it only needs uniform-width strips flipped 180° and one glue-up. Basket weave is the recommended next step — it uses just two wood species and simple square blocks, but requires every block to be exactly the same size. Herringbone and pinwheel involve angled cuts and a second glue-up, so they’re better attempted after a checkerboard or basket weave board.
What Are The Benefits Of Using An End Grain Cutting Board?
Using an end grain cutting board offers several benefits. It is more gentle on your knife, reducing the chances of it getting dull quickly. The wood fibers are more forgiving, making it less likely to leave deep cuts or scratches on the board. It also has self-healing properties, meaning it can recover from small cuts on its own. Plus, it provides a beautiful and unique pattern that adds style to your kitchen.
How Do I Take Care Of My End Grain Cutting Board?
To maintain the quality of your end grain cutting board, it’s important to follow a few care tips. Keep it clean by washing it with mild soap and warm water after each use. Avoid soaking it in water or putting it in the dishwasher, as this can cause warping or splitting. Regularly apply food-grade mineral oil to keep the wood hydrated and prevent it from drying out. Finally, store it in a dry place and avoid exposing it to extreme temperatures.
Can I Cut Meat On An End Grain Cutting Board?
Yes, you can definitely cut meat on an end grain cutting board. In fact, it is a great choice for meat preparation as the wood fibers are more forgiving and won’t cause excessive wear on your knives. However, it’s important to clean the board thoroughly after cutting raw meat to avoid cross-contamination. Use hot soapy water and a brush to remove any potential bacteria, and sanitize the board regularly using a mix of water and white vinegar or hydrogen peroxide.
Conclusion
Every end grain pattern — checkerboard, basket weave, herringbone, or pinwheel — comes from the same construction: short, on-end blocks glued and re-cut into a grid. Start with checkerboard or basket weave if you’re building your first board, square your cuts carefully, and keep the finished board oiled regularly so the pattern (and the wood) lasts.
Sponsored / affiliate links. As an Amazon Associate I earn from qualifying purchases. I may earn additional commission from eligible campaigns.