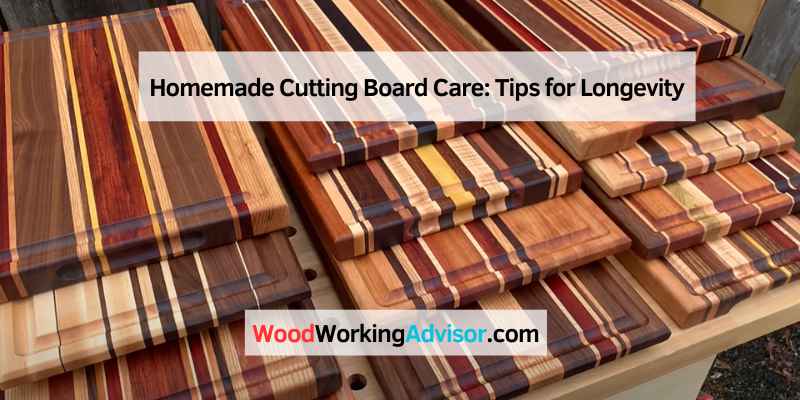
Homemade Cutting Board Care: Tips for Longevity
Looking to make a homemade cutting board? It’s a great DIY project that’s both practical and stylish.
Making your own cutting board allows you to customize the size, shape, and wood type to suit your needs. Whether you’re a woodworking enthusiast or just looking for a fun project, creating a homemade cutting board can be a rewarding experience.
We’ll explore the steps and materials needed to make a high-quality cutting board that will be a valuable addition to your kitchen. Let’s dive into the world of woodworking and create a beautiful and functional cutting board together.
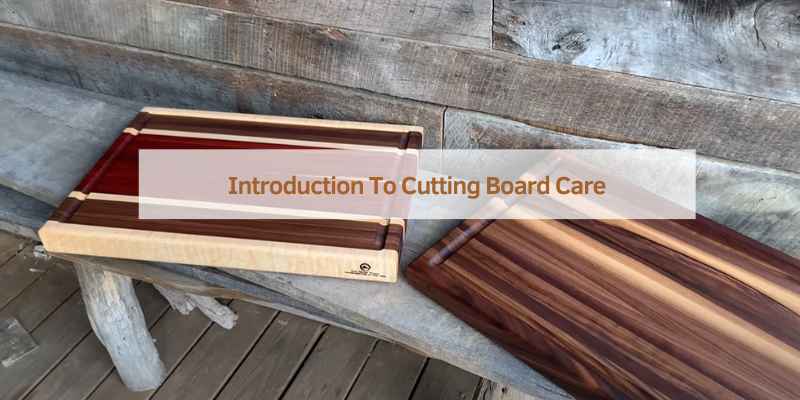
Introduction To Cutting Board Care
Proper care of your homemade cutting board is crucial for maintaining its longevity and preventing cross-contamination. Regularly cleaning and oiling your board will ensure its durability and hygiene, allowing you to continue using it for all your culinary needs.
Why It Matters
Proper care of your cutting board is essential to ensure its longevity and to maintain food safety standards. A well-maintained cutting board not only extends its lifespan but also prevents cross-contamination and the growth of harmful bacteria.
Types Of Cutting Boards
There are various types of cutting boards available, each with its own advantages and care requirements.
| Type | Advantages | Care Requirements |
|---|---|---|
| Wooden Cutting Boards | Durable and gentle on knives | Regularly oil and sanitize with vinegar or hydrogen peroxide |
| Plastic Cutting Boards | Easy to clean and dishwasher-safe | Replace when heavily scratched or worn |
| Bamboo Cutting Boards | Renewable and eco-friendly | Oil frequently and avoid soaking in water |
| Glass Cutting Boards | Hygienic and resistant to stains | Use with caution as they can dull knives |
Choosing the right cutting board material depends on your personal preferences and needs. However, regardless of the type you choose, proper care is crucial to maintain its effectiveness and durability.
Initial Treatment And Seasoning
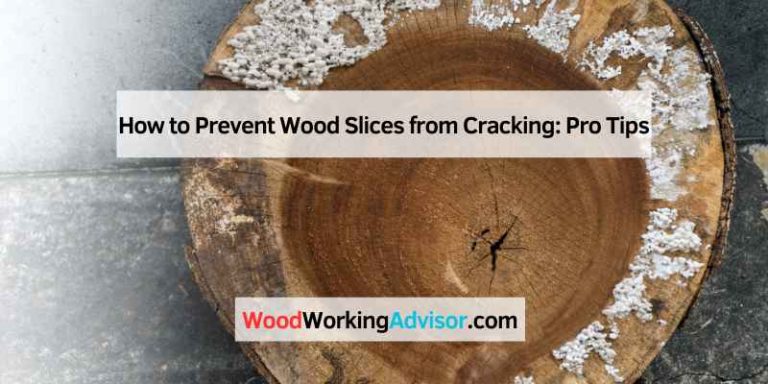
When it comes to caring for your homemade cutting board, the initial treatment and seasoning process is crucial for ensuring its longevity and performance. Properly treating and seasoning your cutting board not only enhances its durability but also prevents it from warping and cracking over time.
Choosing The Right Oil
Choosing the right oil for seasoning your cutting board is essential. Opt for food-grade mineral oil, walnut oil, or coconut oil, as they are safe for consumption and won’t turn rancid over time. Avoid using vegetable or olive oil, as they can go bad and leave a sticky residue on the board.
Step-by-step Seasoning Process
- Clean the cutting board thoroughly with warm, soapy water, and allow it to dry completely.
- Apply a generous amount of the chosen oil to the cutting board’s surface, using a clean cloth or paper towel.
- Ensure that the oil is spread evenly across the entire surface, including the sides and edges.
- Let the oil penetrate the wood for at least 4-6 hours or overnight, allowing it to fully absorb.
- Wipe off any excess oil with a dry cloth, and allow the cutting board to air dry completely before use.
Daily Cleaning Practices
Maintaining a clean cutting board is essential for food safety. Incorporate daily cleaning practices by using a homemade solution of vinegar and water to disinfect the board, followed by a thorough rinse and air-drying to prevent bacterial growth.
Keeping your homemade cutting board clean is essential to maintain its longevity and hygiene. Daily cleaning practices will not only keep your board safe to use but will also keep it looking good. Here are some daily cleaning practices you can follow:
Right After Use
After using your cutting board, it’s essential to clean it immediately. Leaving it dirty with food particles can attract bacteria and affect the board’s quality. Follow these steps to clean your cutting board right after use:
– Remove any excess food particles with a scraper or knife.
– Rinse it with hot water.
– Apply a drop of dish soap and scrub it with a sponge or brush.
– Rinse it well and dry it with a clean towel.
Deep Cleaning Techniques
Although daily cleaning practices are enough to keep your cutting board clean, deep cleaning should be done occasionally. Deep cleaning removes any bacteria or stains that regular cleaning can’t. Here are some deep cleaning techniques you can follow:
– Vinegar and Baking Soda: Mix equal parts of vinegar and baking soda and apply it to the board. Leave it for 10-15 minutes, then scrub it with a sponge or brush. Rinse it with hot water and dry it with a clean towel.
– Salt and Lemon: Cut a lemon in half and apply salt to one of the halves. Scrub the board with the lemon half, focusing on the stained areas. Rinse it with hot water and dry it with a clean towel.
– Bleach: Mix one teaspoon of bleach with one quart of water and apply it to the board. Leave it for a few minutes, then rinse it with hot water and dry it with a clean towel.
Maintaining a clean cutting board is essential to ensure the safety of your food and the longevity of your board. Follow these daily cleaning practices and deep cleaning techniques to keep your homemade cutting board clean and hygienic.
Avoiding Common Mistakes
Maintaining your homemade cutting board is essential to ensure its longevity and functionality. By avoiding common mistakes, you can prolong the lifespan of your cutting board and keep it in top condition for years to come.
Using Harsh Cleaners
Harsh cleaners can damage the wood of your cutting board. Stick to mild soap and water for cleaning instead.
Excessive Water Exposure
Avoid soaking your cutting board in water for prolonged periods as it can cause warping and cracking. Instead, wipe it clean and dry it immediately after use.
Repairing Scratches And Cracks
When it comes to your homemade cutting board, scratches and cracks are bound to happen over time due to regular use. But don’t worry, there are effective methods you can use to repair these imperfections and prolong the life of your cutting board.
Sandpaper Method
If you notice shallow scratches on your cutting board, the sandpaper method can help restore its smooth surface. Here’s how you can do it:
- Start by determining the severity of the scratches. If they are minor, you can begin with a fine-grit sandpaper, such as 220-grit.
- Gently sand the affected area in the direction of the grain. Make sure to apply even pressure and keep the sanding consistent.
- Continue sanding until the scratches are no longer visible and the surface feels smooth to the touch.
- Once you’re satisfied with the results, clean the board thoroughly to remove any sanding residue.
- Apply a food-safe mineral oil or beeswax to recondition the board and protect it from future damage.
Using Wood Filler
For deeper scratches or cracks, using wood filler can be a reliable solution. Follow these steps to repair your cutting board:
- Choose a wood filler that is food-safe and matches the color of your cutting board.
- Clean the damaged area thoroughly, ensuring it is free from any debris or loose wood particles.
- Apply the wood filler into the scratches or cracks, using a putty knife or spatula. Make sure to fill the damaged area completely.
- Smooth the surface of the filler with the putty knife, removing any excess material.
- Allow the wood filler to dry according to the manufacturer’s instructions.
- Once the filler is dry, sand the repaired area gently to achieve a smooth finish.
- Clean the board to remove any sanding residue and apply a food-safe oil or wax to protect the board.
By following these methods, you can effectively repair scratches and cracks on your homemade cutting board, extending its lifespan and ensuring its continued functionality in your kitchen.
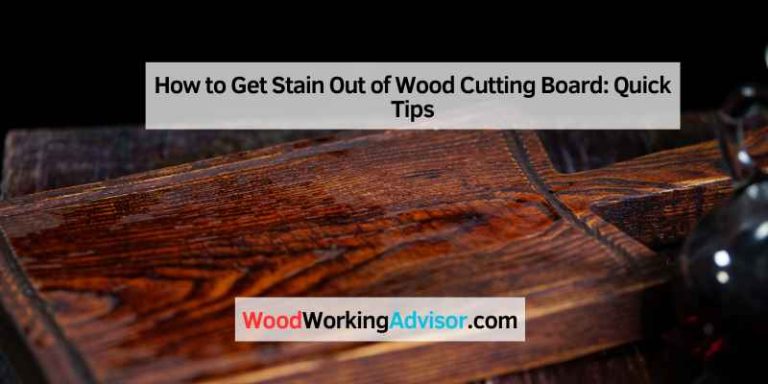
Stain Removal Tips
Easily tackle stains on your homemade cutting board with these effective DIY tips. Use a mixture of lemon juice and salt to scrub away tough spots, leaving your cutting board clean and fresh. Keep your kitchen essentials looking like new with these simple tricks.
Stain Removal Tips:
When it comes to maintaining your homemade cutting board, stain removal is a key aspect. Here are some tips to help you keep your cutting board looking new.
Natural Remedies
Natural remedies are a great way to remove stains from your cutting board. Here are some of the best natural remedies:
- Baking soda: Mix baking soda with water to create a paste. Rub the paste onto the stain and let it sit for a few minutes before rinsing off.
- Lemon juice: Cut a lemon in half and rub the cut side onto the stain. Let it sit for a few minutes before rinsing off.
- Vinegar: Mix equal parts vinegar and water, and then rub the solution onto the stain. Let it sit for a few minutes before rinsing off.
When To Use Chemicals
Sometimes natural remedies may not be enough to remove tough stains. In these cases, you may need to use chemicals. However, be sure to follow the manufacturer’s instructions and wear gloves to protect your skin. Here are some chemicals that can be effective:
| Chemical | Uses |
|---|---|
| Bleach | Effective against tough stains, but can be harsh on your cutting board and should be used sparingly. |
| Hydrogen peroxide | Effective against tough stains and is less harsh on your cutting board than bleach. |
| Mineral oil | Can be used to remove stains and to restore your cutting board’s natural beauty. |
By following these stain removal tips, you can keep your homemade cutting board looking new for years to come.
Preventing Odors
Eliminate kitchen odors by regularly cleaning your cutting board with homemade solutions. Mix equal parts of water and vinegar or lemon juice, and apply it to the board before rinsing with warm water. This will keep your cutting board smelling fresh and clean.
Charcoal And Baking Soda
Regular Maintenance
When it comes to preventing odors on your homemade cutting board, using natural ingredients is key. Charcoal and baking soda are effective and eco-friendly solutions.
Charcoal absorbs odors, keeping your cutting board fresh. Baking soda neutralizes smells, ensuring a clean surface.
Regular maintenance is crucial for a odor-free cutting board. Charcoal and baking soda are your allies.
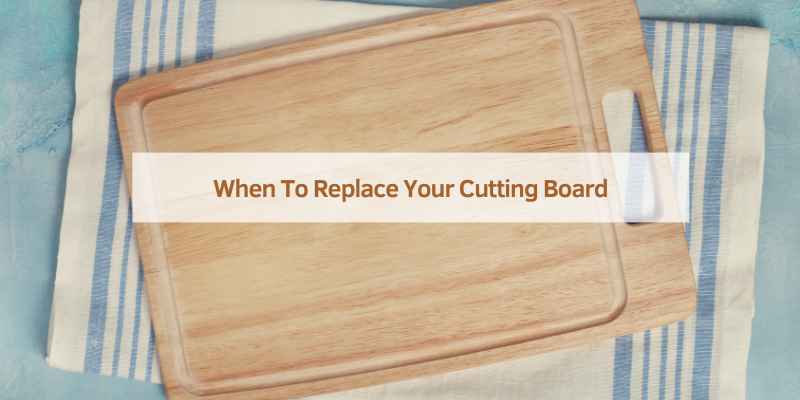
When To Replace Your Cutting Board
Over time, your cutting board will wear out. It’s essential to know when to replace it to maintain food safety and prevent contamination.
Signs Of Wear
- Cuts and grooves are deep and hard to clean.
- Deep stains and odors persist after cleaning.
- Excessive warping or cracking is visible.
Upcycling Ideas
- Use old cutting boards as serving platters for cheese or charcuterie.
- Turn them into decorative wall art or coasters.
Frequently Asked Questions
What Is The Best Wood For Making A Cutting Board?
When making a cutting board, hardwoods like maple, walnut, and cherry are ideal due to their durability and tight grain. These woods are less likely to harbor bacteria and can withstand the rigors of chopping and slicing.
How Do You Maintain A Homemade Cutting Board?
To keep your cutting board in top condition, regularly apply food-safe mineral oil to prevent it from drying out and cracking. Additionally, clean it with mild soap and warm water, and avoid soaking it to prevent warping.
Are There Any Safety Tips For Using A Cutting Board?
Always use a stable surface when cutting to prevent accidents. Additionally, ensure the cutting board is dry to prevent slipping. Regularly inspect the board for any signs of wear and tear to avoid any potential safety hazards.
Can I Personalize A Homemade Cutting Board?
Yes, you can personalize a homemade cutting board by adding engravings or inlays. Personalization adds a unique touch and makes it a great gift for special occasions like weddings and housewarmings.
Conclusion
In crafting a homemade cutting board, creativity meets functionality. The process encourages sustainability and personalization. By choosing quality materials, you can elevate your kitchen experience. Embrace the art of woodworking and enjoy the satisfaction of using a practical, handcrafted item daily.
Explore your creativity and woodworking skills with homemade cutting boards.